CONTENTS
Basic materials and equipment
Drawing Techniques
Introduction
Basic sketching techniques
Textured line
Tone
Tonal drawing
Drawing with ink
Perspective a quick guide
Pen and wash
Scraperboard
Charcoal
Pastels, chalks and cont crayons
Marker pens
Felt-tips and wash
Water-soluble materials
Drawing Still Life
Introduction
Technical practices
Simple objects
Surface texture
Shapes and practice
Textiles
Different subject matter
Food
Plants
Combining objects
Measuring and framing
Lighting
Mixing materials
Putting it together
Other artists
Drawing Landscapes
Introduction
Tree forms
Sketching practice
A landscape sketch
Sketching aids
Perspective sketches
Composition and selection
A landscape in pen and wash
A landscape in chalk and charcoal
A landscape in pastels
Creative freedom
Invented landscape diluted ink
Drawing Animals
Introduction
Drawing basic form
Checks and measures
New viewpoints
Charcoal and pastel studies
Watercolour studies
Toned paper
Close observation
Drawing from life
Character and expression
Drawing Figures
Introduction
Proportions of the human figure
The skeleton
Musculature
Drawing from life
Figures in perspective
The torso
Legs
Arms
Hands
Feet
The head
Differing proportions
Composition and posing
Moving figures
Drawing Portraits
Introduction
Proportions of the head
Measuring the head
The proportions of children
Drawing the head: basic method
Drawing the head: advanced method
The features close up
Setting up a portrait
Lighting your subject
Styles
Composition
Grouping figures
Self-portraits
BASIC MATERIALS AND EQUIPMENT
One of the great things about taking up drawing is that you need very little equipment, and therefore only a small budget, to get started. There is a large and highly profitable industry in artists materials and some of the elaborate items on show in art shops can be very tempting, but fancy materials and equipment can confuse the issue of learning to draw. To start with youll need only pencils, paper, an eraser and a knife, but in the Drawing Techniques section well look at other materials and tools you might want to experiment with and add to your kit.
Pencils
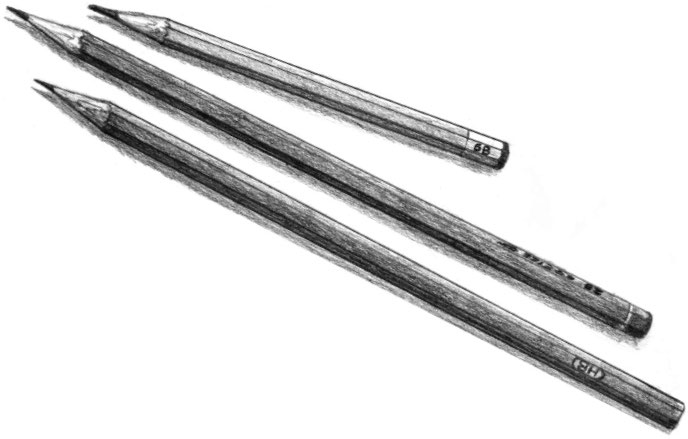
Although any pencil will do for mastering the basics of drawing, cheap ones can be scratchy and unsatisfying to work with. Its well worth splashing out on a few good-quality pencils from an art supplies shop. They are graded from H (hard) to B (black) with a number prefix indicating the degree of hardness or blackness. A useful starting set would be H, HB, 2B and 6B.
Supports
Many of the exercises in this book can be undertaken on a table top, but for your comfort you may prefer to tilt the drawing surface towards you. Sketchpads usually have a back cover thats rigid enough for them to be usable simply leant against the edge of the table. For working on loose paper, a small drawing board may be useful. A thin sheet of plywood, say 5mm ( in), will be strong yet light enough to carry with you for working on location. Make sure it is sanded smooth and slightly larger than your paper, which can be affixed with masking tape at the corners.
Eraser
An eraser is a vital part of your kit. There is absolutely no shame to be felt in erasing mistakes and rough guidelines they are an important part of the drawing process.
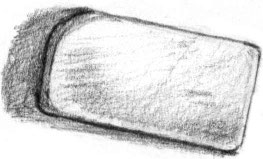
Buy a good-quality eraser that is neither too hard nor too spongy; there are dozens of varieties on the market, but they all do essentially the same job. When the corners wear blunt, an eraser can be trimmed with a knife to produce a fine working edge. For fiddly erasing I often use a special eraser that comes in the form of a pencil and can be sharpened to a point.
HANDY HINT
Buy pencils of different grades with different coloured shafts so that you can identify them at a glance.
Paper
For your early sketches, virtually any paper will do. A cheap spiral-bound sketchpad, A4 or preferably A3, would be good, but photocopy paper or even scrap paper will be fine. Expensive paper only serves to inhibit your freedom to make mistakes.
As you advance in both skill and ambition, the more important the grade and type of paper becomes: chalks and charcoal work best on a lightly textured surface and some subjects might call for the paper to be toned (see pages Wet media, such as watercolour, need thicker paper that wont buckle with moisture. Paper rated anywhere between 200gsm (120lb) and 300gsm (180lb) should be quite heavy enough. For larger drawings, you could use decorators lining paper, which is very cheap, robust and comes in rolls of 10m (33ft). You may also enjoy experimenting with shiny paper, brown parcel paper or even cardboard as a surface.
Sharpening
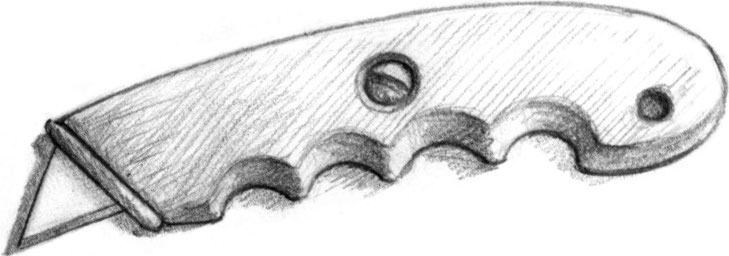
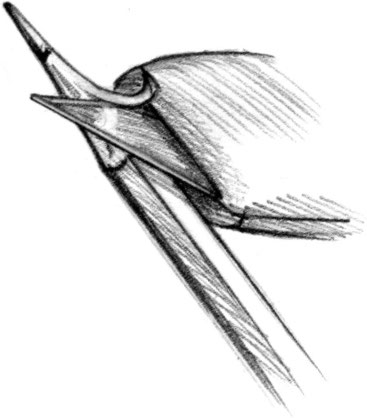
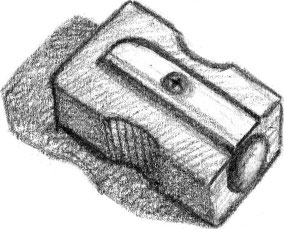
A sharp knife or scalpel is essential for fashioning the points of your pencils. For drawing, pencils are ideally sharpened to reveal a good length of lead, unlike the uniform point produced by a pencil sharpener. Keep the blade at an acute angle to the pencil, and always sharpen the pencil away from your body. Soft pencils such as 2B or 6B require regular sharpening, maybe several times in the course of drawing a single picture. A pencil sharpener can be handy for repeatedly honing a point for detailed work.
HANDY HINT
Some pencil sharpeners come within a capsule that collects the shavings. These help you to avoid littering when youre drawing on location.
DRAWING TECHNIQUES
INTRODUCTION
To the novice or developing artist, the dazzling array of materials in an art shop can be quite bewildering. There is a common misconception that spending a lot of money aids artistic development, but in fact quite the opposite is true. Expensive materials only inhibit the freedom to make mistakes and mistakes are essential to the processes of learning and developing a creative outlook.

