Legend relates that as a boy, Leonardo da Vinci would lie on the Florentine hillsides and for long periods watch the birds riding the thermals of warm air that rose from the slopes, mesmerized by their effortless grace.
The modern-day equivalent of Leonardos fascination would be to watch a glider wheel silently around the skies. Sadly, few of us will have the opportunity to pilot a real glider, but we can all make and pilot paper versions and experience those unforgettable moments of innocent escapism for ourselves as we watch our craft soar through the air, held aloft as if by magic.
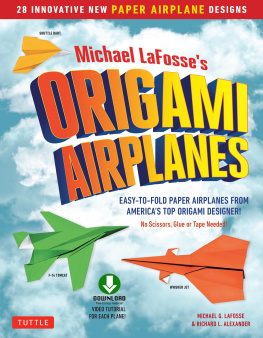
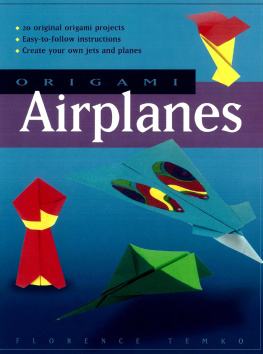
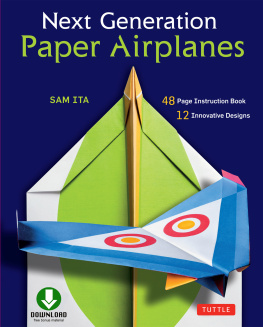
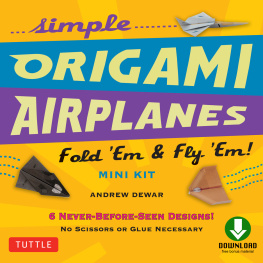
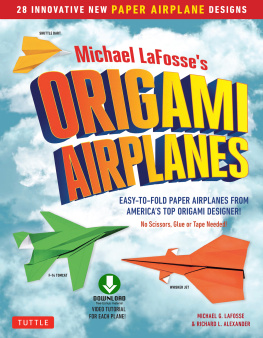
This book offers a selection of simple paper planes. Basic flyers are not only easier to make and to remember than complex ones, but they generally perform better too. All the designs have been selected because they feature one particular aspect of paper plane design, such as being very wide or very narrow, great for flying outdoors, a strange shape, having an unconventional launch or being particularly acrobatic. Unusually, all the crafts are made from squares of paper, not from rectangles.
Every design will fly superbly... but not perhaps the first time... or even the second time! In truth, many planes will crash on their maiden flights and will need trimming correctly to fly well. A good flyer is a combination of careful folding and good science, so please read the Read This! chapter, which follows, for tips and tricks for making all your planes fly really... REALLY... well!
May all your skies be blue and your landings true.
Read This!
Paper planes are not just folded paper toys. They are science toys. For a plane to fly successfully, it must be folded well and trimmed correctly. This chapter shows you how to fold and trim your crafts so that every plane you make will fly superbly.
Folding
Here are some tips for folding your planes accurately to achieve an optimum performance.
Setting Up
Find a quiet place to work. Turn off any distracting computers, TVs and phones. Put out the cat.
Organize a working area with a hard, flat surface to fold on, such as a table. A large hardback book will also work well. Do not fold on a carpet, rug or tablecloth.
Lighting is important. If the light source is directly over your working area, you wont see any shadows on your paper and it will be difficult to fold accurately. Change the light source to the front or side by moving curtains, ceiling lights and table lamps, until the lighting is comfortable and shadows fall across your paper. If changing the light source is difficult, simply move your place of work.
Folding Tips
Fold slowly. Ask yourself, Am I folding as accurately as I can?
Be careful to follow every step in the instructions and to read everything. If you become stuck, unfold your paper to a step you know is correct, then try again. If you cant understand what to do, occupy yourself with something else for a while, then try again later. Its amazing how this can help!
The instructions on one step make a paper shape look like the next step. So always look ahead to see the result of what each step asks you to do.
Think of your first attempt at folding a paper plane as a rehearsal. Fold it the first time to understand how it is made, and then make it again, but this time as well as possible.
Try to fold without scrunching the paper. It is crucial to fold as neatly as possible so that the plane will cut through the air cleanly.
Trimming
Making a paper plane well is one thing; flying it well is quite another. So, if your planes are refusing to perform to your satisfaction, please read this section carefully.
When Is a Paper Plane Actually Flying?
Fold a paper plane from a square of paper. Launch it. Count how many seconds it flies and measure how far it flies. Now, screw up an identical square of paper into a ball. Throw the screwed-up ball with the same force and at the same angle as the plane was launched. If the paper plane outperformed the ball, it was flying! The more it outperformed the ball, the better it was flying.
The technique of maximizing the performance of your plane against the performance of a paper ball is the science of trimming. There are four basic ways to trim a plane, explained below.
The Four Ways to Trim a Plane
1. Adjusting how the plane is held for launch
Hold a plane loosely between your thumb and first finger, as though to launch it. Slide your grip up and down the fuselage until the plane tips neither forwards nor backwards but balances nicely in your hand. This is the planes center of gravity, often called the CG.
Try launching a plane by holding it exactly at the CG, or holding forwards of that point, or behind. The plane will launch into the air differently each time, depending on where it is held. Experiment with your plane to find the best launch position.
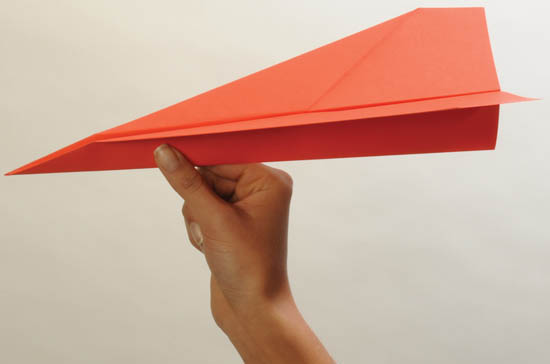
Holding in front of the CG
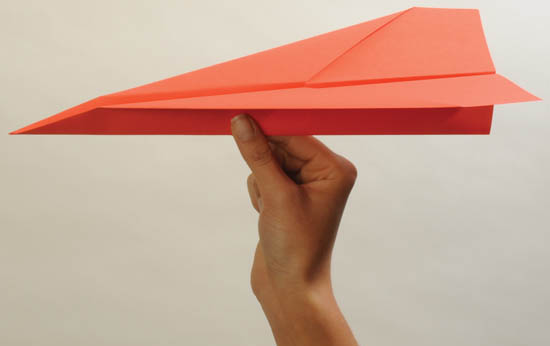
Holding at the CG
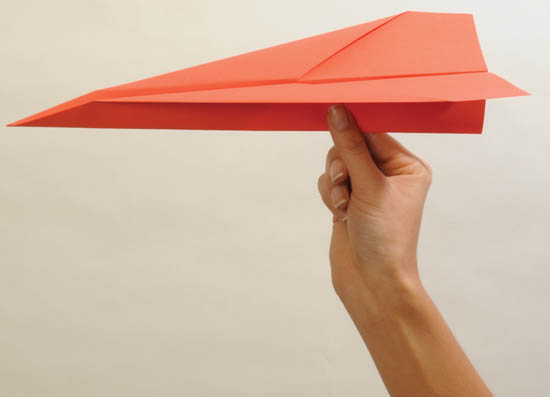
Holding behind the CG
2. Adjusting the speed and angle of launch
Try launching your plane at different speeds and at different angles. Some planes can be thrown as hard as possible, whereas others require a gentler launch. Some planes can be launched high into the sky, whereas others must be launched horizontally or just a little above the horizontal. Planes will sometimes perform spectacular acrobatics if thrown downwards with some force.

