How to Tile a Bathroom:
Your Comprehensive Step-By-Step-Guide
Amanda Smith
Content copyright 2013 Amanda Smith. All rights reserved.
This publication contains material protected under International and Federal Copyright laws and treaties. Any unauthorized reprint or use of this material is prohibited.
No part of this book may be reproduced or transmitted in any form without written permission from the author, except in the manner of brief quotations embodied in critical articles and reviews. Please respect the author and the law and do not participate in or encourage piracy of copyrighted materials.
eBooks by Amanda Smith
Bathroom Decorating Ideas for the Perfect Bathroom Design
Bathroom Remodeling Tips for Success & Common Mistakes to Avoid
How to Tile a Bathroom: Your Comprehensive Step-by-Step Guide
Contents
Introduction
F irstly, a special thanks to you for purchasing this book. My only hope is that I have succeeded in providing you with the answers to all of your questions, and that you won't need to turn to any other source for further help regarding your bathroom tiling project.
The chapters are laid out in a logical sequence that is typical of a complete bathroom tiling project, from beginning to end. Step-by-step instructions are included along with images to help give a better visual understanding of the task.
Before you commence with any of the tasks, make sure that you carefully read through the steps and have all the required items ready. I have chosen to include lists where necessary that will make following instructions a lot easier for you.
Without further ado, let your bathroom tiling project begin!
Best of luck!
Amanda
Chapter 1
Planning Your Bathroom Tiling Project
T aking a look at your bathroom floor as it is now, you will either see:
- Cement floors, because you have not yet considered your bathroom's flooring.
- Cracked and broken tiles that you wish to replace yourself.
- Vinyl flooring that you wish to replace with ceramic tiles.
- A tile design that is outdated, and you wish to redecorate.
In all of these cases, before you do anything you will need to decide which tiles you want to feature on your new floor. Which tiles you choose will be entirely up to you, but your choice should ultimately be based on the decor plan you have prepared for your bathroom.
If you are happy with the rest of your bathroom's decor, choose tiles that suit your existing color scheme and decor theme.

The tiles you choose should ultimately suit your bathroom's style
1. They must be 'non-slip'. The retailer you choose to purchase your tiles from will be able to show you their range of non-slip tiles, designed specifically for use in bathrooms.
2. Choose tiles that will suit the decor plan you have for your bathroom. Remember that tile size has a decorative purpose too.
3. Considering that you will be doing the labor yourself, you will be saving money that you would have spent on a contractor. This can rather be put towards purchasing quality durable tiles. Once you have decided which home improvement store to deal with (one that can be trusted) let them show you their bathroom tile range. The best way to determine the quality of a specific tile is to compare its price to the prices of other tiles.
You won't want to purchase the cheapest, because as you know there's always a reason for products being cheap; it often means their construction is of less quality. Most tiles that cost a bit more are also usually backed by some form of guarantee. Those priced between the lowest and the highest - middle of the range - should serve you well.

A good reason to replace your bathroom tiles!
Chapter 2
Removing Your Existing Bathroom Tiles
B efore you continue, know that laying ceramic tiles directly onto a wooden floor or a prefabricated floor is a bit more complicated than laying tiles onto a cement floor. However, it can be done and this will be discussed in the following chapter. In the case of wooden or prefabricated floors, you may also want to consider vinyl, which is certainly the easier option.

Vinyl is durable, easy to clean, and easy to install
If you have never used flooring in your bathroom, and your bathroom floor is at present only cement, you can skip through this chapter.
In order to remove ceramic tiles from your bathroom floor, you will need the following:
- Protective eye-gear.
- A bandana or mask to cover your mouth, preventing dust from entering your lungs.
- Rubber gloves.
- A chisel and a hammer.
- A grout saw (looks like a paint scraper but has a diamond shaped head).
- A sledge-hammer.
- An old towel.
- A hand-scraper. If you have the funds you could rent a power-scraper.
- A dustpan and brush.
- A vacuum cleaner.
- A pry bar.
- A flashlight.
- An all purpose liquid soap.
- A scrubbing brush.
- A sponge.
- A dry mop.

Getting ready!
Steps to remove your old tiles:
Step 1:
Put on your protective eye-gear, rubber gloves and bandana or mask.
Step 2:
Begin by removing the grout between your tiles with your grout saw, chisel, and hammer. Removing your grout first makes it easier for you to remove one tile at a time. Remember to sweep up all broken pieces of grout with your dustpan and brush as you go along.
Step 3:
Once you have removed your grout as best you can, cover your tiles with your old towel. Use your sledge hammer and strike a few blows to the centers of each of your tiles to loosen them and break them up. The towel should prevent tile pieces from scattering around the room.
Step 4:
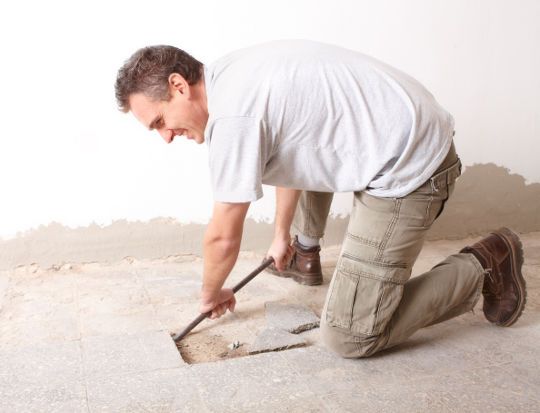
Use your chisel and hammer to knock your tiles away from your cement floor. Keep your chisel as straight as possible (roughly a 140 degree angle); preventing yourself from making holes in your cement. For stubborn tiles, you may have to resort to using your pry bar.

Its hard work, but so is a workout at the gym!
Step 5:
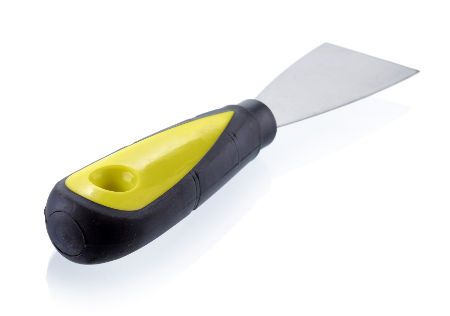
Once all of your tiles have been lifted, use your hand-scraper or power-scraper to level the surface of your cement floor.

Use your metal hand-scraper to remove unwanted mortar or tile adhesive
If you have wooden or prefabricated floors you may discover mesh or backer board underneath your tiles. Backer board is used to strengthen the surface area upon which tiles are laid. Therefore, it is commonly used on wooden flooring and prefabricated flooring. It may be glued to your floor or attached with nails, tacks or screws.


