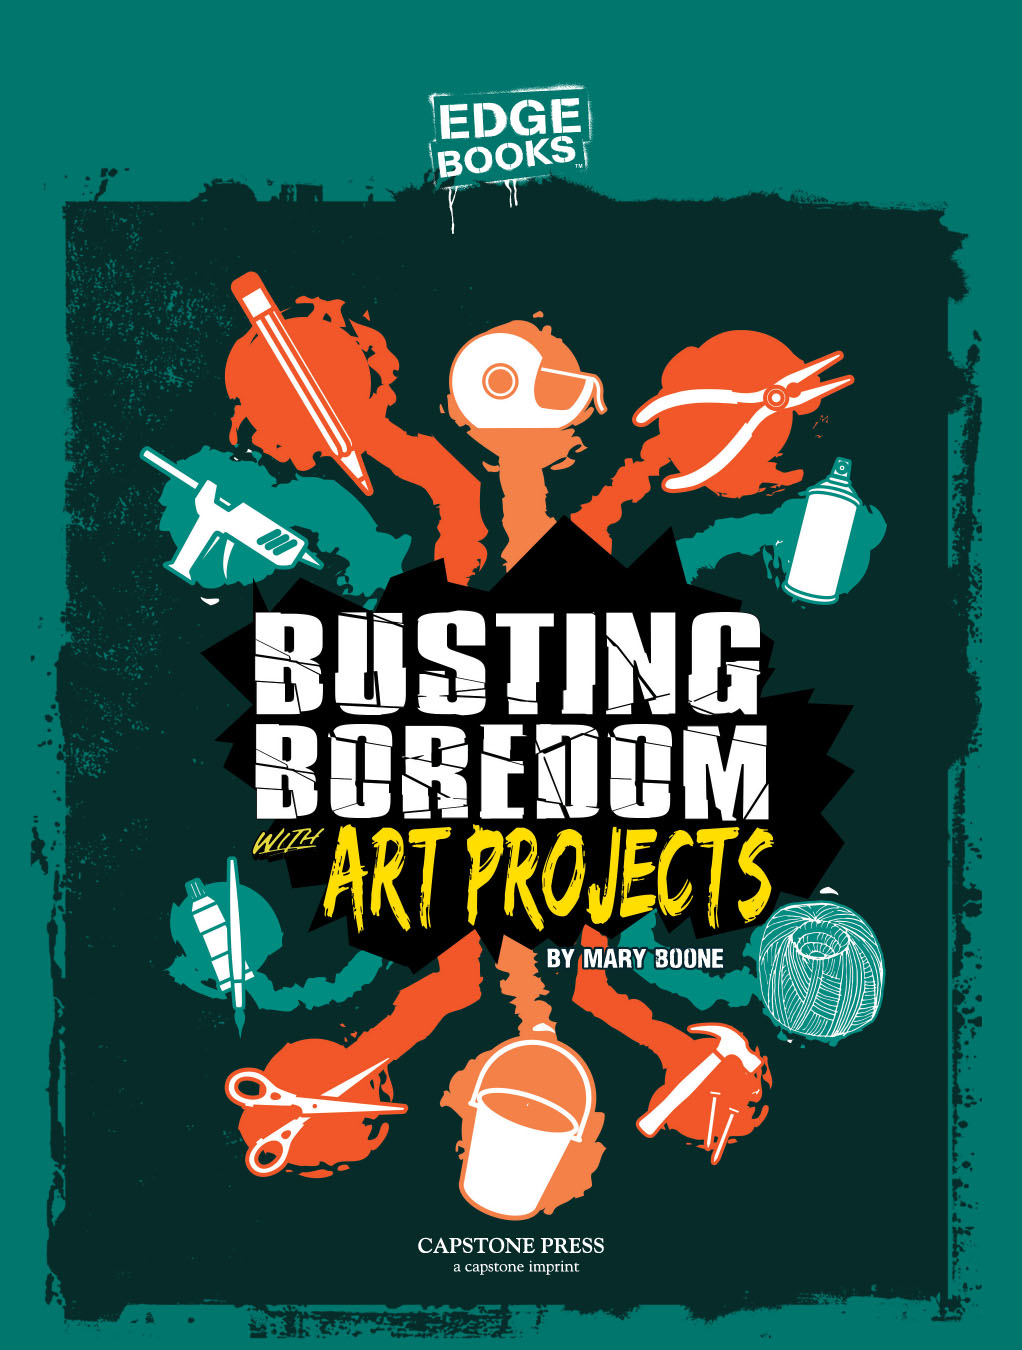
Mary Boone - Busting Boredom with Art Projects
Here you can read online Mary Boone - Busting Boredom with Art Projects full text of the book (entire story) in english for free. Download pdf and epub, get meaning, cover and reviews about this ebook. year: 2017, publisher: Capstone, genre: Children. Description of the work, (preface) as well as reviews are available. Best literature library LitArk.com created for fans of good reading and offers a wide selection of genres:
Romance novel
Science fiction
Adventure
Detective
Science
History
Home and family
Prose
Art
Politics
Computer
Non-fiction
Religion
Business
Children
Humor
Choose a favorite category and find really read worthwhile books. Enjoy immersion in the world of imagination, feel the emotions of the characters or learn something new for yourself, make an fascinating discovery.

- Book:Busting Boredom with Art Projects
- Author:
- Publisher:Capstone
- Genre:
- Year:2017
- Rating:5 / 5
- Favourites:Add to favourites
- Your mark:
Busting Boredom with Art Projects: summary, description and annotation
We offer to read an annotation, description, summary or preface (depends on what the author of the book "Busting Boredom with Art Projects" wrote himself). If you haven't found the necessary information about the book — write in the comments, we will try to find it.
Mary Boone: author's other books
Who wrote Busting Boredom with Art Projects? Find out the surname, the name of the author of the book and a list of all author's works by series.


Busting Boredom with Art Projects — read online for free the complete book (whole text) full work
Below is the text of the book, divided by pages. System saving the place of the last page read, allows you to conveniently read the book "Busting Boredom with Art Projects" online for free, without having to search again every time where you left off. Put a bookmark, and you can go to the page where you finished reading at any time.
Font size:
Interval:
Bookmark:

Are you tired of playing the same old games after school? No plans on Saturday? Youve come to the right place! Dont throw away that empty tin cantransform it into a mini clock. Dont know what to do with an old T-shirt? Turn it into a pillow. Express your creativity with easy-to-make arts and crafts projects, and you wont have time to be bored. Whatever you do, dont just sit there. Gather supplies, and start crafting.
You will find the process of creating is both fun and rewarding. Let your personality shine through. Choose colors, patterns, and designs that speak to you. Use the material suggestions as a guideline, but dont be afraid to try something different. Let your imagination and creativity bust your boredom. Consider giving your finished products as gifts or selling some of your creations.
Some of these crafts will require adult supervision, while others youll be able to tackle on your own. Before you begin any project, make sure you have all the required tools and materials, and carefully read all the way through the instructions.
Dont limit yourself to the projects in this book. Search through magazines and the Internet for photos of crafts you like and try to re-create them.

Cooler than a plastic pink flamingo, a homemade stepping stone is a great way to personalize your yard. They also make great gifts for family members who love to garden. Craft stores often sell stepping stone kits, but they can be expensive. You can make this project for much less by purchasing supplies at a hardware store. And you can use whatever decorations you want. Are you ready to get your hands dirty? Dig in!
- old cloth or sheet of plastic
- large, plastic plant saucer
- nonstick cooking spray
- protective eyewear
- face mask
- fast-setting concrete mix or fast-setting mortar mix
- bucket
- wooden spoon
- water
- rubber gloves
- , such as glass gems, sea glass, shells, or small tiles
- plastic trash bag
- spray bottle filled with water
- cutting board
- Protect your work surface by covering it with an old cloth or sheet of plastic. Because its messy, you may want to do this project outside.
- The plastic plant saucer is the stone mold. Lightly coat the saucer with nonstick cooking spray.
- Put on protective eyewear and the face mask. With an adults help, mix concrete or mortar mix in the bucket according to the directions on the packaging. Stir in water a little at a time, according to the directions.
- With rubber gloves on, use your hands to scoop the concrete mixture into the plant saucer mold. Use your hands or the mixing spoon to level the surface of the concrete.
- Pick up the filled mold and gently drop it from 3 inches (7.5 centimeters) high onto a hard, flat surface, such as the sidewalk or driveway. Do this several times to level the concrete and release trapped air bubbles.
- Once the surface of the stepping stone is leveled, you can begin to add embellishments. You can place the decorations randomly or create a pattern. Press the embellishments gently onto the surface of the stepping stone.
- Loosely cover your completed project with a plastic trash bag. For the next two days, lift the plastic bag and lightly spray with water once per day.
- Let the stepping stone harden for three to four days before removing it from the mold. When it is time to remove the stone from the mold, place a cutting board on top of your mold. Flip the mold over, onto the board. The mold should lift off with ease.
- After the stepping stone is released from the mold, let it for at least a week before placing it in your yard or walking on it.
Do not wash concrete or mortar products down the sink. To clean your bucket and gloves, wipe them with damp paper towels.
Concrete and mortar dust can be hazardous if inhaled. Once mixed, cement can cause burns if it comes into contact with your skin. When working with concrete, protect yourself with eyeglasses or safety glasses, rubber gloves, and a face mask.
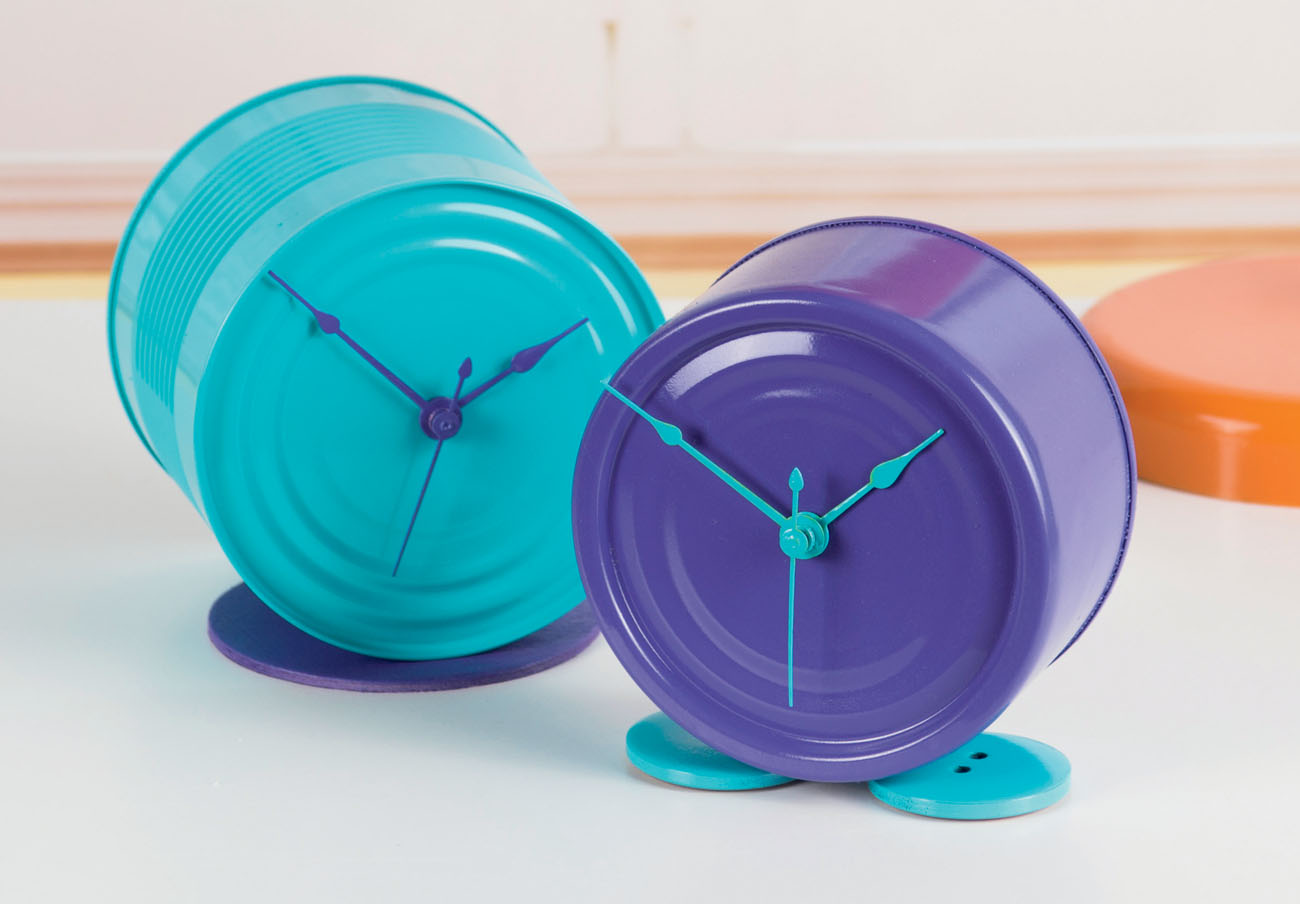
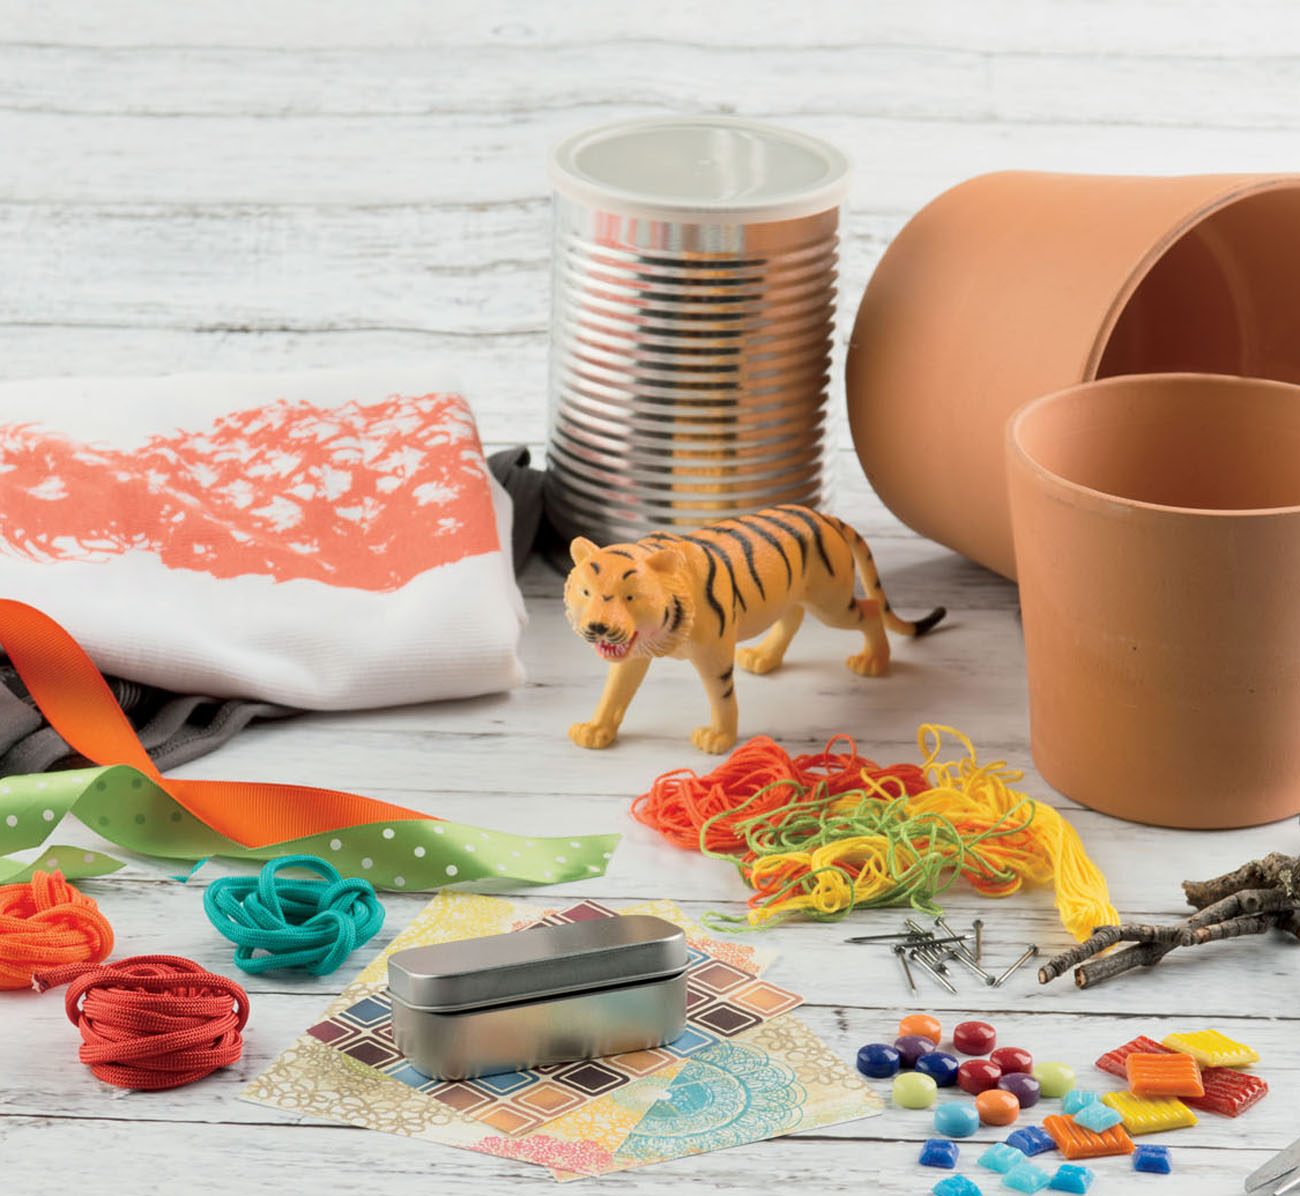
Are you always late? Want to add some pizazz to your bedroom? This clock can be personalized to fit your unique style. Paint the clock your favorite color or your favorite teams colors, add the hands, and get ready to have a great time!
- empty tin can, at least 4 inches (10 cm) in diameter
- water
- permanent marker
- hammer
- large nail
- fine sandpaper
- paper towels or soft cloths
- 2 buttons, 1 inch (2.5 cm) in diameter or more
- low VOC glue or hot glue gun and glue sticks
- newspapers
- spray paint, any color you choose
- small craft clock kit and batteries
- Remove the cans label, and clean the can thoroughly.
- Fill the can full with water. Freeze overnight or until solid. The ice stabilizes the can and prevents it from bending when holes are punched in it later.
- Using the marker, mark the center of the base of the tin can. Use the hammer and nail to make a hole on this spot. The hole should be about inch (1 cm) in diameter.
- After the ice melts, lightly sand the outside of the can. Wipe with a paper towel or cloth, and allow the can to dry completely.
- With an adults help, use low VOC glue or a hot glue gun to fasten the 2 buttons to the can. These discs will serve as feet, allowing your clock to stand without rolling. Let the glue dry.
- Place the can in a well-ventilated area. Cover your work surface with newspapers, and paint the can with the spray paint. When the first coat is dry, apply a second coat of paint. Allow the can to dry completely.
- Follow the directions on the clock kit to install within the can.
- Insert the battery, set the time, and never be late again!
Paint in a well-ventilated area. Ideally temperatures should be between 50 and 90 degrees Fahrenheit (10 to 32 degrees Celsius). Read the label on the paint to determine how long you should wait before applying a second coat. Different brands and finishes require different drying times. Wait the recommended time before moving the project from the work area.
Hot glue guns are great for crafting, but they should only be used with adult supervision. Here are some important safety tips you should always follow:
- Do not touch the hot nozzle or hot glue when working with the glue gun.
- When youre not using your glue gun, unplug it.
- When you need to set down a hot glue gun, prop it on its metal rack.
- Read safety precautions provided by the glue gun manufacturer.
Font size:
Interval:
Bookmark:
Similar books «Busting Boredom with Art Projects»
Look at similar books to Busting Boredom with Art Projects. We have selected literature similar in name and meaning in the hope of providing readers with more options to find new, interesting, not yet read works.
Discussion, reviews of the book Busting Boredom with Art Projects and just readers' own opinions. Leave your comments, write what you think about the work, its meaning or the main characters. Specify what exactly you liked and what you didn't like, and why you think so.