TIME TO DISCOVER
Its a rainy day. School is out for the week. Your sports team is done for the season. Youre fresh out of ideas on something to do for fun. Look no further! Have you ever heard of . Perhaps these scientists thought up their ideas when they were bored.
Now its your turn. Maybe youll accidentally invent something in the process. Gather some supplies and household itemsyoure about to bust some boredom with experiments. After all, you could be the next great scientist!
SAFETY FIRST
Some of these experiments will require adult supervision, while others youll be able to tackle on your own. Before you begin any project, make sure you have all the required tools and materials, and carefully read all the way through the instructions.
THE SCIENTIFIC METHOD
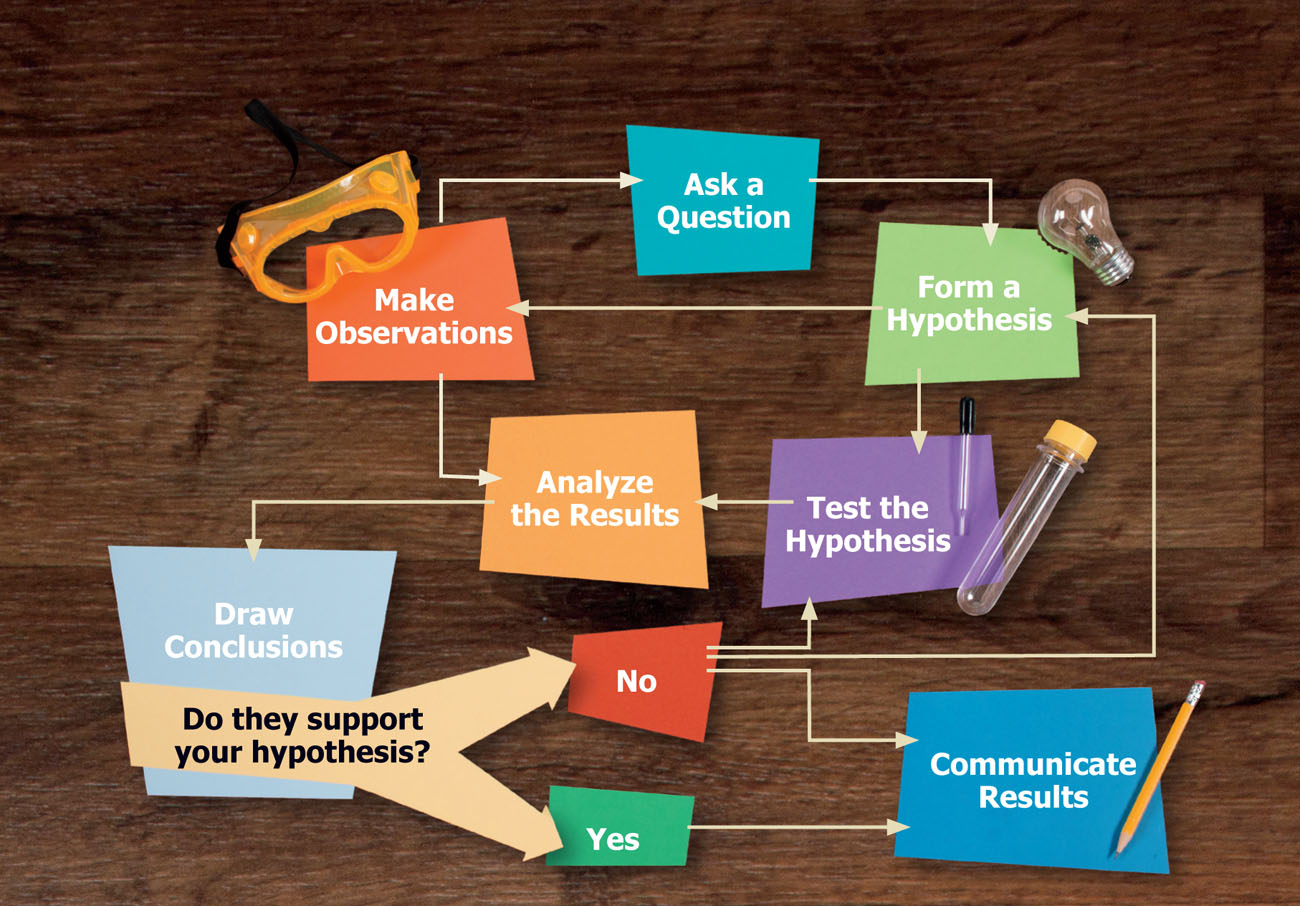
The scientific method is a set of steps that scientists use to guide them when doing an experiment. It is an organized way to answer questions about how things work in the universe. It contains these basic ideas:
- Question: Make an observation or ask a question
- : Create an educated guess about why you think something is happening
- Experiment: Conduct an experiment to test your hypothesis
- Results: Collect and record the from the experiment
- Conclusion: Analyze your results to see if your hypothesis was correct or incorrect
CRA-ACK! LIGHTNING IN A BOTTLE
Have you ever wondered how a lightning bolt occurs? The .
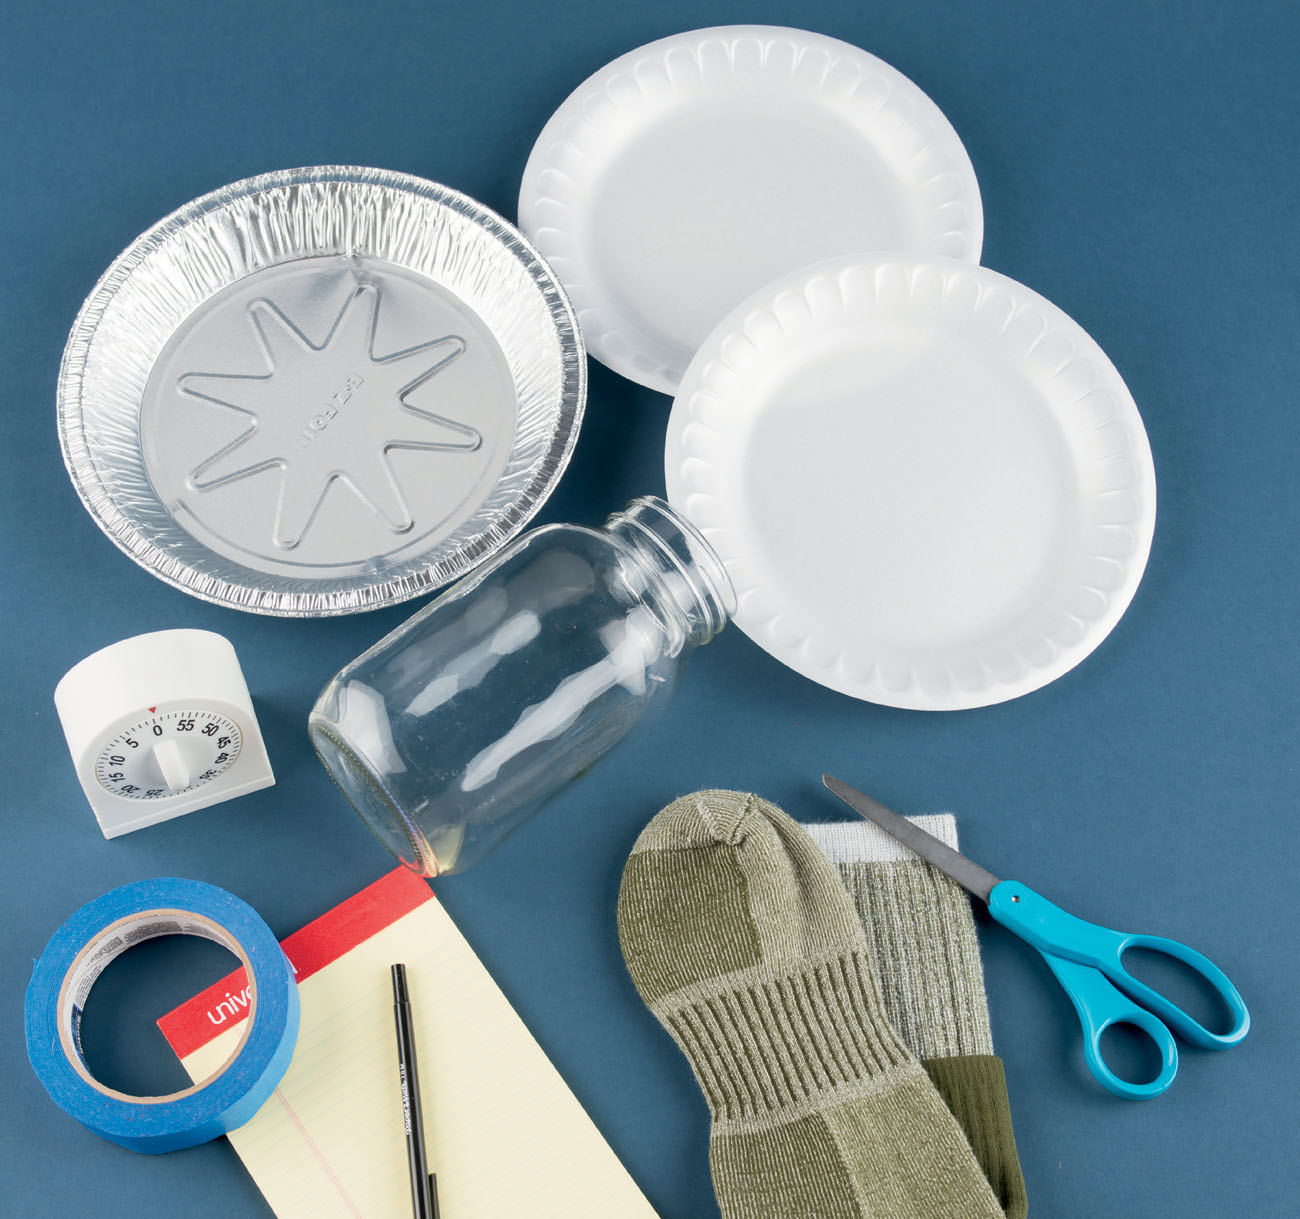
MATERIALS
- scissors
- 2 Styrofoam plates
- aluminum pie pan
- masking tape
- glass jar
- timer or stopwatch
- wool sock or cloth
- pen and paper
STEPS
- Cut a 4-inch (10-centimeter) strip of Styrofoam out of one plate.
- Attach the strip of Styrofoam to the back of the pie pan with masking tape. This is your handle to move the pie pan.
- Place the glass jar on a table, with the opening facing up.
- Rub the other Styrofoam plate across the top of your head for two minutes.
- Put the Styrofoam plate on the table.
- Using the handle, pick up the pie pan and set it on top of the Styrofoam plate. Let it sit for 15 seconds.
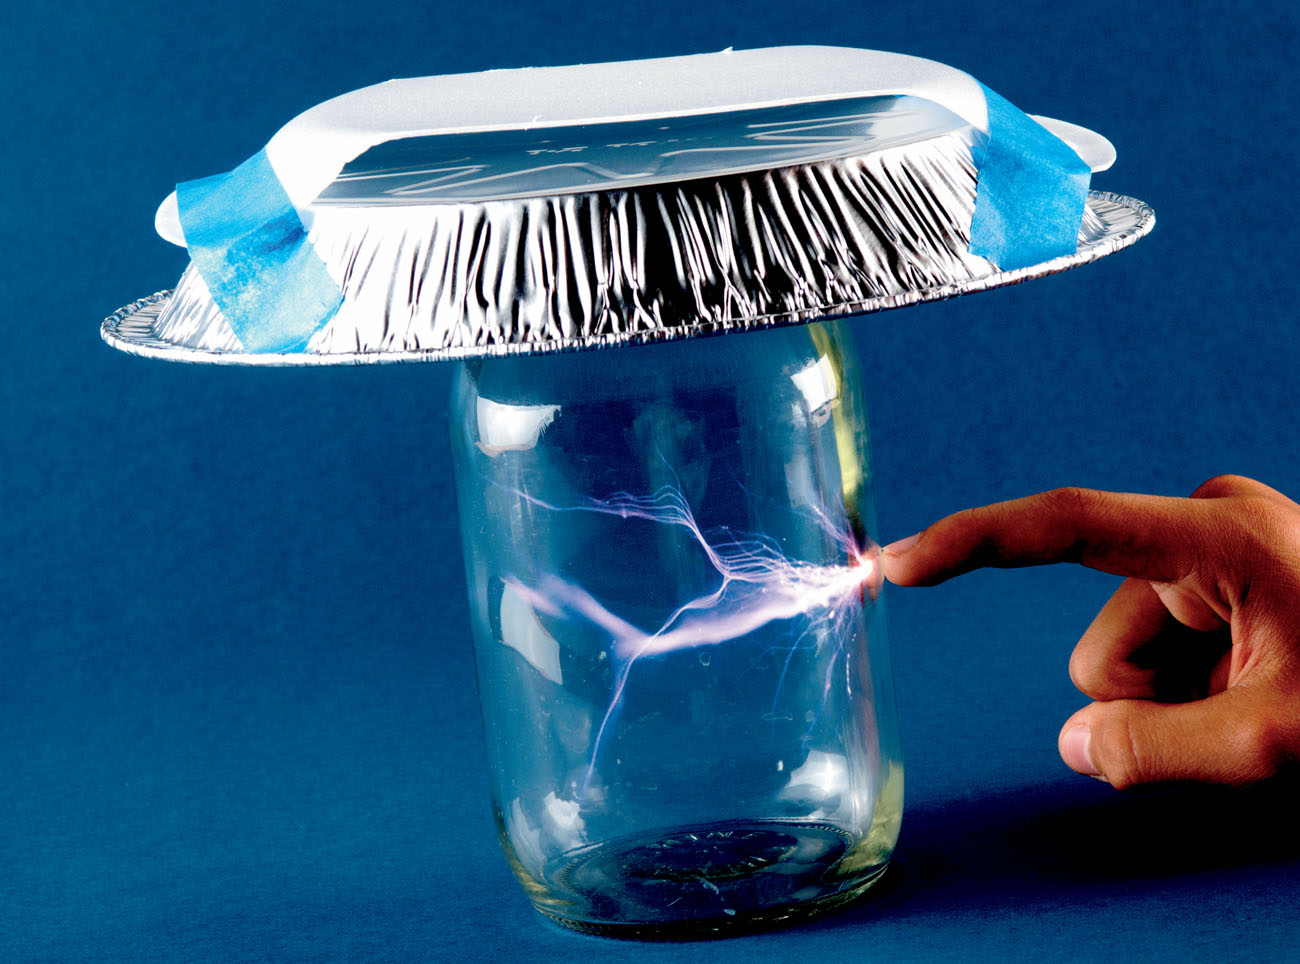
- Using the handle again, pick up the pie pan and place it on top of the jar.
- Take one finger and touch the outside of the jar. You should see a tiny lightning bolt. Did you feel a tiny jolt?
- Try this experiment again. This time rub the styrofoam plate across a wool sock instead of your hair.
- Hypothesize and try different materials to see how many lightning bolts you can create.
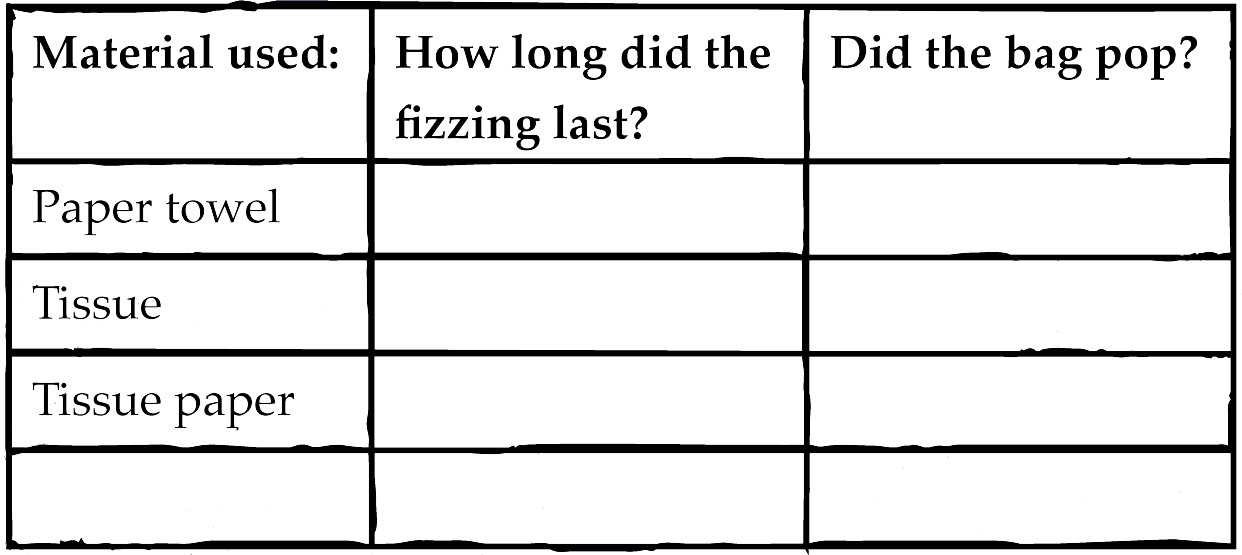
- Record your results in a table, similar to the one below.
KABOOM! GAS LEAK IN A BAG
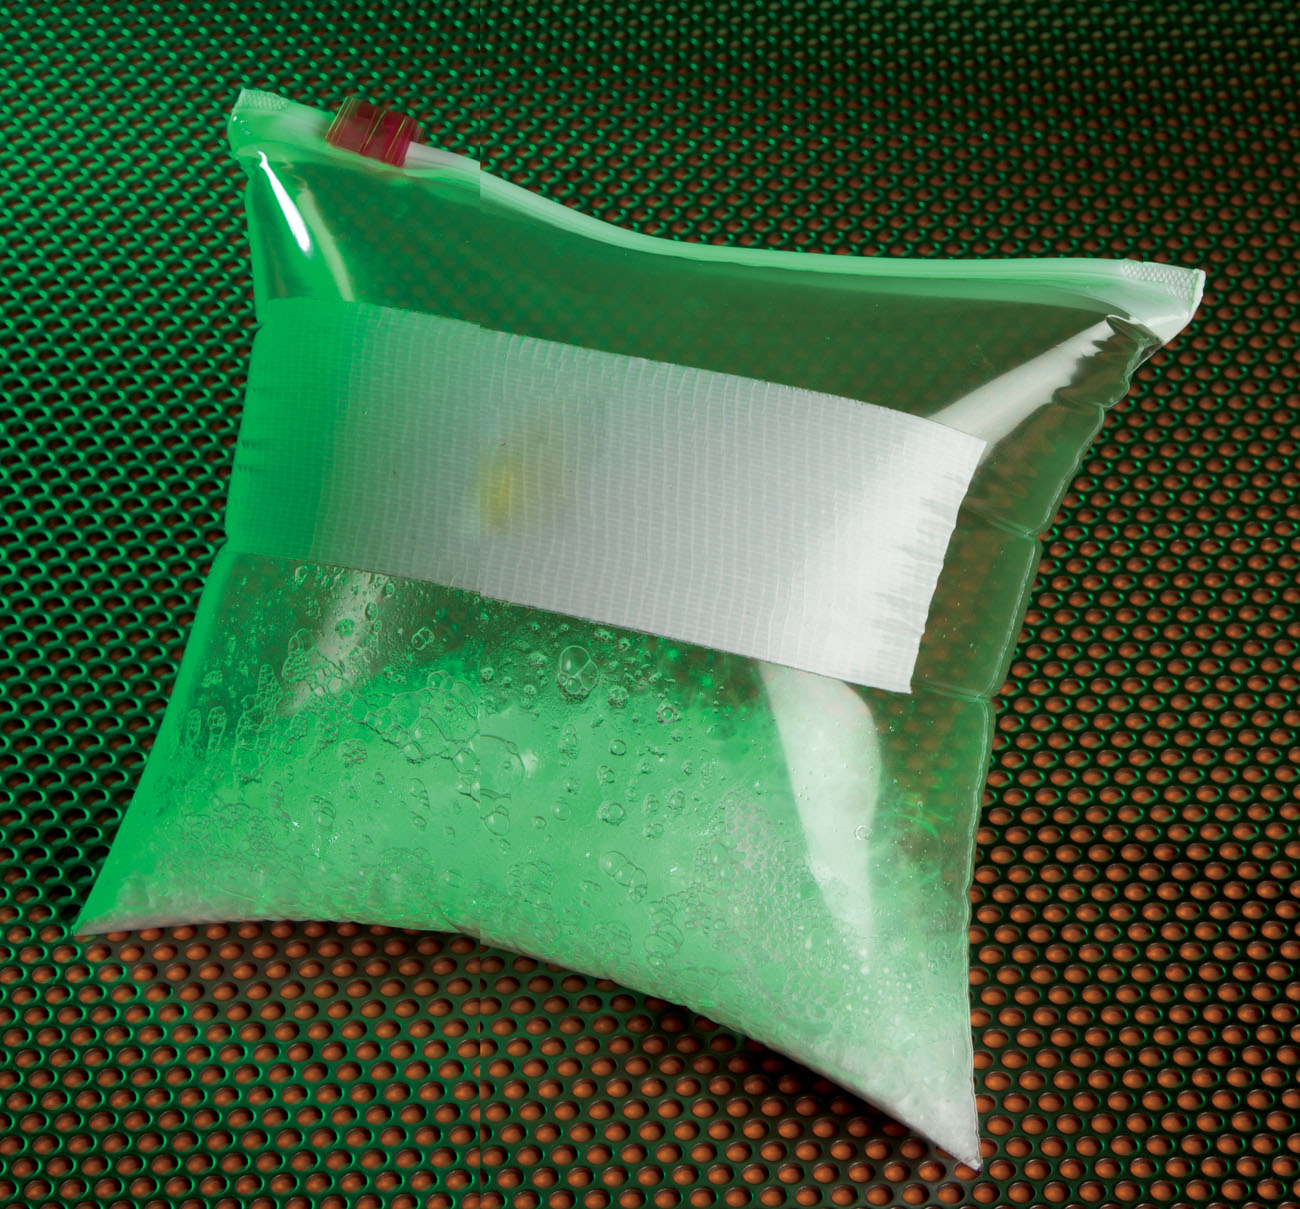
Why does gas explode? A gas explosion happens when the pressure, or stored energy, builds up within an object or substance. The gas pushes out on the sides of the object until bang! Try this simple experiment to expand your view on gases.
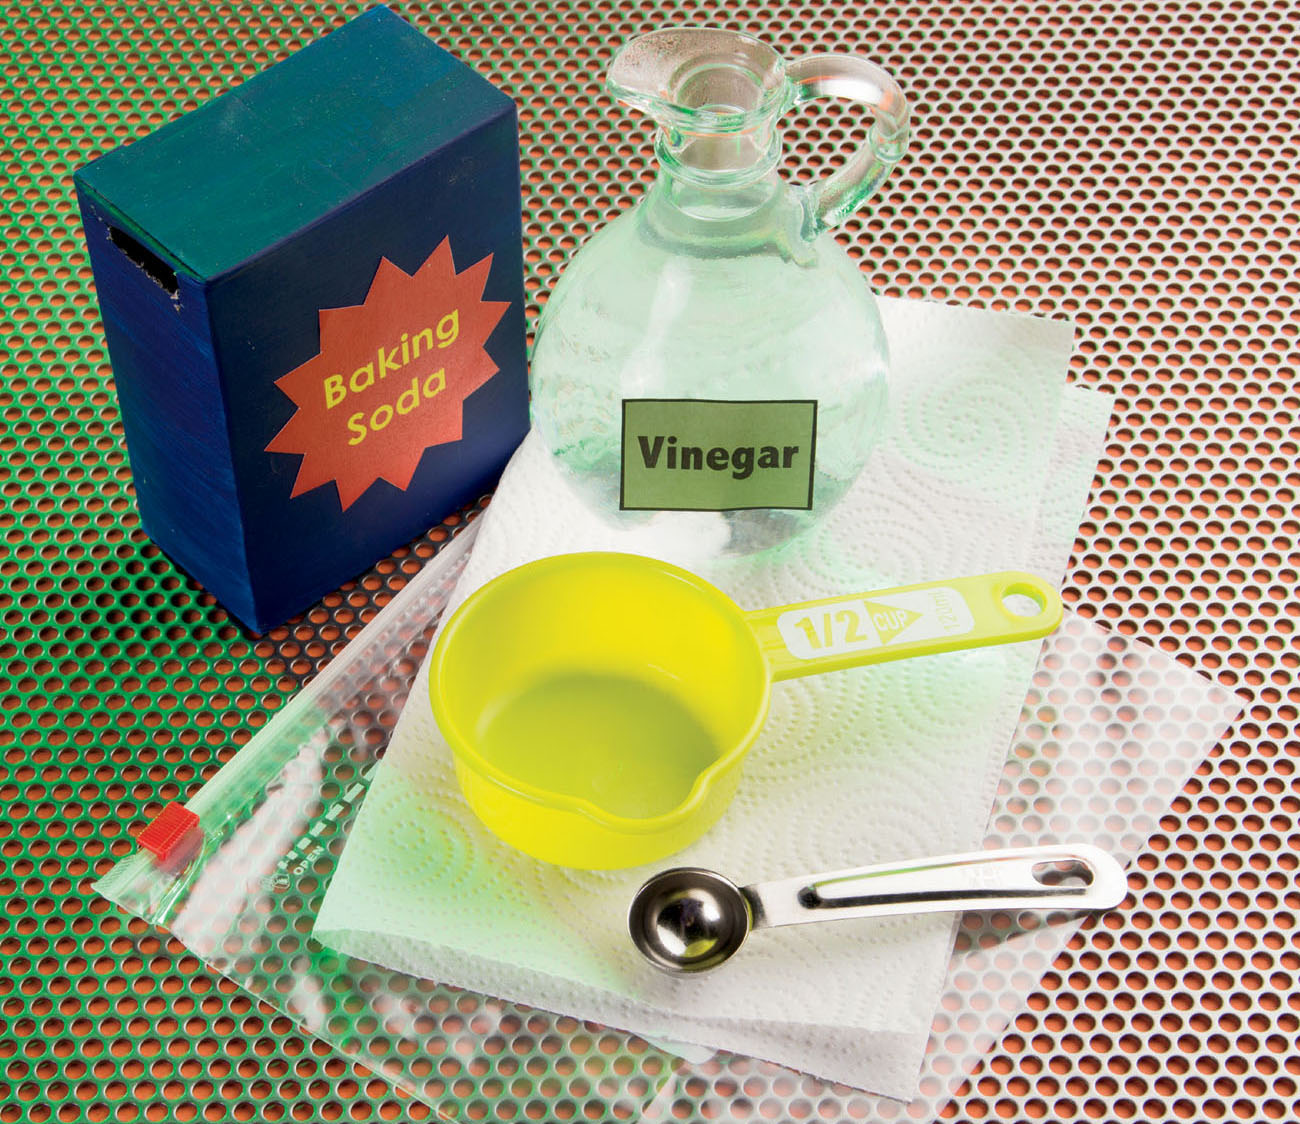
MATERIALS
- 1 zippered plastic bag, sandwich size or larger
- water
- measuring cup
- vinegar
- 1 square of paper towel or a tissue
- measuring spoon
- baking soda
STEPS
- Test the plastic bag by filling it with water. Seal the bag and turn it upside down over a sink or outdoors. Make sure there are no holes or leaks in the bag.
- Dump the water out of the bag.
- Using the measuring cup, pour cup (120 milliliters) of vinegar into the plastic bag. Zip the bag shut.
- Lay the paper towel square or tissue on a flat surface.
- Use the measuring spoon to measure 4 teaspoons of baking soda. Place the baking soda on the paper towel or tissue.
- Wrap the sides of the paper towel or tissue around the baking soda to make a small packet.
- Open the plastic bag and drop the package of baking soda into it. Quickly zip the bag shut.
- Shake the bag, and set the bag down in the sink or on the ground outdoors. What happens to the bag?
TIP:
Ask an adult to supervise. This experiment can be messy, so do this in a bathtub, sink, or outdoors.
GIVE THIS A TRY:
Come up with ways to try this experiment differently. Consider changing the amount of vinegar or the type of paper to make the packet. Create a table such as the one below to record your data.
SUPER STRAW
Kitchens are fantastic places to test science experiments. And straws are great for more than just slurping your favorite drink. Is a straw strong enough to pick up a piece of fruit? Get ready to flex your muscles in this test to find out!
MATERIALS
- pear
- plastic straw
- eraser from a pencil
- orange, lemon, apple, banana, potato, or pepper (optional)
STEPS
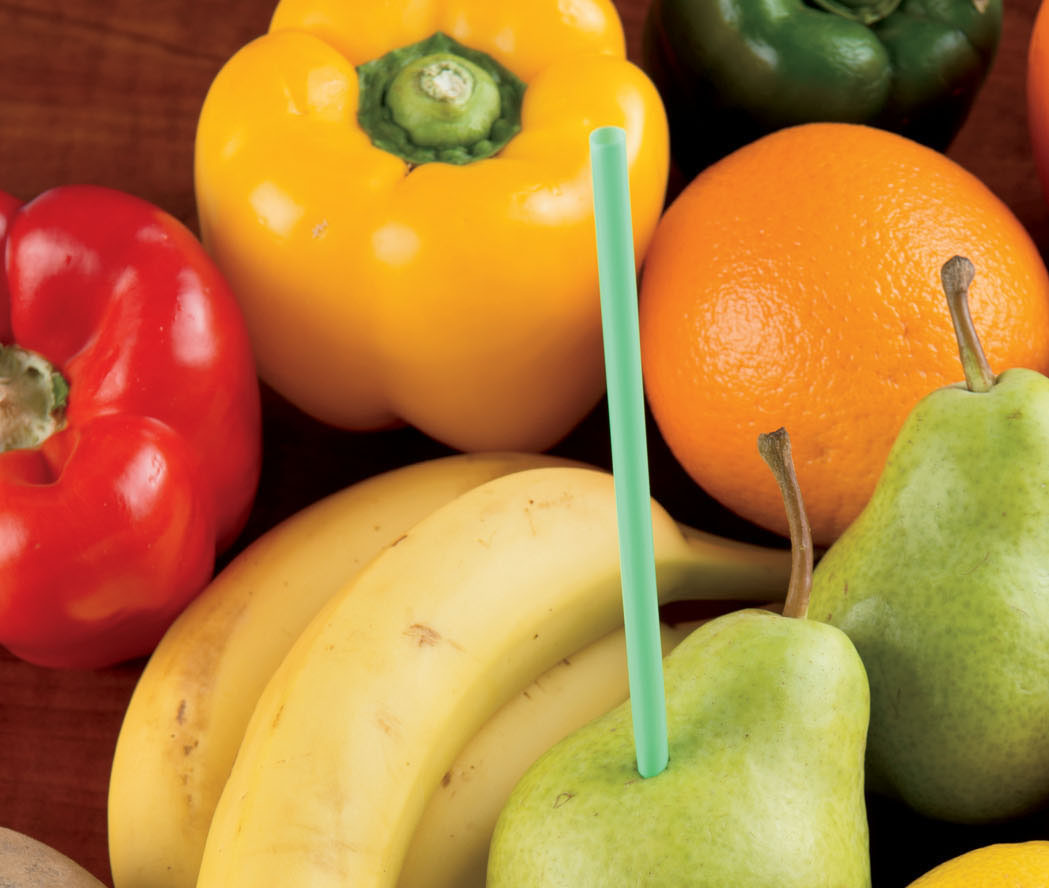
- Hold the pear in one hand and the plastic straw in the other hand.
- Try to insert the straw into the pear. What happens? You may have made a small dent in the pear, but did the straw go into the fruit easily?
- Repeat steps 12, but this time hold your thumb over the top of the straw. What happens? Were you able to get the straw to stick into the pear and stay by itself?
- Place the eraser in the tip of the straw.
- Repeat steps 12. Did the straw go into the pear easier or harder?
The end of the straw has a very small surface area. This means the force you apply to the straw is only in a small area. If you tried this with a similar sized object, such as an eraser tip inside the straw, the force would be spread over a larger area. This would be much harder to push into the pear. The key is to push the straw into the fruit quickly. This produces a greater force than if you slowly twist the straw into the fruit.
GIVE THIS A TRY:
Repeat the experiment with an orange, lemon, banana, potato, or a pepper. See how deep you can drive the straw based on the thickness of the foods skin. Consider whether the inside of the fruit or vegetable is solid or filled with air.

