Contents
DRAGONART BASICS FOR BEGINNERS
J NEONDRAGON PEFFER
Introduction
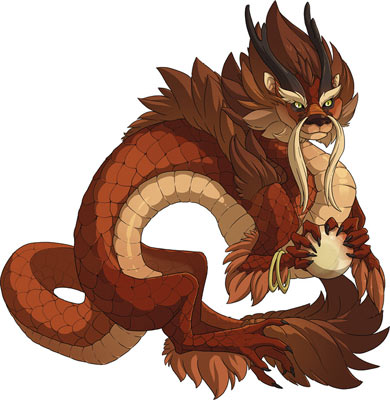
If youve purchased this book, chances are good that youre a fan of fantasy, myth and dragons. I must commend you on your most excellent taste! Inside you will find step-by-step demonstrations, breakdowns on pieces of anatomy, color theory and illustrations of ways that one could visualize these creatures of myth and magic.
I hope that you use these demonstrations as sources of inspiration and foundations for drawing and designing dragons. By no means let whats sandwiched between these pages limit your imagination or the many, many ways that you can design your own unique dragons!
How to Use This Book
If youre familiar with my other books, youre well aware of how things work. But for the uninitiated, I offer this advice for working through the exercises. Following along with the demonstrations will help you draw several different, truly extraordinary creatures. Dont be discouraged if your first efforts dont look exactly as you planned. Everything comes with practice. The more you draw, the better youll get. Through sheer repetition, your drawings will improve and your own personal style will emerge. If each drawing you make looks a little bit better than the previous one, youre getting somewhere.
So sharpen your pencils, find your softest eraser, prepare your trusty inking pen, and lets go!
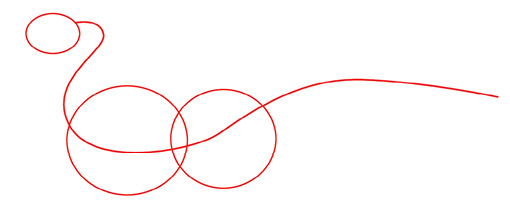
STEP 1
Begin with a simple line of motion. Indicate the head, chest and hips with bubble shapes.
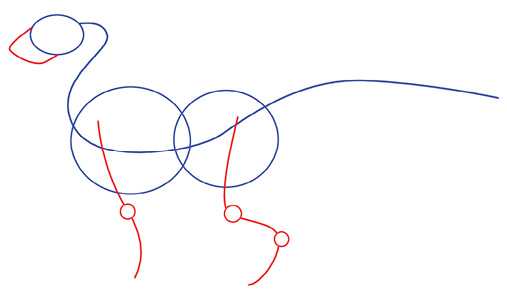
STEP 2
Add a snout to the head bubble. Place the legs under your dragon. If his legs sway too much to one side or the other, it will look like hes about to fall over.
Dragon Basic Shapes
First things first. Before you can dive into drawing beautiful beasts, you need to arm yourself with some drawing basics. The easiest way to think about drawing anything is to think of everything as shapes. Anything you would ever want to drawtables, chairs, flowers or unicornsconsists of simple shapes.
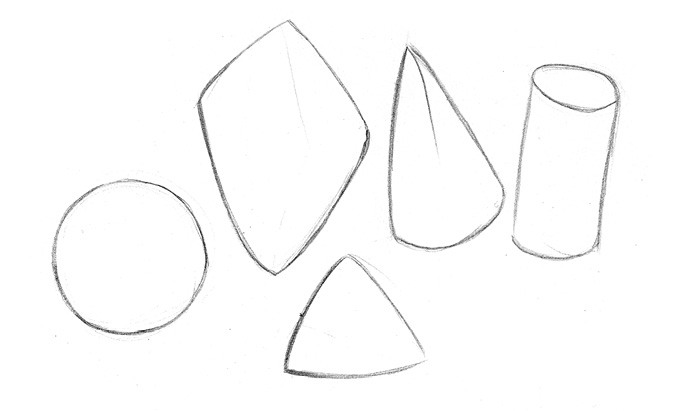
Basics Lead to Beasties
Practice drawing these simple shapes before moving on to more complicated forms.
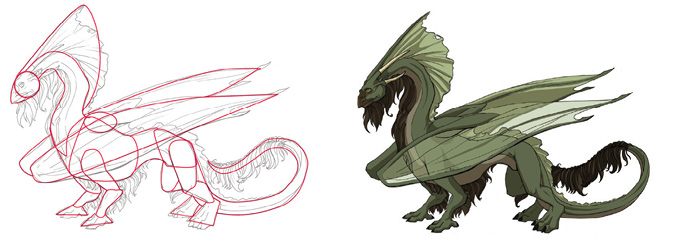
Drawing Any Creature Begins With Basic Shapes
Every dragon or creature youll learn about in the pages to follow will begin with simple shapes such as these.
Tools You Need
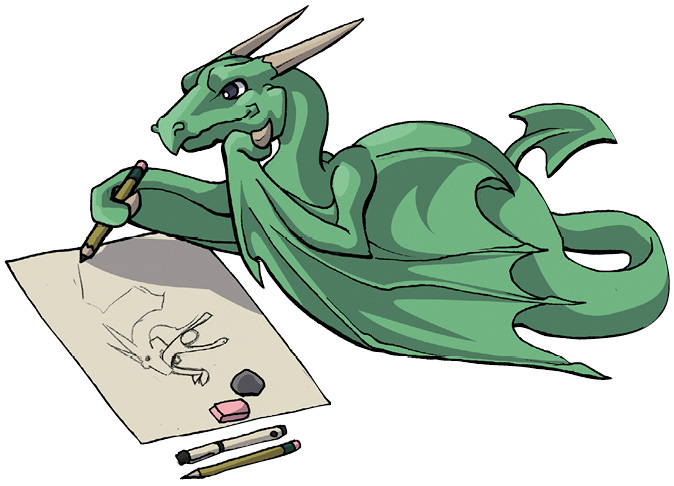
The wonderful thing about drawing is that you really dont need muchyour own imagination is the most important thing. To get whats in your head down on paper, though, you will need:
- Some pencils and a pencil sharpener
- A kneaded eraser
- Paper
Thats all thats required to propel yourself into fantasy-creature creation readiness!
Dragon Shading and 3-D Effects
Dragons appear more realistic when you draw them to look three-dimensional. It isnt as hard as it sounds. You just have to pay attention to darks and lights and how they affect your creature.
Consider first where the light is coming from. This is called the light source. Where the light source hits your dragon or other object is the lightest spot, called the highlight. The rest of your creature will likely be in some stage of shadow. As you develop your skills at shading the shadow areas, your creatures will begin to take on new life.
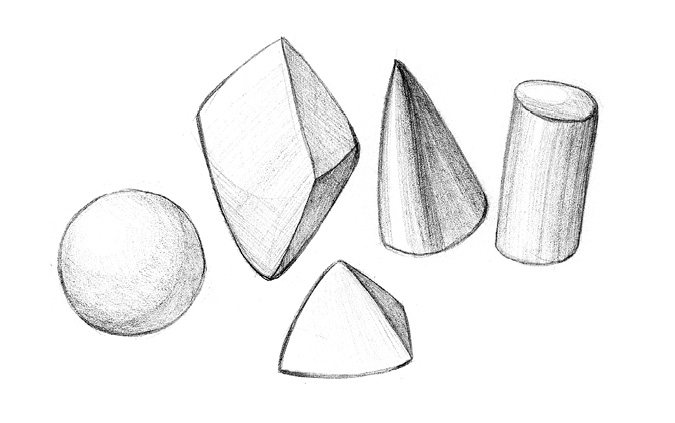
Practice on Simple Shapes
Polygons (shapes with three or more sides) will often have one side facing the light source. This side will be considerably lighter than those angled in a different direction. Sides that are completely cut off from the light will be very dark, giving you a harsh edge.
With round objects there is no clear definition of where things get cut off from direct light. The answer to this problem is fairly simple: because theres a gradual cutoff from the light, you will have gradual shadow with no harsh edges! Figure out where your light is hitting directly, and as things move farther away from that point of light, they should get darker.
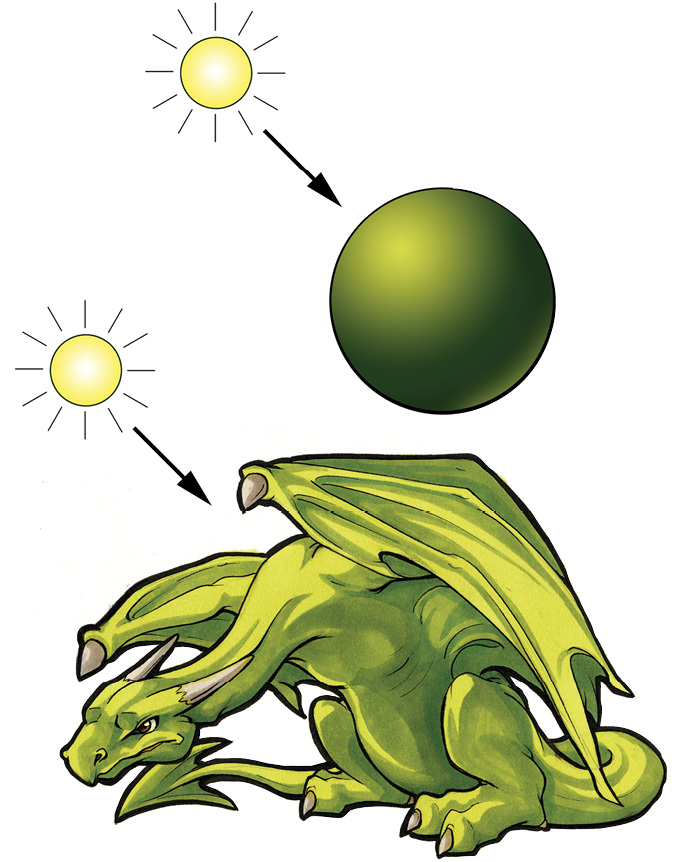
Be Aware of the Light Source
Dragons, supreme though they are, remain solid, tangible objects that follow the same laws as everything else when it comes to light source. Lighting that comes from a single direction will yield highlights on the surfaces that it hits, and shadows on the areas blocked off from the rays.
Perspective and Overlap
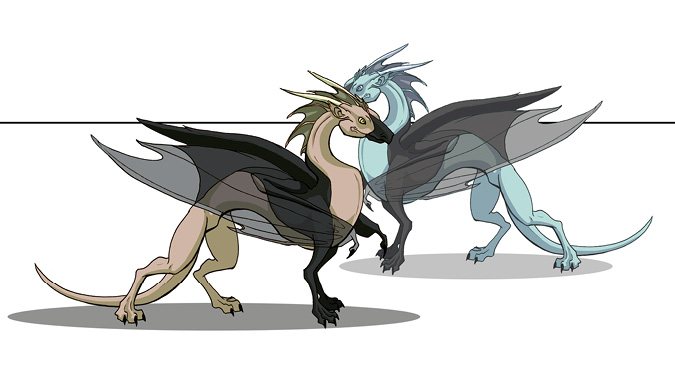
Overlap is a great tool for creating perspective, the illusion of space, and is arguably one of the more important aspects to creating drawings full of depth. When you draw one object or part of an object overlapping another, the object in front automatically looks closer while the one in the back looks farther away.
You can use overlapping objects to create a sense of perspective not only in individual creatures but also in whole scenes. Draw a mountain, then a house overlapping it followed by a dragon overlapping the house and youve got a foreground, middle ground and background. Once those are clearly defined, youve got a believable drawing.
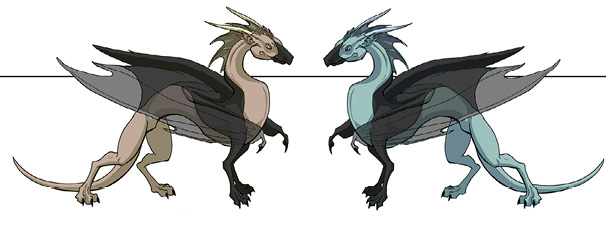
No Perspective or Overlap
Without any overlap or perspective, it is difficult to get an idea of the scale of things. It is also difficult to think of the object as existing within a space.
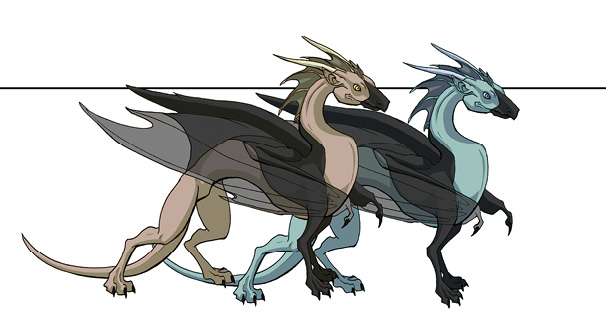
Overlap Gives a Sense of Order and Ground
Overlap provides a sense of space. The brain registers that one object must be in front of the other.
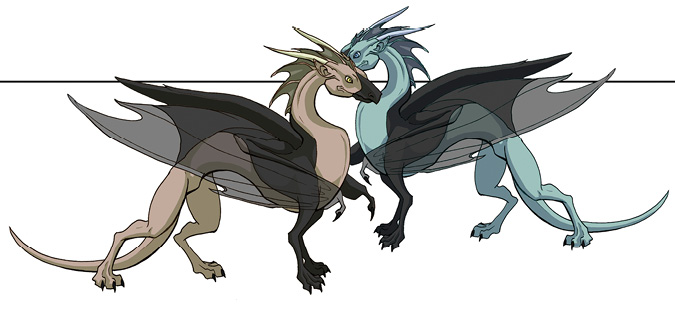
Overlap Plus Size Variation Provide More Perspective
The green dragon is smaller than the brown. When we see it though, we dont think hes actually smaller than the brown. We just assume hes farther back in the space that they share.
