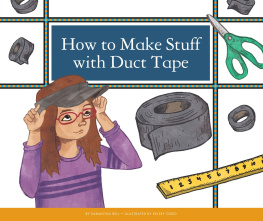
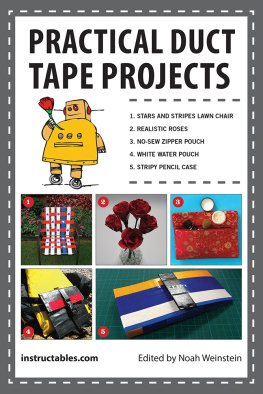
Samantha Bell - How to Make Stuff with Duct Tape
Here you can read online Samantha Bell - How to Make Stuff with Duct Tape full text of the book (entire story) in english for free. Download pdf and epub, get meaning, cover and reviews about this ebook. year: 2013, publisher: The Childs World, Inc., genre: Children. Description of the work, (preface) as well as reviews are available. Best literature library LitArk.com created for fans of good reading and offers a wide selection of genres:
Romance novel
Science fiction
Adventure
Detective
Science
History
Home and family
Prose
Art
Politics
Computer
Non-fiction
Religion
Business
Children
Humor
Choose a favorite category and find really read worthwhile books. Enjoy immersion in the world of imagination, feel the emotions of the characters or learn something new for yourself, make an fascinating discovery.

- Book:How to Make Stuff with Duct Tape
- Author:
- Publisher:The Childs World, Inc.
- Genre:
- Year:2013
- Rating:5 / 5
- Favourites:Add to favourites
- Your mark:
How to Make Stuff with Duct Tape: summary, description and annotation
We offer to read an annotation, description, summary or preface (depends on what the author of the book "How to Make Stuff with Duct Tape" wrote himself). If you haven't found the necessary information about the book — write in the comments, we will try to find it.
Samantha Bell: author's other books
Who wrote How to Make Stuff with Duct Tape? Find out the surname, the name of the author of the book and a list of all author's works by series.


How to Make Stuff with Duct Tape — read online for free the complete book (whole text) full work
Below is the text of the book, divided by pages. System saving the place of the last page read, allows you to conveniently read the book "How to Make Stuff with Duct Tape" online for free, without having to search again every time where you left off. Put a bookmark, and you can go to the page where you finished reading at any time.
Font size:
Interval:
Bookmark:


1980 Lookout Drive Mankato, MN 56003-1705
800-599-READ www.childsworld.com Acknowledgments
The Childs World: Mary Berendes, Publishing Director
Red Line Editorial: Editorial direction and production
The Design Lab: Design Photographs : Feng Yu/Shutterstock Images, 4 Copyright 2014 by The Childs World
All rights reserved. No part of this book may be reproduced or utilized in
any form or by any means without written permission from the publisher. ISBN: 978-1623235635
LCCN: 2013931352 Printed in the United States of America
Mankato, MN
July, 2013
PA02176 About the Author Samantha Bell is a childrens writer,
illustrator, teacher, and mom of four
busy kids. Her articles, short stories, and
poems have been published both online
and in print, including magazines such as
Clubhouse Jr., Learning through History,
Boys Quest , and Hopscotch for Girls . She
has also illustrated a number of picture
books, including some of her own. For
inspiration, she just has to turn to her
familytheres always a story to tell! About the Illustrator Kelsey Oseid is an illustrator and graphic
designer from Minneapolis, Minnesota.
When shes not drawing, she likes to
do craft projects, bake cookies, go on
walks, and play with her two cats, Jamie
and Fiona.
You can find her work at
www.kelseyoseid.com.
1945) the U.S. military
needed a new kind of tape.
They wanted something
strong and waterproof .
Duct tape was born! Early
duct tape was known as
duck tape. People kept using
the tape after the war. They
used it to connect pipes.
These pipes carried air to
heat or cool buildings. The
pipes were called ducts .
Duck tape became duct
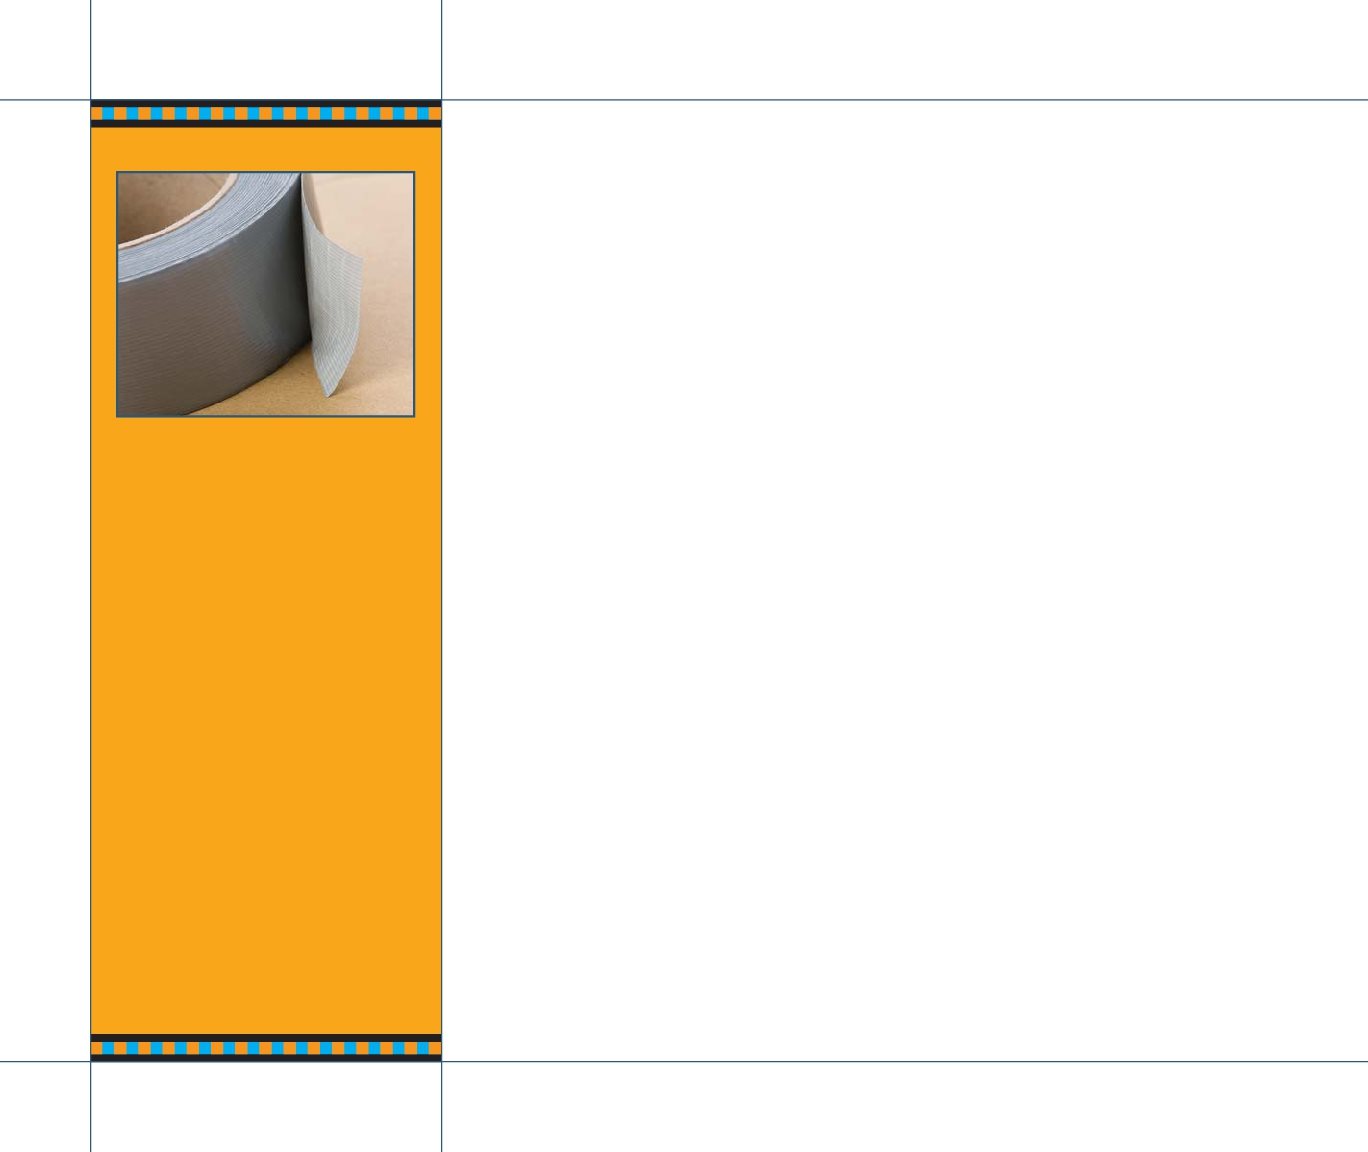
tape! What is duct tape? Most duct tape is silver.
But duct tape
comes in many colors. Duct tape is super sticky. You can
stick it to other objects. You can even stick it to itself. Most
people use duct tape to fix things. But you can use it to make
something new.
This book will teach you how. Talk to your parents before starting a duct-tape project.
The projects in this book can be messy. But they are also fun!
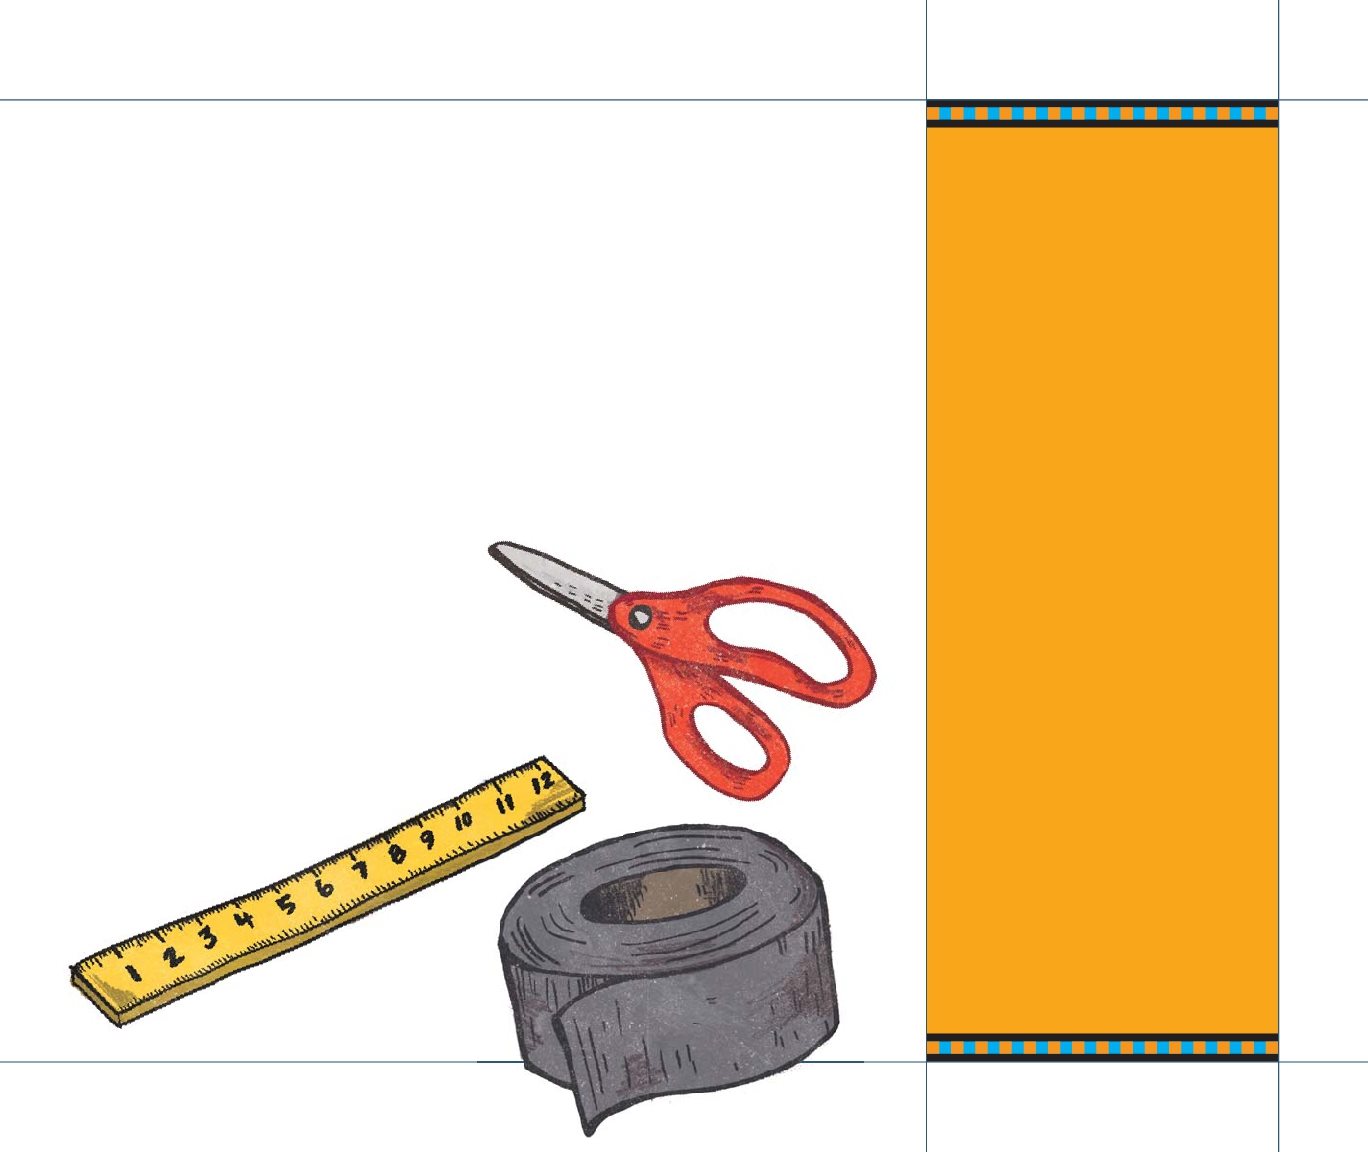
you. For the projects in this book you will need: Duct tape Ruler Scissors Tin can Permanent marker Pen Jar lid Baseball cap Construction paper Safety Tips Use scissors to cut duct tape.
Scissors are sharp. Never
run when you are carrying
scissors.
Dont wave scissors
in the air. Look where you
are cutting. That way you
will only cut what you mean
to cut!
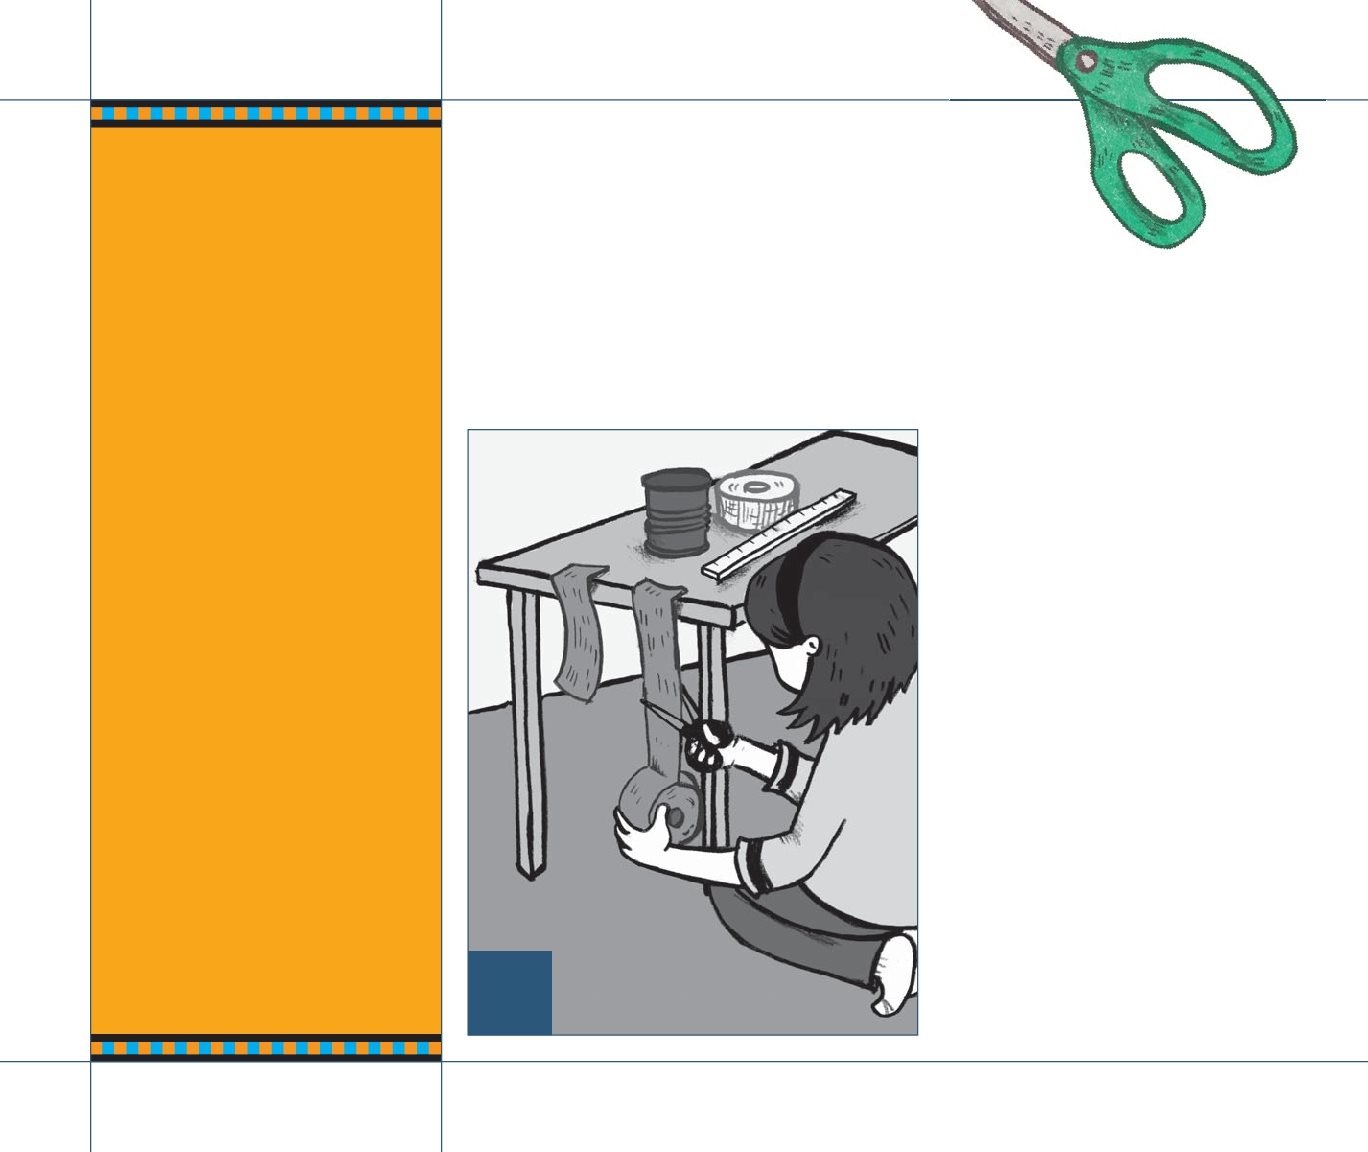
label) Pencil Holder Follow these easy steps to make a case for your pencils
and pens. step Start out with
your first color of
tape. Carefully cut
a 10-inch (25 cm)
piece of duct tape. Repeat step 1 .
Now you have
two pieces of duct
tape.
They should
be the same size
and color.
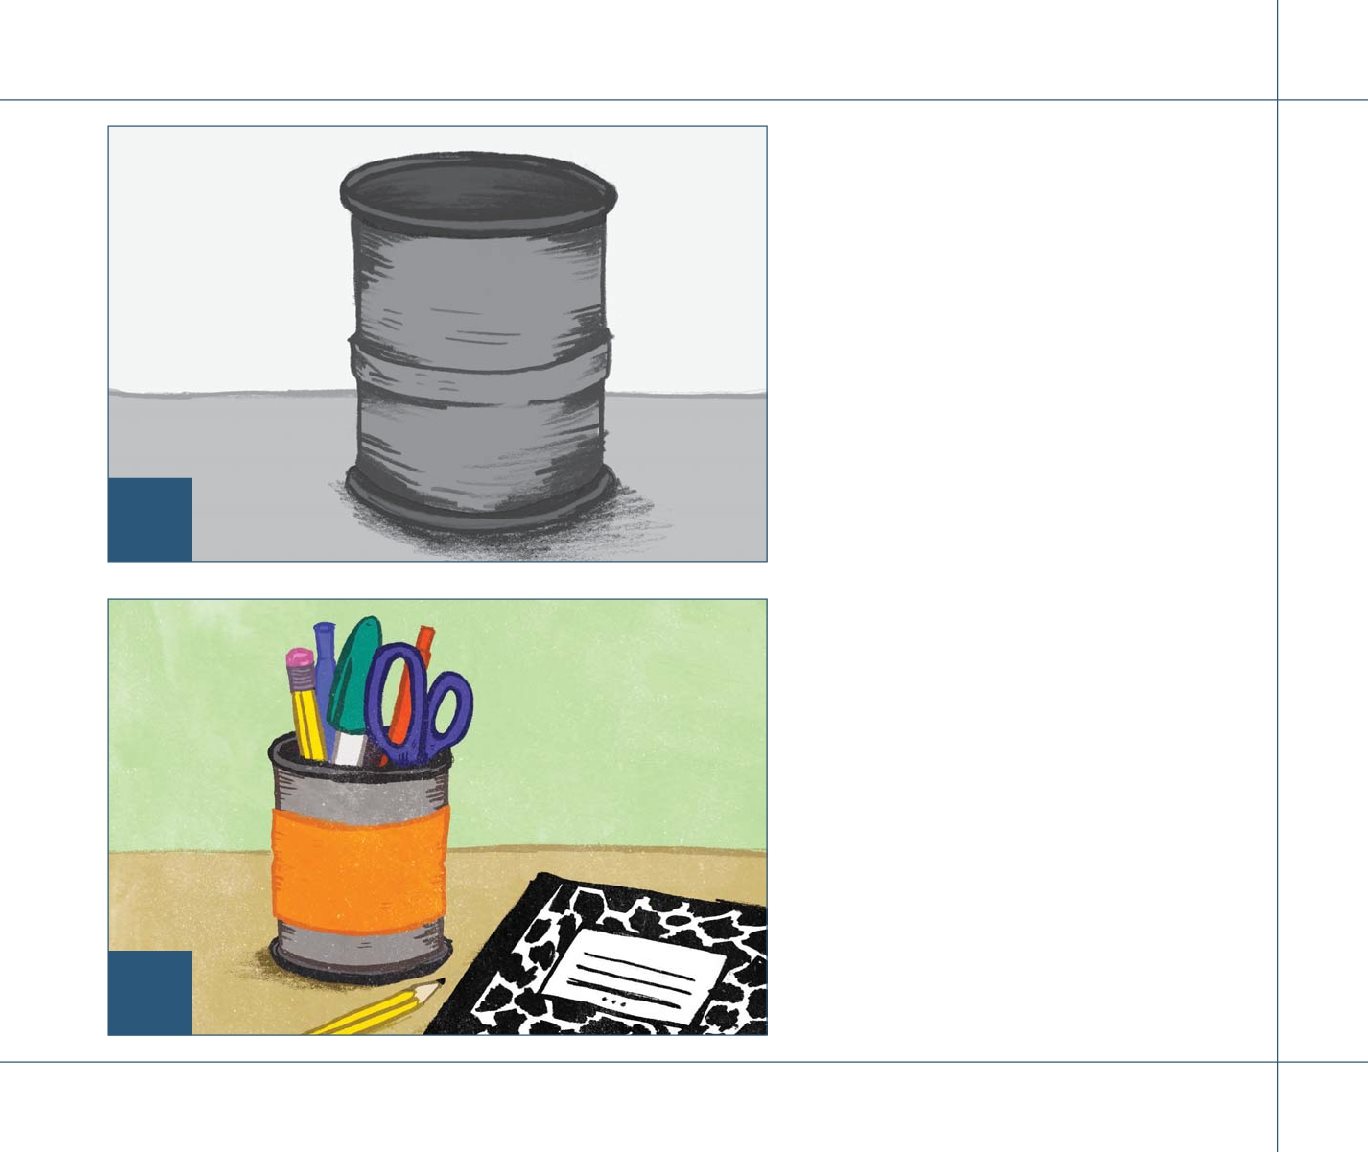
around the top part of
the can. Wrap the second piece of
tape around the bottom part
of the can. The two pieces of
tape should be touching. Next take your second color
of duct tape. Repeat step 1
with the second color.
Wrap the tape around the
middle of the can. step Now you just need to fill your
holder with pens and pencils!

tape looks great!) Jar lid Ruler Scissors Permanent marker Duct-Tape Turtle Turtles are reptiles that live in water. You can make your
own duct-tape turtle! Start by making your
turtles shell. Just cover
the outside of the jar lid
with duct tape. step Now cut two 10-inch
(25 cm) pieces of duct
tape. Stick the pieces
together to make a
duct-tape strip.
The
sticky sides should be
touching.
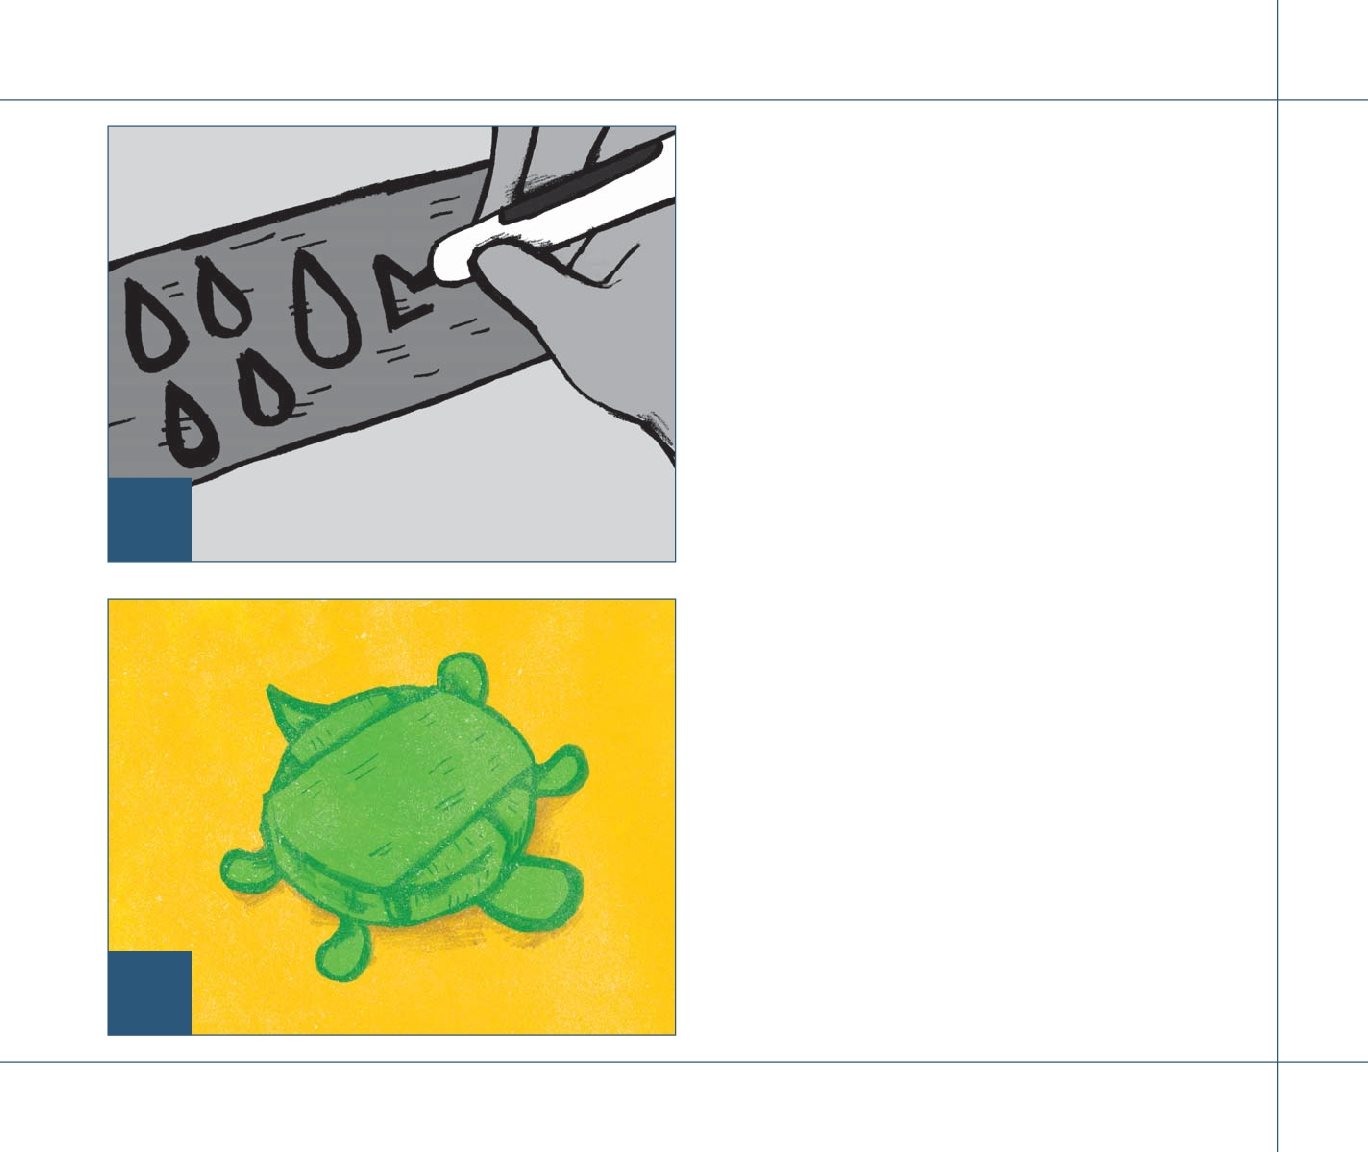
head, feet, and tail. Draw five
teardrop shapes on the strip. One
shape should be bigger than the
others. This is the turtles head. Next draw a triangle on your duct
tape strip.
This is the turtles tail. Carefully cut out the shapes you
drew. Tape each shape to the bottom of
your jar lid. step Now all you need to do is name your
turtle!

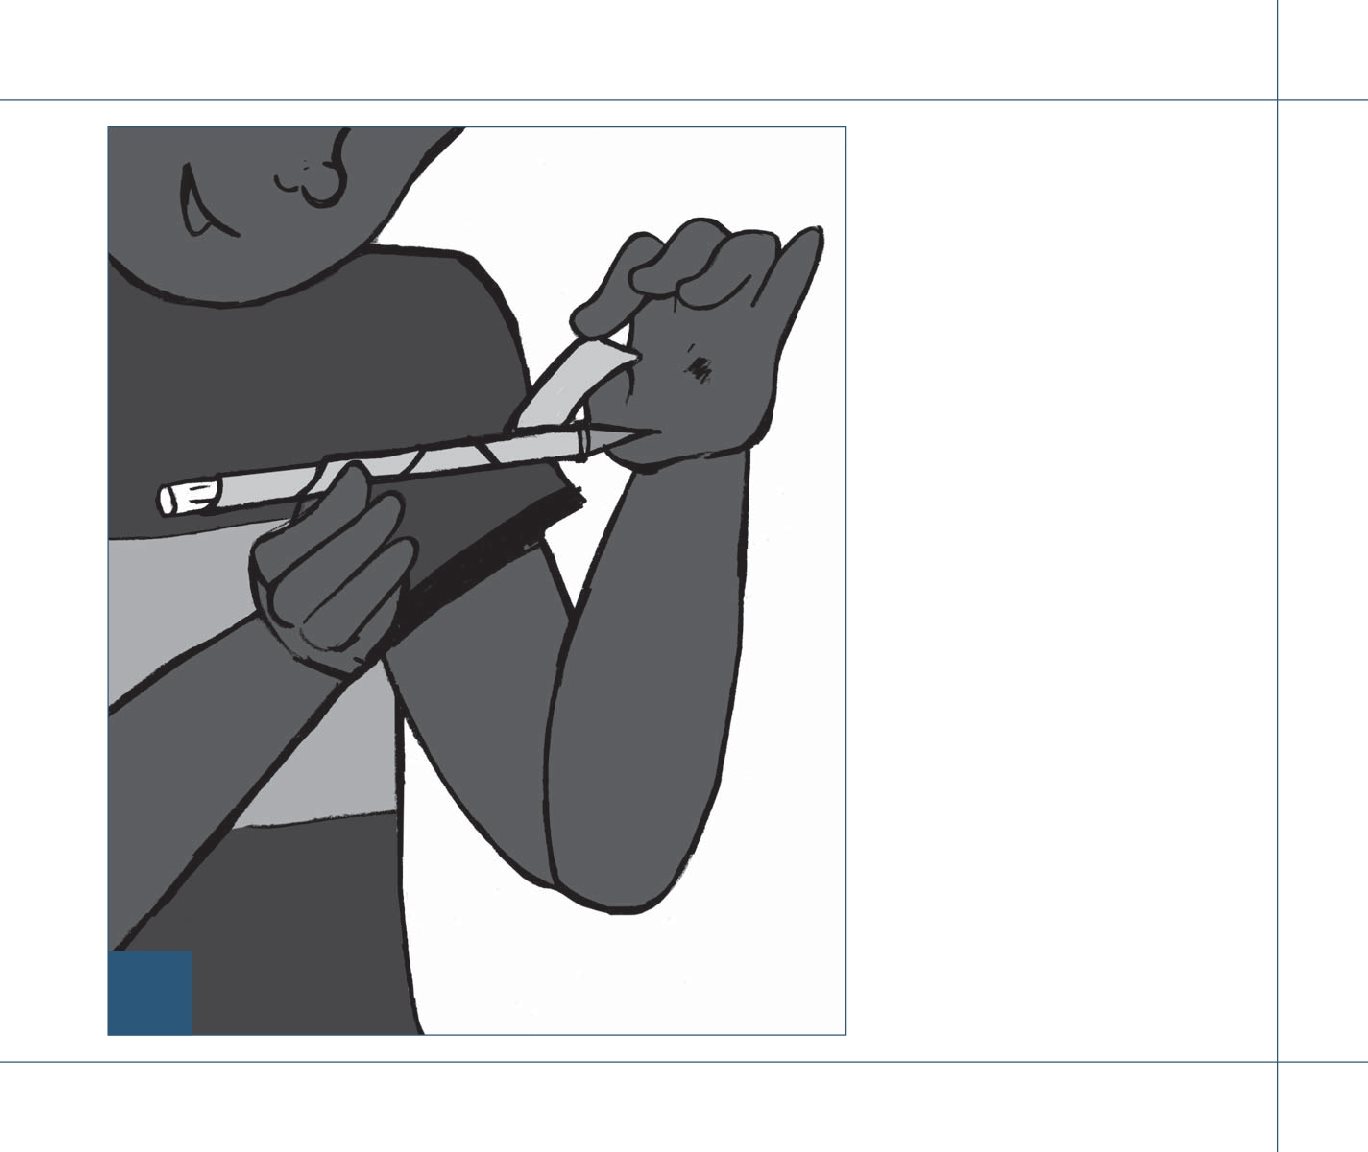
duct tape Pen Scissors Ruler Petal Pen Do you have a green thumb ? This project will show you how
to make a green pen to go with it. Follow the steps below to
write in style! Lets start by
making the stem .
First cut a small
square of white duct
tape. Put it on the
end of the pen.
This
is the flowers center. step
green duct tape. Each
piece should be about
1 inch (2.5 cm) wide. Wrap the first green
piece around the
pen. It should touch
the white tape. Now
wrap the second piece
around the pen.
It
should touch the first
piece. Finally wrap the
third piece around the
pen. You are halfway
to a flower!
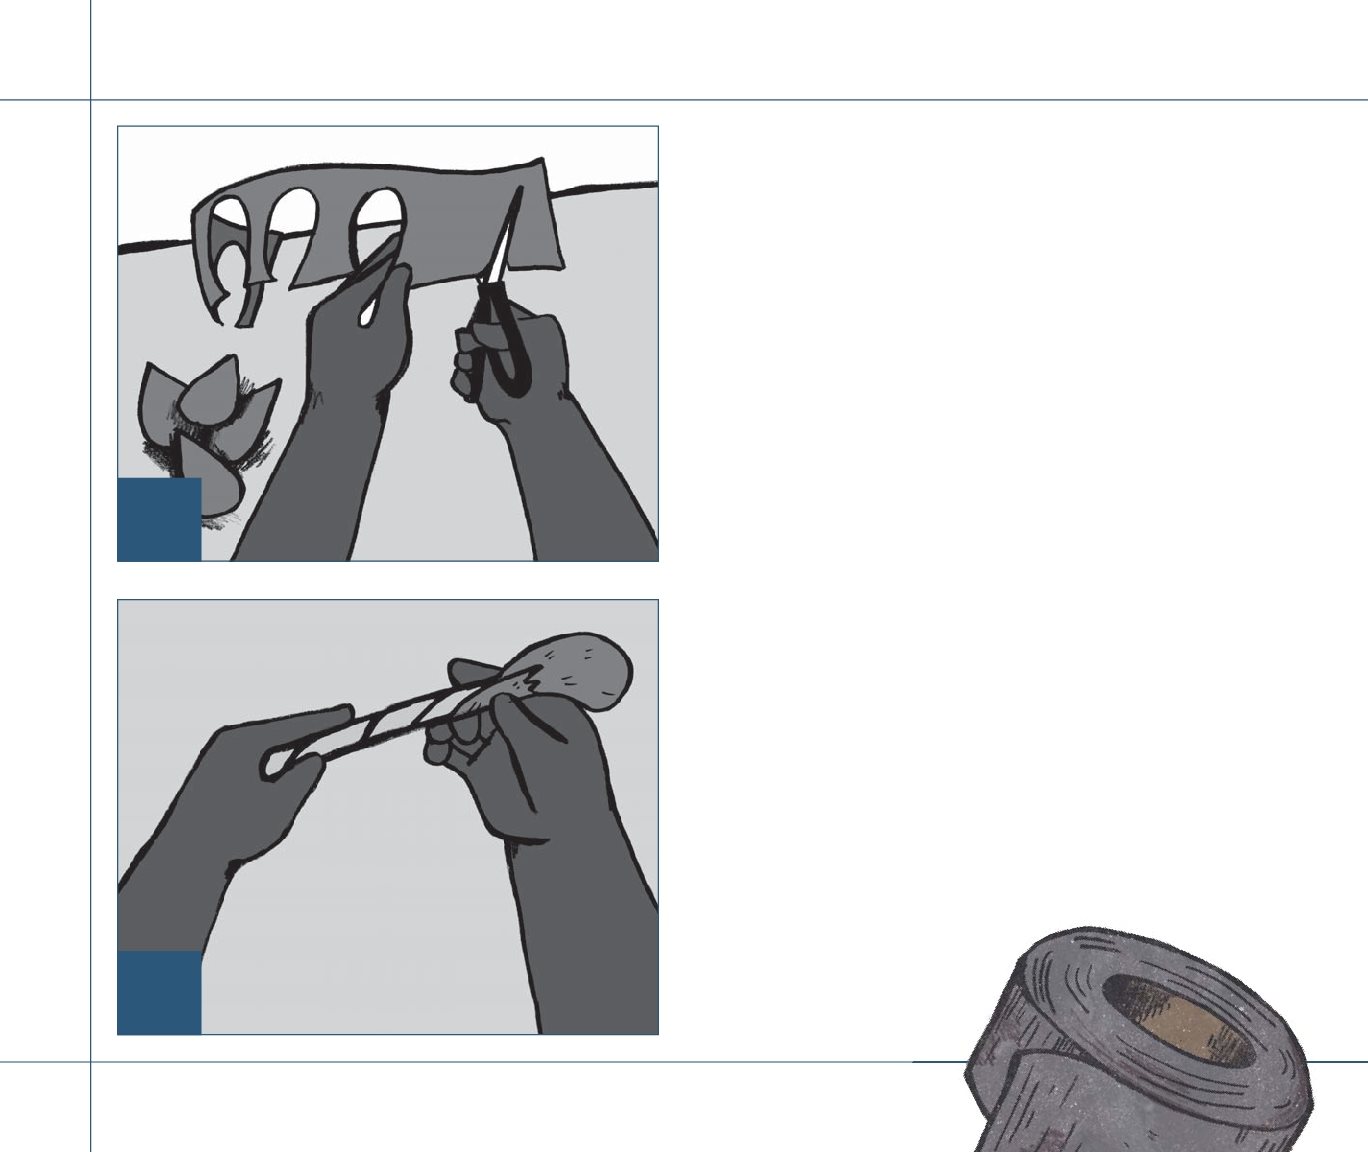
Start by cutting two pieces of red duct
tape. Each piece should be 12 inches
(30 cm) long. Stick the two pieces together. The
sticky sides should be facing one
another.
Cut five raindrop shapes from
the strip you made. These are your
flowers petals. Cut a small piece of red tape. Use it to
stick the bottom of one of the petals
to the pen. Tape the petal where the
Font size:
Interval:
Bookmark:
Similar books «How to Make Stuff with Duct Tape»
Look at similar books to How to Make Stuff with Duct Tape. We have selected literature similar in name and meaning in the hope of providing readers with more options to find new, interesting, not yet read works.
Discussion, reviews of the book How to Make Stuff with Duct Tape and just readers' own opinions. Leave your comments, write what you think about the work, its meaning or the main characters. Specify what exactly you liked and what you didn't like, and why you think so.