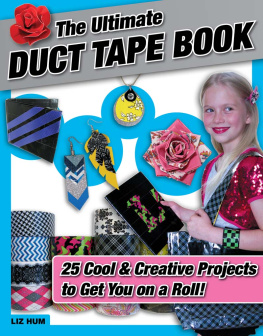
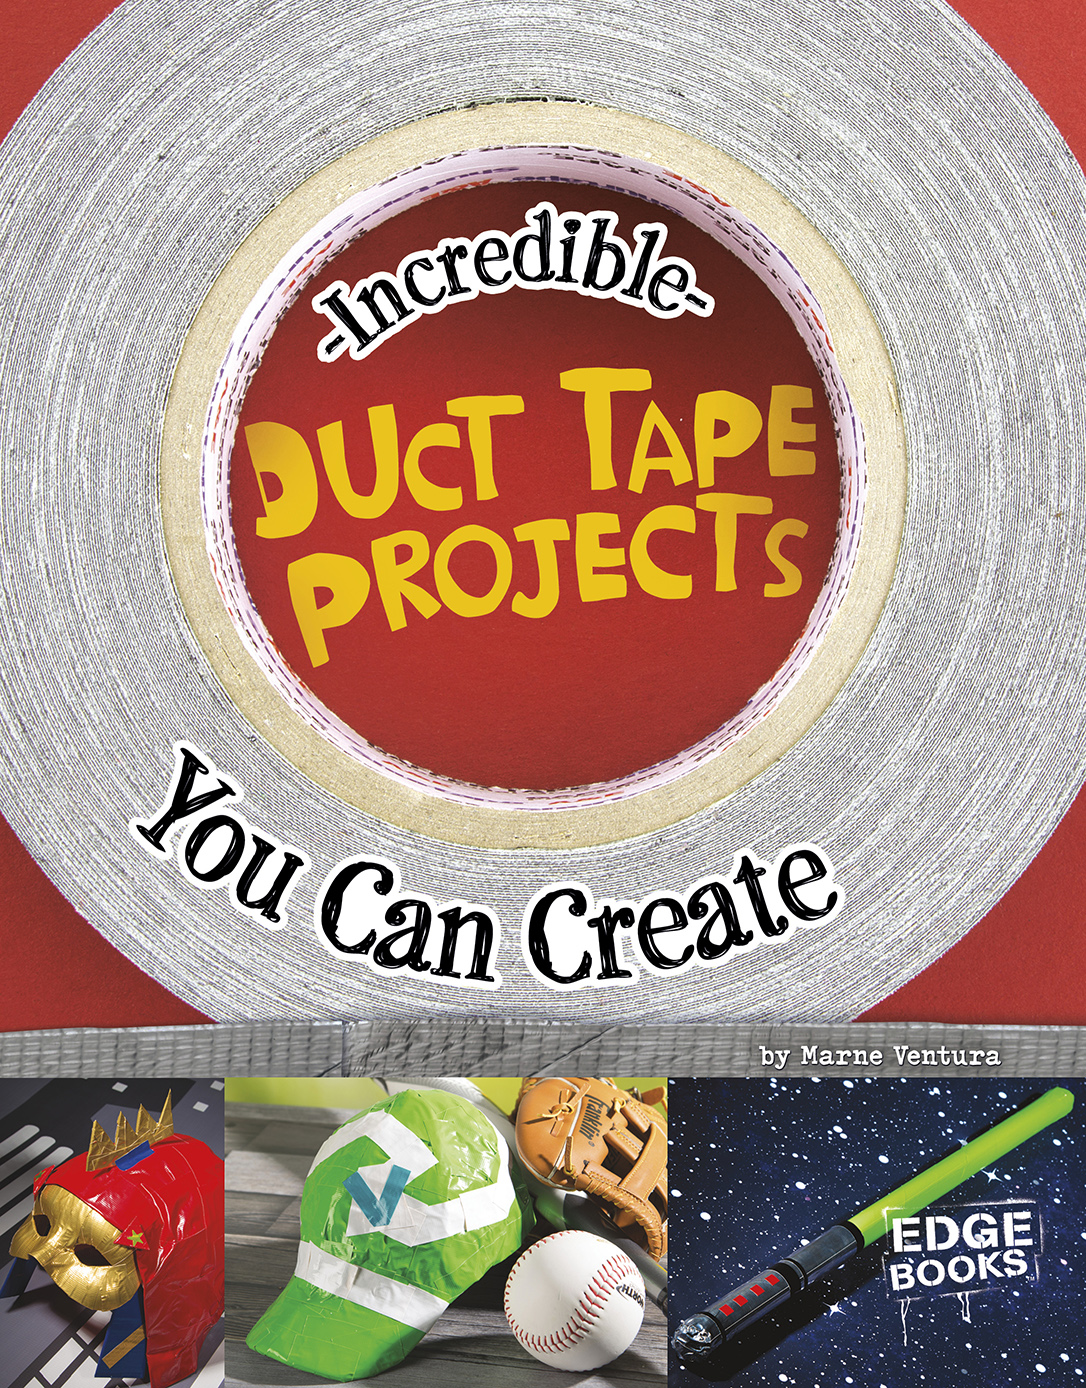
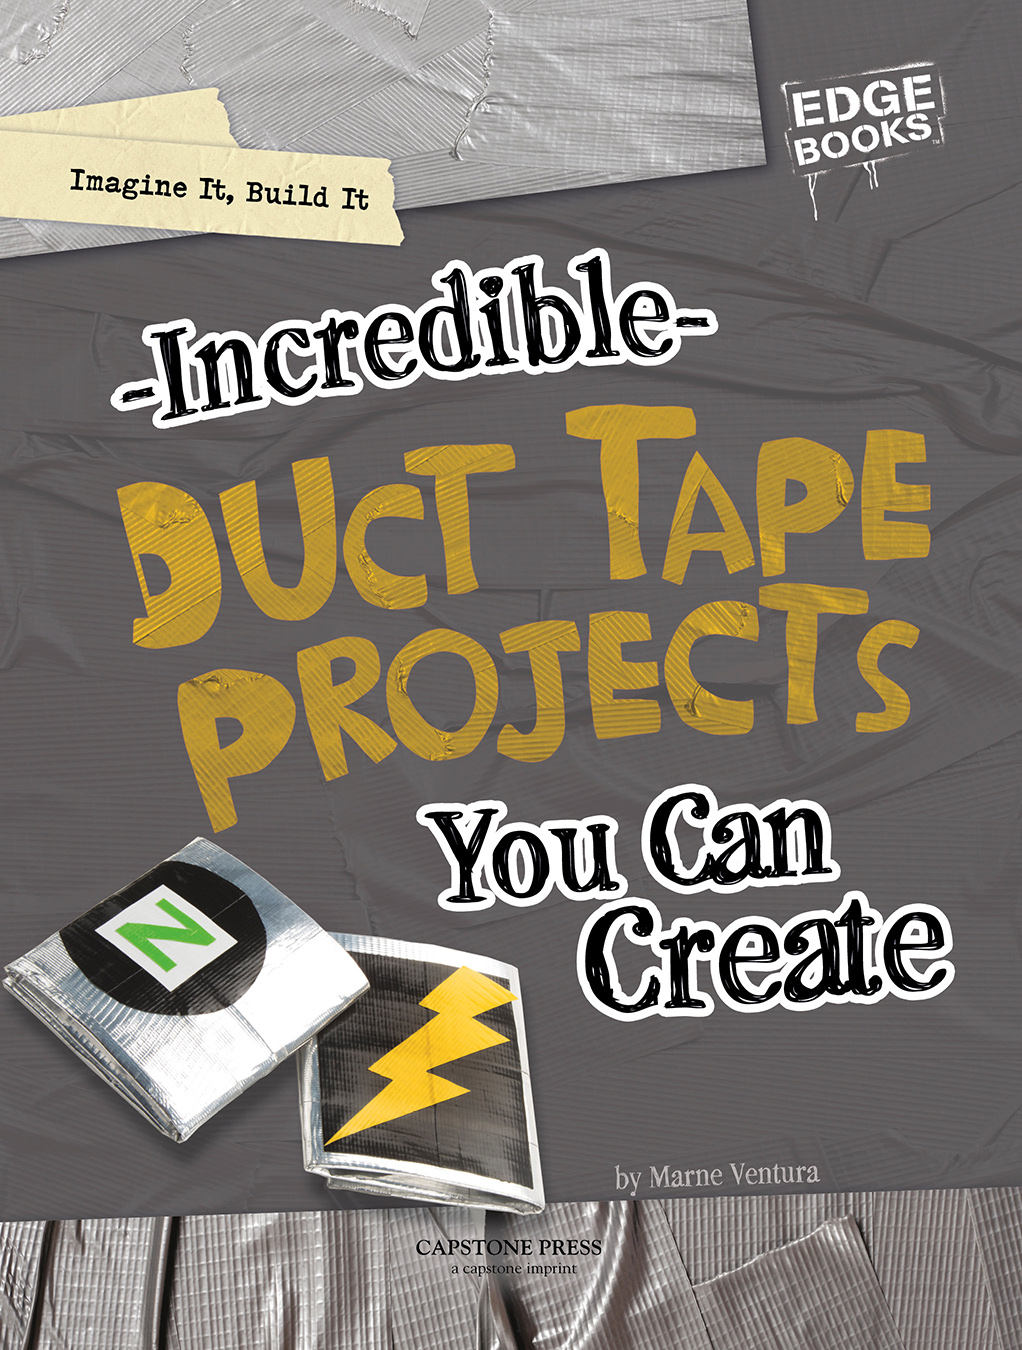
Create Incredible Duct Tape Projects!
Its strong, flexible, waterproof, and super sticky. People use it to fix everything from windows and boats to baseball bats. Some people even use it to make warts disappear. What is this awesome stuff? Its duct tape!
First made from sticky cotton fabric, soldiers once used this tape to seal boxes of ammunition. Duct tape later got its name when builders used it to hold the joints of ducts together. This amazing tape is great for fixing things, but its also a popular craft supply. It comes in many colors and patterns and can be used to make all sorts of cool projects.
Grab a couple rolls of duct tape and get ready to make awesome laser swords, superhero helmets, and many other incredible projects!
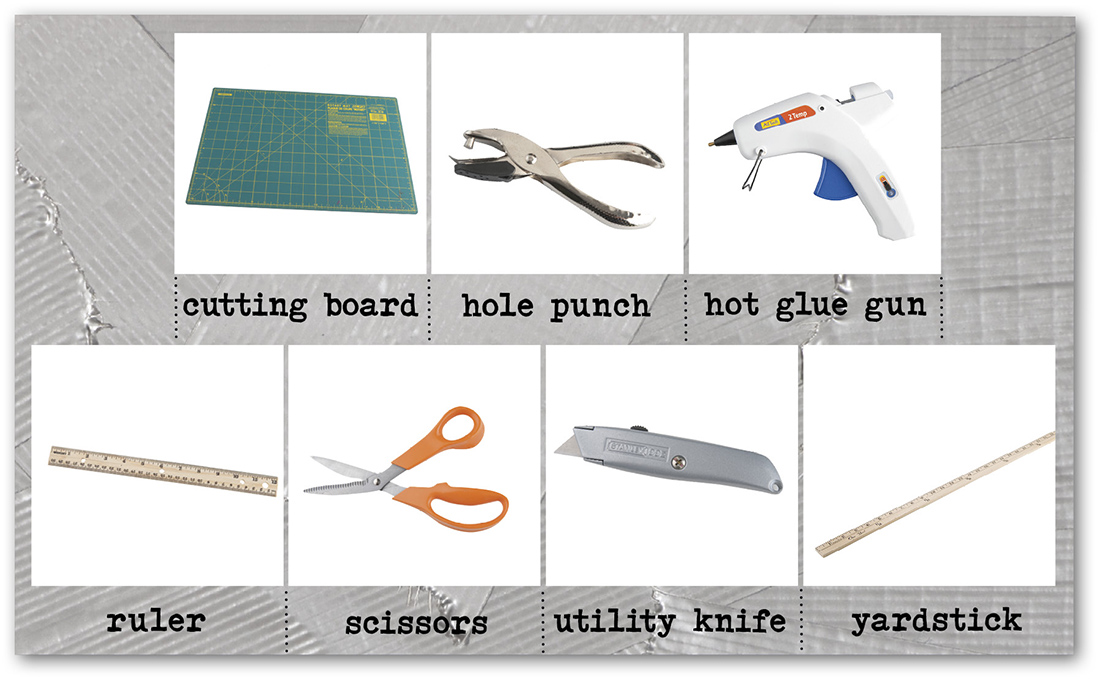
Tools Needed
Youll need some common tools to make many of your projects. Gather the following tools and store them in a box so theyre easy to find when you need them. Remember to always ask an adult for help when using sharp knives, scissors, or hot glue guns.
Tips and Tricks
- Get a good cutting mat. Craft stores sell mats with grid lines that help make measuring easy. A wood or plastic cutting board and a ruler will also work well.
- Before starting a project, read through all of the steps and be sure to gather all the necessary materials.
- When building something long, it works best to cut shorter strips of tape and then join them together.
Making Duct Tape Fabric
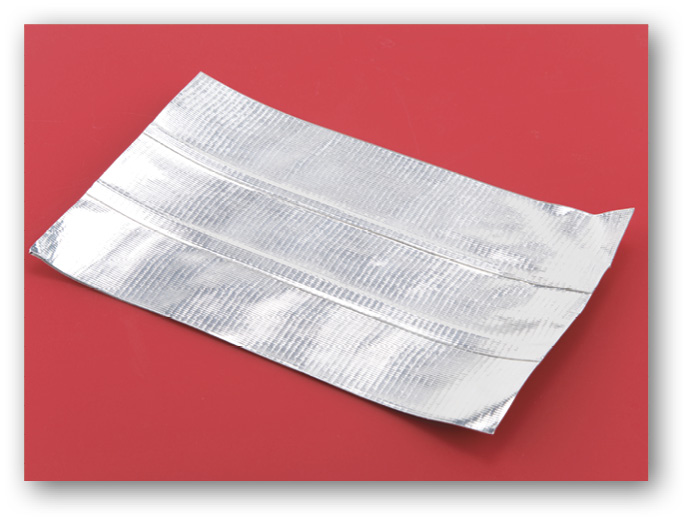
Some projects are made with duct tape fabric. To make this, first lay a strip of duct tape face up on your work surface. Then add a second strip by overlapping the long edge 0.25 inch (0.6 cm). Repeat this with more strips of tape until the fabric is wide enough. Then place strips of tape sticky-side-down to cover the first layer.
Awesome Laser Sword
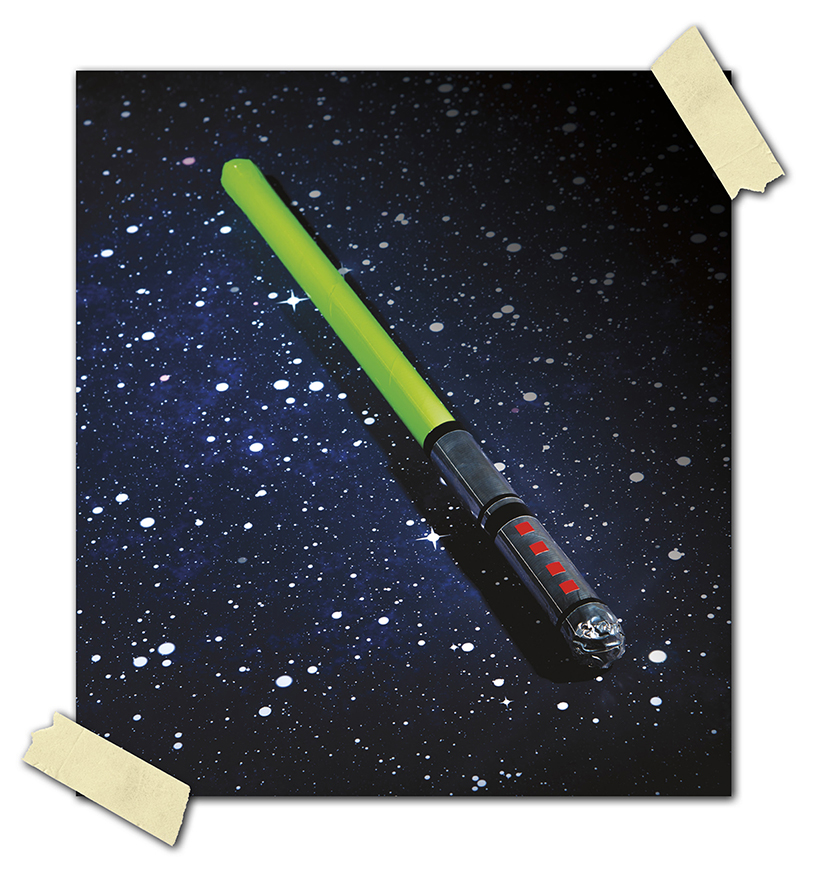
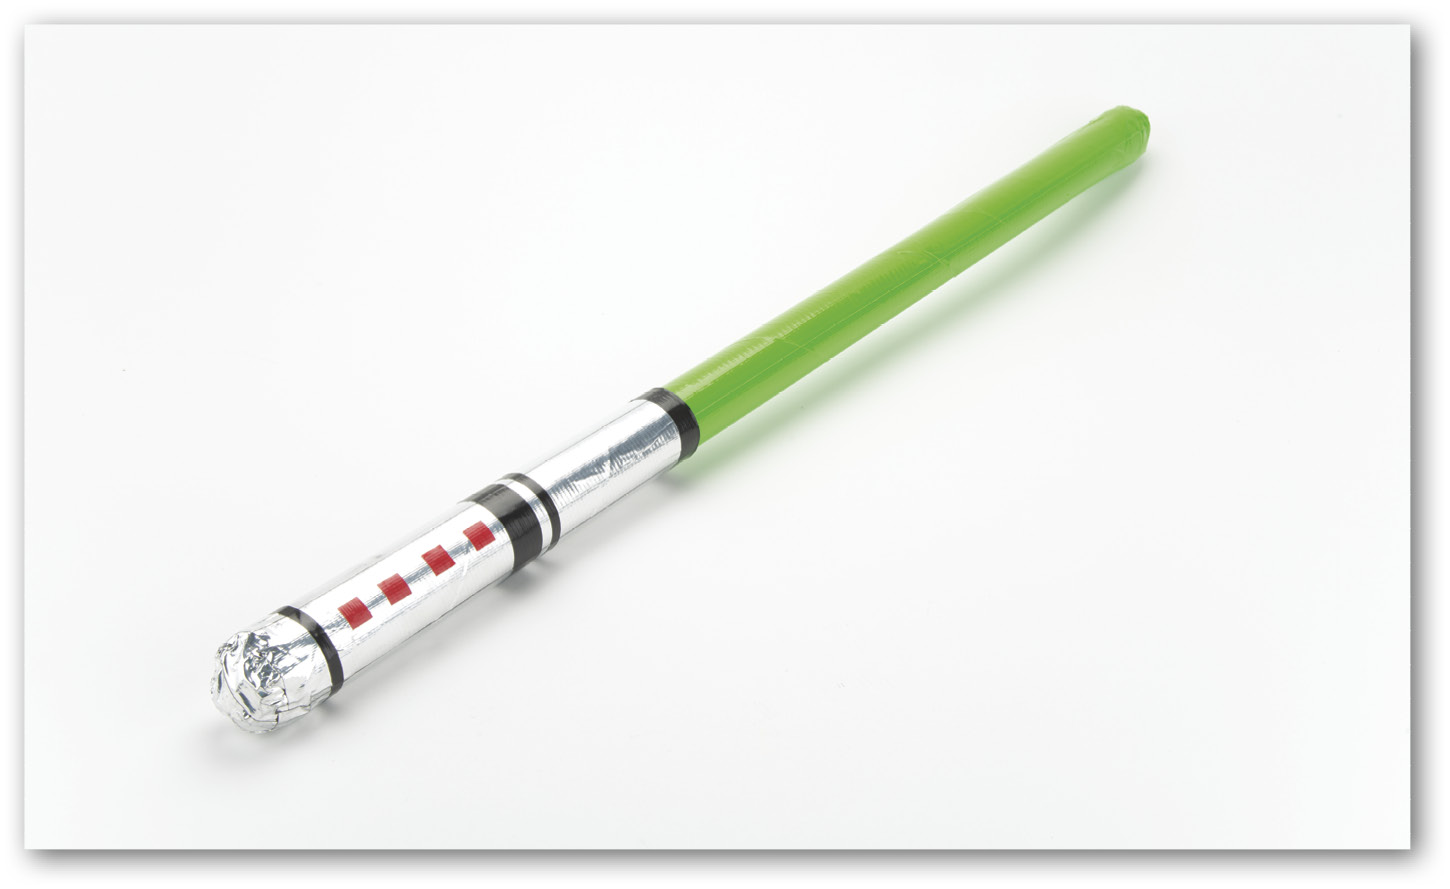
Heading out to battle evil aliens? Smart space warriors never leave home without their trusty laser sword. With some colorful duct tape and cardboard tubes, you can make one of your own! Fight intergalactic battles with friends, or you can add a hooded cape for a cool Halloween costume.
MATERIALS:
- 40-inch (102-cm) long cardboard giftwrap tube
- 9-inch (23-cm) long cardboard paper towel tube
- two 12- by 12-inch (30- by 30-cm) squares of aluminum foil
- glow-in-the-dark duct tape
- silver duct tape
- black duct tape
- red duct tape
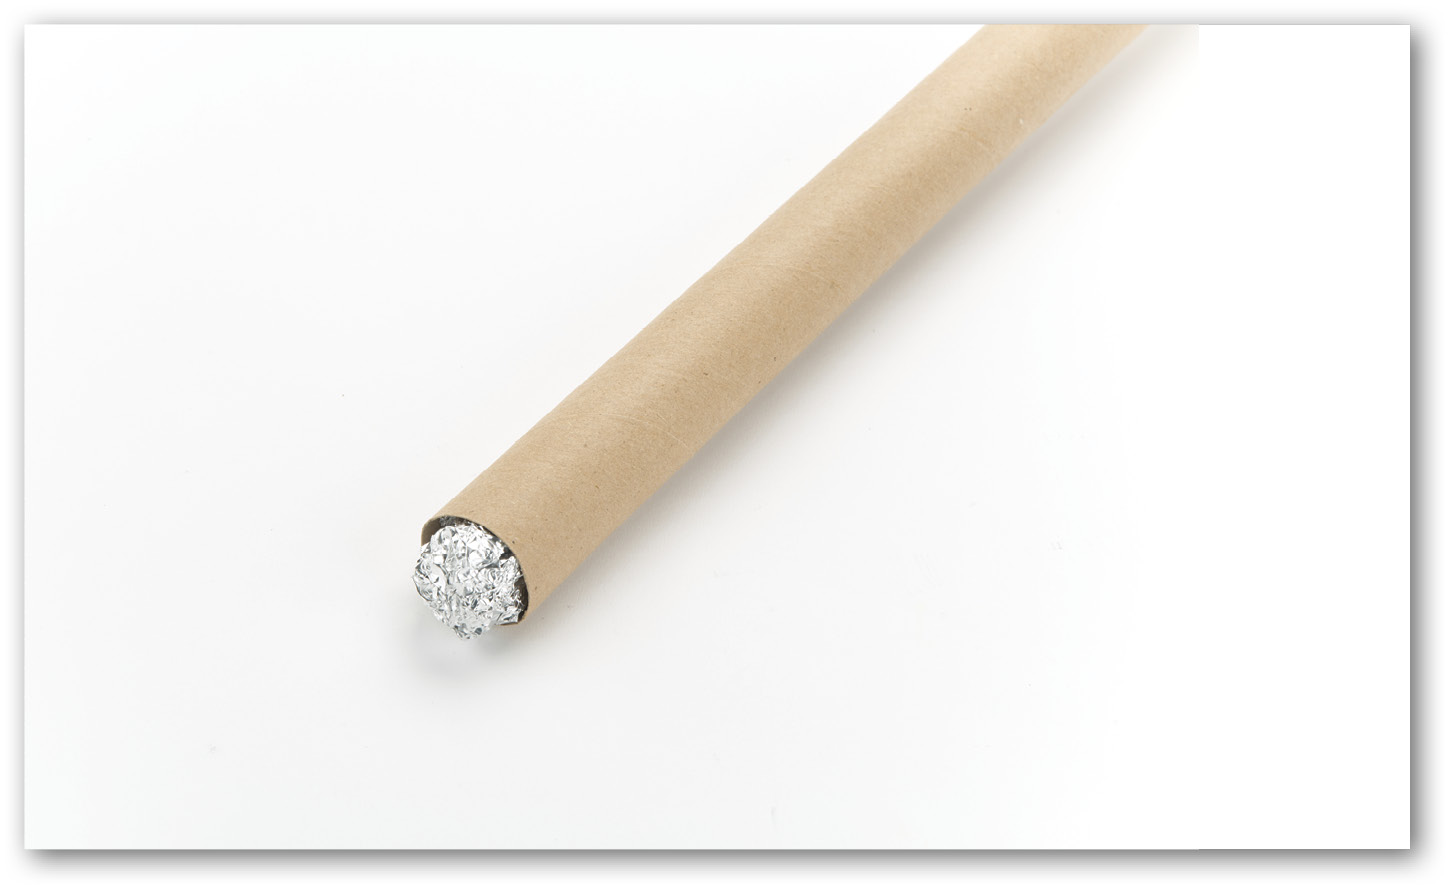
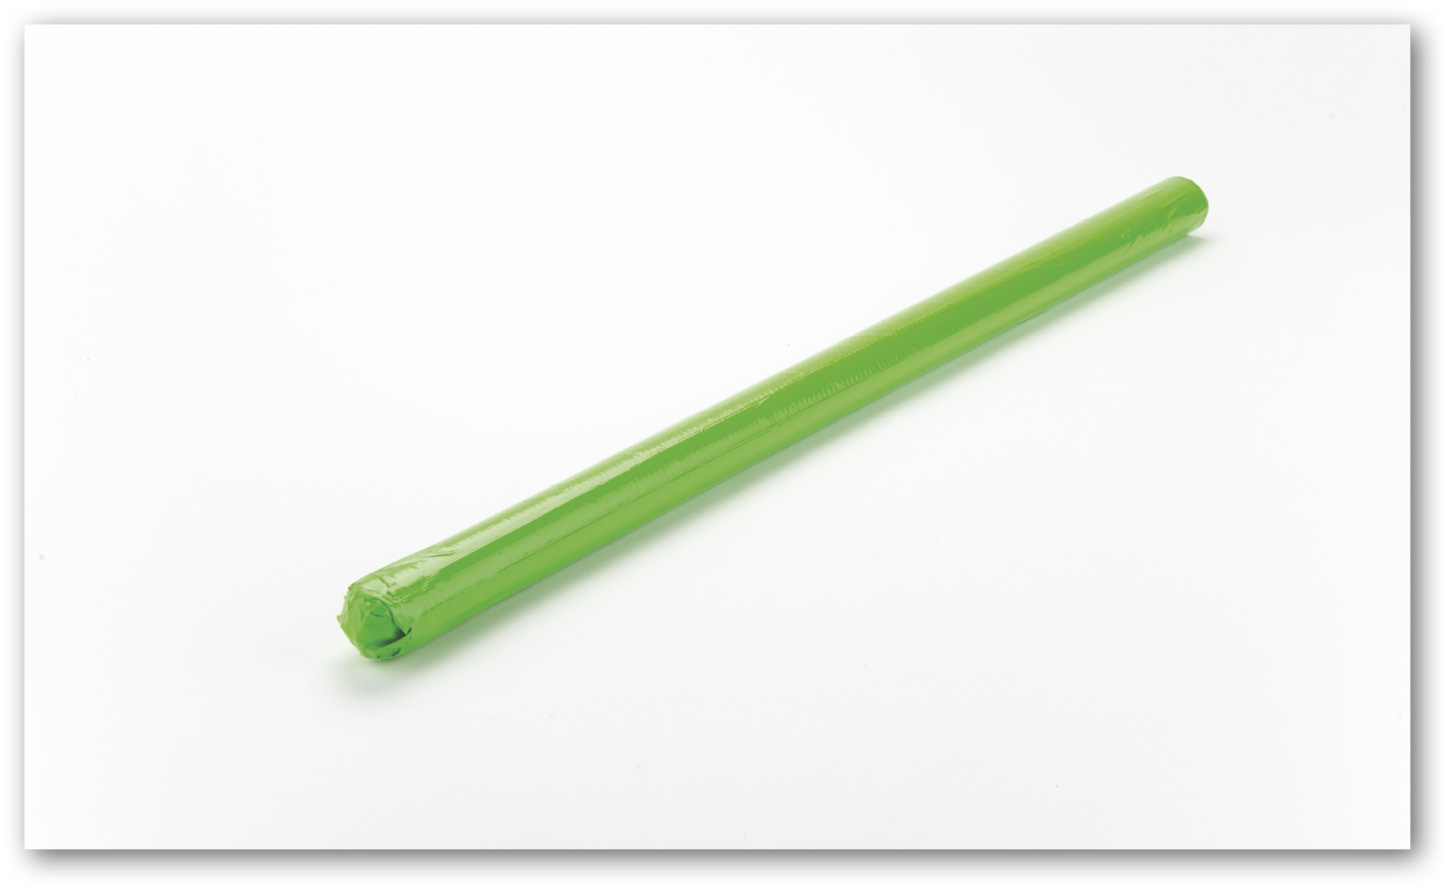
- Step 1: First crumple one square of aluminum foil into a ball about as wide as the long tube. Use hot glue to secure the foil ball halfway inside the end of the tube.
- Step 2: Next cover the rounded end of the tube with two 4-inch (10-cm) long strips of glow-in-the-dark duct tape. Then cover the rest of the tube with long strips of glow-in-the-dark tape.
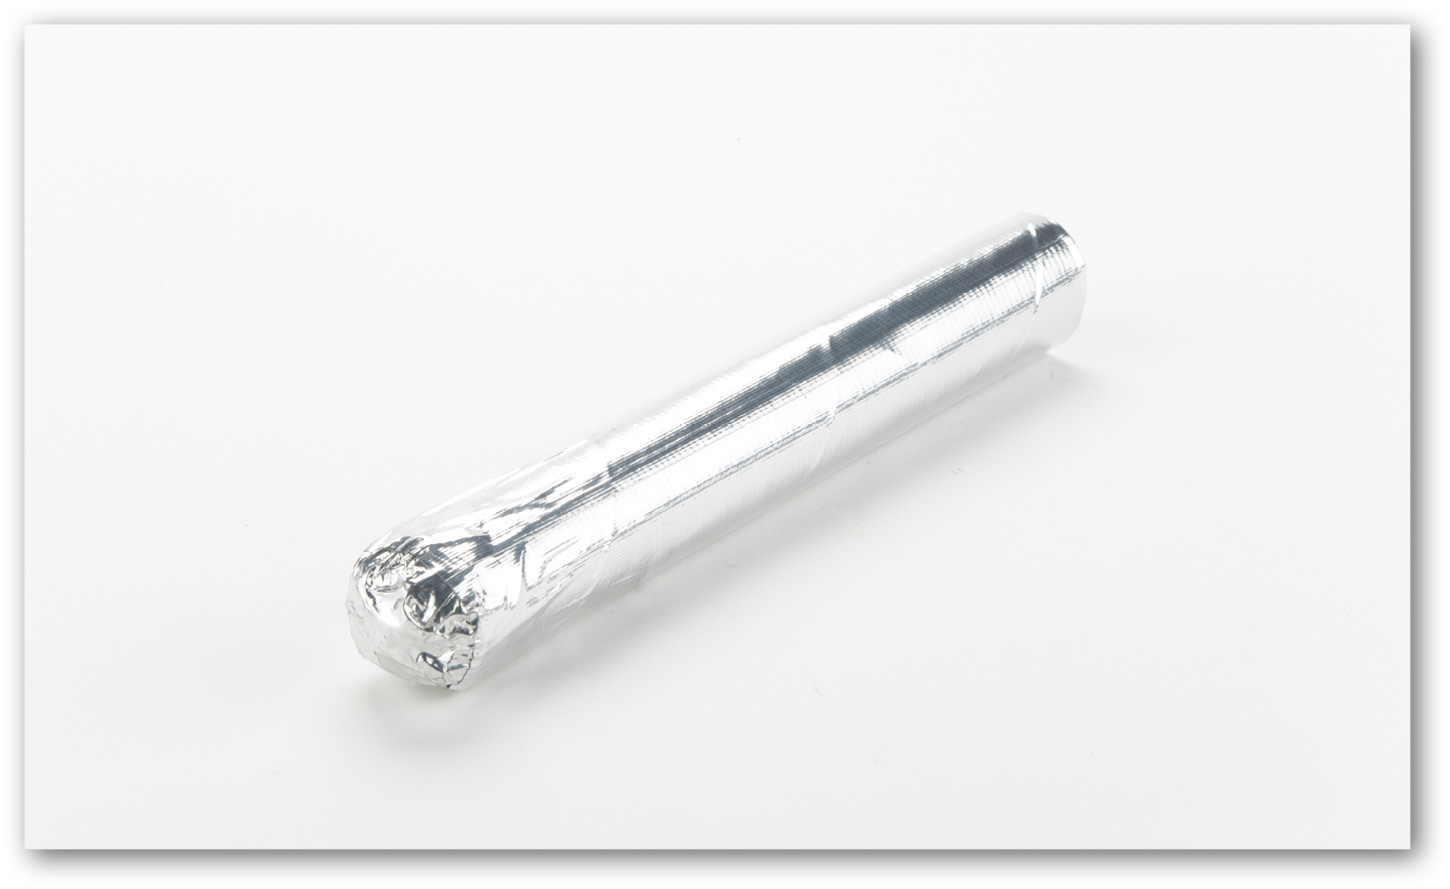
- Step 3: Crumple the second square of foil into a ball. Hot glue it to one end of the short tube. Cover the round end with two 4-inch (10-cm) long strips of silver duct tape. Then cover the length of this tube with silver duct tape.
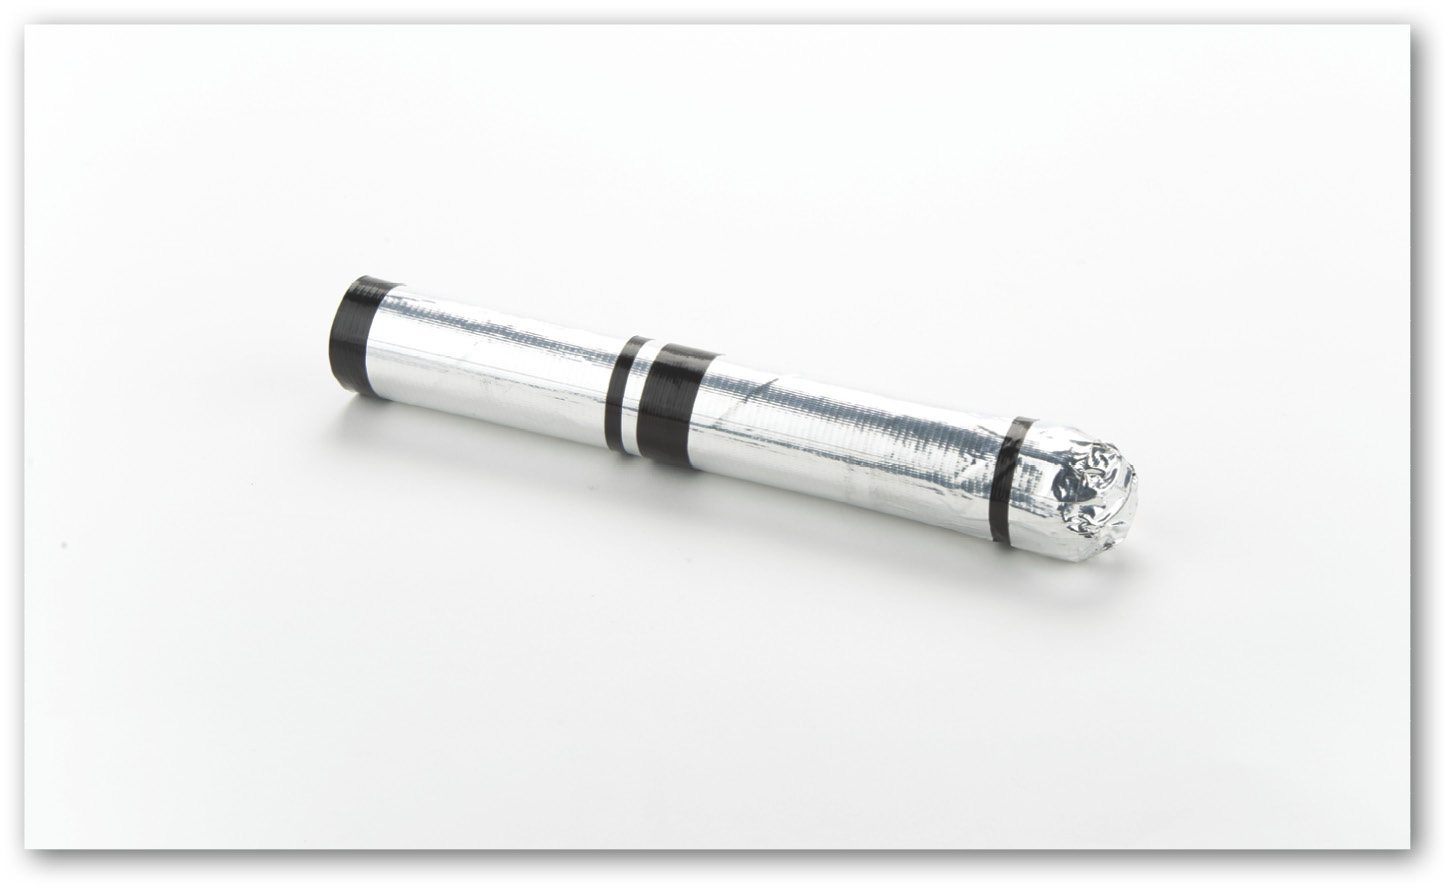
- Step 4: Cut two or three 5-inch (13-cm) long strips of black duct tape in various widths. Use these to add stripes to the short tube.
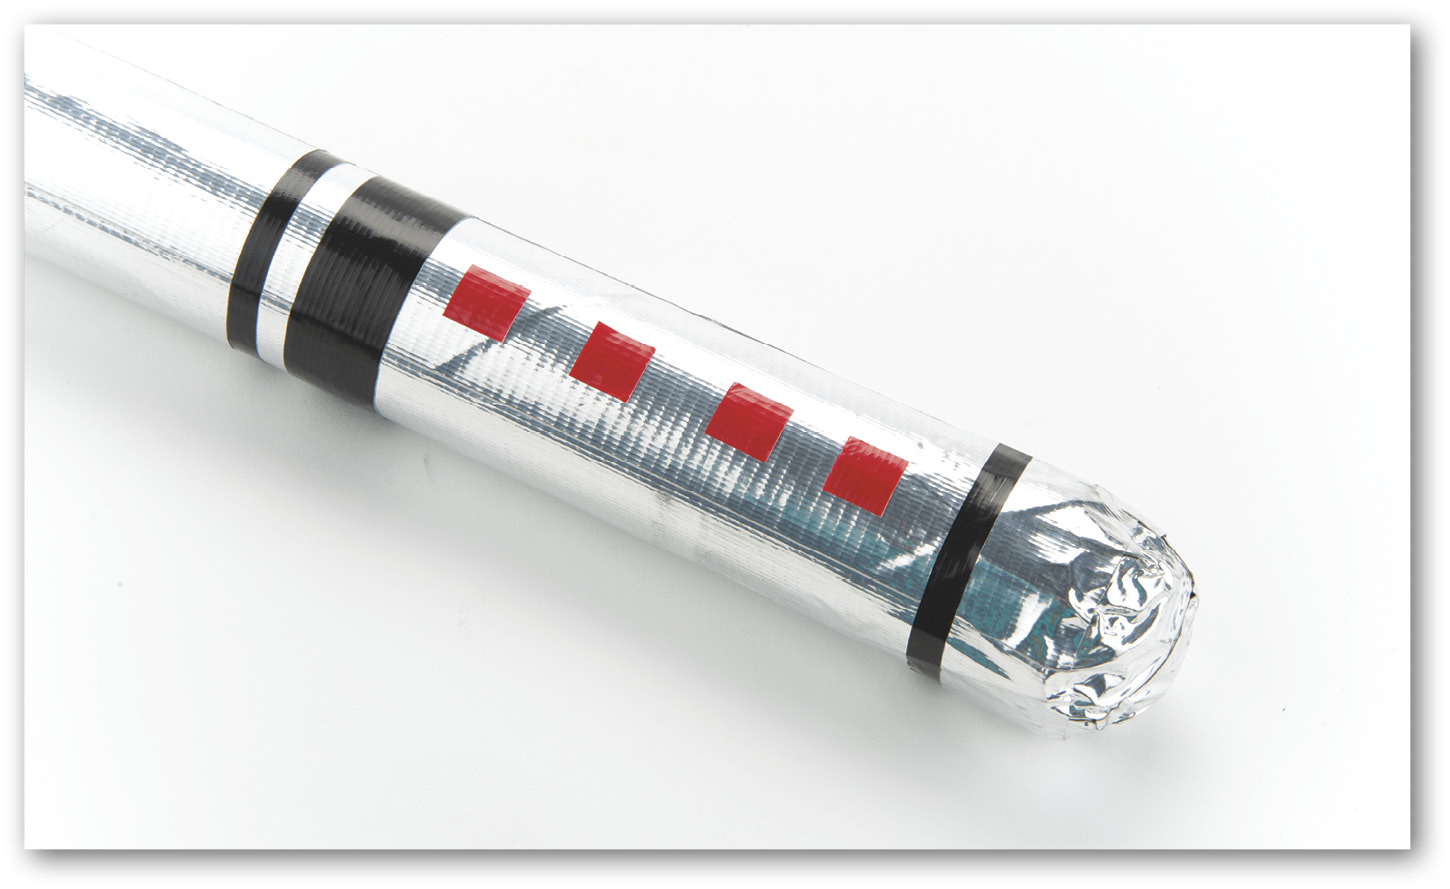
- Step 5: Tape four small squares of red duct tape onto the tube to make buttons, switches, and controls.
- Step 6: Slide the short tube onto the open end of the long tube. If it doesnt fit snugly, use hot glue to keep it in place. Now youre ready to save the galaxy!
Tip: Try giving your laser sword 3-D buttons, switches, and controls. Use hot glue to attach craft foam cutouts to the handle. Then cover them with squares of colored duct tape.
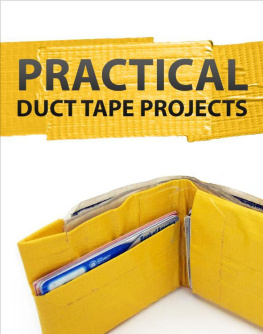
Super Tri-Fold Wallet
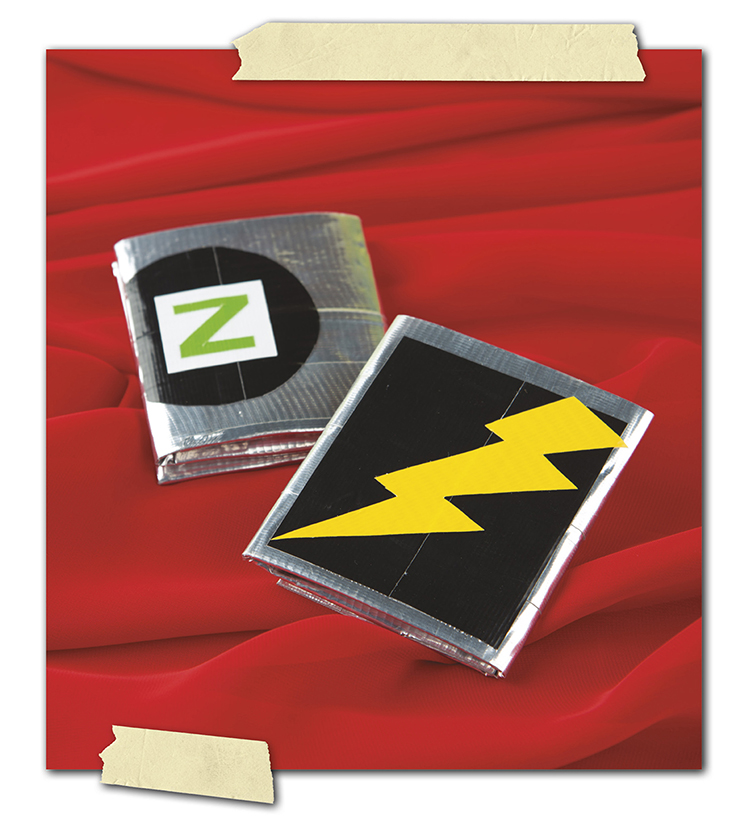
Would you like a colorful, waterproof wallet that shows your personality? This cool wallet can be made from your favorite colors. Or you can even create your own superhero logo. Use it to safely stash your cash before taking off to save the world.
MATERIALS:
- silver duct tape
- green duct tape
- white duct tape
- black duct tape
- clear plastic freezer bag
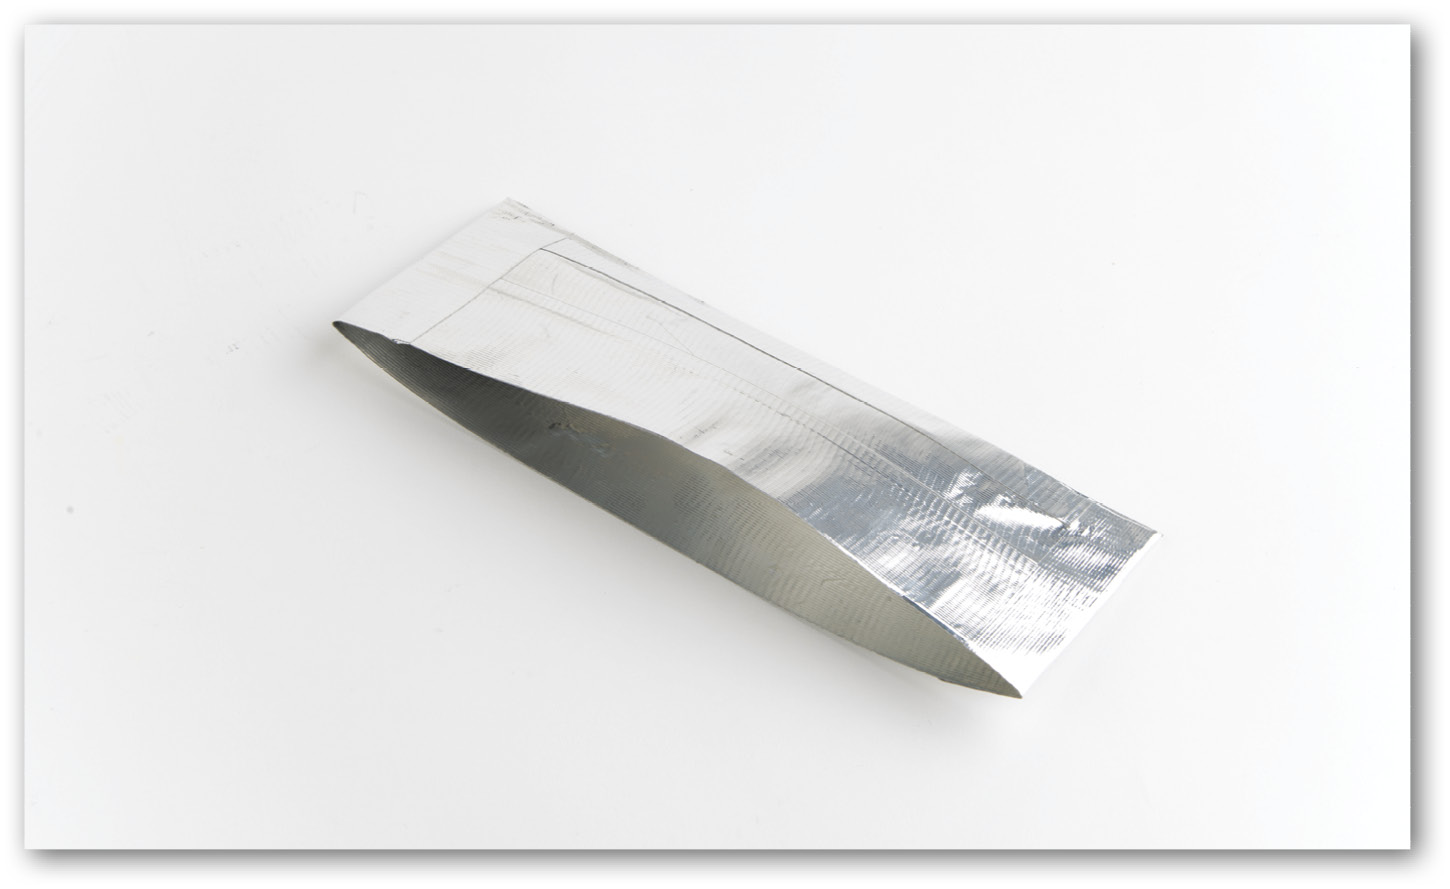
- Step 1: Make two pieces of 4- by 10-inch (10- by 25-cm) silver duct tape fabric.
- Step 2: Lay the two pieces on top of each other. Fold a 10-inch (25-cm) long strip of duct tape over the bottom to join the two pieces together. Then fold a 4-inch (10-cm) long strip of duct tape over each side to join the two sides. Leave the wallet open on top.
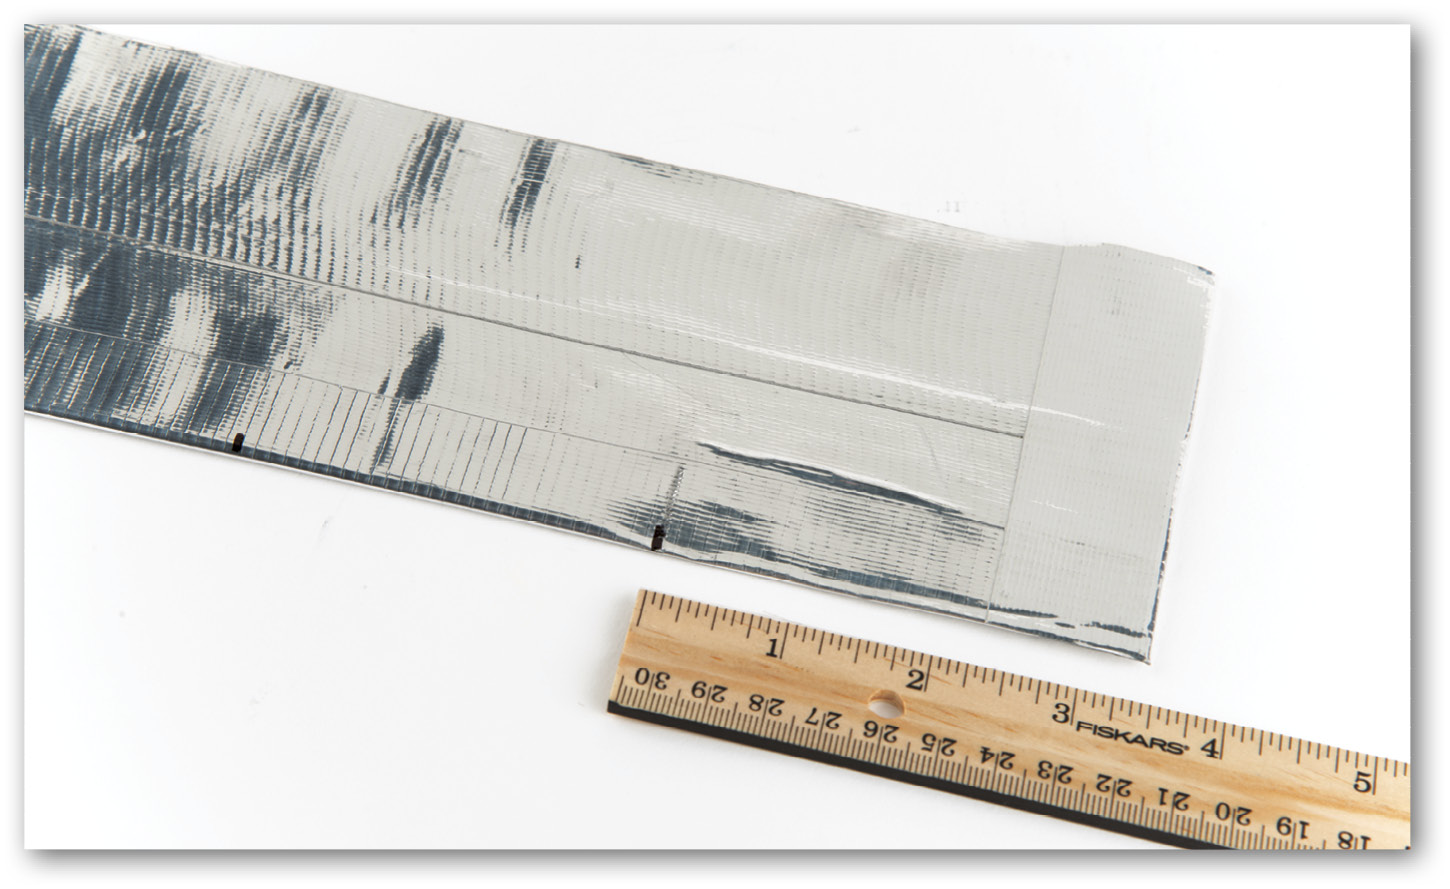
- Step 3: Lay a ruler along the bottom of the wallet. With a pen or pencil, make a mark a little less than 3.5 inches (9 cm) from the left side. Make another mark about 3.5 inches (9 cm) from the right side. Fold the right side of the wallet in to make a crease. Do the same on the left side. Place a heavy book on the wallet to squeeze the creases tighter. Leave the book on the wallet for at least one hour.
- Step 4: Make two more pieces of duct tape fabric measuring 2 by 3.75 inches (5 by 9.5 cm). Measure and mark 1 inch (2.5 cm) from the right edge of the wallet. Attach the right side of one fabric piece at the mark with a 0.5-inch (1.3-cm) wide strip of tape.


