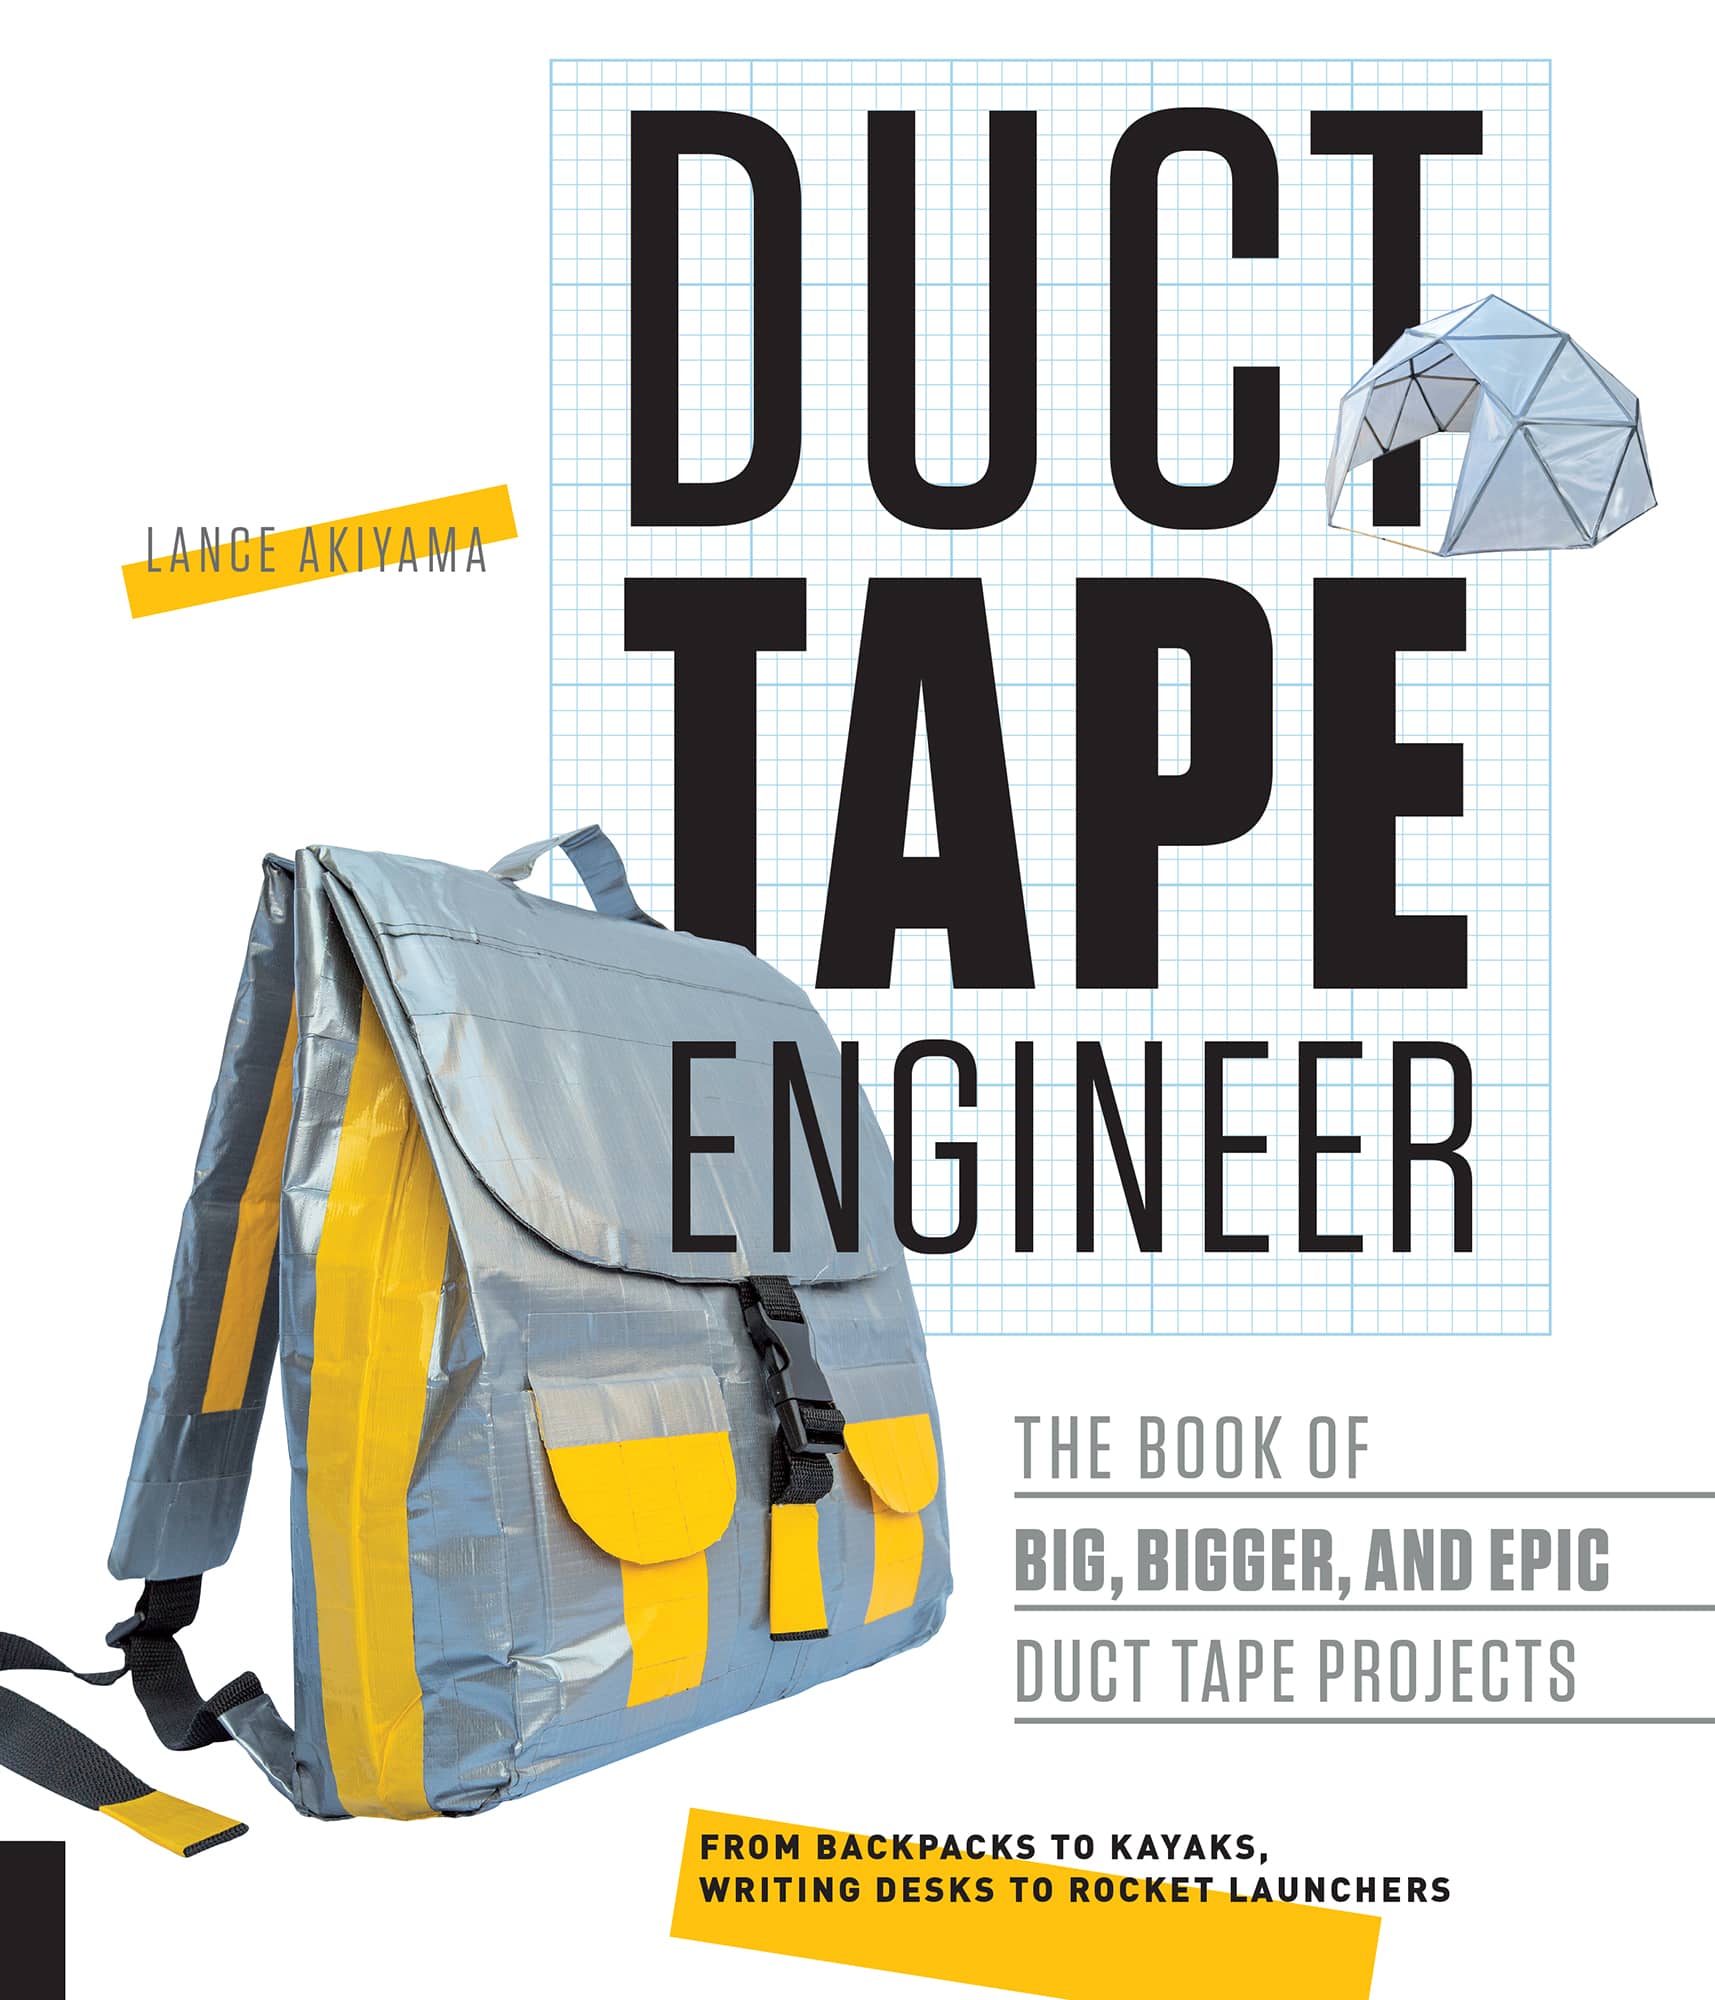
Theres more to duct tape than just wrapping it around a broken broomstick. This chapter outlines the fundamentals of duct tape techniques, as well as some specific skills that are repeated throughout the book. Whether you intend to build one or all of the projects in this book, this section will ensure you have the knowledge and tools to be successful.
RIPPING AND CUTTING
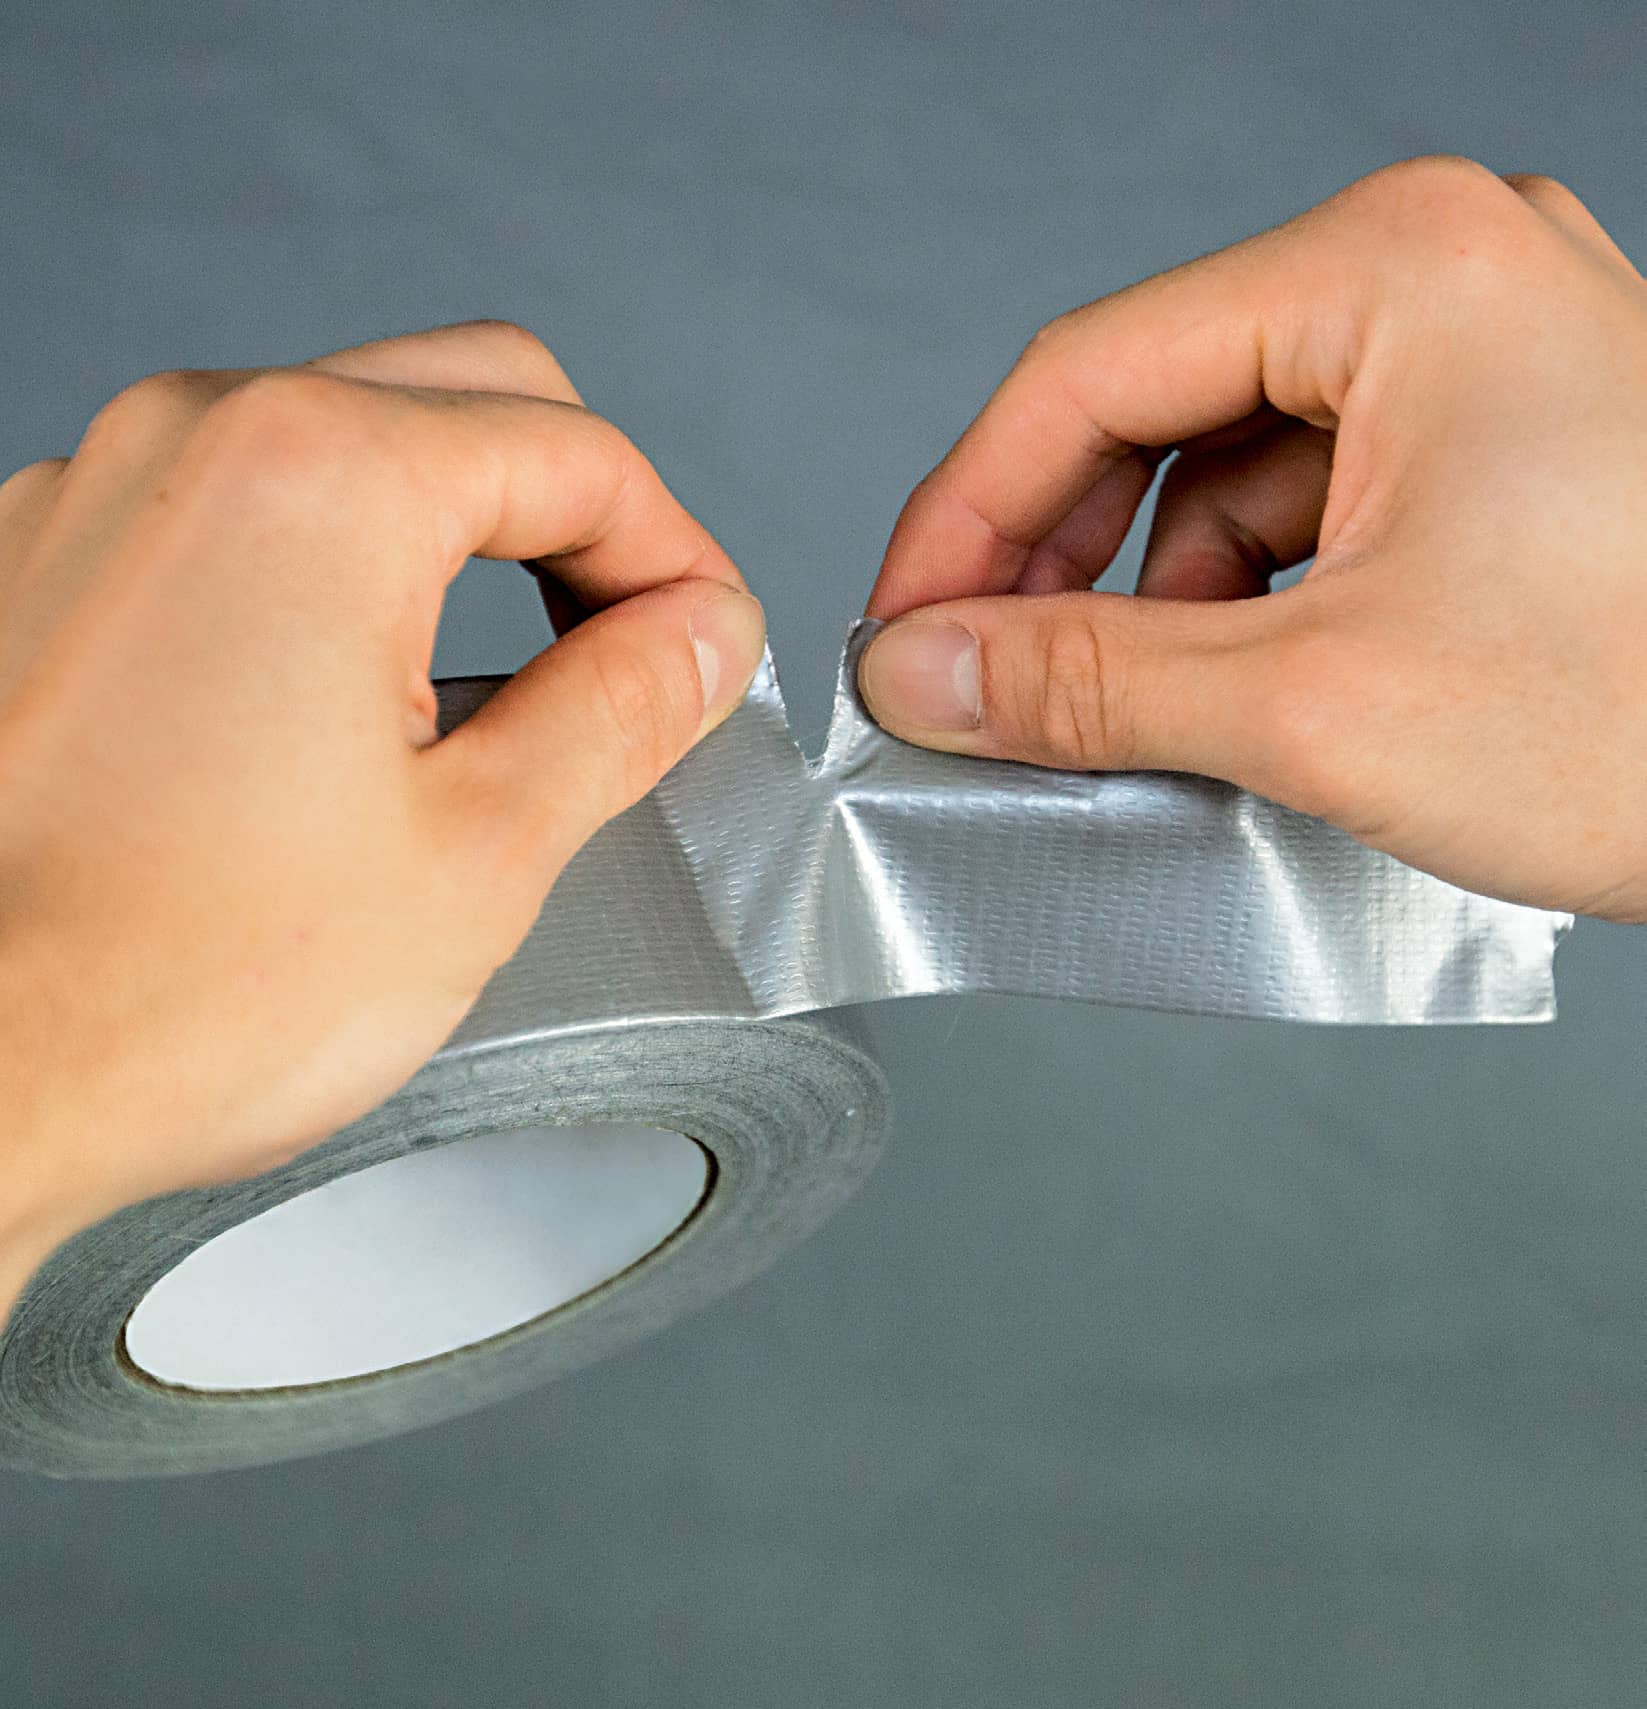
The quickest, easiest, and best way to divide a strip of duct tape is to rip it. Duct tape is designed to be torn easily. Pinch the tape with both hands and rip the tape a little. Once the tape begins ripping, itll be easy to tear the whole piece.
To trim duct tape, its best to use a rotary cutter. The adhesive gums up scissors blades, making them difficult to use. If you must use scissors to cut detailed shapes, purchase an inexpensive pair and clean the blades with rubbing alcohol after each use.
THE RIGHT TAPE FOR THE JOB
There is a lot of variation in duct tapes, both in quality and intended function. The original duct tape was made of cotton duck canvas, embedded with glue. The woven base gave it its strength and flexibility. Duct tapes today range from styles specially designed for outdoor conditions, tapes designed to be weight bearing, and colorful patterned tapes that are great for lighter jobs and decorative finishes.
For each project, I specify the type of tape and include a list of the actual tapes used. For your safety, and for the success of your project, please use the recommended type.
If the duct tape you have on hand is paper thin with few fibers, or if it doesnt rip cleanly, then its useful only for light duty or decorative work. Except for the projects in , I strongly recommend using heavy-duty duct tapeDuck brands Max Strength DuckTape is usually sufficient. ShurTech brands T-Rex Tape is even more durable.
RECOMMENDED TOOLS
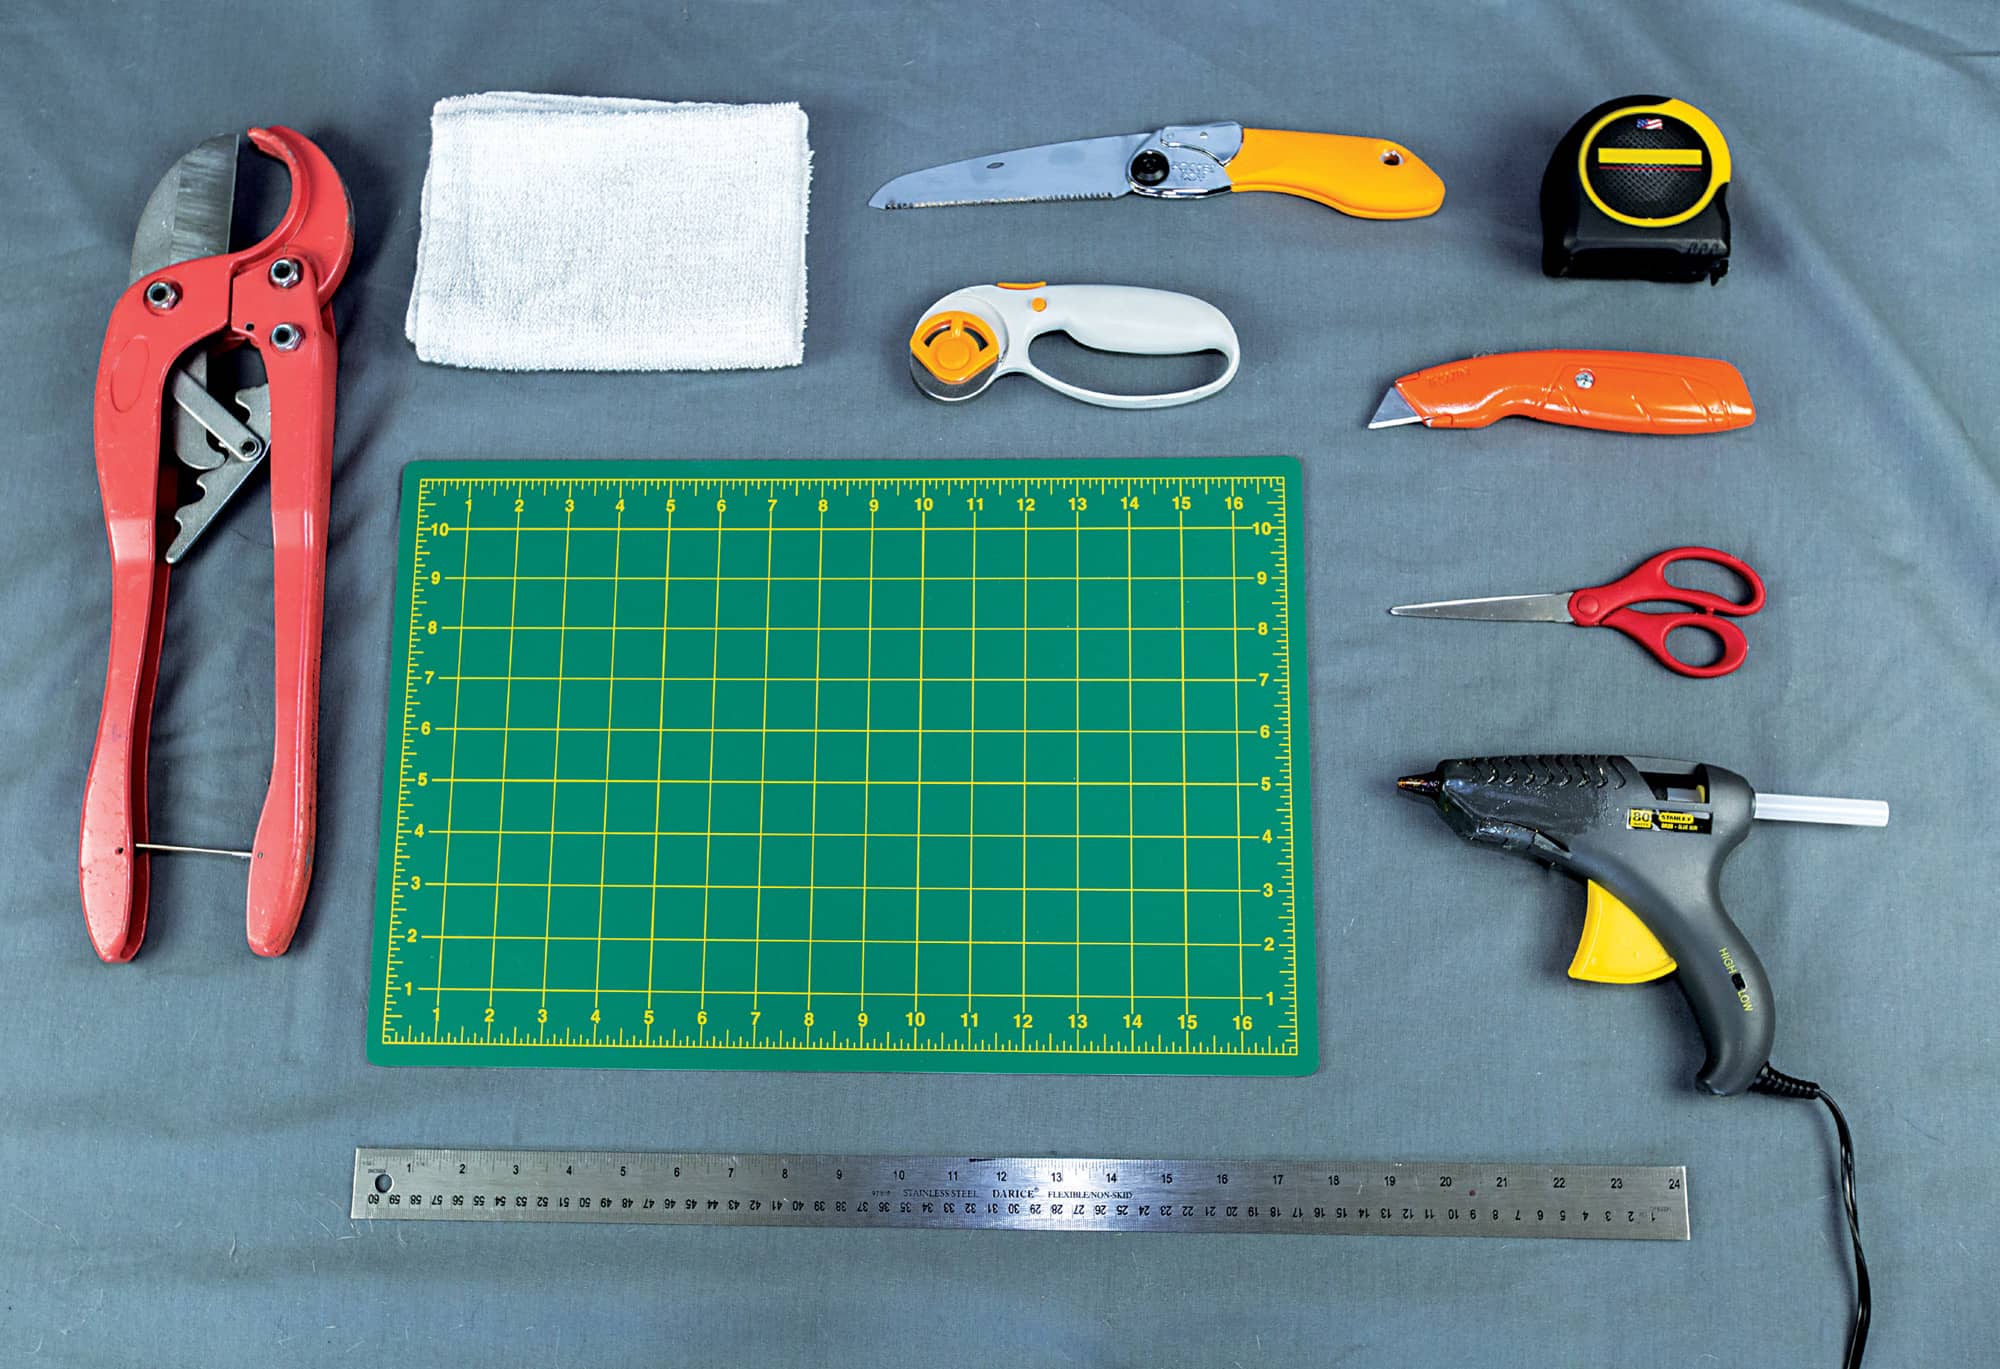
Many of the projects in this book use a basic set of tools. If you intend to become a true duct tape engineer, I suggest having these tools on hand.
CUTTING MAT
MEASURING TAPE AND/OR METAL RULER
ROTARY CUTTER
UTILITY KNIFE
INEXPENSIVE SCISSORS
DRY CLOTH
GARDEN SAW FOR CUTTING BAMBOO
PVC PIPE CUTTERS
HOT GLUE GUN
TAPING TECHNIQUES
Theres more to applying duct tape than just slapping it on. Anything that comes between the adhesive and the surface will make the bond weaker. Read on for tips to ensure your tape does the job.
SURFACE PREP AND MAXIMUM ADHESION
Its crucial to clean surfaces of dust, oil, and moisture before taping. Wiping surfaces clean with a dry cloth is usually sufficient. If not, wash with soap and let dry.
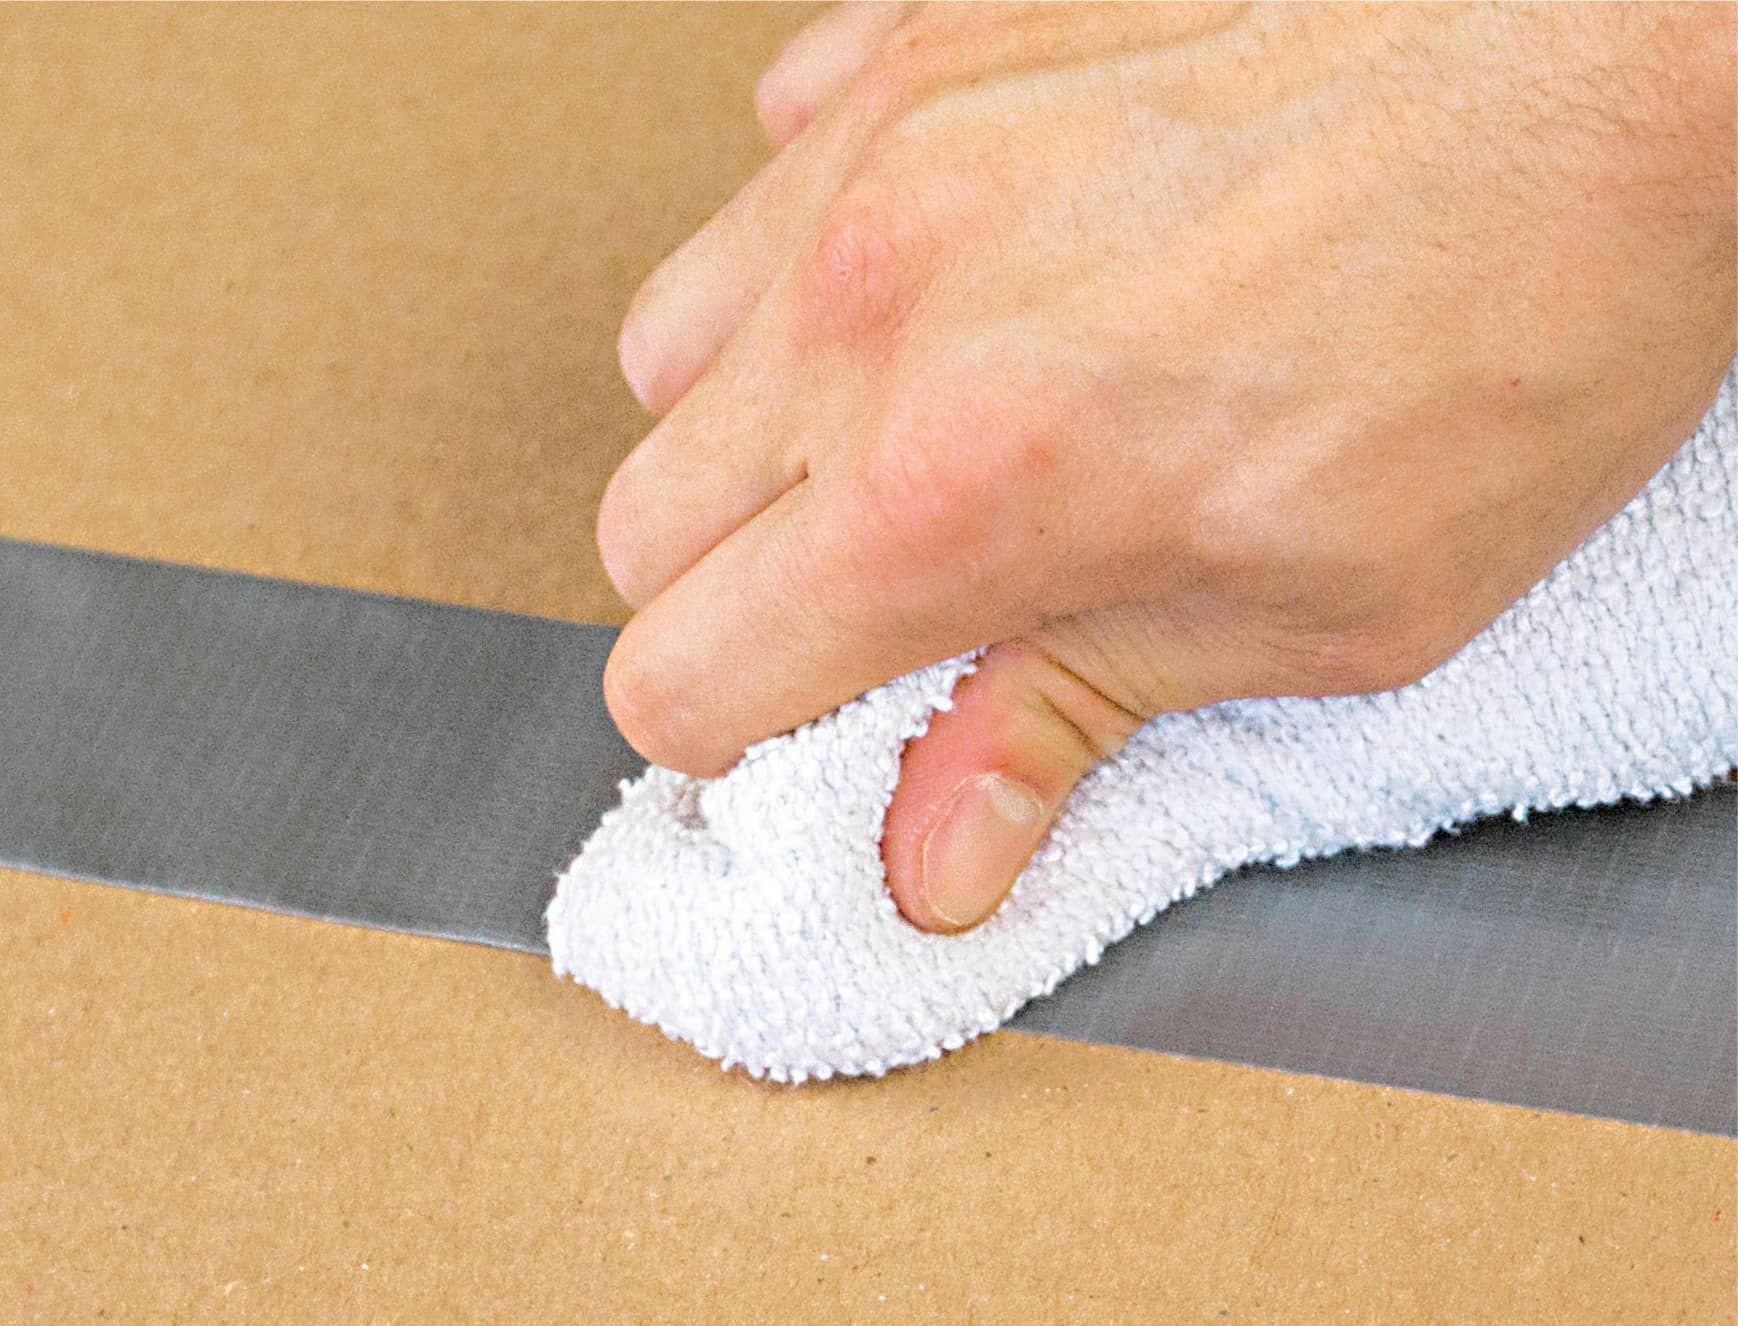
For maximum adhesion, press the tape firmly onto the surface. Duct tape is a pressure-sensitive adhesive. The adhesive on duct tape works by penetrating the pores of the surface its on. Therefore, the more pressure you apply, the better it sticks.
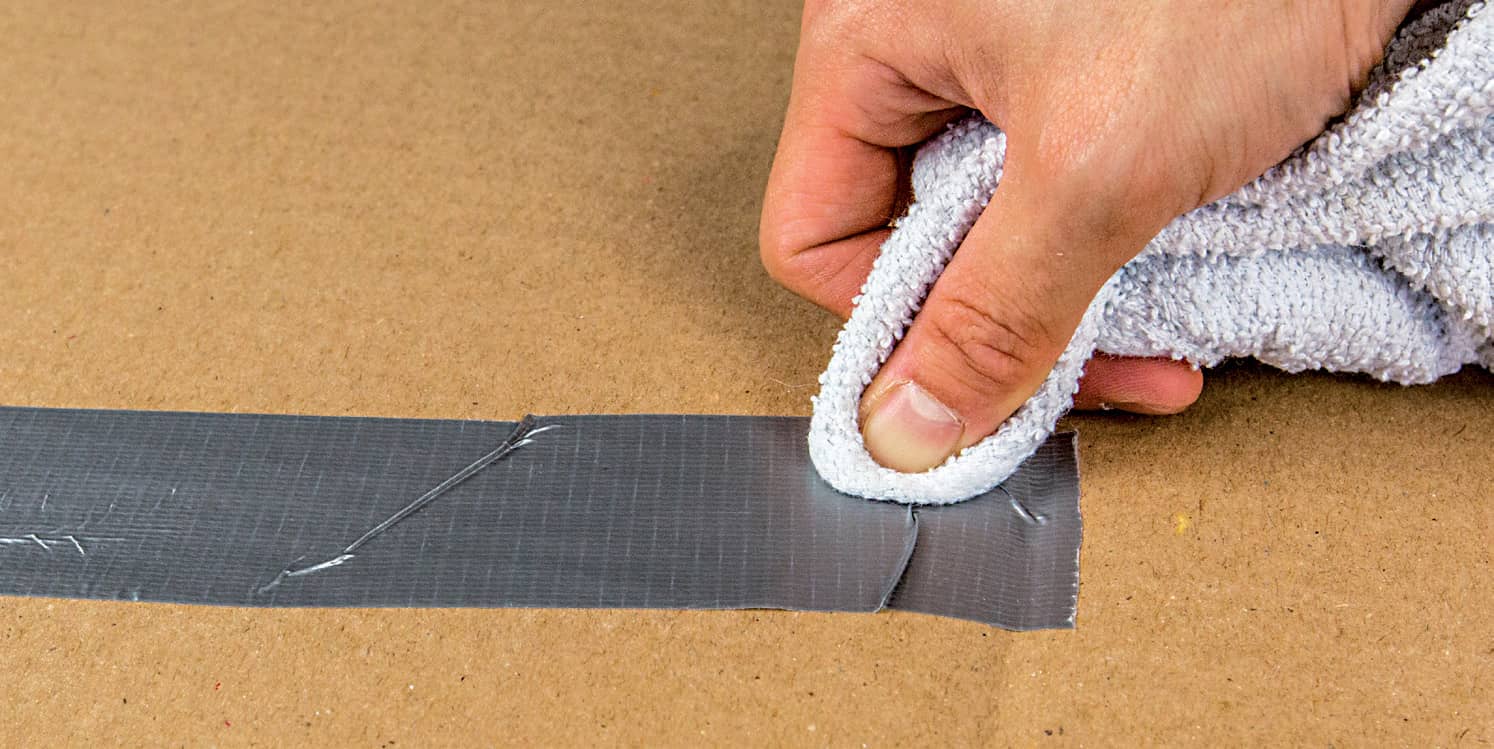
To apply even pressure along a long piece of tape, grip a dry cloth in your hand, press it on the tape, and slide it along the tapes backing.
CROSS TAPING
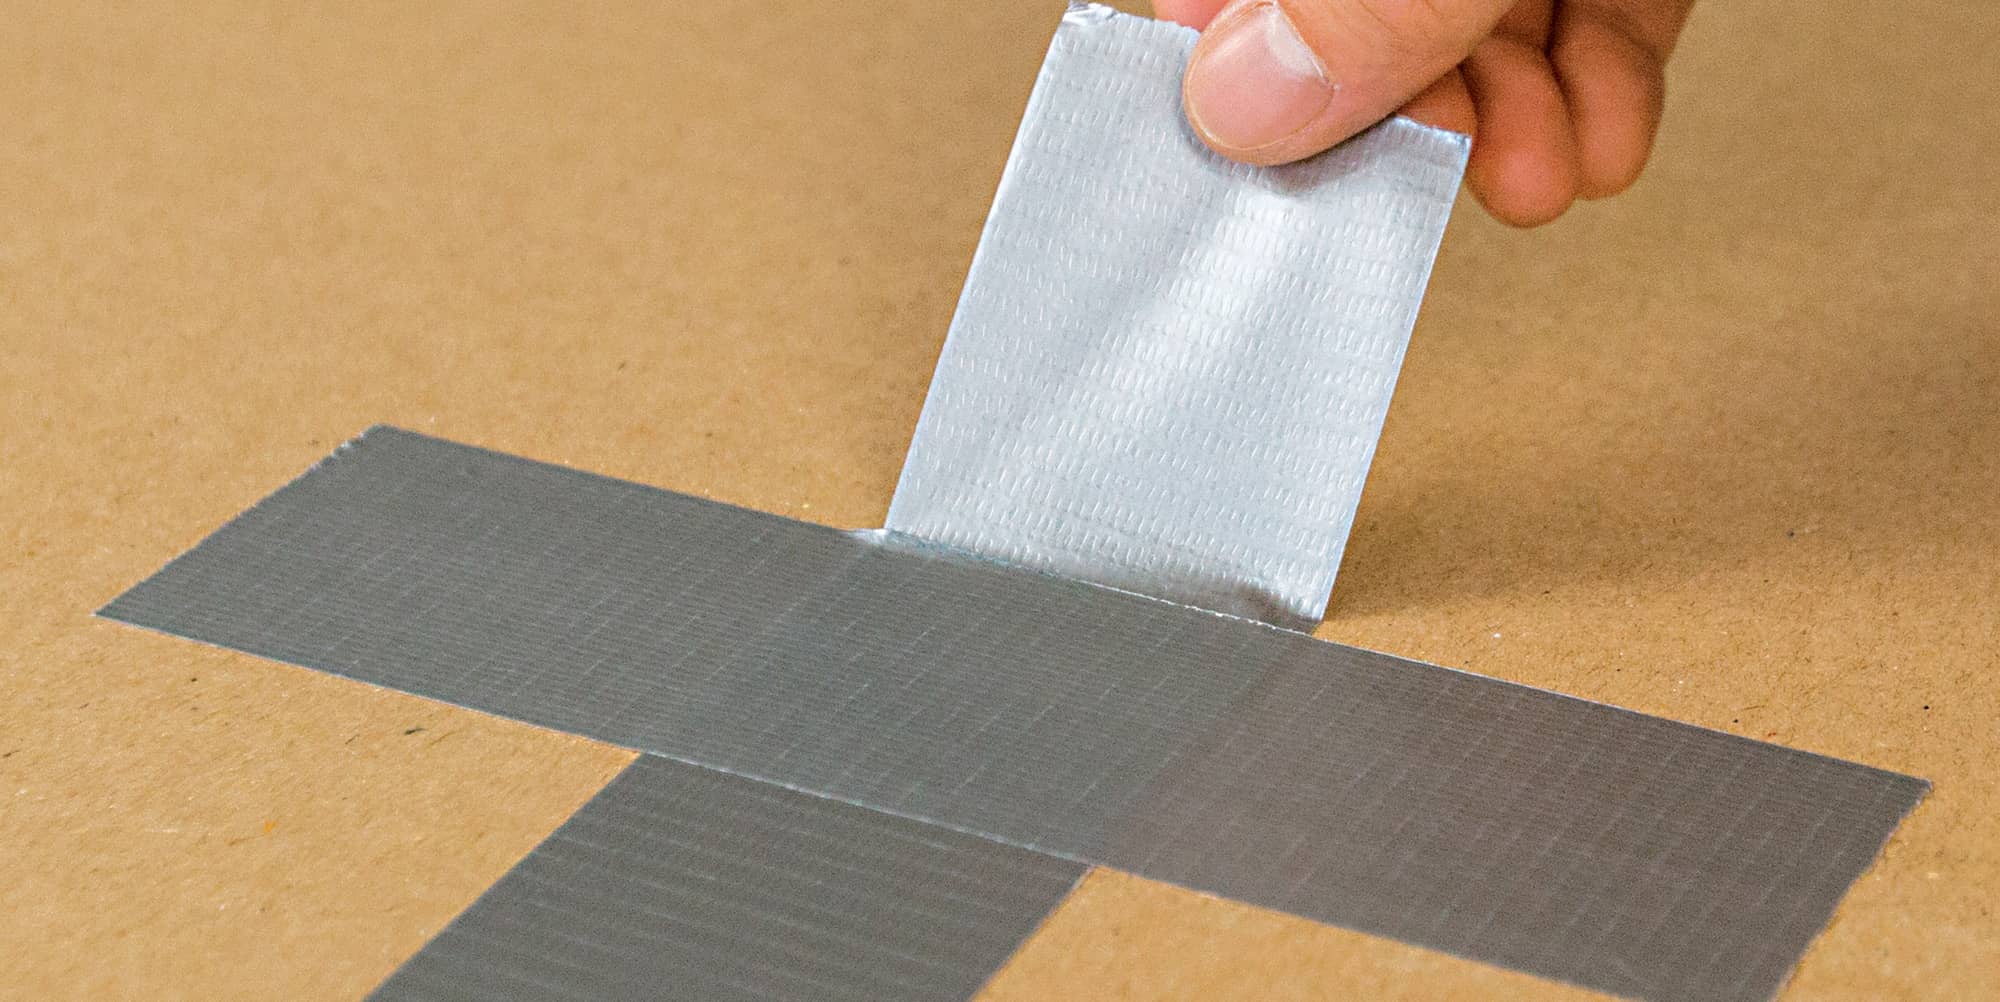
Duct tape has a high tensile strength, which means it can withstand a lot of force pulling on it. (Weve all seen the picture of a car suspended in the air with duct tape!) However, duct tape can usually be peeled away from a surface with much less force. To prevent tape from peeling, place a second piece of tape perpendicular to the first, forming a cross.
CORNERING AND CURVING
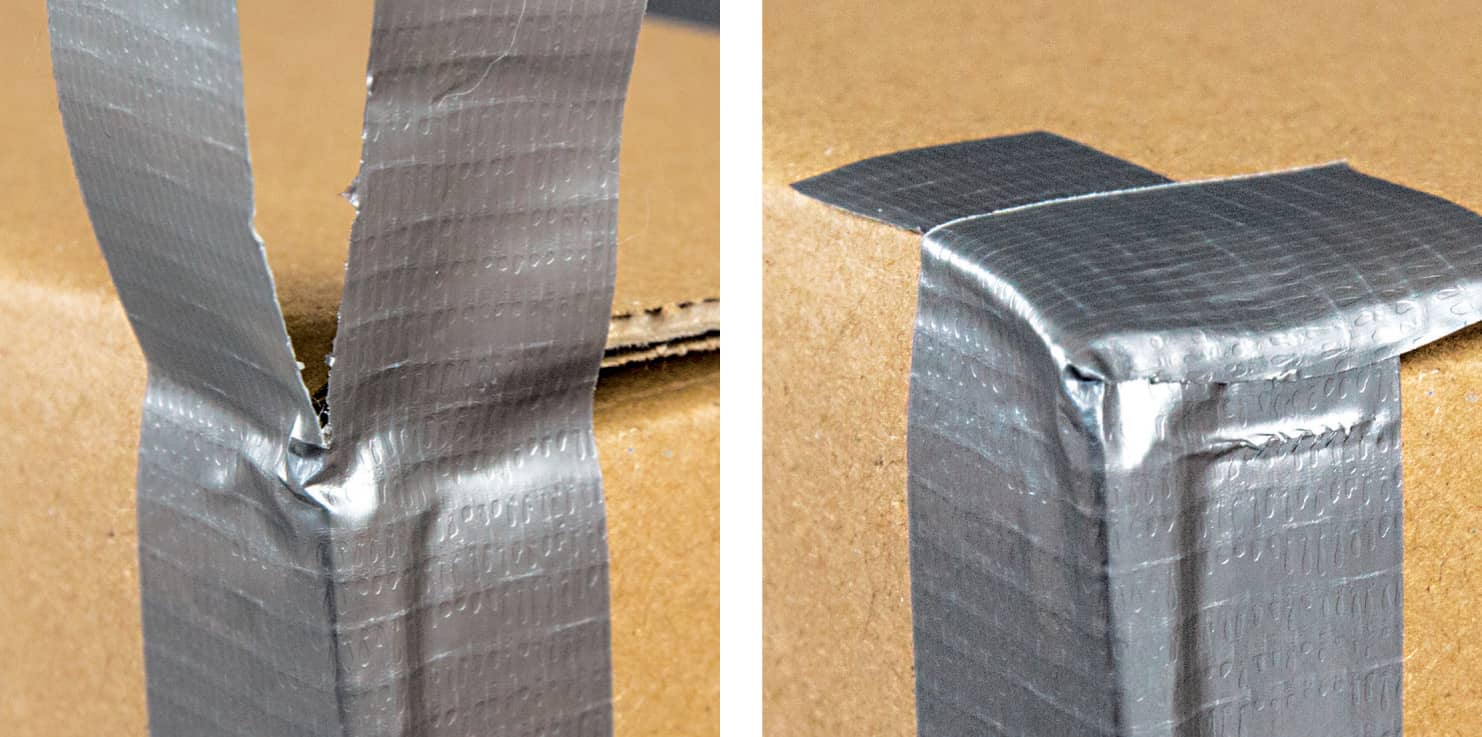
Flat tape does not fit over corners or curves very well. However, you can neatly apply tape to curves by slitting it with a utility knife. Fold the two tape halves over each other, as shown.
MINIMIZING IMPERFECTION
When duct tape sticks to itself, its practically impossible to unstick. Save yourself a lot of aggravation by discarding lengths of tape that are stuck to each other. For wrinkles in tape youve already applied, smooth them out by pressing a dry cloth on the wrinkles.
NOTE
Duct tape doesnt stick well to textured surfaces, such as concrete, certain kinds of fabric, or anything thats even slightly wet. Instead, choose a nonstick surface such as plywood or plastic. Experiment to find out which surfaces allow tape to adhere slightly but also easily peel away.
HOW TO MAKE A DUCT TAPE SHEET
A large sheet of duct tape is ideal for any project that uses the tape as a fabric or requires an expansive surface. Creating a large sheet that you can then cut into smaller pieces minimizes imperfections and gives your projects a clean, uniform finish. It also makes building a large project more enjoyable: Once the sheet is done, you can focus on assembling your creation quickly.
This sheet is double sided, making it extremely strong and durable. Create a reversible sheet with two colors, as in this example, or have fun with a striped sheet by alternating colors when you apply each new row of tape. Here are the steps to creating a perfect duct tape sheet.
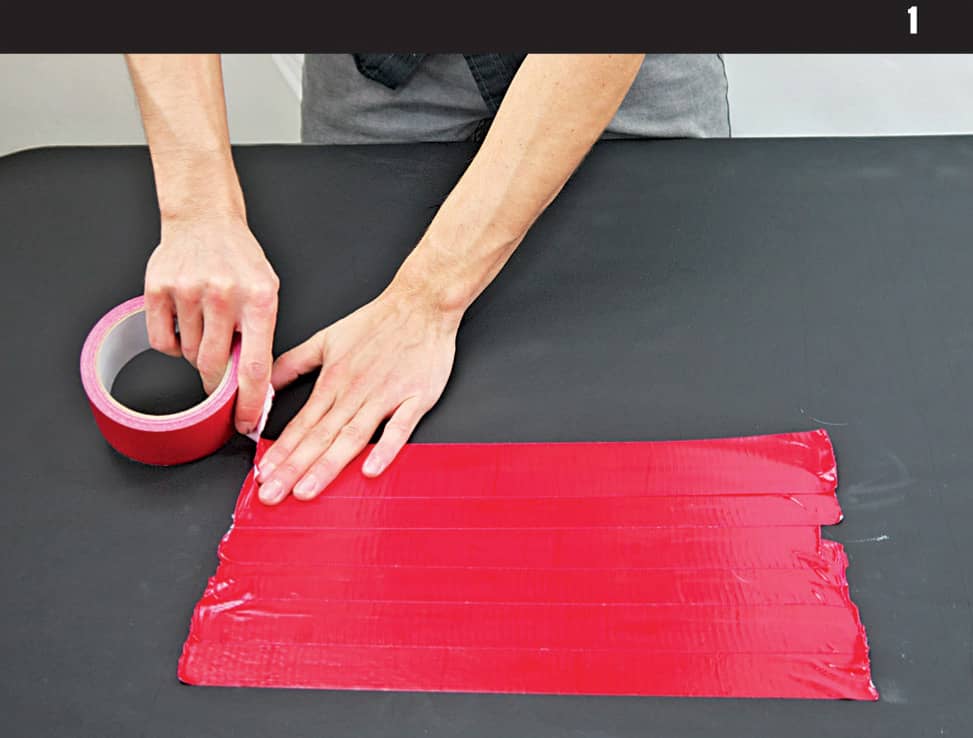
Choose a nonstick surface (see ) for your work area. Overlap pieces of tape in the length desired directly onto the work surface. Each new piece of tape applied should cover half the width of the previous piece. Keep the tape taut as you lay it down, and use your free hand to smooth it into place. Press down on each piece to remove air bubbles and ensure that the tape adheres completely.
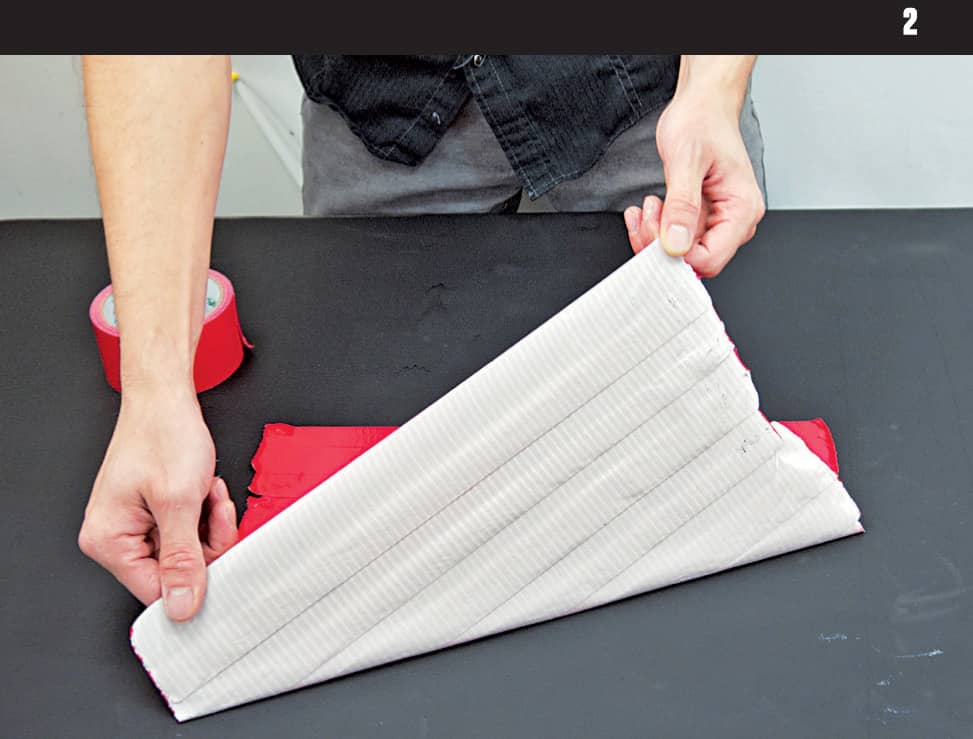
Pull up the sheet, starting with the first layer. If you start with the final layer, you may accidentally tear the sheet in half.
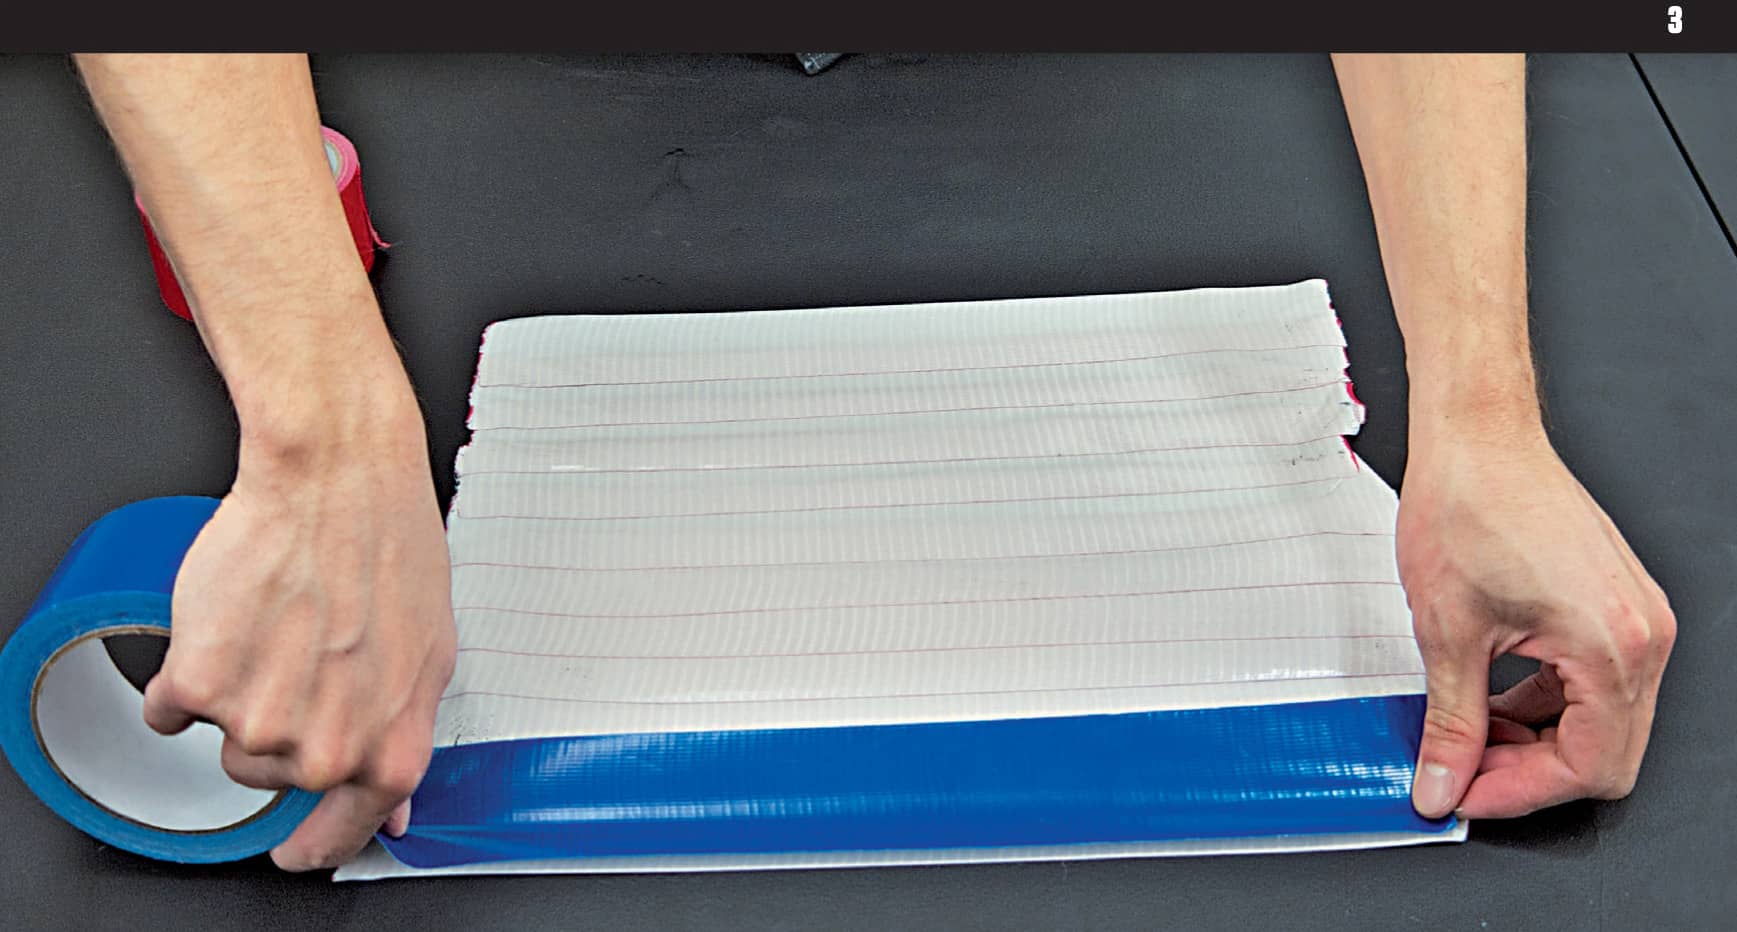
Flip the sheet over, tape it in place so it doesnt shift, and finish the reverse side in the same way as the first. Work slowly and deliberately: Its difficult to adjust a long piece of tape once the two adhesive surfaces are stuck together. If a mistake occurs, smooth it out as best as you can, and consider applying another layer of tape to cover the imperfections.


