FLORAL DIMENSIONS:
A TRIO OF DIMENSIONAL FLOWERS
PAULINE INESON

Carnation
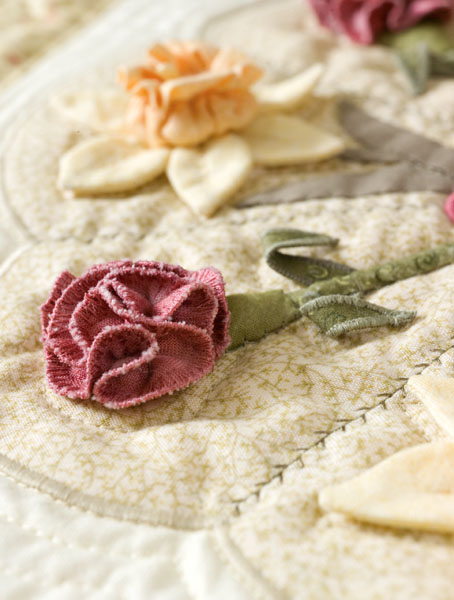
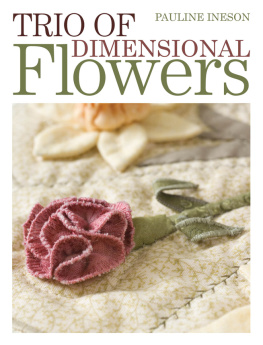
Whether you like grand florists carnations or pretty garden pinks, the frilly edges of this flower are very distinctive and rewarding to create in fabric. Pink is a favourite colour but try white, lemon or red. To make my carnation flower I used two fabrics fused wrong sides together and then edged the petals with an irregular machine satin stitch. You could use two slightly different shades for added interest. Try using a contrasting thread around the edges.
Requirements
Background fabric, size according to your quilt block or project
Fabric for the stem, calyx, leaves and petals
Machine sewing thread, cotton or polyester, to match fabrics
Rayon, polyester or cotton thread for satin stitch edging
Fusible web
Water-soluble stabilizer
Cord or wool to stuff stem
Toy stuffing for calyx
Seam sealant liquid (optional)
Embroidery hoop (optional)
Making the Leaves
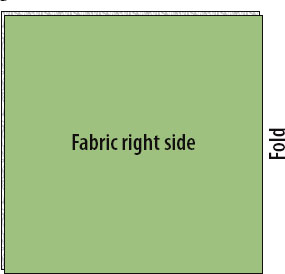
Cut a bias strip from your leaf fabric about 2in x 4in (5cm x 10.2cm) and a 2in (5.1cm) square of fusible web (I used Steam-A-Seam). Iron the fusible web (remove one of the backing papers first if using Steam-A-Seam) on to one half of the wrong side of the fabric see ).
Fig 1A

Fig 1B
Using the , draw around the carnation leaf shape twice on the double layer of fabric using an easily removable marker. Cut the leaves out on the line.
Thread your machine with the same thread on top and in the bobbin preferably a rayon thread. Select a satin stitch, width 2.02.5, and adjust the tension so that the top and underneath look the same. You may have to tighten the tension slightly (a higher number) if your machine sets the stitch automatically (refer to section). Sandwich the leaves between two layers of water-soluble stabilizer (I used Solvy). Satin stitch around the edges of the leaves so that the left swing of the needle goes into the fabric and the right swing goes just off the edge. Remove the stabilizer. A drop of a seam sealant such as Fray Check can be applied to the tips of the leaves to prevent any stitches from dropping off the end.
TIP
When working the machine satin stitch you may find it easier to put the stabilizer sandwich in a hoop and use a metal or Teflon foot rather than a plastic one. You could use tear-away stabilizer but this can leave a white edge where it has been torn away. You may be able to sew the edge without a stabilizer, so experiment first.
Pin the leaves in position (refer to the for placement). The base of the leaves should meet at the centre of where the stem will be sewn. Zigzag these two edges together but do not sew any more of the leaves at this point.
Making the Stem
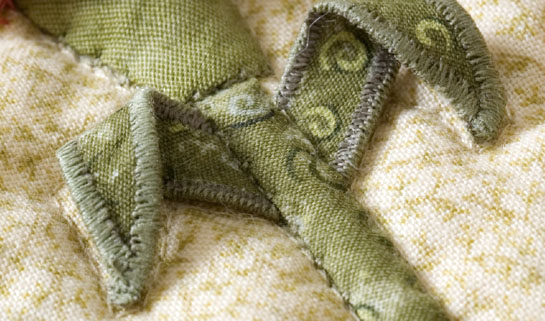
Cut a 1in x 2in (2.5cm x 6.3cm) bias strip (or your chosen length). Refer to ). Stuff the stem with wool. Bring the points of the leaves down and hand sew in place.
Making the Calyx
Trace the calyx template on to the wrong side of the calyx fabric and cut it out. Fold where indicated by the dotted lines on the template, wrong sides facing, mitring the corners at the top and making the bottom edge the same width as the stem. Place the calyx over the stem, just above the top leaf (refer to the for placement). Blind hem stitch the two sides and bottom. Push a little stuffing in through the top and then blind hem stitch the top edge closed.
Making the Petals
Draw three 1in (4.1cm) diameter circles on the fusible web and roughly cut them out ().
Fig 2A
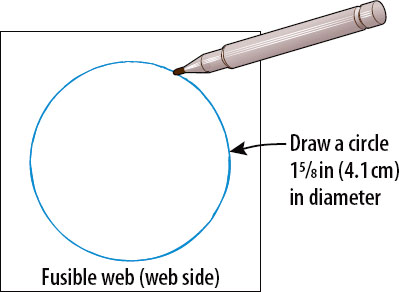
Fig 2B
Peel off the backing paper without the line on and iron the shapes to the wrong side of the petal fabric. Cut the fabric and fusible web on the outside line only ().
Fig 3

Fig 4

9. Thread your machine with the same thread on top and in the bobbin preferably a rayon. Select a satin stitch (or satin stitch with an irregular edge if you have one see ), width 3.04 and adjust the tension so the top and underneath look the same. Sew along the edge of each circle so the left swing of the needle goes into the fabric and the right swing goes just off the edge. You may be able to do this without stabilizer as it wont matter if the edge isnt exactly even. If this doesnt work, use stabilizer as for the leaves.
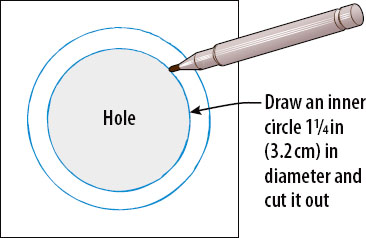
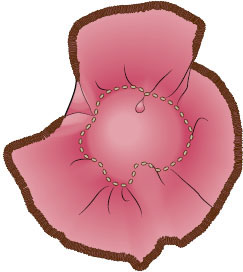
On the right side, draw a in (2cm) diameter circle in the centre of each circle and machine sew a gathering stitch, length 4.0, on the line. Leave thread tails but do not secure the beginning or end. Tie the threads on the right side and bury them. Pull up the threads on the other side tightly to gather the centre of the circle (see ). Knot and bury the ends.
Fig 5

Fig 6
Using a removable marker, draw the three carnation placement circles from the placement guide template on to the background fabric. Hand sew one carnation flower to the centre of each of these circles. Catch a few of the carnation petals to the background and a few of them to each other at the edges to form a flower.
See for carnation templates.
Design Inspirations

Carnations or pinks are such lovely flowers. Pink is a favourite colour of course and there are so many shades to choose from, ranging from delicate blush pink to sizzling cerise, or you could use red or purple for a more dramatic look. The examples shown here use a satin stitch edging in a thread that tones with the petal fabric but try a contrasting thread colour for a bolder picot look.

