Contents
Guide

Publisher: Amy Barrett-Daffin Creative Director: Gailen Runge Acquisitions Editor: Roxane Cerda Managing Editor: Liz Aneloski Editor: Kathryn Patterson Technical Editor: Debbie Rodgers Cover/Book Designer: April Mostek Production Coordinator: Tim Manibusan Production Editor: Jennifer Warren Illustrator: Linda Johnson Photo Assistant: Lauren Herberg Photography by Estefany Gonzalez of C&T Publishing, Inc., unless otherwise noted Published by C&T Publishing, Inc., P.O. Box 1456, Lafayette, CA 94549
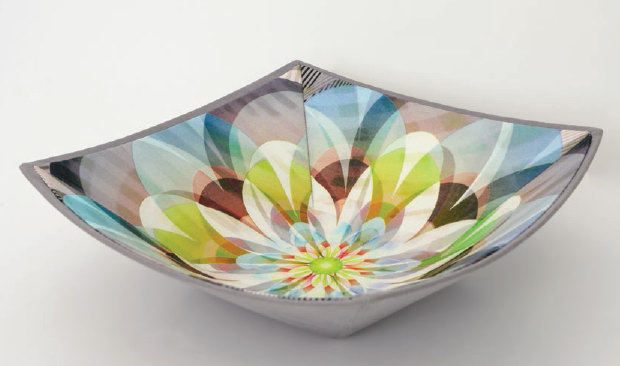
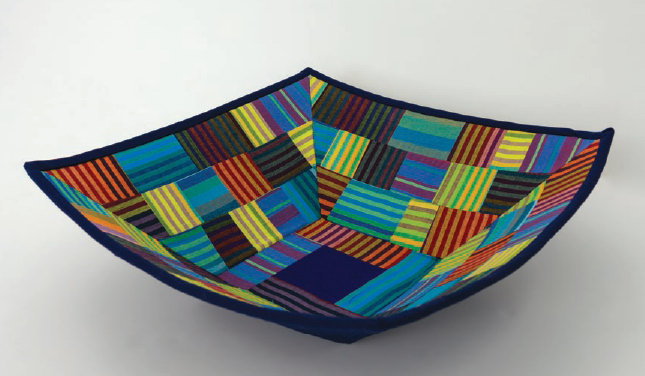
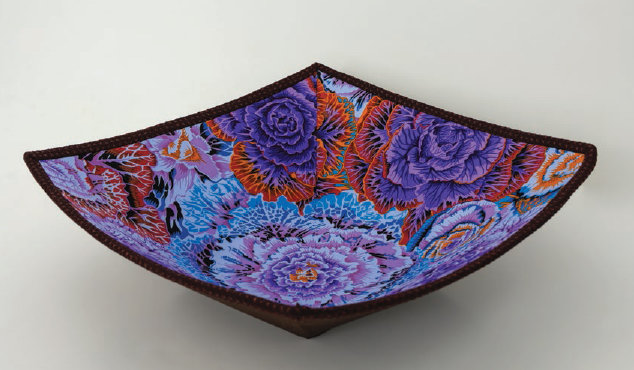
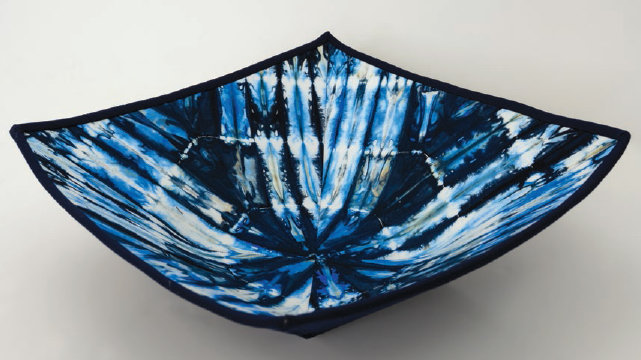
DEDICATION This book and most of the quilting patterns we use today would not be possible if not for all the math teachers who taught us about angles and measurements, especially my own high school math teacher at Klostergade Skole in Vejle, Denmark: Mr. Sven Aage Poulsen. He made math fun and simple. When I set out to transform a 12 quilt block into a 3-D shape and had to work with odd angles and measurements, it was all so much easier because I had learned from him that a math problem is a fun challenge. I came to appreciate the intricate math required to create the many quilt blocks we use today, developed by quiltersprimarily womenwho were never given credit for their skill.
This book is dedicated to them.  ACKNOWLEDGMENTS This book was not created in a vacuum. When I first decided to share the technique I developed in a book, many members of the Brooklyn Quilters Guild encouraged me, especially Martha Musgrove and Chris Janove. Over the years I have formed strong bonds with some quilters who, like me, have also studied with Nancy Crow. They became my support group. Madeleine Appell and Martha McDonald went above and beyond.
Madeleine simply wouldnt accept me not writing the book and made sure I knew it. I cant thank Martha McDonald enough for the hours of encouragement, support, and her calm steadiness. I also want to thank the women in the Mapula Project in Pretoria, South Africa. I am grateful to the artists who did the beautiful embroidery used in this book, Jennifer Du Preez who encouraged the idea, and Janetje van der Merwe, whose help and many hours of hard work made it possible to show how the technique in this book can be used in an unexpected way. Thank you to Anne Feldballe from Huset Anne Feldballe, Copenhagen, for some of the beautiful fabrics used in my bowls. My greatest support in all of this has been my husband, Kenneth.
From the day we met many years ago in Copenhagen, he has always believed in me and encouraged me to follow my path as an artist. Thank you to C&Ts terrific editors, Kathryn Patterson, and the other professionals who gave me this opportunity. chapter 1 INTRODUCTION 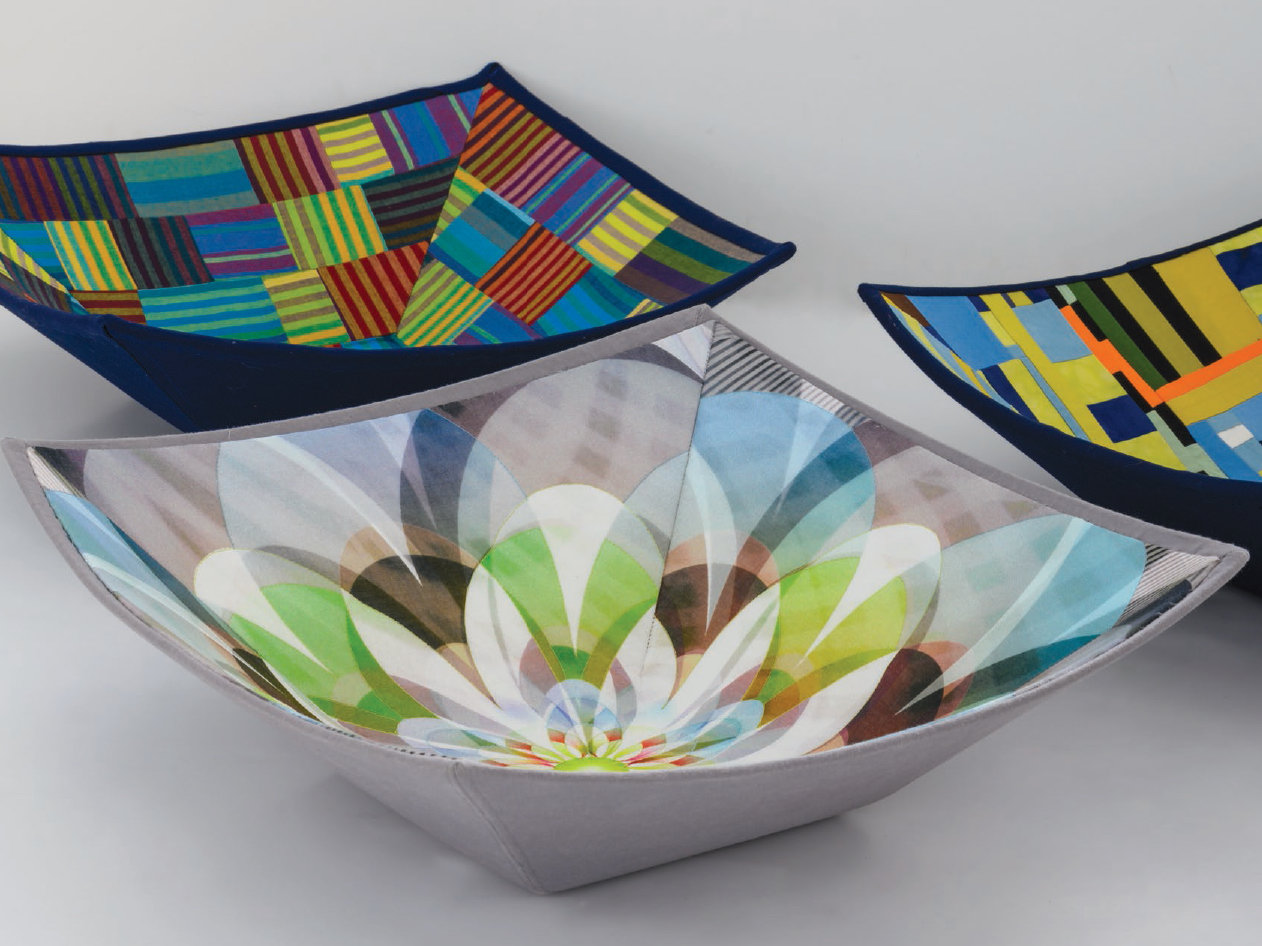 A simple need started my love for fabric bowl making. In 2003, when my mother was 89 years old, she complained that she couldnt remember where she left her house keys. I set out to make a small bowl where she could always leave the keys. Because my mother loved the Ohio Star quilt block, I decided to make that block into the three-dimensional shape of a bowl.
The bowl was made pretty much like a one-block quilt with patchwork inside, a solid backing, and interfacing as the batting. It was before I discovered fusible interfacing, so it was very loose, but it served its purpose. 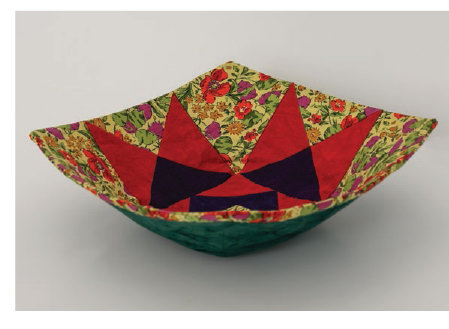 My very first fabric bowl Since then I have perfected the technique and made many bowls in many different sizes based on some of my favorite quilt blocks and also on some of my own abstract designs. HOW FABRIC BOWLS ARE MADE This book can be used both by the quilter who wants to use a traditional quilt block in a quick project and by the quilter who wants to experiment with shape and design in a three-dimensional form. No sewing experience is necessary, but it helps. Each bowl can be made in four different sizes.
The sizes given in the instructions are the pattern sizes. The finished dimensions of the bowls will vary depending on fabric choices and corner construction, but these are the approximate sizes: 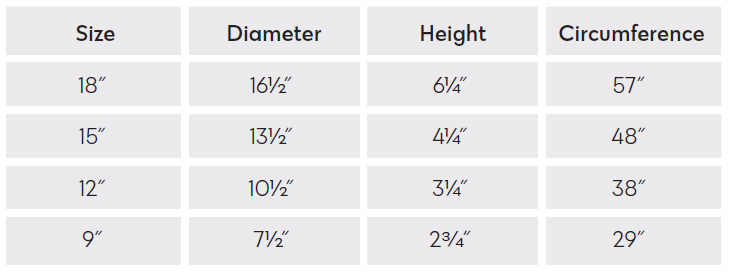 The largest size makes for a perfect cat bed! Bowls can be made without the use of a sewing machine. If you sew a bowl by hand, you may choose not to secure the center base and corner seams of the outside layer, so make sure the fabric is securely fused to the interfacing and finish the bowl with a fold-over binding. These fabric bowls are easy to make; just follow the directions one step at a time. Each bowl consists of fabric and two layers of heavyweight interfacingan outside layer and an inside layer, fused together. Because each layer is made separately, the inside and outside designs will be different.
You can personalize the two layers in many different ways. And you can decide whether or not to quilt them. Quilting is not necessary, but it can be an added design element. Once you have mastered the basic techniques, you can use your imagination to personalize your bowls. The basic steps to making each layer are similar. First, draw the pattern without seam allowances on the double-sided heavyweight fusible interfacing and cut it out.
Then fuse the cut-out pieces of interfacing to the wrong side of your fabric. Next, trim the fabric, allowing for a seam allowance around the edge of the interfacing. Sew the pieces together and you have created one layer for the bowl. Repeat these steps to make the second layer. Fuse the two layers together, add a binding, and you have made your bowl. Chapters 2, 3, 4, 5, 10, and 11 are general instructions used for all the bowls.
Chapters 6, 7, 8, and 9 are instructions for the individual insides of specific bowls. Before starting to make a bowl, be sure to read Chapter 3: Basic Techniques for All Bowls. Start by making the outside layer. For specific directions, go to Chapter 4: The Outside Layer. After the outside layer is done, go to the chapter for the project you want to make. DESIGN INSPIRATION The bowls are very fabric driven.
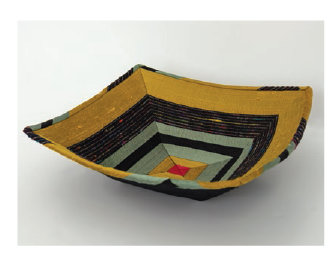
One piece of beautiful fabric can make a fantastic inside of a bowl. Bright fabrics with a large floral pattern make fast bowls. 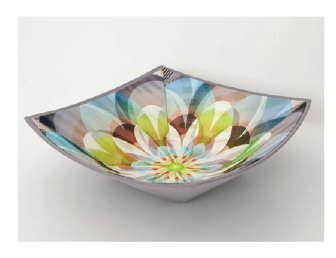 Bowl made with one piece of fabric Another simple design can be created using a striped fabric and making the inside design out of four triangles.



 Publisher: Amy Barrett-Daffin Creative Director: Gailen Runge Acquisitions Editor: Roxane Cerda Managing Editor: Liz Aneloski Editor: Kathryn Patterson Technical Editor: Debbie Rodgers Cover/Book Designer: April Mostek Production Coordinator: Tim Manibusan Production Editor: Jennifer Warren Illustrator: Linda Johnson Photo Assistant: Lauren Herberg Photography by Estefany Gonzalez of C&T Publishing, Inc., unless otherwise noted Published by C&T Publishing, Inc., P.O. Box 1456, Lafayette, CA 94549


 DEDICATION This book and most of the quilting patterns we use today would not be possible if not for all the math teachers who taught us about angles and measurements, especially my own high school math teacher at Klostergade Skole in Vejle, Denmark: Mr. Sven Aage Poulsen. He made math fun and simple. When I set out to transform a 12 quilt block into a 3-D shape and had to work with odd angles and measurements, it was all so much easier because I had learned from him that a math problem is a fun challenge. I came to appreciate the intricate math required to create the many quilt blocks we use today, developed by quiltersprimarily womenwho were never given credit for their skill.
  ACKNOWLEDGMENTS This book was not created in a vacuum. When I first decided to share the technique I developed in a book, many members of the Brooklyn Quilters Guild encouraged me, especially Martha Musgrove and Chris Janove. Over the years I have formed strong bonds with some quilters who, like me, have also studied with Nancy Crow. They became my support group. Madeleine Appell and Martha McDonald went above and beyond.
 A simple need started my love for fabric bowl making. In 2003, when my mother was 89 years old, she complained that she couldnt remember where she left her house keys. I set out to make a small bowl where she could always leave the keys. Because my mother loved the Ohio Star quilt block, I decided to make that block into the three-dimensional shape of a bowl.
 My very first fabric bowl Since then I have perfected the technique and made many bowls in many different sizes based on some of my favorite quilt blocks and also on some of my own abstract designs. HOW FABRIC BOWLS ARE MADE This book can be used both by the quilter who wants to use a traditional quilt block in a quick project and by the quilter who wants to experiment with shape and design in a three-dimensional form. No sewing experience is necessary, but it helps. Each bowl can be made in four different sizes.
 The largest size makes for a perfect cat bed! Bowls can be made without the use of a sewing machine. If you sew a bowl by hand, you may choose not to secure the center base and corner seams of the outside layer, so make sure the fabric is securely fused to the interfacing and finish the bowl with a fold-over binding. These fabric bowls are easy to make; just follow the directions one step at a time. Each bowl consists of fabric and two layers of heavyweight interfacingan outside layer and an inside layer, fused together. Because each layer is made separately, the inside and outside designs will be different.
 Bowl made with one piece of fabric Another simple design can be created using a striped fabric and making the inside design out of four triangles.