Taylor - Crochet Projects for Winter: Over 15 Crochet Projects Perfect for the Winter Months
Here you can read online Taylor - Crochet Projects for Winter: Over 15 Crochet Projects Perfect for the Winter Months full text of the book (entire story) in english for free. Download pdf and epub, get meaning, cover and reviews about this ebook. year: 2014, genre: Detective and thriller. Description of the work, (preface) as well as reviews are available. Best literature library LitArk.com created for fans of good reading and offers a wide selection of genres:
Romance novel
Science fiction
Adventure
Detective
Science
History
Home and family
Prose
Art
Politics
Computer
Non-fiction
Religion
Business
Children
Humor
Choose a favorite category and find really read worthwhile books. Enjoy immersion in the world of imagination, feel the emotions of the characters or learn something new for yourself, make an fascinating discovery.
- Book:Crochet Projects for Winter: Over 15 Crochet Projects Perfect for the Winter Months
- Author:
- Genre:
- Year:2014
- Rating:3 / 5
- Favourites:Add to favourites
- Your mark:
Crochet Projects for Winter: Over 15 Crochet Projects Perfect for the Winter Months: summary, description and annotation
We offer to read an annotation, description, summary or preface (depends on what the author of the book "Crochet Projects for Winter: Over 15 Crochet Projects Perfect for the Winter Months" wrote himself). If you haven't found the necessary information about the book — write in the comments, we will try to find it.
Taylor: author's other books
Who wrote Crochet Projects for Winter: Over 15 Crochet Projects Perfect for the Winter Months? Find out the surname, the name of the author of the book and a list of all author's works by series.


Crochet Projects for Winter: Over 15 Crochet Projects Perfect for the Winter Months — read online for free the complete book (whole text) full work
Below is the text of the book, divided by pages. System saving the place of the last page read, allows you to conveniently read the book "Crochet Projects for Winter: Over 15 Crochet Projects Perfect for the Winter Months" online for free, without having to search again every time where you left off. Put a bookmark, and you can go to the page where you finished reading at any time.
Font size:
Interval:
Bookmark:
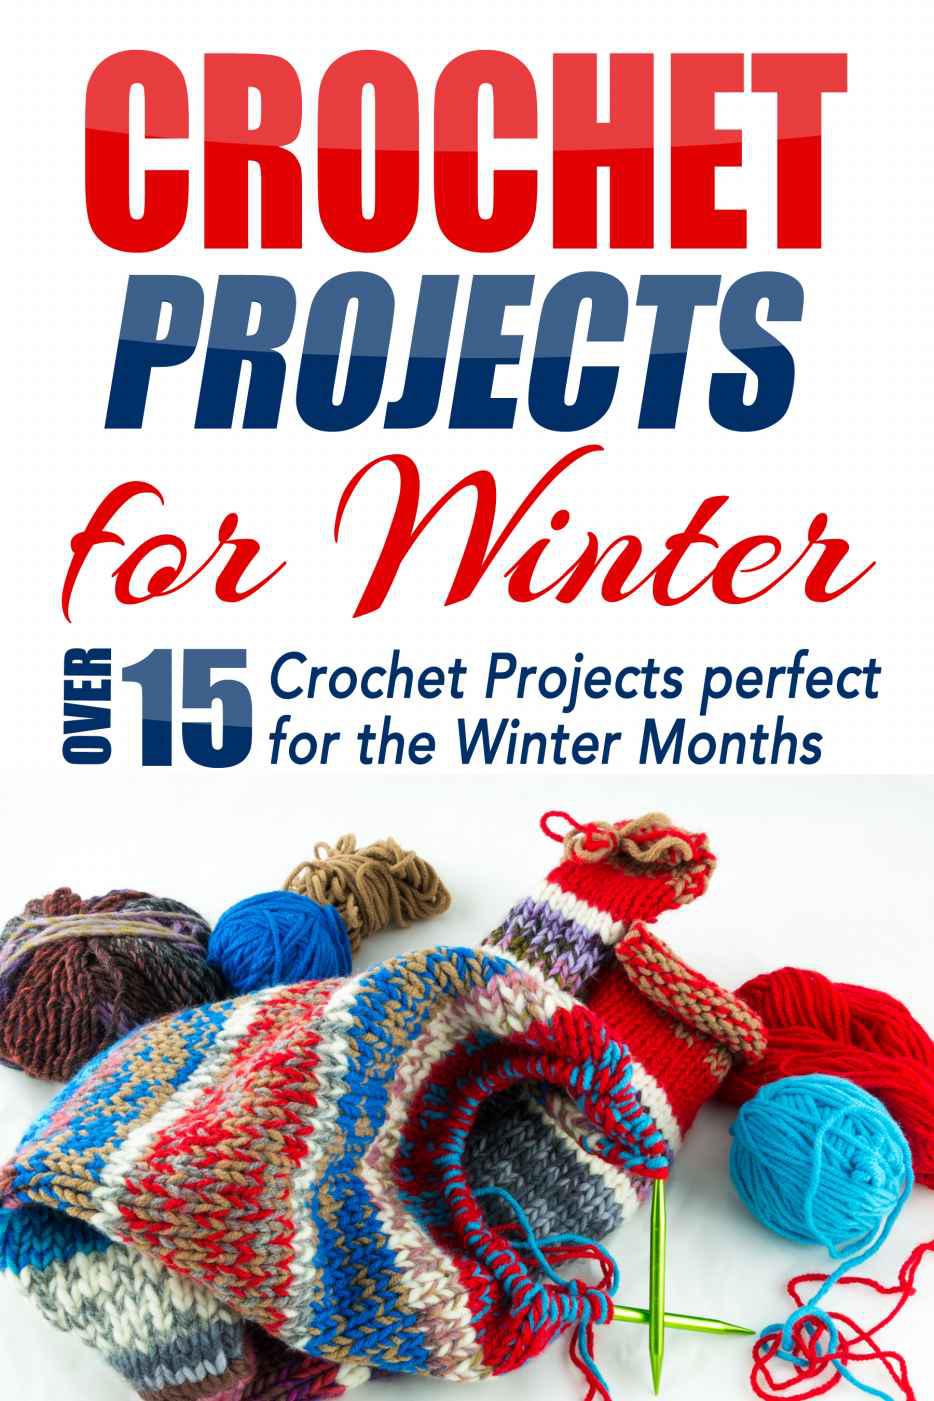
Crochet Projects for Winter
Over 15 Crochet Projects Perfect for the Winter Months
All Rights Reserved. No part of this publication may be reproduced in any form or by any means, including scanning, photocopying, or otherwise without prior written permission of the copyright holder. Copyright 2014
Thank you for downloading this book, Crochet Projects for Winter: Over 15 Crochet Projects Perfect for the Winter Months.
Please feel free to share this book with your friends and family. Please also take the time to write a short review on Amazon to share your thoughts.
How to Cast On
In order to begin knitting, simply make a foundation round of stitches on your needle by the process of casting on.
1. Firstly, do a slip knot by looping strands of yarn into a pretzel-like shape and leave a strand at the end that is at least 3x the width of the thing youre knitting (if your scarf is 8, you will require a twenty four inch tail). Simply slip the knitting needle through the pretzel shape and tug the ends of the yarn in order to tighten it
To begin knitting, you will need to create a foundation row of stitches on your needle by "casting on."
2. Wrap the end of the yarn over your left thumb and the working yarn (ball end) over the left forefinger. Utilize your different fingers to get yarn lengths in left palm. Supplement needle upward through the circle on the thumb.
3. Using the needle, discover the working yarn that is on your forefinger, and draw it through the circle on your thumb. Expel the thumb from the circle. Keeping the yarn finishes secured in palm, reposition thumb, and tighten the new fastening on the right-hand needle. Proceed using these steps until you've thrown on the obliged number of join.
Knit Stitch How-To
Hold the needle with cast-on stitches in your left hand. Then wrap the yarn you are using around your left second finger, and hold it in back of the left-hand needle.
1. Add the right needle from the front to the back into the 1st cast on stitch on the left needle and hence open up a space for a stitch.
2. Get the working yarn with the right needle.
3. Get the yarn through the opened stitch.
4. Push the cast-on stitch off the left needle while holding the middle finger against the 2nd cast-on stitch to make sure that it doesnt slip off. The stitch on the right needle is the brand new knit stitch. Proceed in knitting across the cast-on row. When you have gotten rid of the last stitch from the left needle (completing a row), exchange the needles and return the needle with the stitching to your left.
How to Purl
The purl stitch varies from the knit stitch in two major ways: The working yarn is held in the front of the task rather than from the behind, and the needle is embedded from the behind to the front rather than from the front to the behind. So hold the needle with cast-on fastens in your left hand then wrap the working yarn (ball end) around your left forefinger, and hold it before the work.
1. Then using the right-hand needle, go once again to from the front into the first cast-on fasten on the left-hand needle, opening up a line.
2. Lay the working yarn over the needle from the front to the behind by moving the left forefinger in a descending fashion.
3. Push the working yarn from the front to the behind through cast-on stitch and slip the cast-on stitch off the left-hand needle while holding the center finger against the second cast-on line to guarantee it doesn't accidentally slip off. The line on the right needle is the recently framed purl stitch. Its switch side resembles a V.
How to Pick Up a Dropped Stitch
If you accidentally miss a stitch or drop it while you knit, do not worry, it is easy to fix your mistake with a crochet hook.
1. With the knit side facing you, place the crochet hook inside, from the front to behind and into the loop of the dropped stitch.
2. Use the hook to catch the first horizontal "ladder," and pull it through the loop to the front.
3. Then repeat until all the ladders have been pulled through the loop. Place the stitch back onto the left needle, with the right of the loop on the front of the needle.
To pick up a dropped stitch that occurred on a purl knit, simply turn your work around, and repeat the steps for a dropped knit stitch.
How to Join Yarn
To join a new ball of yarn as you knit, just pause your knitting with the old color while leaving a 6 strand and start using the new ball of yarn, but also remember to leave a long strand of yarn behind. The first stitch is going to be loose, so pull the yarn ends to secure it.
How to Cast Off
The following instructions aids in stopping the stitches from falling apart once they have been taken away from the needle.
1. Knit two stitches. Pull in the left needle into the first stitch, bring up the 1 st stitch over the 2 nd stitch and then altogether completely off the needle. Proceed knitting in this fashion until all the stitches have been cast off. Using a pair of scissors, cut the working yarn and leave a 6 strand behind then tug the tail through the last stitch to fasten it.
2. Using a yarn needle, connect all the ends of the yarn through the backs of multiple stitches, taking up the surface loops only.
There are a few basic crocheting techniques that you may need to get a hang of. So here is a basic breakdown of them for you.
Slip Knot
1. Firstly, you need to make a loop and then hook another loop through the original loop.
2. Next you need to tighten the loop gently and carefully slide the knot up to the hook.
Chain Stitch
1. Do the whole yarn over hook and then draw the yarn through to create a brand new loop without tightening the previous one.
2. Repeat the step above to form as many chains as the instructions suggest. It is important that you dont count the slip knot as a stitch.
Slip Stitch
1. Insert the hook into the work (it is the second chain from the hook), do a yarn over hook and draw the yarn through both the work and loop in one swift move.
2. In order to join a chain ring with a slip stitch, you must insert a hook into the first chain, then place the yarn over hook and next you should draw it through both the work and the yarn on hook in just a single move.
Single Crochet
1. Firstly, you need to insert the hook into the work (this is the second chain from the hook on the starting chain), *yarn over hook and draw yarn only through the work.
2. Place the yarn over the hook again and then carefully draw the yarn through both the loops.
3. Now one single crochet has been made. Insert the hook into the following stitch: now repeat from * in step one.
Half Double Crochet
1. Firstly, place the yarn over the hook and insert it into the work (it is the third chain from the hook on the starting chain).
2. *Yarn over hook and draw through the work only.
3. Then place the yarn over the hook again and draw through all three loops.
4. Now that one half double crochet made, you should place the yarn over the hook again and insert it into the next stitch, then repeat from step two.
Double Crochet
1. Place the yarn over the hook and insert the hook into the work (this is the fourth chain from the hook on the starting chain).
2. Place the yarn over hook and draw through the work only.
3. Then place the yarn over the hook and draw through the first two loops on the hook only.
4. Next, place the yarn over hook and draw through the last two loops.
5. Now one double crochet has been created. So to repeat this process; place the yarn over the hook then insert it into the following stitch and repeat from step two.
Font size:
Interval:
Bookmark:
Similar books «Crochet Projects for Winter: Over 15 Crochet Projects Perfect for the Winter Months»
Look at similar books to Crochet Projects for Winter: Over 15 Crochet Projects Perfect for the Winter Months. We have selected literature similar in name and meaning in the hope of providing readers with more options to find new, interesting, not yet read works.
Discussion, reviews of the book Crochet Projects for Winter: Over 15 Crochet Projects Perfect for the Winter Months and just readers' own opinions. Leave your comments, write what you think about the work, its meaning or the main characters. Specify what exactly you liked and what you didn't like, and why you think so.