Florence Temko - Origami Love Notes: Romantic Hand-Folded Notes & Envelopes
Here you can read online Florence Temko - Origami Love Notes: Romantic Hand-Folded Notes & Envelopes full text of the book (entire story) in english for free. Download pdf and epub, get meaning, cover and reviews about this ebook. year: 2017, publisher: Tuttle Publishing, genre: Home and family. Description of the work, (preface) as well as reviews are available. Best literature library LitArk.com created for fans of good reading and offers a wide selection of genres:
Romance novel
Science fiction
Adventure
Detective
Science
History
Home and family
Prose
Art
Politics
Computer
Non-fiction
Religion
Business
Children
Humor
Choose a favorite category and find really read worthwhile books. Enjoy immersion in the world of imagination, feel the emotions of the characters or learn something new for yourself, make an fascinating discovery.

- Book:Origami Love Notes: Romantic Hand-Folded Notes & Envelopes
- Author:
- Publisher:Tuttle Publishing
- Genre:
- Year:2017
- Rating:5 / 5
- Favourites:Add to favourites
- Your mark:
Origami Love Notes: Romantic Hand-Folded Notes & Envelopes: summary, description and annotation
We offer to read an annotation, description, summary or preface (depends on what the author of the book "Origami Love Notes: Romantic Hand-Folded Notes & Envelopes" wrote himself). If you haven't found the necessary information about the book — write in the comments, we will try to find it.
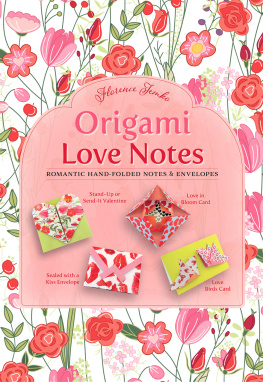
Nothing says I love you more than a handmade gift!
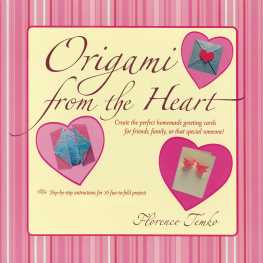
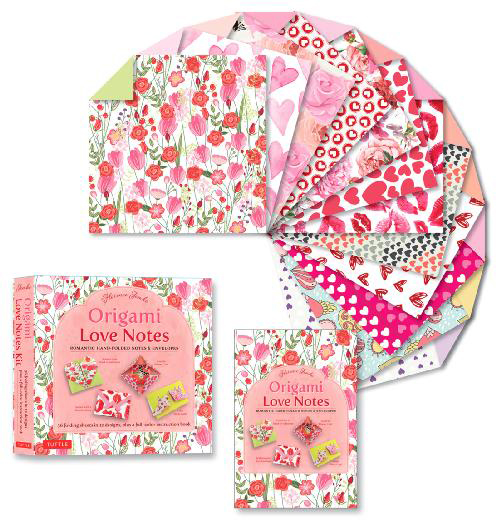
With this easy origami instruction book you can create romantic hand-folded and personalized notes using the authentic Japanese art of paper-folding. Your words of love take on special meaning when written on these lovely origami papers. Most of the projects are easy enough for origami beginners and would even make great origami-for-kids activities.
Just imagine the delight of your loved ones as they receive your personally-folded origami love note in one of 12 original designs, including: The simple and sweet Seal It with a Heart Valentine The Sealed with a Kiss Envelope, an elegant way to present a small note The Love in Bloom rosette that reveals your message once the petals are opened The Folded Money Heart a meaningful way to enhance a cash gift And many other romantic notes, cards and envelopes!
Florence Temko: author's other books
Who wrote Origami Love Notes: Romantic Hand-Folded Notes & Envelopes? Find out the surname, the name of the author of the book and a list of all author's works by series.


Origami Love Notes: Romantic Hand-Folded Notes & Envelopes — read online for free the complete book (whole text) full work
Below is the text of the book, divided by pages. System saving the place of the last page read, allows you to conveniently read the book "Origami Love Notes: Romantic Hand-Folded Notes & Envelopes" online for free, without having to search again every time where you left off. Put a bookmark, and you can go to the page where you finished reading at any time.
Font size:
Interval:
Bookmark:
 How to Download the Bonus Material of this Book. 1. You must have an internet connection. 2. Click the link below or copy paste the URL to your web browser. http://www.tuttlepublishing.com/origami-love-notes-kit-downloadable-cd-content For support email us at .
Contents - Folding Papers (.pdf) Stand-Up or Send-It Valentine If not using kit paper, paper that is red on one side and white on the other works well for this valentine. If using plain white paper, you can color the completed heart with red markers. This project can be mailed flat or opened up a bit to create a standing display. 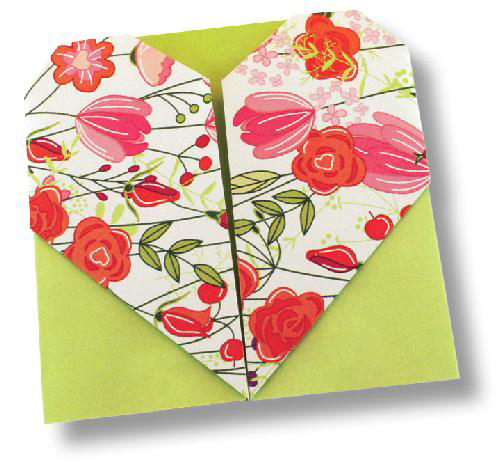 You need
  A square of paper If the paper is colored only on one side, begin with the colored or patterned side facing up.
 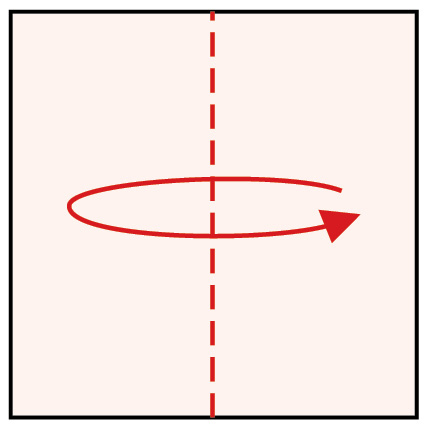 Fold the square in half and unfold.
 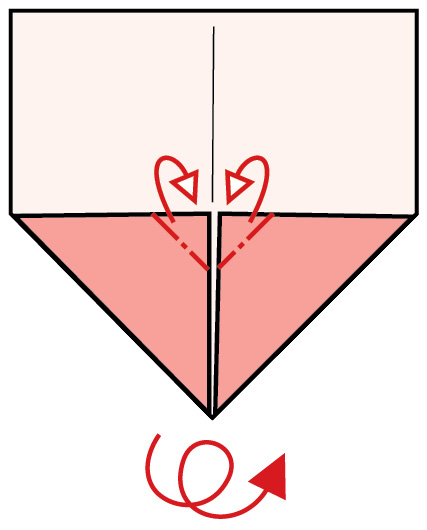 In the middle, tuck the corners under with small mountain folds. In the middle, tuck the corners under with small mountain folds.
Turn the paper over. 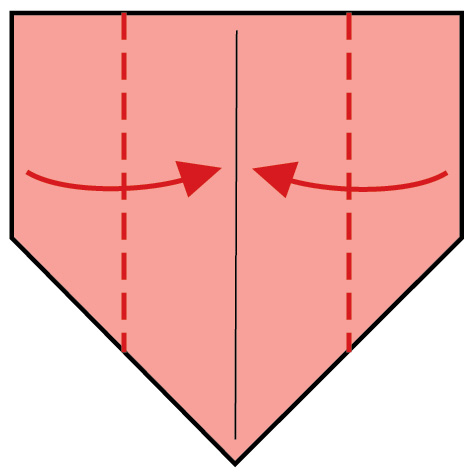 Fold both side edges to meet in the middle.
 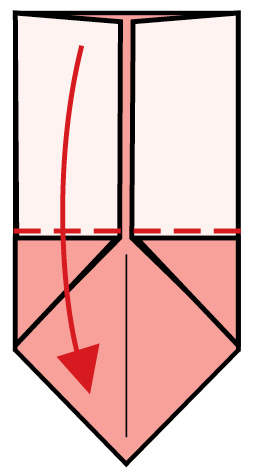 Fold the top edge to the bottom corner.
 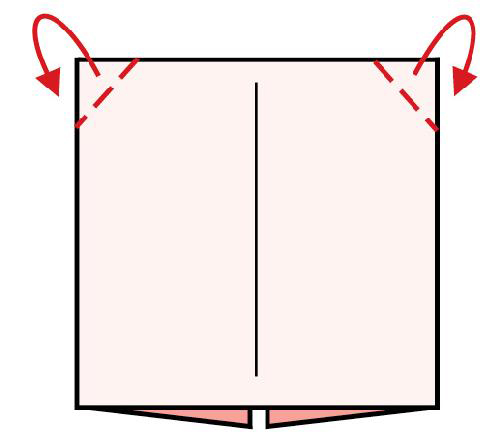 6a. At the top edge, which is folded, fold the outside corners in at an angle. 6b.
Unfold the two corners. 6c. On the creases you just made, tuck the corners in between the two main layers of paper. They will be hidden. 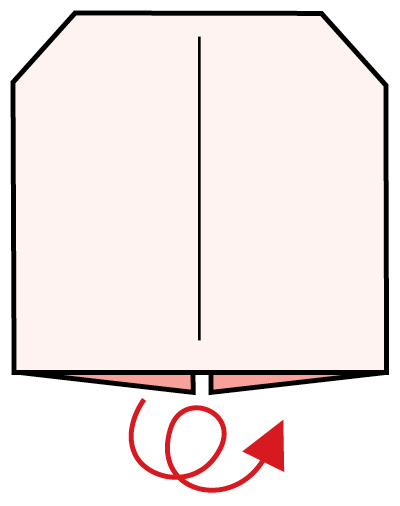 Turn the paper over.
 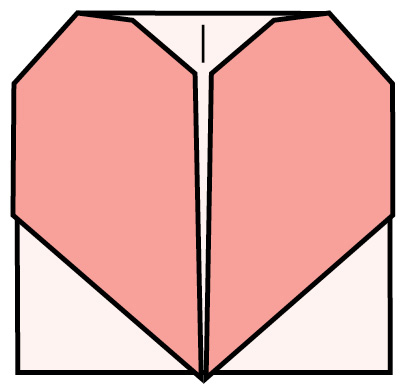 The completed Stand-Up or Send-It Valentine.
Tip  Decorations You can embellish the heart with glitter, small cutouts, and other things. Rosette Card The rosette for this card is created by gluing several identical origami kite shapes into a circle. Once you know how to make this simple unit, which requires only three creases, you can have a lot of fun creating your own variations by changing the colors of the paper or using additional units. The photograph to the right shows one of the many designs that are possible.
 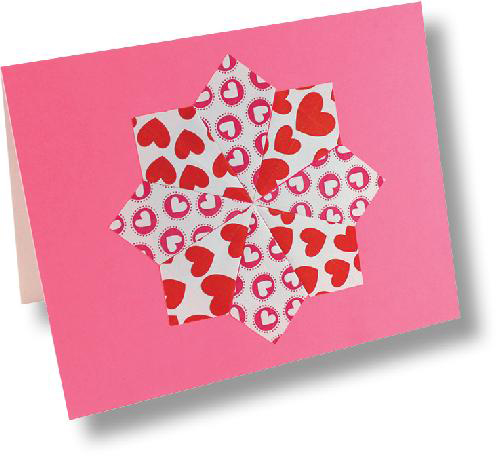 You need 8 squares of paper with 1 (4 cm) sides A blank greeting card, or a US letter-sized rectangle of sturdy paper folded in half Glue stick If the paper is colored only on one side, begin with the colored or patterned side facing up.
 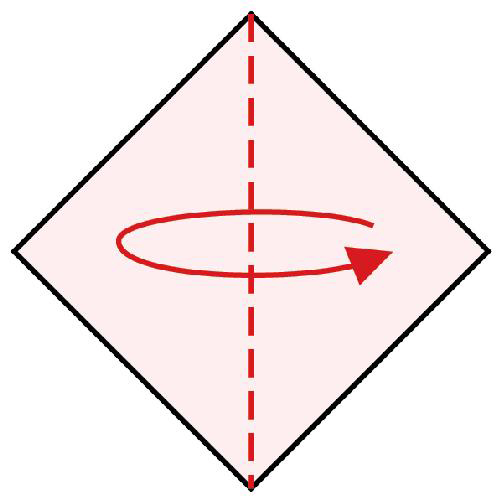 Fold the square from corner to corner and unfold.
  Fold two adjacent edges to the crease you just made.
 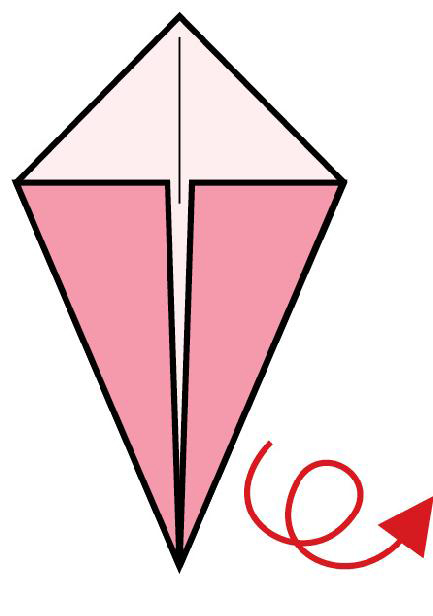 Turn the paper over from left to right.
 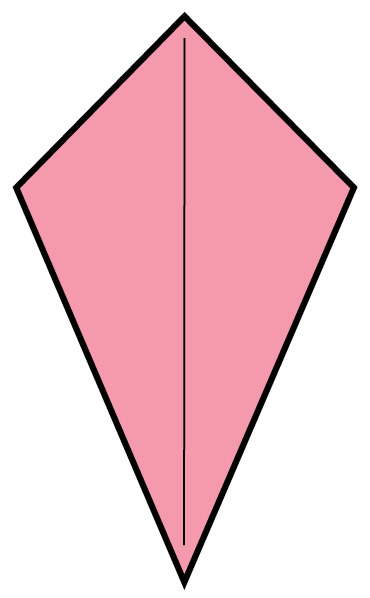 The completed Kite Base unit. The completed Kite Base unit.
Glue eight units on a greeting card in a circle. 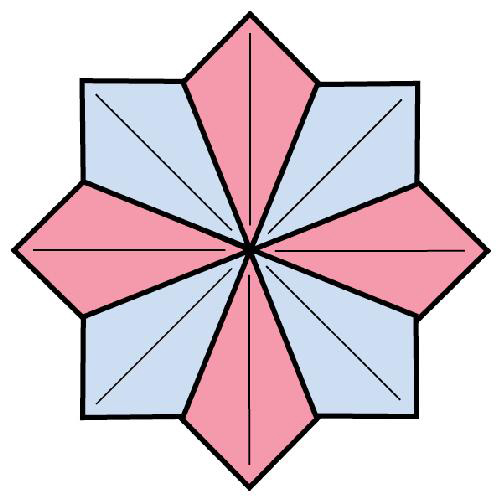 The completed Rosette Card. Tips
  Papers The squares may be cut from colored printing paper or gift wrap. Its also easy to find suitably small papers on the Internet by searching for teabag folding. Some of them may be printed for free. Variations These instructions show the simplest way of combining eight squares of two different colors or patterns.
You can also place the kite shapes in other positions to achieve other interesting effects. How about placing the kites upside down? This can form a star with an open center for a message or photograph. Hanging Ornament You could turn this project into a hanging ornament by gluing two rosettes on a circular piece of very sturdy paper, one on the front and one on the back. Geometric Folding The rosette is an excellent example of origami with circular symmetry. Sealed with a Kiss Envelope You can use this design as a greeting card by writing your message inside or on a separate piece of paper you can insert into the envelope. You can also use it as a wallet or as a gift wrap for a small flat gift.
Using the kit paper will yield a 3 (8.5 cm) card. 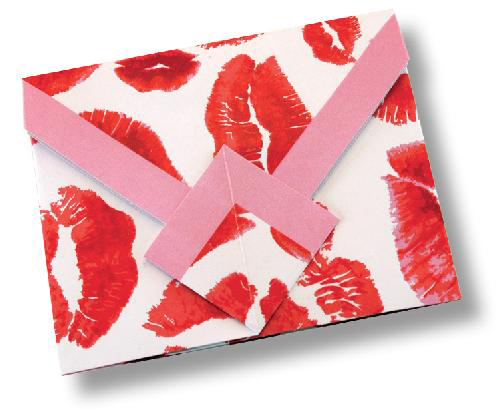 You need A paper square Begin with the non-display or unpatterned side facing up.
Font size:
Interval:
Bookmark:
Similar books «Origami Love Notes: Romantic Hand-Folded Notes & Envelopes»
Look at similar books to Origami Love Notes: Romantic Hand-Folded Notes & Envelopes. We have selected literature similar in name and meaning in the hope of providing readers with more options to find new, interesting, not yet read works.
Discussion, reviews of the book Origami Love Notes: Romantic Hand-Folded Notes & Envelopes and just readers' own opinions. Leave your comments, write what you think about the work, its meaning or the main characters. Specify what exactly you liked and what you didn't like, and why you think so.