Anderson - Stitch it for Christmas
Here you can read online Anderson - Stitch it for Christmas full text of the book (entire story) in english for free. Download pdf and epub, get meaning, cover and reviews about this ebook. City: Cincinnati;OH, year: 2012, publisher: F+W Media;David & Charles, genre: Home and family. Description of the work, (preface) as well as reviews are available. Best literature library LitArk.com created for fans of good reading and offers a wide selection of genres:
Romance novel
Science fiction
Adventure
Detective
Science
History
Home and family
Prose
Art
Politics
Computer
Non-fiction
Religion
Business
Children
Humor
Choose a favorite category and find really read worthwhile books. Enjoy immersion in the world of imagination, feel the emotions of the characters or learn something new for yourself, make an fascinating discovery.

- Book:Stitch it for Christmas
- Author:
- Publisher:F+W Media;David & Charles
- Genre:
- Year:2012
- City:Cincinnati;OH
- Rating:4 / 5
- Favourites:Add to favourites
- Your mark:
Stitch it for Christmas: summary, description and annotation
We offer to read an annotation, description, summary or preface (depends on what the author of the book "Stitch it for Christmas" wrote himself). If you haven't found the necessary information about the book — write in the comments, we will try to find it.
Anderson: author's other books
Who wrote Stitch it for Christmas? Find out the surname, the name of the author of the book and a list of all author's works by series.


Stitch it for Christmas — read online for free the complete book (whole text) full work
Below is the text of the book, divided by pages. System saving the place of the last page read, allows you to conveniently read the book "Stitch it for Christmas" online for free, without having to search again every time where you left off. Put a bookmark, and you can go to the page where you finished reading at any time.
Font size:
Interval:
Bookmark:
![]()
Christmas for me is a special day in the year when my family gathers to enjoy good food, laughter and to exchange gifts and hugs. As we gather together for Christmas dinner the air is filled with the wonderful aroma of a traditional dinner cooking. There are twinkling lights on the tree and our home is decorated with many of my handmade treasures. I hope this book will give you some inspiration to create treasures of your own to celebrate this wonderful time of year.
I absolutely adore designing for Christmas, whether its a small stitched gift for a friend or something bigger, such as a festive wall hanging for my family. Combine this with the fact that I am working with my own fabric collection and suddenly the projects take on a whole new feel of Lynette Anderson. Enjoy your Christmas stitching!
Creating the projects for this book has been a lot of fun. I started with Christmas stockings but snowmen, fir trees, stars, sleigh rides and cute reindeer quickly followed. There is a useful mixture of gifts and keepsakes for you to create, including a pillow, placemats and napkins, a wall hanging, tree decorations and a lovely table centrepiece. All of the projects are easy to create, with stepped instructions and diagrams to help you. The templates for this eBook can be found at www.stitchcraftcreate.co.uk/patterns
With a festive mix of patchwork, appliqu and stitchery the delightful projects in this book will help you create a Christmas to remember, with keepsakes you will want to bring out year after year. And my favourite project? No contest I love them all!
This section describes the basic techniques you will need to make and finish off the projects in this book, from transferring designs to binding a finished quilt. Beginners should find it very useful.
Patchwork or pieced work requires accurate seams and maintaining an accurate in (6mm) seam allowance will give the best results. For really accurate piecing sew a bare in (6mm) seam, as this will allow for thread thickness and the tiny amount of fabric taken up when the seam is pressed.
Generally, press seams towards the darker fabric to avoid darker colours showing through lighter colours on the right side. Press joining seams in opposite directions so they will lock together nicely and create the flattest join. Press (dont iron) and be very careful with steam as this can stretch fabric.
Sometimes you will need to join fabric strips together to make them long enough for borders or binding. Joining them with a diagonal seam at a 45-degree angle will make them less noticeable, as will pressing the seams open, as shown in the diagram.
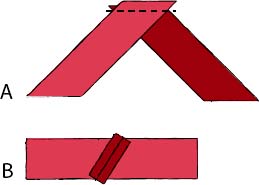
FIG 1
The templates for this eBook can be found at www.stitchcraftcreate.co.uk/patterns and are the correct size when printed on A4 without scaling. Trace the full size template on to paper or thin card, cut it out and use it as a pattern to cut the shape from paper. Before cutting out check whether a in (6mm) seam allowance is needed, which it will be if using a needle-turn appliqu technique.
Templates being used for fusible web appliqu will need to be reversed (flipped). You could place a copy of the template on to a light source with the template right side down rather than up and trace it this way. You could also trace the template on to tracing paper, turn the tracing paper over and trace the template again on to paper.
Designs can be transferred on to fabric in various ways. I use a light source, such as a light box, a window or a light under a glass table. Iron your fabric so it is free of creases. Place the design right side up and then the fabric right side up on top, taping it in place. Use a fine-tipped fabric marking pen or a pencil to trace the design. If the marks might show later then use an erasable marker, such as an air-erasable or water-soluble one.
Appliqu is the technique of fixing one fabric shape or pattern on top of another, and can be done in various ways. I have used two methods for the projects in this book needle-turn appliqu and fusible web appliqu. You may also like to use an appliqu mat.
This is a traditional method of hand appliqu where each appliqu piece has a seam turned under all round and is stitched into position on the background fabric. The appliqu shapes may be drawn freehand or templates used, as I have done for the designs in this book.
Mark the appliqu shape on the right side of your fabric and then mark another line further out all round for the seam allowance. This is usually in (6mm) but may change depending on the size of the appliqu piece being stitched and type of fabric being used. Smaller pieces may only need a in (3mm) allowance to reduce bulk. Clip the seam allowance on concave curves (the inward ones) to make it easier to turn the seam under.
For each appliqu piece turn the seam allowance under all round and press. Position the appliqu on the background fabric and stitch into place with tiny slip stitches all round. Press the appliqu when finished. Some people like to use the needle to turn the seam under as they stitch the appliqu in place.
Fusible web has an adhesive that melts when heated so when the web is placed between two fabrics the heat of an iron causes the fabrics to fuse together, which makes it ideal for appliqu.
When using templates for fusible web appliqu they need to be flipped or reversed because you will be drawing the shape on the back of the fabric see Reversing Templates . Trace around each template on to the paper side of the fusible web, leaving about in (1.3cm) around each shape. Cut out roughly around each shape. Iron the fusible web, paper side up, on to the wrong side of the appliqu fabric and then cut out accurately on your drawn line.
When the fusible web is cool, peel off the backing paper and place the appliqu in position on your project, right side up. (Check with the template to see which pieces need to go under other pieces, shown by dotted lines on the pattern.) Fuse the appliqu piece into place with a medium-hot iron for about ten seconds. Allow the appliqu to cool.
The edge of the appliqu can be secured further by stitches. I normally use blanket stitch as I like the hand-crafted look but machine satin stitch can also be used.
A quilt sandwich is a term often used to describe the three layers of a quilt the top, the wadding (batting) and the backing.
Press your backing fabric and hang out your wadding to reduce creases. Cut out your wadding and backing about 4in (10.2cm) larger all round than the quilt top. Prepare the quilt top by cutting off or tying in stray ends, pressing it and pressing seam allowances so they lay as flat as possible.
Font size:
Interval:
Bookmark:
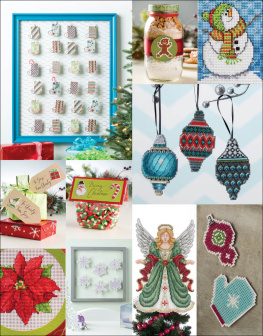
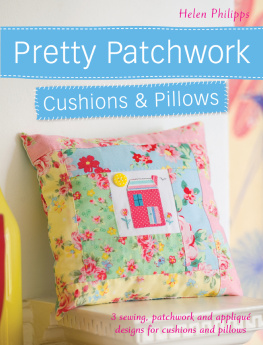
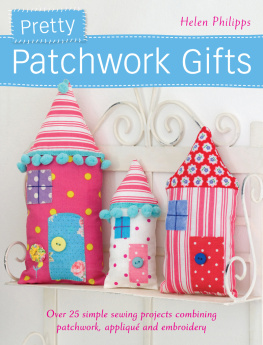
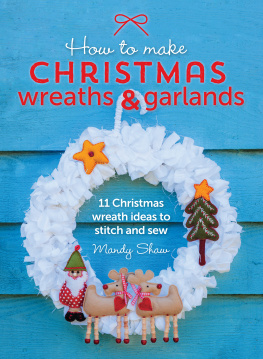
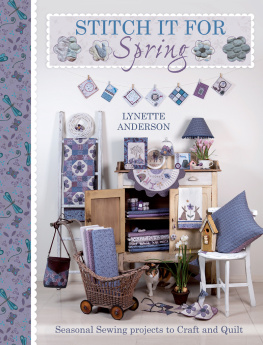
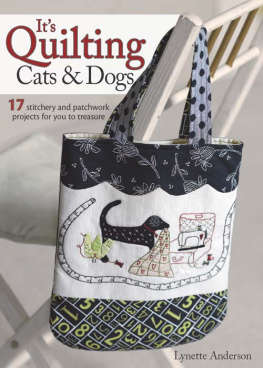
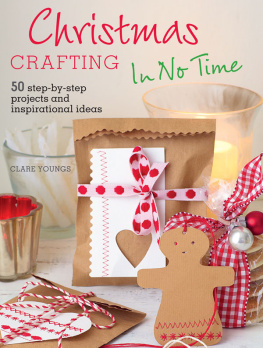
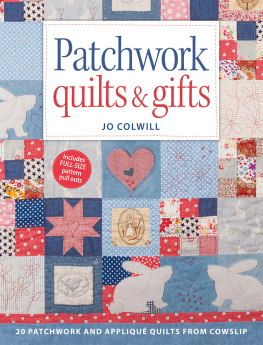
Similar books «Stitch it for Christmas»
Look at similar books to Stitch it for Christmas. We have selected literature similar in name and meaning in the hope of providing readers with more options to find new, interesting, not yet read works.
Discussion, reviews of the book Stitch it for Christmas and just readers' own opinions. Leave your comments, write what you think about the work, its meaning or the main characters. Specify what exactly you liked and what you didn't like, and why you think so.