Black Sarah - One Dough, Ten Breads: Making Great Bread by Hand
Here you can read online Black Sarah - One Dough, Ten Breads: Making Great Bread by Hand full text of the book (entire story) in english for free. Download pdf and epub, get meaning, cover and reviews about this ebook. City: Somerset;UNITED STATES, year: 2016, publisher: Houghton Mifflin Harcourt, genre: Home and family. Description of the work, (preface) as well as reviews are available. Best literature library LitArk.com created for fans of good reading and offers a wide selection of genres:
Romance novel
Science fiction
Adventure
Detective
Science
History
Home and family
Prose
Art
Politics
Computer
Non-fiction
Religion
Business
Children
Humor
Choose a favorite category and find really read worthwhile books. Enjoy immersion in the world of imagination, feel the emotions of the characters or learn something new for yourself, make an fascinating discovery.
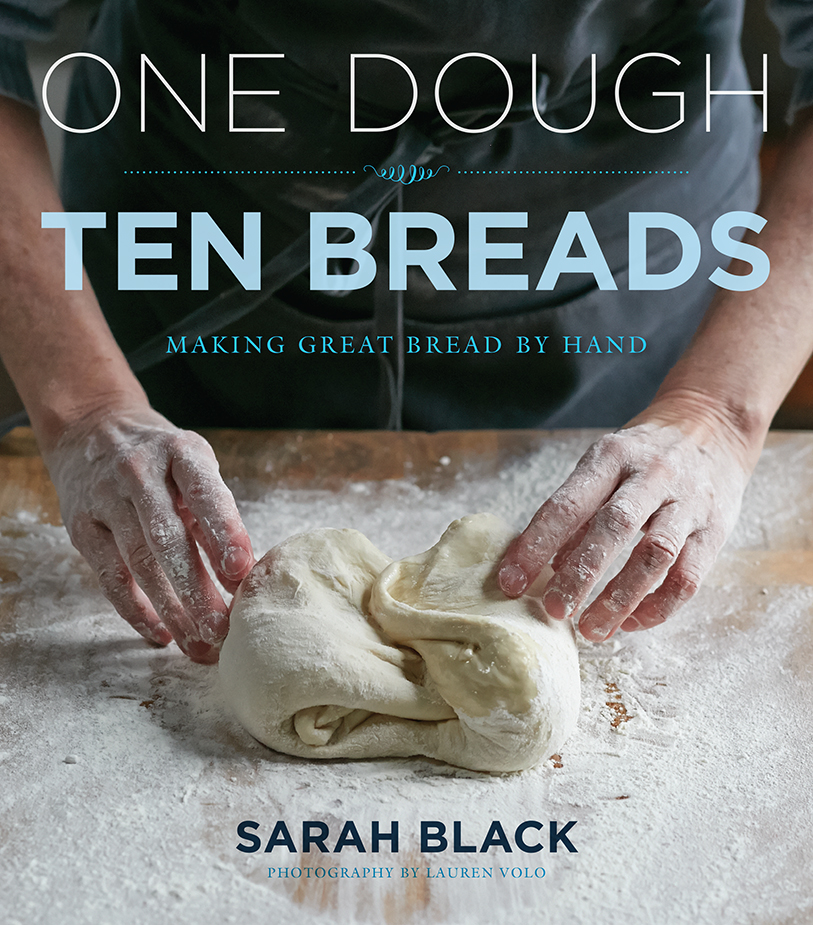
- Book:One Dough, Ten Breads: Making Great Bread by Hand
- Author:
- Publisher:Houghton Mifflin Harcourt
- Genre:
- Year:2016
- City:Somerset;UNITED STATES
- Rating:5 / 5
- Favourites:Add to favourites
- Your mark:
One Dough, Ten Breads: Making Great Bread by Hand: summary, description and annotation
We offer to read an annotation, description, summary or preface (depends on what the author of the book "One Dough, Ten Breads: Making Great Bread by Hand" wrote himself). If you haven't found the necessary information about the book — write in the comments, we will try to find it.
Black Sarah: author's other books
Who wrote One Dough, Ten Breads: Making Great Bread by Hand? Find out the surname, the name of the author of the book and a list of all author's works by series.


One Dough, Ten Breads: Making Great Bread by Hand — read online for free the complete book (whole text) full work
Below is the text of the book, divided by pages. System saving the place of the last page read, allows you to conveniently read the book "One Dough, Ten Breads: Making Great Bread by Hand" online for free, without having to search again every time where you left off. Put a bookmark, and you can go to the page where you finished reading at any time.
Font size:
Interval:
Bookmark:


Simply getting your hands in the dough is the best way to learn about bread. The sensestouching, seeing, smelling, hearing, tastingall leave an imprint and allow for an easier understanding of the sometimes complex science of bread making.
Before we move on to more exacting ways of measuring ingredients and measuring temperatures, enhancing doughs with starters, exploring the flavors of different grains, and shaping dough into a variety of loaves, allow yourself to simply enjoy the process without having to worry about making a perfectly baked bread.
You dont need any out-of-the-ordinary ingredients or tools, just a clear work space and about 30 minutes of active time to begin. You may already have everything you need in your kitchen, but if necessary, all the ingredients, and probably most of the tools, too, should be available at the market. The following instructions for making this first bread will be a template for all of the breads in this book.
T HE KEY WORD in making these first loaves of a white flour bread is simple; Ill gently guide your hands through all the steps without throwing a lot of words or science at you. Be confident and dont be scaredthis is just the first step of many toward a unique and wonderful destination.
YIELD
28 to 30 ounces dough;
3 or 4 small log-shaped breads, each 12 to 14 inches long
- Measuring cups (dry and liquid) and spoons
- Mixing bowls: 1 small, 2 large
- Kitchen towel
- Knife or other straightedge tool
- Instant-read thermometer
- Fork or whisk, for stirring the yeast
- Rubber or silicone spatula
- Plastic wrap
- Felt-tipped pen
- Clock or timer
- Baking sheet
- Knives: 1 large, 1 small and very sharp, 1 serrated
- Water spritzer
- Wire rack
| Active dry yeast | 1 teaspoons |
| Table salt | 2 teaspoons |
| Warm water | cup |
| All-purpose flour | 3 cups |
| Cool water | 1 cups |
| Vegetable oil |
PREPARE Organize your work space and gather your tools and ingredients. Gently pound the bag of flour so it settles before you open it, and shake the yeast envelope before you cut it open so the granules dont spill out.
If using a lighter-weight mixing bowl (the one in which you will measure the flour and mix the dough), dampen a kitchen towel or cloth slightly, twist it into a coil, and then form it into a ring. Place it under the bowl to keep it steady.
MEASURE Measure the yeast and the salt separately and set them aside.
The cup warm water should be hot to the touch (105 to 115F). Pour it into a small bowl. Sprinkle the yeast on top of the water, stir a few turns, and let it dissolve into a creamy mixture. Set aside until the yeast dissolves completely.
 Notice the warmth of the water and make a sense memory of the temperature. See how cloudy and milky the mixture becomes and smell the pungent odor of yeast.
Add the flour to a large mixing bowl, then sprinkle the salt on top of the flour. Mix these ingredients with about 8 turns of your hand, then make a well in the center. (Now would be a good time to set aside some additional flour for kneading, before your hands get sticky!)
See tiny bubbles form from the yeast, and feel the grains of salt spread through the mix as they become more evenly distributed.
For this first lesson, Ive encouraged you to use the kitchen tools in your own cupboards. Since most households have measuring cups and spoons, well start by measuring by volume. But its important to measure accurately. Proper measuring is essential for successful baking because the final bread is affected by the relationship among ingredients. For example, the amount of flour in a cup can vary depending on whether it is tightly packed or aerated. Future recipes will require a scale, as measuring by weight allows for more accuracy.
Know the difference between dry and liquid measuring cups. Dry measuring cups are rimless, with a handle. Use them for dry ingredients such as flour. To correctly measure flour, dip the cup into the bag or canister of flour, fill it to the brim, and then level the top by moving a straight-edged tool or knife across the surface. Do not measure flour by spooning it into the cup; this encourages more air and less flour, resulting in bread that can be unbalanced in texture and taste. Liquid measuring cups are clear, with a spout. Use them for liquid ingredients such as water. Set the cup on a level surface, fill to the desired measure, then check against the cup marker by reading at eye level.
To measure yeast from a -ounce package, cut across the top of the package with scissors, dip a measuring spoon into the yeast, then use the top of the package to level the spoon as you pull it from the package. To measure salt, its often easiest to pour a little into a small bowl, then dip a measuring spoon into the salt and shake it or level it with a tool or knife.
MIX Pour the yeast mixture into the well of the flour mixture and mix a few turns with your other hand. Little by little, pour the cool water into the center of the mixture while using your other hand to mix clockwise. Keep your fingers together as you mix, work from the center, and let the flour mixture come to you. Continue mixing until all of the water has been incorporated.
Mix for 2 to 3 minutes, until all of the ingredients are incorporated, the grit of the salt is dissolved, and the dough forms a rough and shaggy mass.
See the lumps and tangled mass begin to unfold into strands. As dough webs form, hear the sound of air being sucked in, like hiccuping.
If any flour remains in the bottom of the bowl after mixing, take your rubber spatula and, while slowly turning the bowl counterclockwise, scrape up from the bottom and mix the remaining flour into the center mass. Do this for 30 to 60 seconds, until all the flour has been incorporated.
Now is the time to coat the second large mixing bowl with a little oil so that it will be ready for the dough once you are finished kneading.
KNEAD Sprinkle a coating of flour onto your work surface, then use a rubber spatula to scrape the dough onto the counter; let the dough assume its own shape.
To sprinkle flour evenly, hold the flour in your hand with fingers curled, then splay the flour across the counter as if throwing dice.
Tap your hands in a little extra flour, then begin to knead the dough: First, pull the upper edge of the dough toward you, then push it away with the heel of your hand. Rotate the dough a quarter turn (90 degrees) and repeat. Do this 10 to 12 times, until the rough mass takes on a smoother, stronger feel. If the dough is too tight or begins to tear, stop and let it rest, covered with plastic wrap, for a few minutes, then continue.
Font size:
Interval:
Bookmark:
Similar books «One Dough, Ten Breads: Making Great Bread by Hand»
Look at similar books to One Dough, Ten Breads: Making Great Bread by Hand. We have selected literature similar in name and meaning in the hope of providing readers with more options to find new, interesting, not yet read works.
Discussion, reviews of the book One Dough, Ten Breads: Making Great Bread by Hand and just readers' own opinions. Leave your comments, write what you think about the work, its meaning or the main characters. Specify what exactly you liked and what you didn't like, and why you think so.