I would like to thank everyone who helped and supported me along the way during this crazy journey of crafting my first book. When I began this project, I had no concept of the extent of all that is involved in writing a book or what, exactly, lay ahead. Thank you to my editor, Lisa Westmoreland, for originally approaching me with the idea for this book and for encouraging me, supporting me, and holding my hand along the way. My gratitude extends to my whole book team at Ten Speed Press for their expertise and encouragement throughout the entire writing, editing, and publishing process.
Im also thankful to my parents for encouraging my creativity and always believing in me; to my sister and my husbands family for their love and support; and to my close friends for stepping up and helping us with childcare and the boys activities during the very busy months that I worked on crafting, photographing, and writing the tutorials for each letter. I am very thankful to be surrounded by a community of friends who not only accept me for my crazy-crafting-decorating-housie ways but also embrace it and care for me during the ups and downs of life.
Finally, in particular, I offer the utmost gratitude to my loving and supportive husband, Aaron, and my boys, Leif and Finn, for their understanding, patience, and belief in me as I pursued and continue to pursue my creative passions. Their unfailing support was key as I embarked on adding this enormous task to our already very busy lives and, without them, my life would not be so full and sweet.

CHRISTOPHER MCCOLLISTER
KRISTA AASEN is the creator of the popular DIY, dcor, craft, and lifestyle blog The Happy Housie. She lives with her husband and two school-aged boys in a cozy and bright lakefront home on Vancouver Island, British Columbia, Canada. In between teaching elementary school and ferrying her boys to their multiple sports and activities, Krista squeezes in time to enjoy all house-related pursuits. From renovating houses, making over vintage furniture, sewing new pillow covers, and organizing every space in her home to creating new wreaths and garlands to decorate for the season, no project is too big or too small. She and her projects have been featured in Womans Day, Country Woman magazine, BetterHomesandGardens.com, The Home Depot Blog, Just a Girl and Her Blog, House of Turquoise, and Savvy Southern Style.
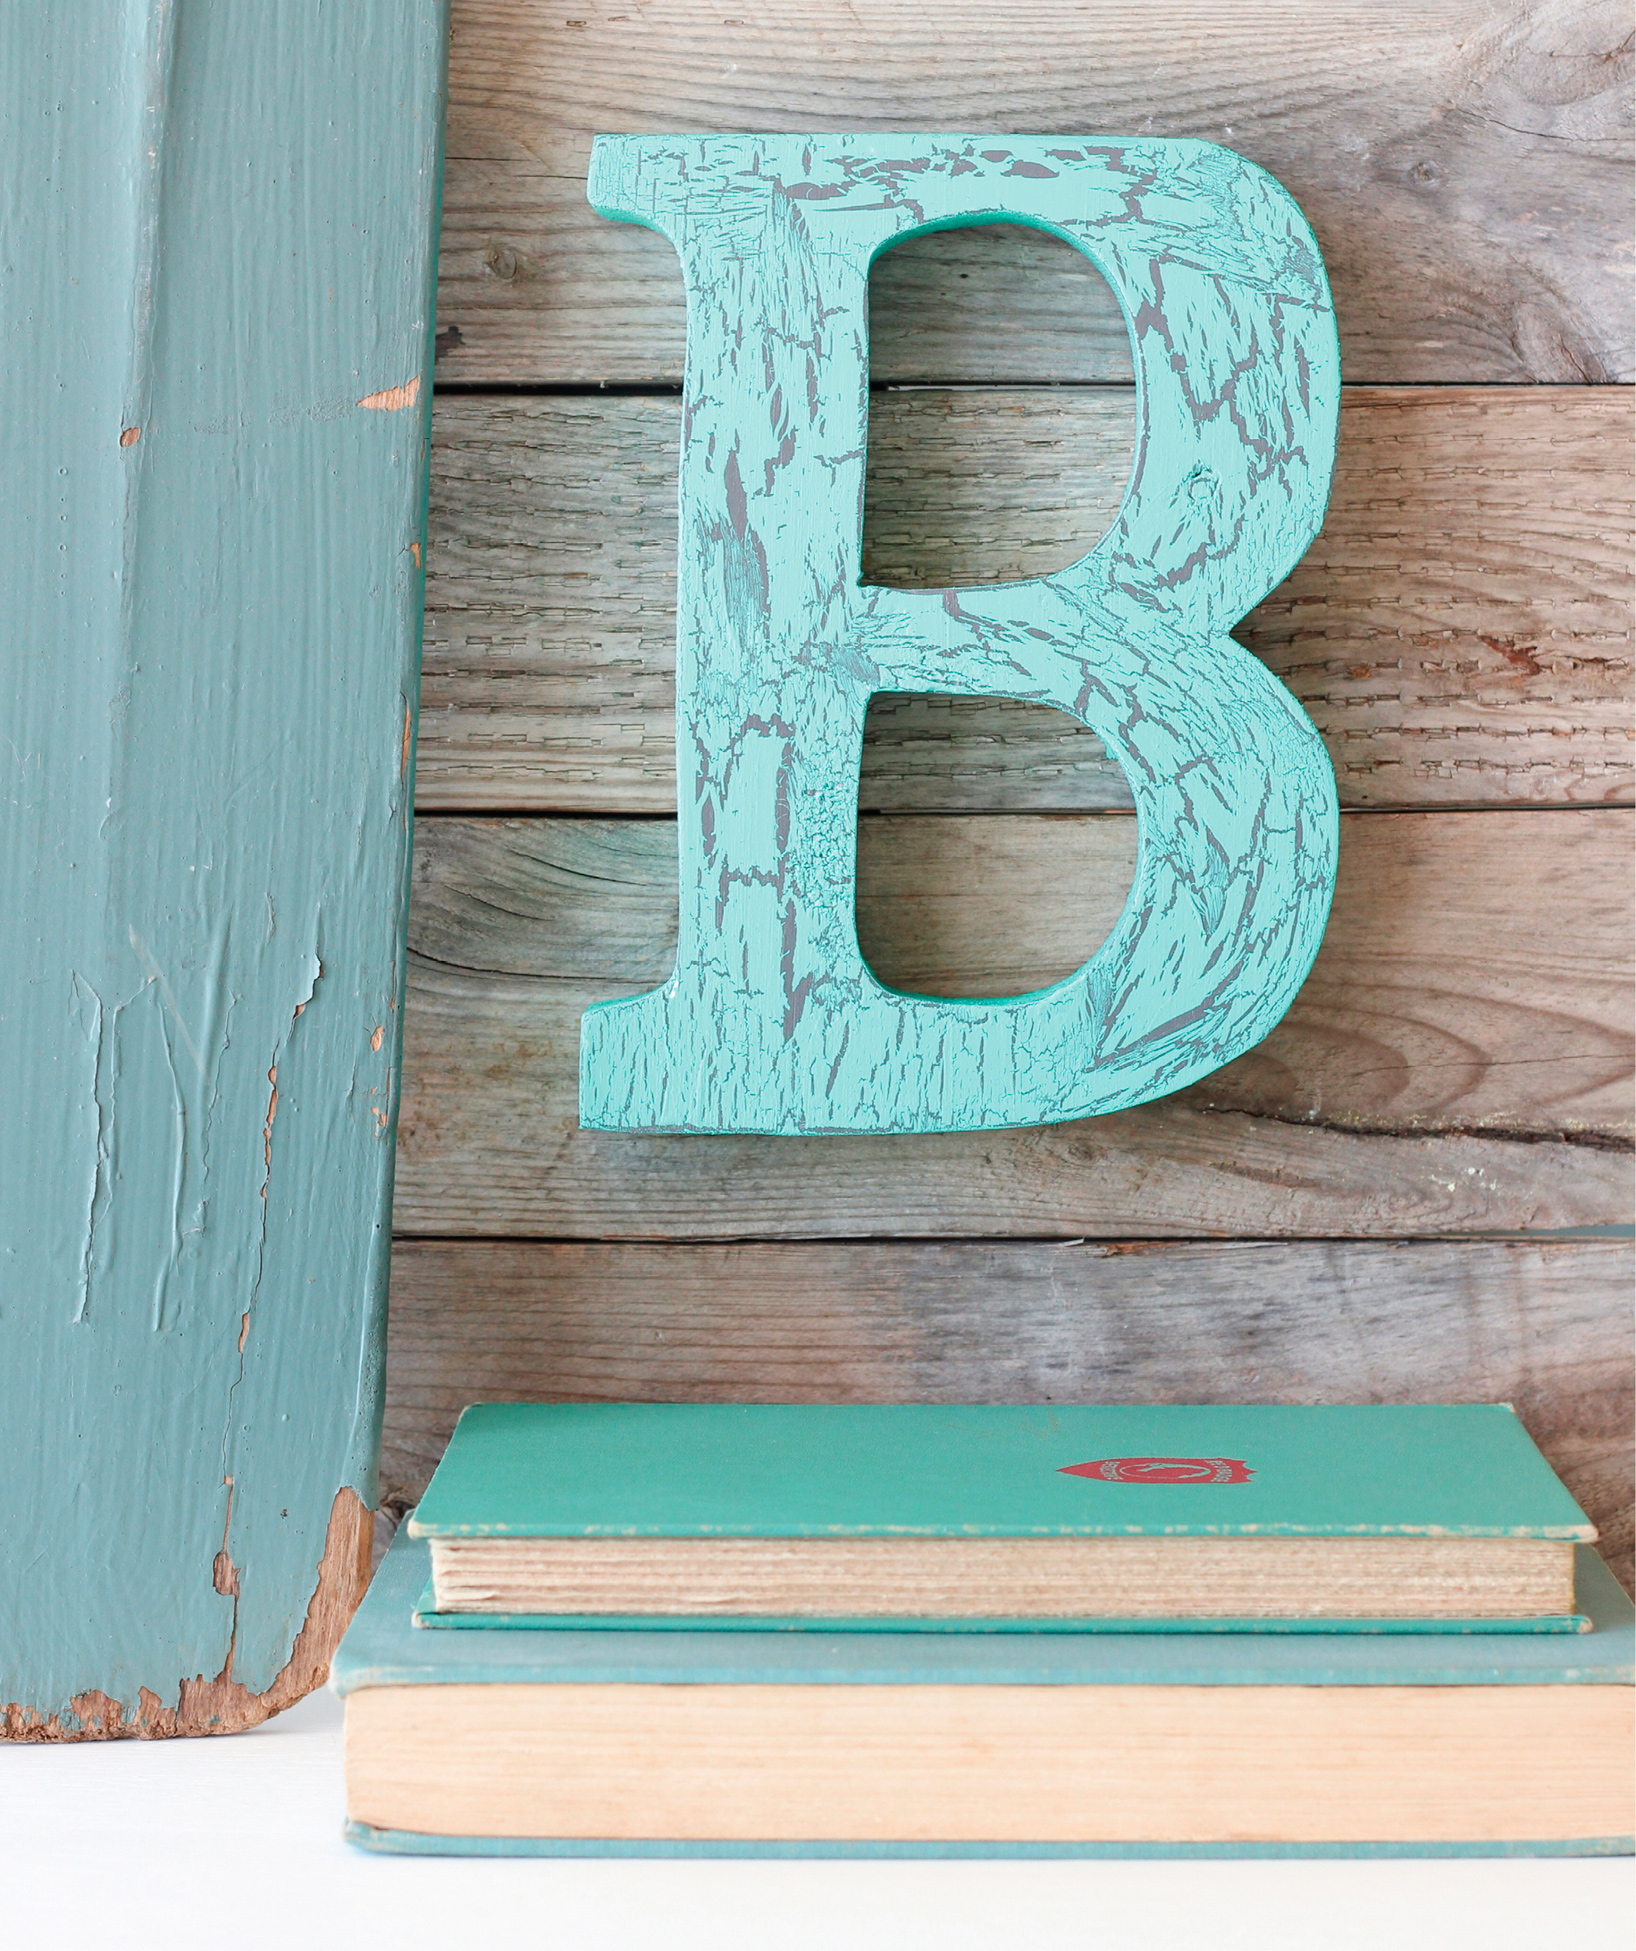
crackle finish
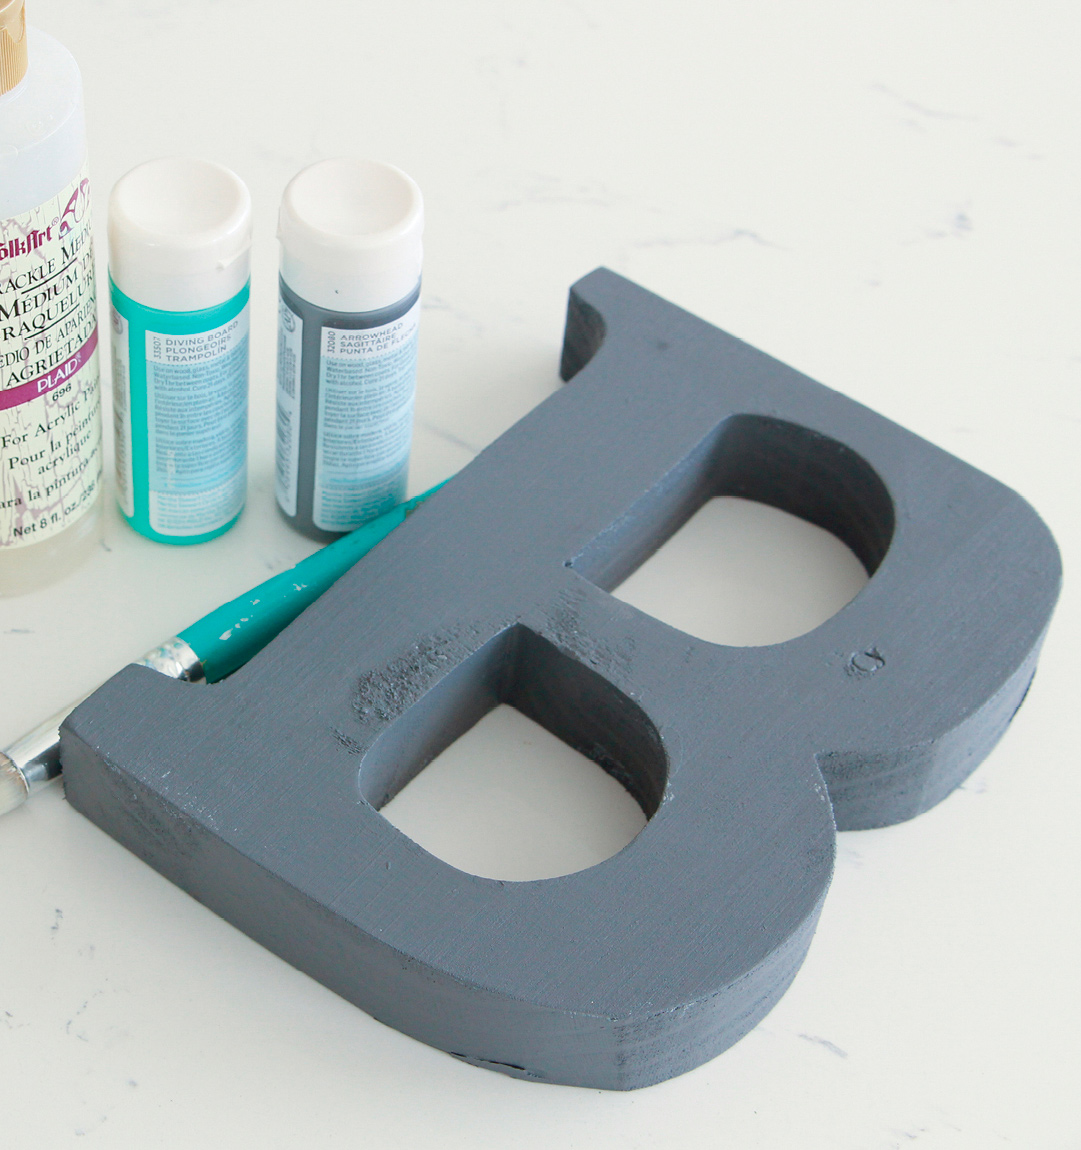
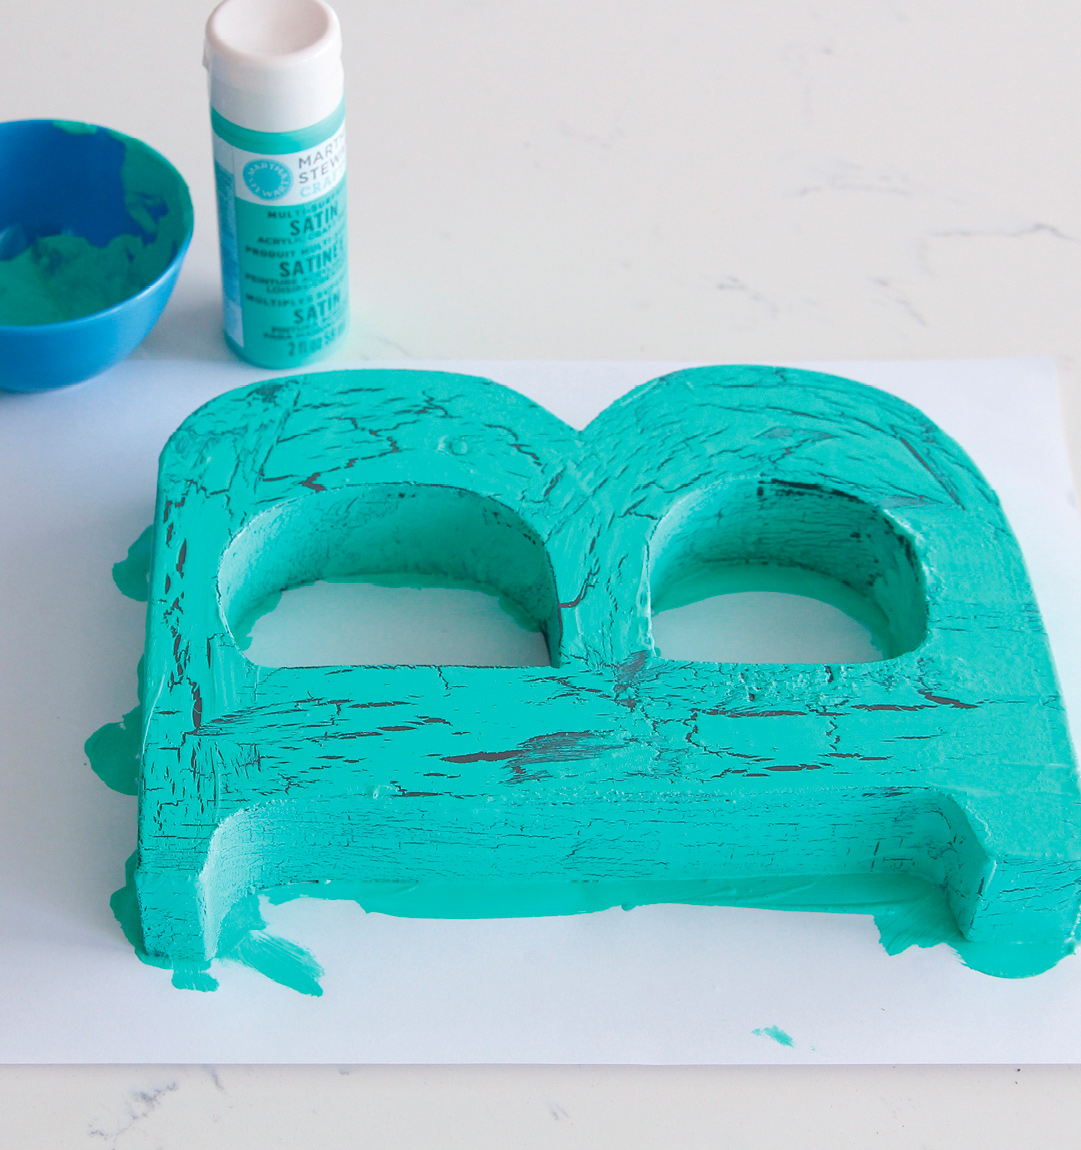
This was probably one of the first crafting techniques I ever tried. Once I found out how much fun crackle medium was to use, there was a period of time when few objects escaped my crackle-paint obsession. Nothing adds an aged feel quite like layers of paint peeking through on the surface of an object. Very popular in the 1990s, these finishes are on the rise again as rustic, vintage, and farmhouse styles regain popularity. And they are equally beautiful whether you use contrasting colors (like the gray and teal of this letter) or similar colors that create subtle texture and layering.
MATERIALS
1 wood letter of your choice
2 (2-ounce) jars different-colored craft paint
1 medium craft paintbrush
1 (2-ounce) jar crackle medium
Start by giving the wood letter two coats of your base paint color, allowing dry time between and after each coat as recommended on the bottle. Paint the face, sides, and even the back of the letter if it will be visible.
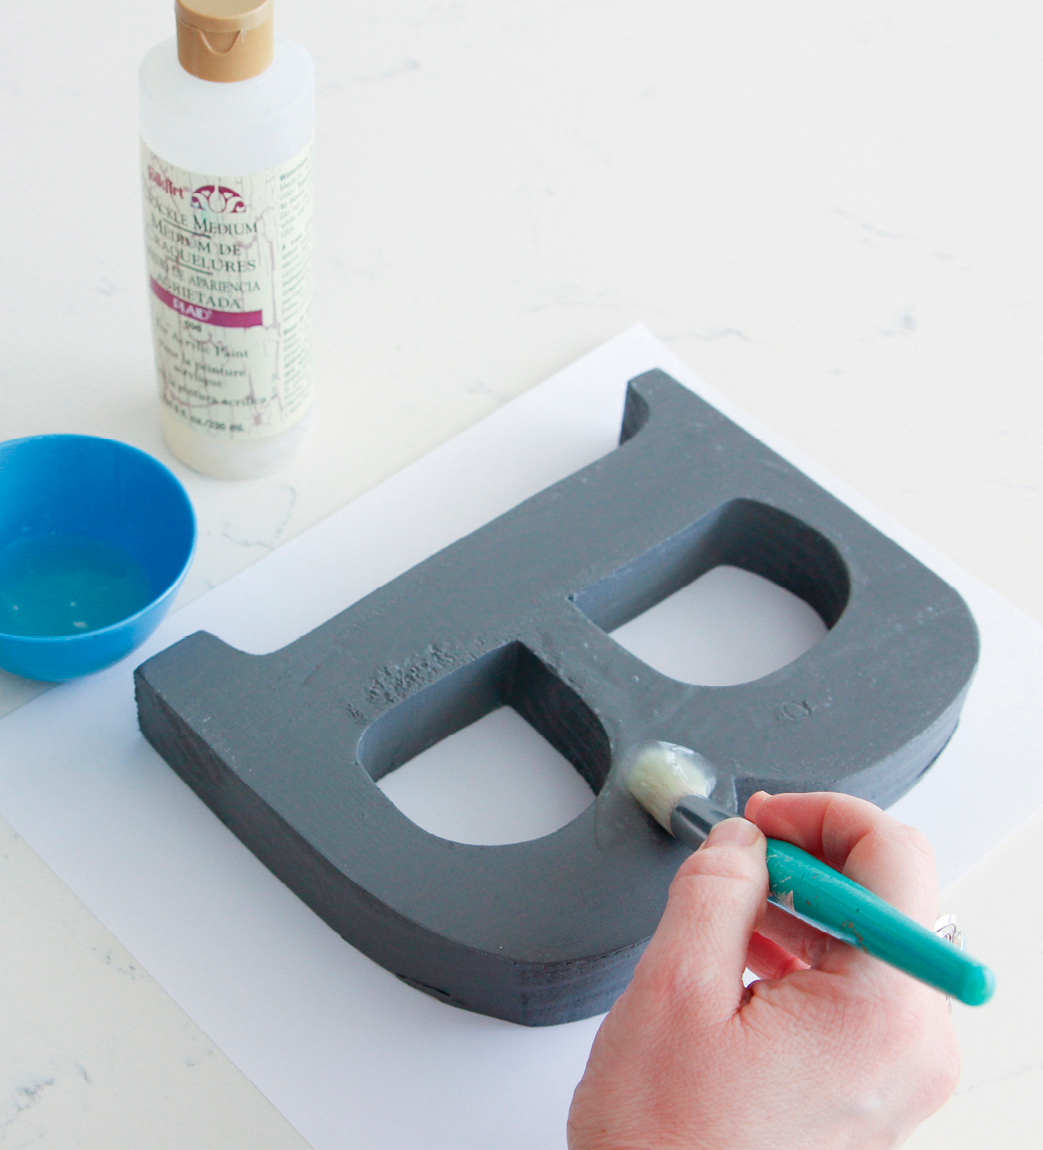
Once the base coat is dry, paint on the crackle medium. The thicker application of the medium, the chunkier the cracks will be in your final paint coat.
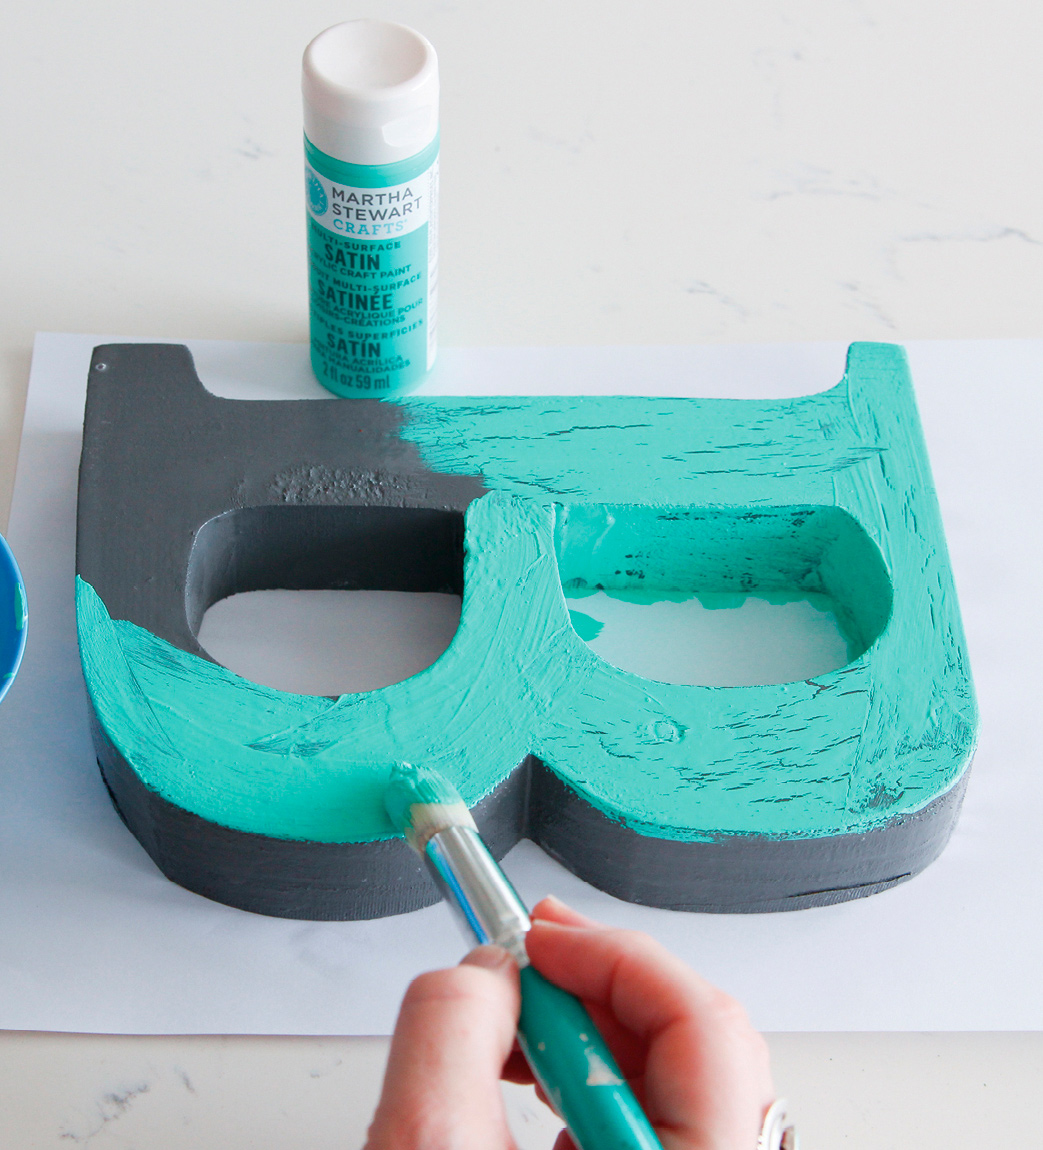
Before the crackle medium has dried, apply a layer of the top paint color. The thicker this paint layer, the chunkier the overall appearance of the crackling.
Let dry. As the crackle medium and final paint coat dry, the cracks will be revealed and the base coat color will show through.
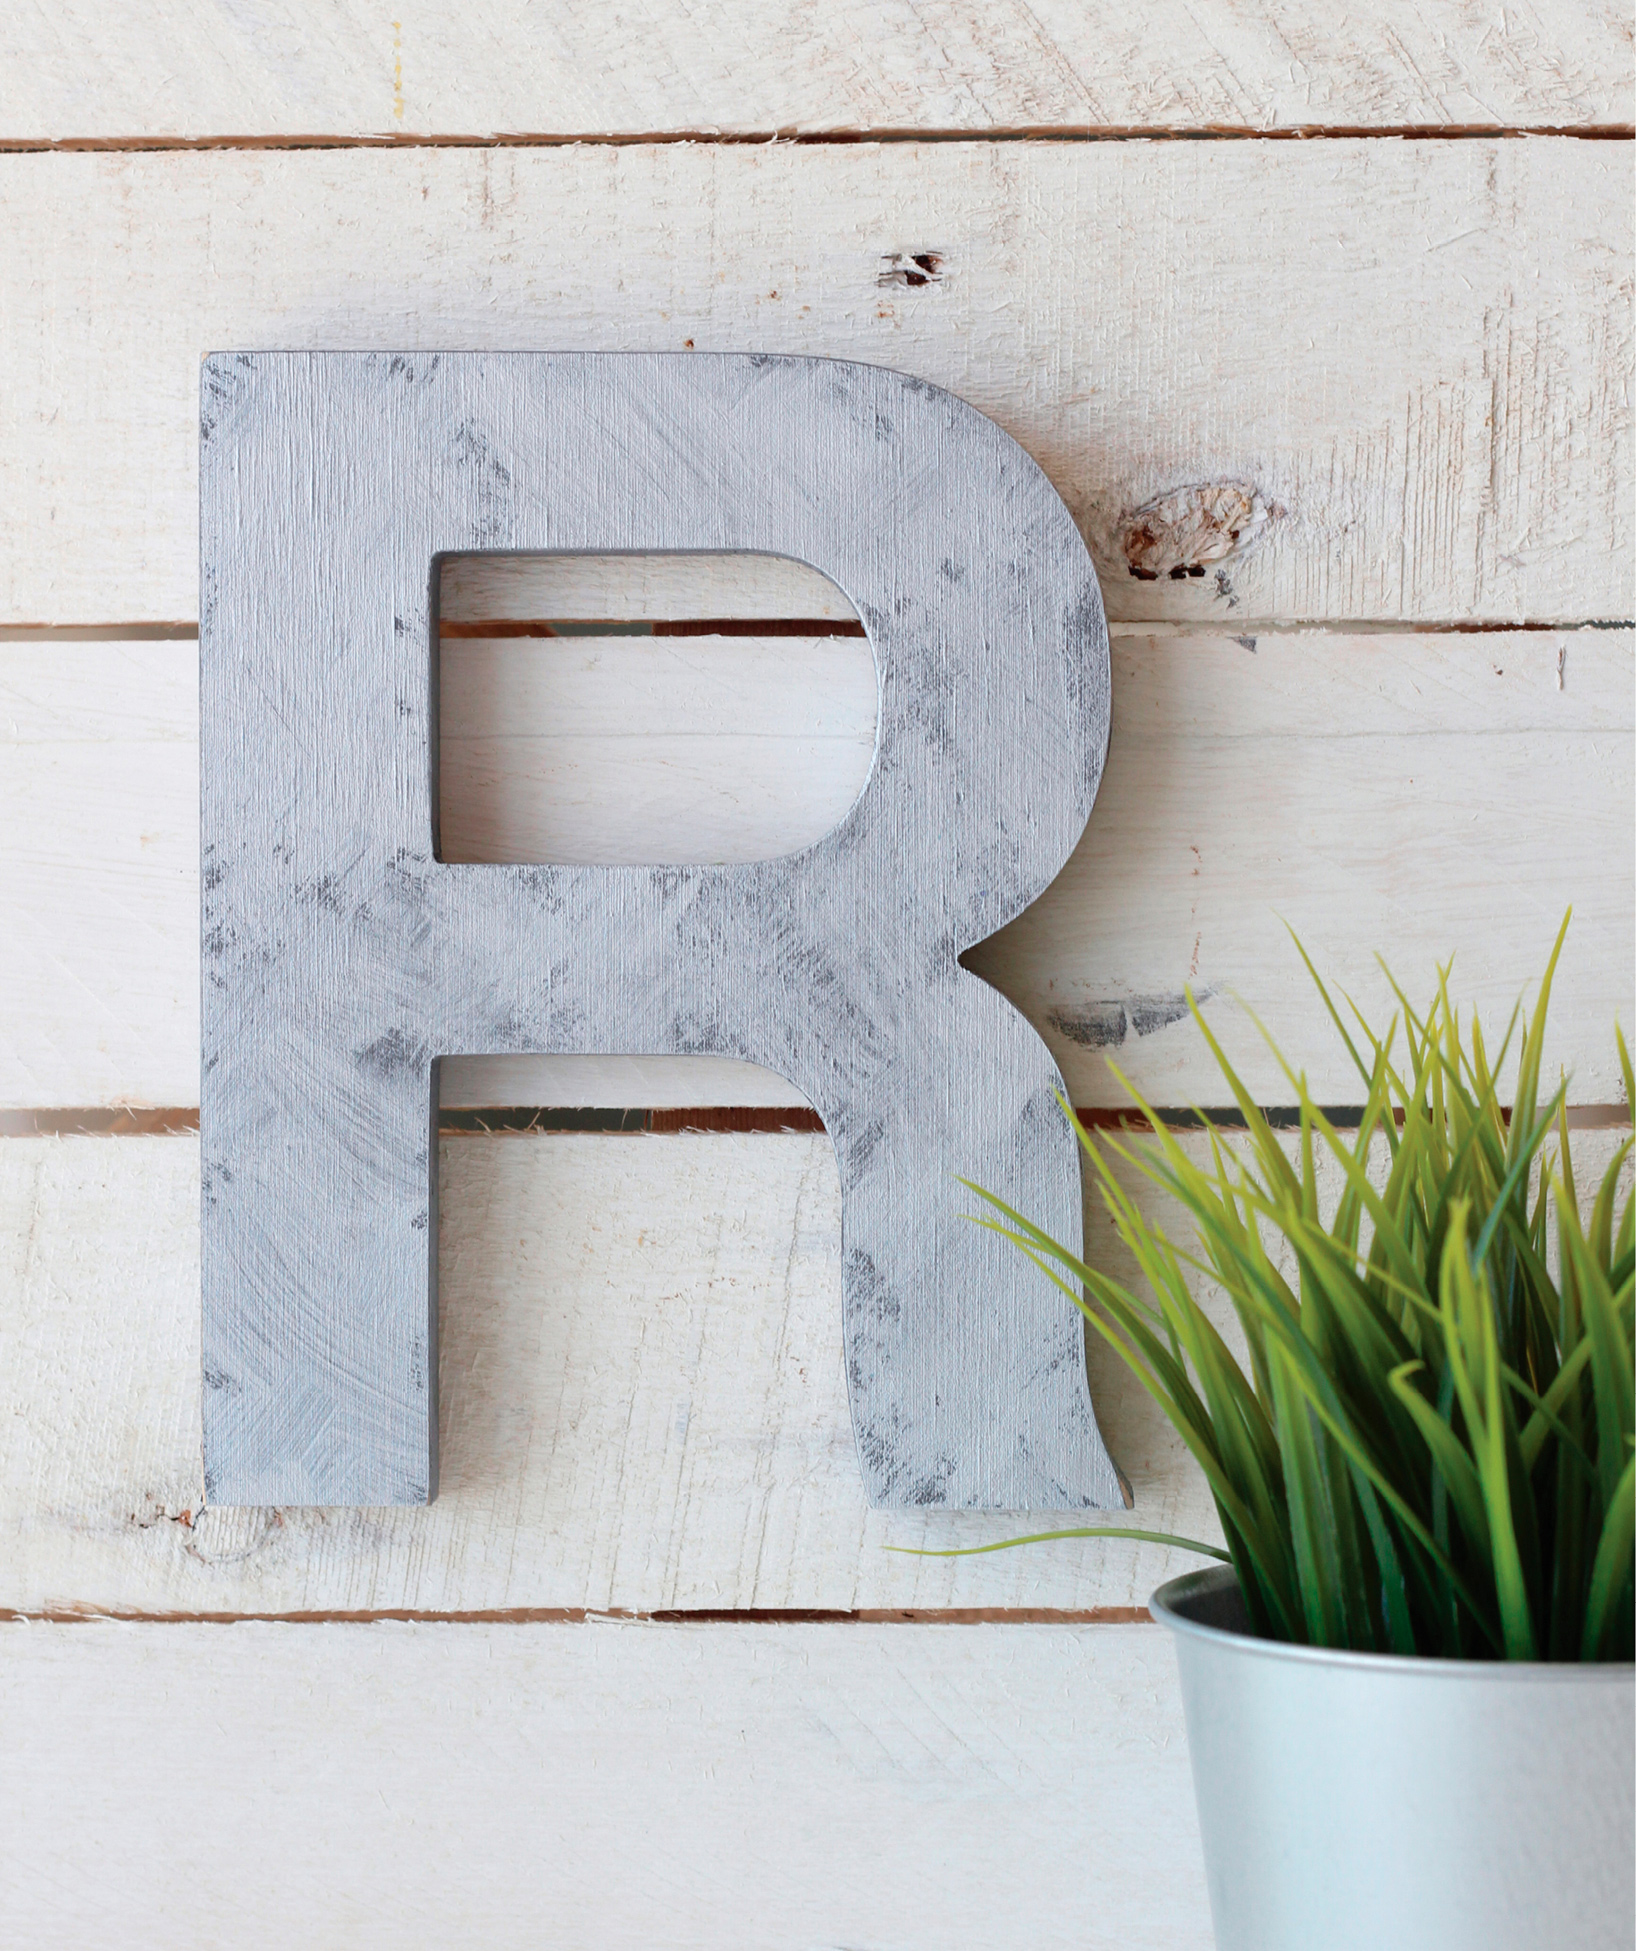
faux galvanized metal
Galvanized metal is created when a protective coating of zinc is applied to metal, such as iron or steel, as a way to prevent rusting. Often seen on farm and industrial tools, galvanized metal finishes are popping up everywhere in home dcor, and they work perfectly with current industrial and farmhouse-style design trends. They also lend themselves well to the bedrooms of machinery-obsessed children!
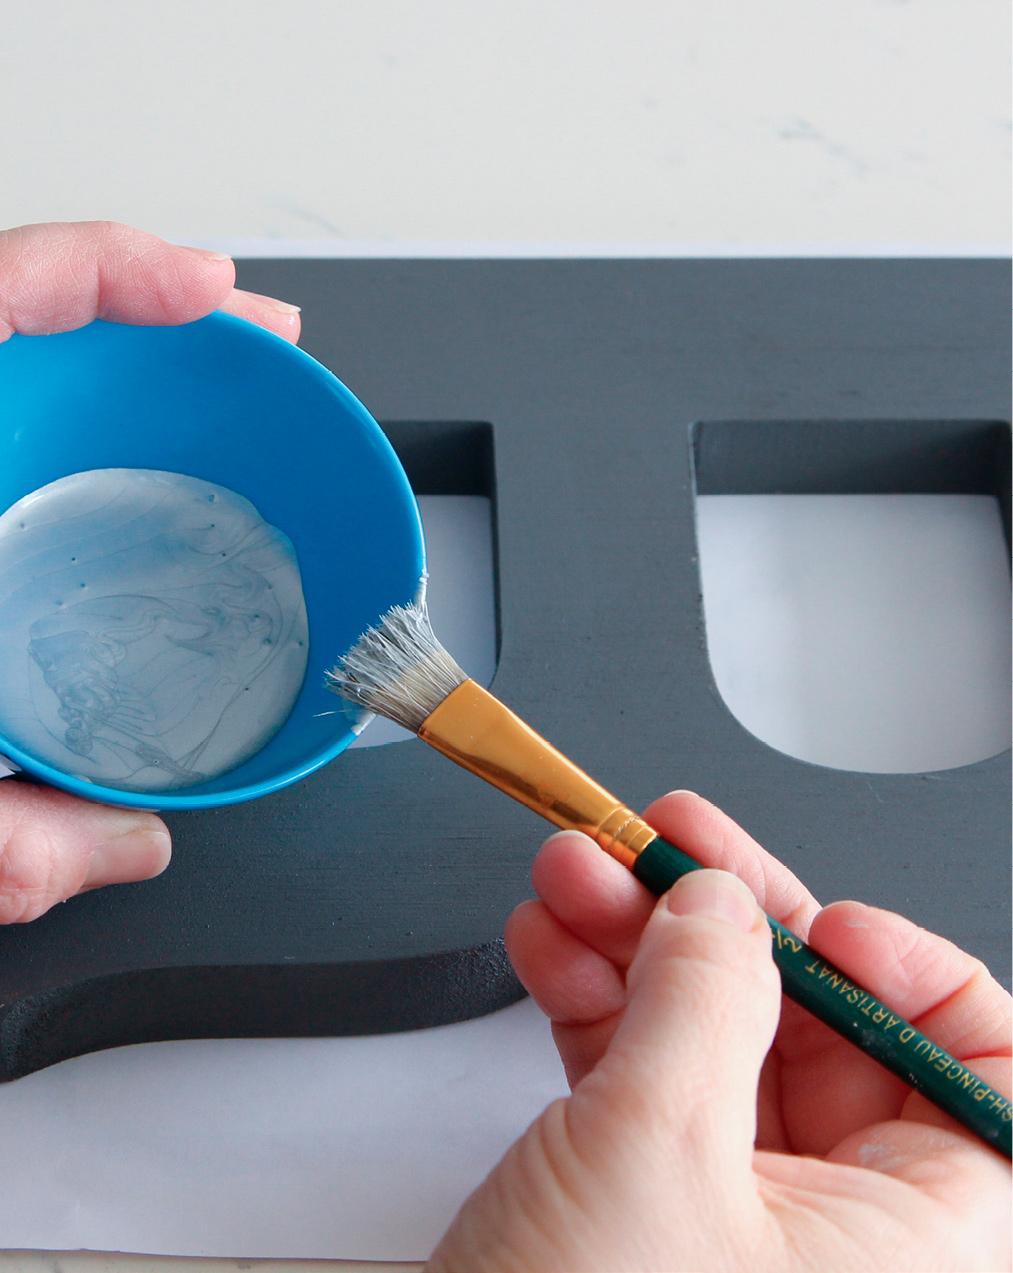
To easily create this faux galvanized-metal finish, you use a dry-brush technique: you put just a bit of paint on the end of your brush, removing most of the paint from the brush by wiping it on the edge of a water bowl or a piece of paper or cloth, so that youre left with very little pigment there (hence the term dry-brushing ).
MATERIALS
1 wood letter of your choice
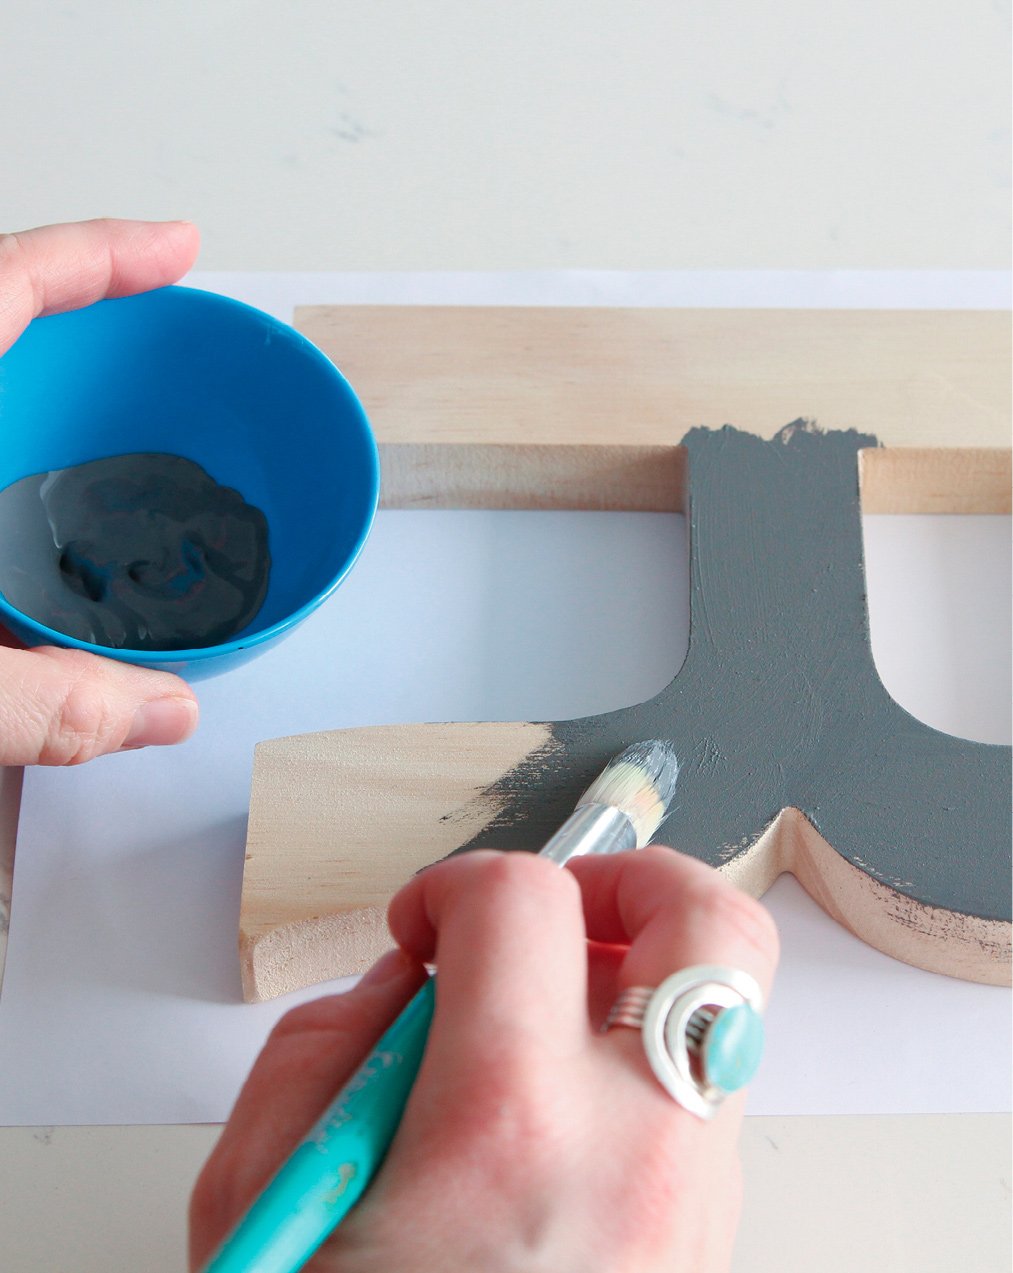
1 (2-ounce) jar dark gray or black craft paint
1 medium craft paintbrush
1 craft paintbrush with dry and scraggly bristles
1 (2-ounce) jar matte metallic silver paint
Apply two coats of the dark gray paint to your letter, letting each coat dry thoroughly after application.
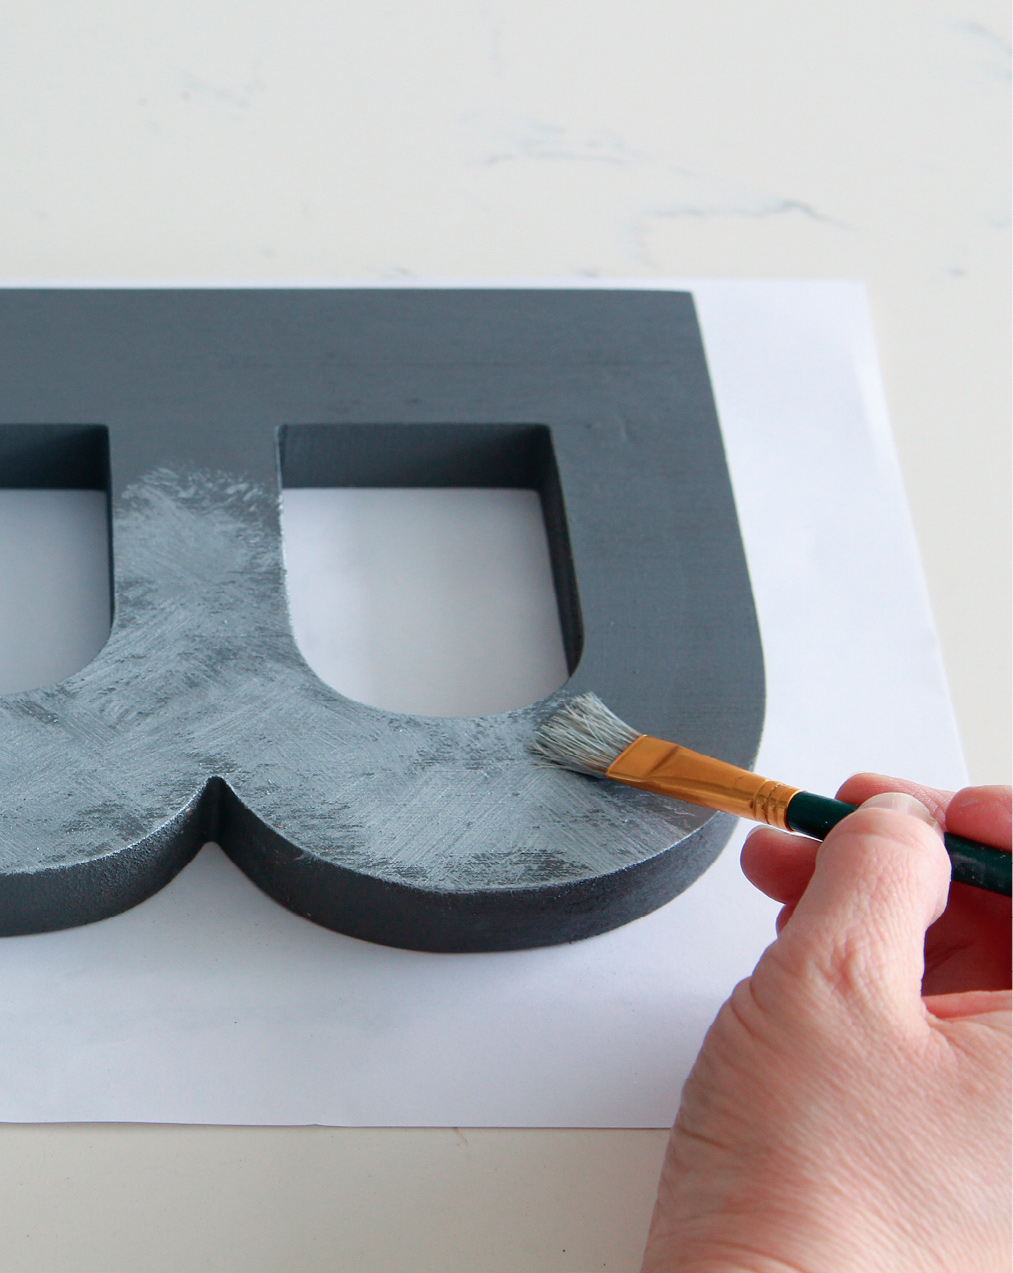
Using the scraggly brush, apply the matte silver paint using a dry-brush technique.
Move the dry-brush/silver paint in a cross-hatched fashion across the letter, creating texture and contrast over the dark gray color below.
NOTE: Leave some bits of the dark base coat showing through to create the illusion of a textured finish with dimension.
watercolor

