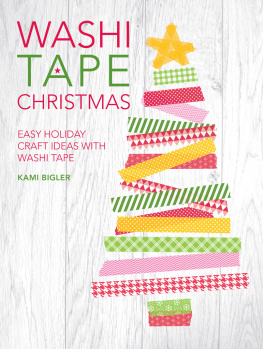
WASHI
TAPE
CHRISTMAS
EASY HOLIDAY CRAFT IDEAS WITH WASHI TAPE
KAMI BIGLER

www.stitchcraftcreate.co.uk
CONTENTS
INTRODUCTION
When it comes to crafting, theres no better place to start than the holiday season. Whether you make something beautiful to decorate your home or to give away as a gift, there will always be something special about these handmade details that you just cant buy from a store.
If youre just getting started with washi tape, this decorative masking tape originally from Japan is one of the best ways to add a little personality to any project. Keep a roll in your purse to create a last minute note to a friend, and keep jars of it at home to provide the materials for a fun-filled crafternoon with friends.
One of the best things about washi tape, besides the countless darling patterns and designs that it comes in, is the way it tears so easily with your hands; the classic torn edge look is what makes it truly stand apart from a plastic tape.
The goal of this book is to inspire you to become creative with washi tape, and to try using it in new ways while you celebrate the Christmas season.
MATERIALS AND EQUIPMENT
While washi tape is the star of this book, theres a bunch of other key players that will make your craft projects come to life. Im a fan of keeping things simple whenever possible, but you might need to take a trip to the craft store to buy a few items to get started.
Heres the ultimate list of materials and equipment needed to create the craft projects featured in this book:
- kraft paper card set (card bases with envelopes)
- white card stock
- paper slicer (guillotine)
- white butcher paper (kraft paper)
- circle craft punch
- die cutting tool, such as the CuttleBug by Cricut
- circle cutting dies
- fine-tip scissors
- pinking shears
- scoring board, such as the mini scoring board from Martha Stewart Crafts
- bakers twine
- ordinary twine or string
- glue dots
- low temperature hot glue gun
- star stickers
- snowflake embellishments
- styrofoam wreath form
- natural clothes pins (pegs)
- natural wood frame
- wooden spools
- tiny bottlebrushes
- papier-mch cones
- round plastic beads
- tea light candles
- clear plastic tubes
- cupcake liners
Its best to shop per project as you create, and you may come across a few other items you need as you go. This is an overview so you can get an idea of what you already have at home and what you need to pick up before getting started.
Heres a quick look at a few of the materials and tools used repeatedly in this book.

CLEVER CARDS
One of the biggest highlights of the Christmas season is going out to the mailbox with the hopes of finding something happy in it; happy mail as we like to call it. Whether you choose to send out photo cards or handmade cards with an added photo inside, youre bound to make someone happy when they open their mailbox and find these inside. All the following festive card projects are simple to make, and if you make one you might as well make a few!
WINTER WONDERLAND
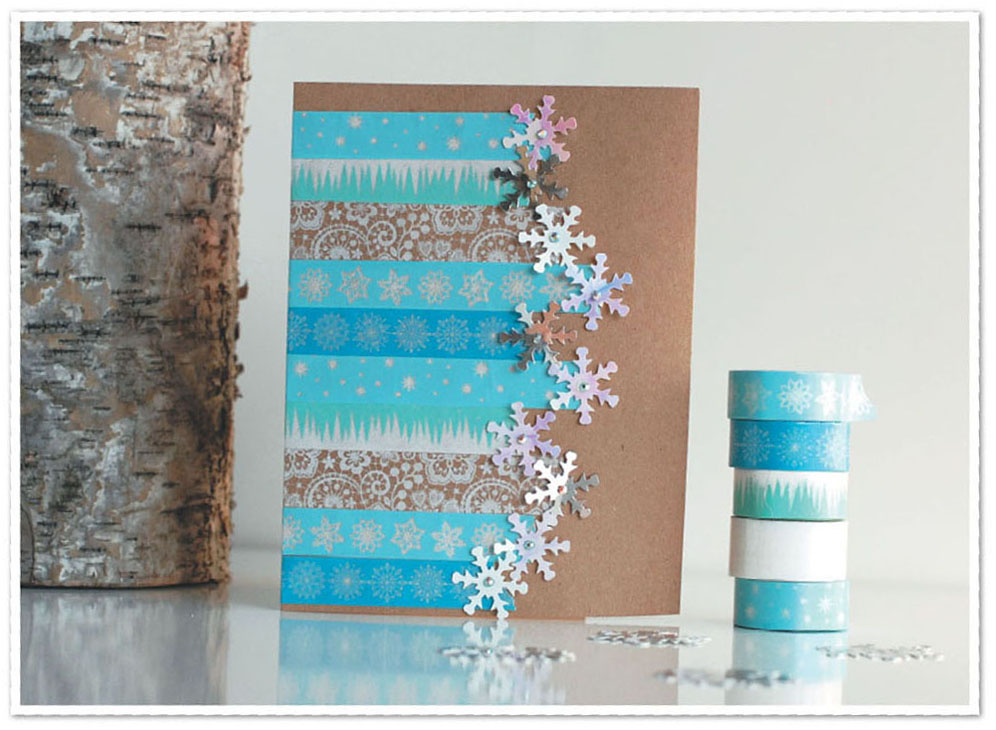
Celebrate the beauty of winter with this pretty snowflake card. An array of blue tones along with shiny snowflakes makes this card sparkle and shine. Your ever-growing collection of washi tape will be put to good use.
You will need:
- blue and white washi tape in assorted designs
- 12.5 18cm (5 7in) kraft paper card base with envelope
- scissors, or craft knife (optional)
- mini glue dots
- snowflake stickers, confetti, or decals
- tiny gemstone embellishments
- bone folder
- Run the bone folder over the crease of the card to ensure the fold is clean and that the card will lie flat when folded.
- In a random order, cut or tear strips of washi tape then layer rows in different designs across the front of the card. You can repeat the pattern as you work up the card, or keep it random.
- I like the torn edge washi tape look, but this will be covered by the snowflake embellishments on the front of the card. To retain some torn edges, you can wrap small sections of washi tape with torn edges around the fold to the back of the card, or you can cut the washi tape in a straight edge at the fold using scissors or a craft knife.
- Using the mini glue dots, stick a snowflake embellishment at the end of each line of washi tape on the front of the card. Then make these snowflakes sparkle by sticking tiny gemstones to their centers with mini glue dots.
Now you have a darling card or party invite that will celebrate the frozen season ahead.
HAPPY HOLIDAY BERRIES
By layering different patterns of green washi tape you can create a festive holly berry wreath and finish it off with a little red berry detail. Then peek through it to catch a glimpse of the inside of the card. I love adding pink to classic Christmas colors, but feel free to add in any color of card stock you like to your own project.
You will need:
- green washi tapes in assorted designs
- 12.5 18cm (5 7in) kraft paper card base with envelope
- 10 15cm (4 6in) pink card stock mount
- small red card stock confetti circles, buttons, or dots
- fine-tip scissors
- die cutting tool, such as the CuttleBug from Cricut
- circle cutting dies in your choice of size
- glue dots
- three-dimensional foam adhesive square
- lace washi tape (optional, for the inside of the card)
- Place glue dots in each corner of the pink card stock mount then adhere it to the kraft paper card base. Open the card out flat then run it through your die cutting tool to cut out a circle on the front. The cutting die can cut through both the kraft card base and the pink card stock, but if you prefer you can run these through separately.
- Pull out a length of green washi tape measuring 10cm (4in) and tape it directly back on itself, so that the sticky sides are together. Now fold the segment in half and use your fine-tip scissors to notch out the letter V at the ends to create a more fancy finished look (A).
- Add a glue dot between the washi halves then adhere them together off-center, so that you can see both the top and bottom layer. Grab a second glue dot and adhere the washi tape to the edge of the circle.
- Repeat steps 2 and 3 with all the different green washi tapes to work your way around the central circle of the card (B). I used about 14 different washi tape segments to fill the wreath on my card.
- To finish the wreath, add little red paper circles in a cluster like youd see on a holly berry wreath.

