

 Copyright 2019 by Laura Anne Lapp All rights reserved. No part of this book may be reproduced in any manner without the express written consent of the publisher, except in the case of brief excerpts in critical reviews or articles. All inquiries should be addressed to Good Books, 307 West 36th Street, 11th Floor, New York, NY 10018. Good Books books may be purchased in bulk at special discounts for sales promotion, corporate gifts, fund-raising, or educational purposes. Special editions can also be created to specifications. For details, contact the Special Sales Department, Good Books, 307 West 36th Street, 11th Floor, New York, NY 10018 or .
Good Books is an imprint of Skyhorse Publishing, Inc., a Delaware corporation. Visit our website at www.goodbooks.com. 10 9 8 7 6 5 4 3 2 1 Library of Congress Cataloging-in-Publication Data is available on file. Cover design by Peter Donahue Cover photo by iStockphoto Print ISBN: 978-1-68099-456-8 Ebook ISBN: 978-1-68099-459-9 Printed in China TABLE OF CONTENTS 
 GETTING STARTED
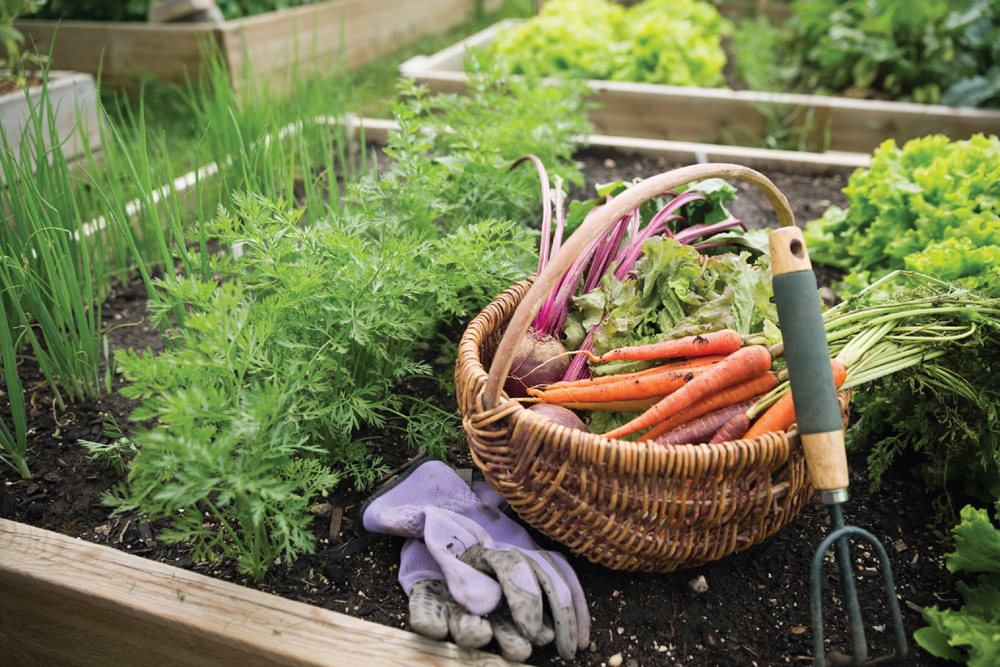
  Growing up Amish, the eldest daughter in a family of seven, canning and preserving were always a part of family life, a part of summertime that went hand in hand with gardening. Now, as a mother of four growing boys with a large garden, I still find canning and preserving a part of my summer tradition. I love gardening, and preserving the beauty of my garden is just another part of that tradition.
Canning and preserving can be hard work, but with the right equipment and some time spent in the kitchen, you will reap the benefits of your labor all winter long. Theres such a wonderful feeling of satisfaction placing your gleaming jars on shelves or cupboards and knowing that it was your efforts that put them there, and for me its knowing exactly whats in those jars. No artificial ingredients at all, just fresh food from my garden. I still buy fruit from local orchards (as we dont have fruit trees), but thats okay, as I still know where the foods coming from. There are some items you will need before you begin, but most are fairly inexpensive, and you can reuse them year after year. I recommend buying new jars for your first season of canning.
That way, you wont have to worry about chips around the outer edges or cracks anywhere in the jars. If the outer edge of a jar is nicked or chipped, the jar wont obtain a tight seal. Jars are available in quart, pint, or half-pint sizes. You can also buy even smaller jars, what I call jelly jars, which hold approximately cup. I can all my pickles, applesauce, peaches, pears, beets, and tomato juice in quart-sized jars. My jellies, sauces, salsas, and relishes go in pint-sized jars, but we are a family of six and eat lots at every meal.
You can use any size jar that works well for your family. New canning jars (or mason jars, as they are usually called) come complete with lids and rings, also called screw bands. Lids are flat and have a rubber seal on the inside rim that conforms to the top of the glass jar and seals tightly in the canning process, preserving your food. Lids can be bought separately and are typically used only once. Screw bands do not have an infinite lifespan like jars; they get bent and sometimes rusteven nowand they need to be replaced as they wear out. The recipes in this book are all processed using a boiling-water-bath method.
You can also use a pressure canner, but I dont have one myself and have never used one, so I didnt feel comfortable using that method in my book, and water-bath canning has always worked well for me. You will also need a canner or hot-water-bath canner. A canner is basically a large stockpot, so if you have a large pot, you dont necessarily have to buy a canner. I often use my stainless-steel twelve-quart kettle as a canner. A jar lifter is a handy tool that you will use often while canning to take your jars out of boiling water, so it is a necessity. A canning funnel is not necessary but recommended, especially when canning sauces or fruits.
I like stainless-steel funnels as they dont stain or melt. A canning rack is also recommended to keep your jars off the bottom of the pot away from direct heat. Most canners come complete with the rack, but if youre using a pot, you can use a cake cooling rack or can tie screw bands together to make your own rack. In a pinch, I sometimes use a clean dishcloth on the bottom of the pot for my canning rack. It keeps the jars from clattering as they boil and also keeps them from breaking. Its important to heat your jars before you fill them, not to sterilize them (as they will sterilize during the canning process) but to reduce the stress of temperature change.
The best way to heat them is in hot water. Some people recommend heating them in your canner, by placing them in water until they reach a simmer (180F, almost boiling). You can also use your dishwasher, and Ive found that washing my jars in hot soapy water and leaving them on the counter to dry is enough to keep them hot, but my kitchen is always extremely warm in the summertime because I have no AC. If youre nervous about your jars not sealing while in the canner, you can also heat the lids the same way you heat the jars, but placing the lids on warm jars and then putting them in a canner of boiling water has always worked for me. The screw bands never need to be heated, as thats the part that you fasten securely before putting the jars into the canner. When filling the jars, be sure to follow each recipes instructions about headspace, or the space between the top of the jar and the top of the food.
Sticky foods like canned fruit or applesauce can cause quite a mess if the jars are too full. Most recipes require inch of headspace, although soft jams or fruit juices require a little less. After the jars are filled with food, be sure to wipe the surface, especially the outer rim, clean of all food residue or particles. Not doing this step correctly can prevent a tight seal from forming during the canning process. When all the jars are filled and the screw bands are fastened just fingertip tight (do not use a tool or device to tighten them), place your jars in the canner and adjust the water level so that all the jars are covered, and process at a full rolling boil according to the recipes instructions. When the jars are done, remove them carefully using the jar lifter.
Place them on your kitchen counter or sturdy surface, and dont move them for 24 hours. At this time, its not necessary to dry the jars or remove the screw bands. After 24 hours, you can remove the bands, check for a tight seal, and wipe down the jars. Any jars that havent sealed can be kept in the refrigerator and enjoyed within a few days. Food safety concerns related to this would seem to be dependent on what was being canned; one wouldnt want to eat, for instance, chicken soup if it had been sitting at room temperature for at least twenty-four hours. Store your jars in a cool, dark space such as a pantry, cupboard, or basement.
Next page



![Better Homes - Better homes and gardens you can can: [a guide to canning, preserving, and pickling]](/uploads/posts/book/188232/thumbs/better-homes-better-homes-and-gardens-you-can.jpg)


![Beverly M Lewis] - The Beverly Lewis Amish Heritage Cookbook](/uploads/posts/book/96304/thumbs/beverly-m-lewis-the-beverly-lewis-amish-heritage.jpg)



 Copyright 2019 by Laura Anne Lapp All rights reserved. No part of this book may be reproduced in any manner without the express written consent of the publisher, except in the case of brief excerpts in critical reviews or articles. All inquiries should be addressed to Good Books, 307 West 36th Street, 11th Floor, New York, NY 10018. Good Books books may be purchased in bulk at special discounts for sales promotion, corporate gifts, fund-raising, or educational purposes. Special editions can also be created to specifications. For details, contact the Special Sales Department, Good Books, 307 West 36th Street, 11th Floor, New York, NY 10018 or .
 GETTING STARTED