Publisher: Amy Marson Creative Director: Gailen Runge Editors: Lynn Koolish and Katie Van Amburg Technical Editor: Nan Powell Cover/Book Designer: April Mostek Production Coordinator: Joe Edge Production Editors: Alice Mace Nakanishi and Jeanie German Illustrator: Valyrie Gillum Photo Assistants: Carly Jean Marin and Mai Yong Vang Style photography by Lucy Glover and instructional photography by Diane Pedersen of C&T Publishing, Inc., unless otherwise noted Published by C&T Publishing, Inc., P.O. Box 1456, Lafayette, CA 94549 dedication I dedicate Sew Yourself a Merry Little Christmas to my mother, Adeline, and my father, Nicholas. acknowledgments A special thank you to my wonderful family and friends. Your support and encouragement are a constant source of motivation to me. 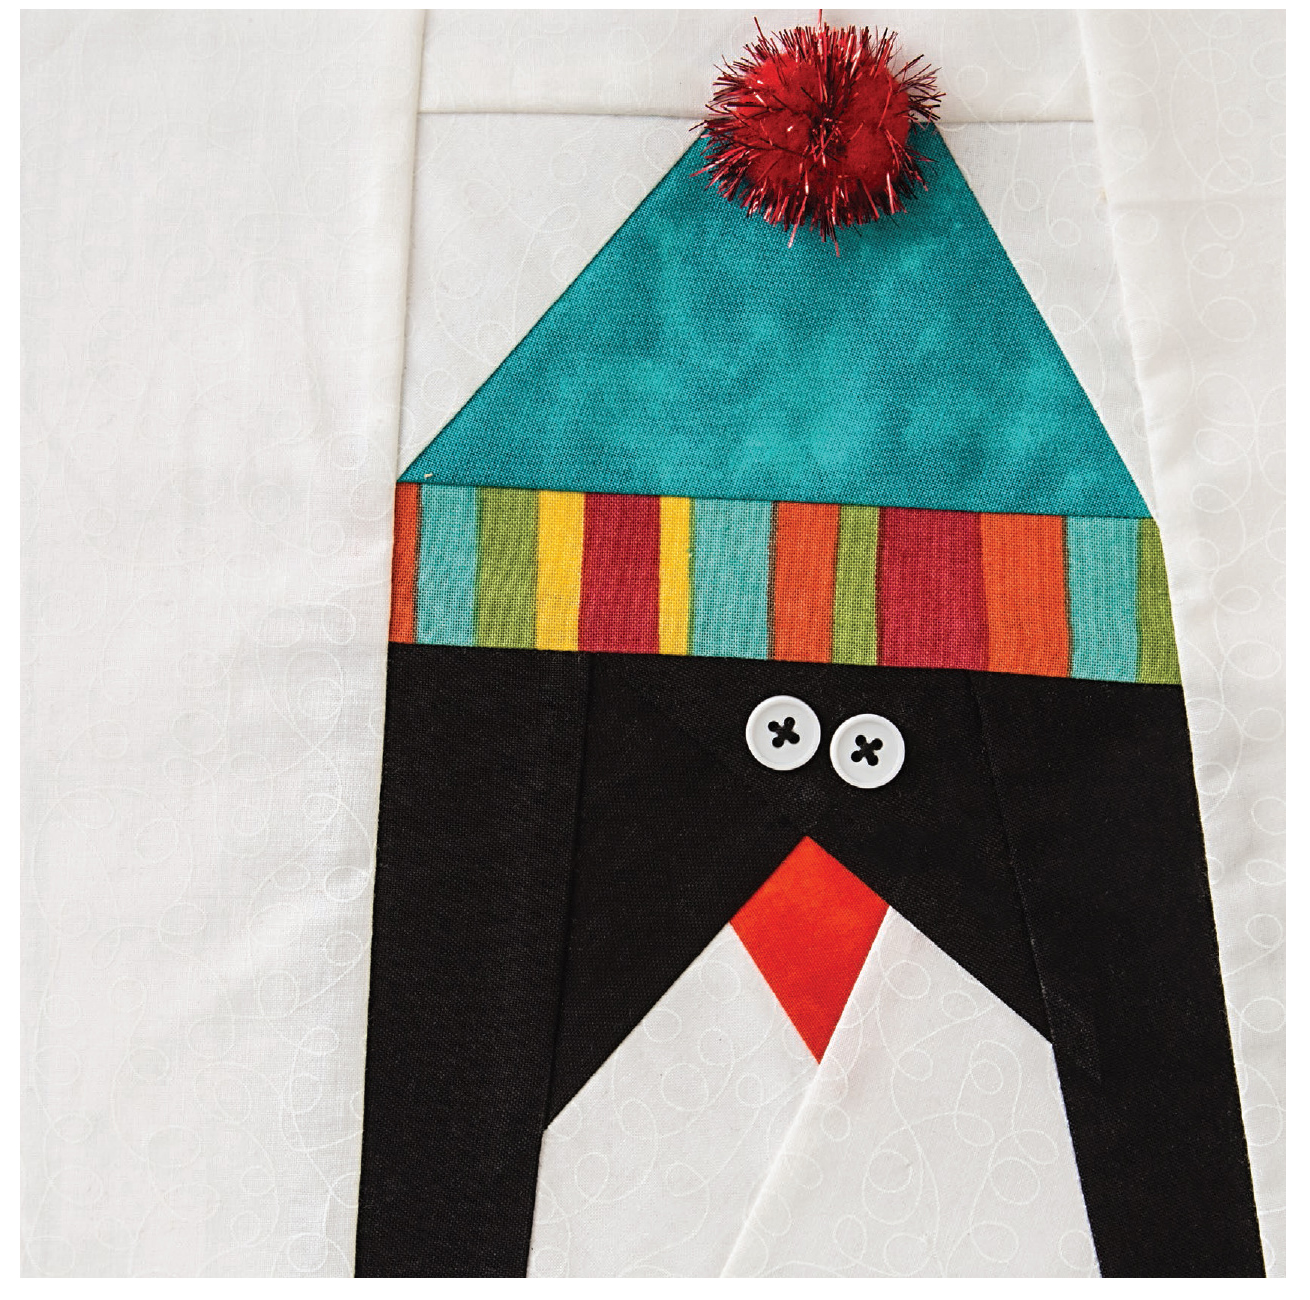 introduction
 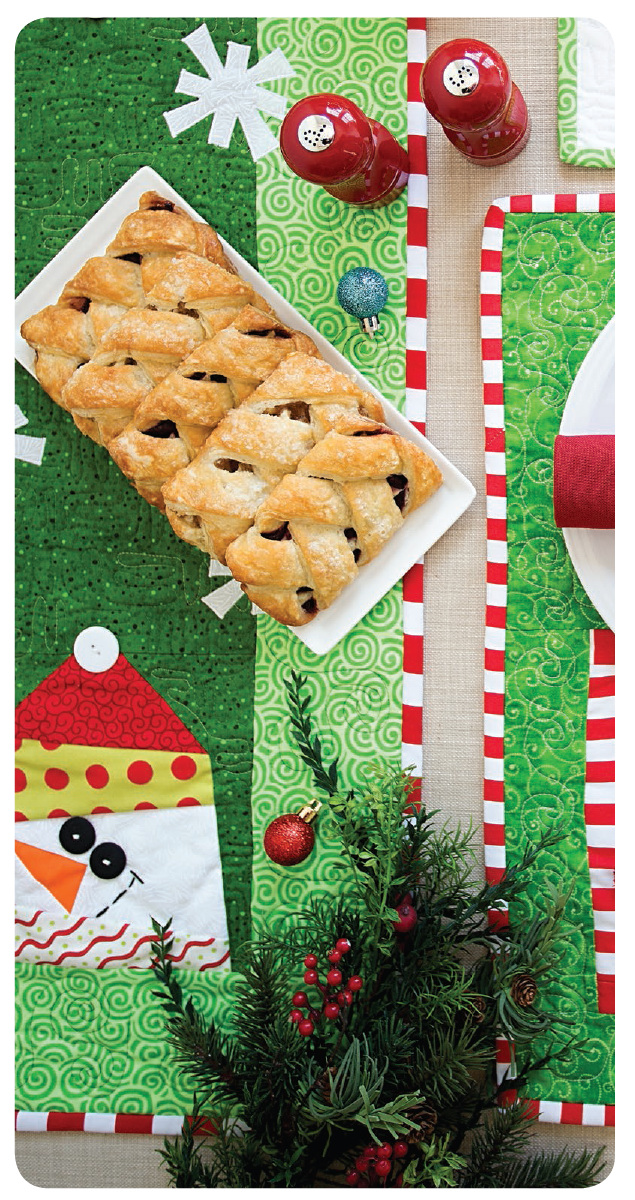 This book is all about paper piecing with fewer rules and more fun! In no time at all, you will be creating lovely holiday projects with these cute and clever Christmas blocks. The book contains sixteen whimsical blocks that will make you smile.
Use the blocks to create eight fun and useful holiday projects. All the blocks work in all the projects, so enjoy creating your own unique looks for charming gifts or lovely holiday additions to your own home. Sew Yourself a Merry Little Christmas is designed for the paper-piecing beginner. It will help you build your paper-piecing skills with fast, friendly blocks. Start with the simple blocks, such as Santa Claus, Mrs. Claus, Snowman, or Penguin.
Then try Rudolph, a block with multiple segments. Soon you will be paper piecing like a pro. Paper piecing is as simple as sewing a straight line. Add the fabric pieces in numerical order and enjoy watching the image emerge, as if by magic. I like to call it sew by numberthats how easy it is. Not to be left out, the experienced foundation piecer will love how quickly these blocks sew together.
No tedious, tiny pieces in this bookjust quick and easy blocks that will get you turning out a lot of lovely holiday treasures. If you havent paper pieced before, give it a try. If you already are a seasoned foundation piecer, get ready to have some fun creating these happy holiday designs! paper-piecing basics Paper piecing is a simple, straightforward method of sewing a design into a project. Perhaps you have experienced the joy and satisfaction of seeing the finished image after adding the last piece to a jigsaw puzzle. The effects of paper piecing are no different. Anyone with basic sewing skills can master paper piecing, as the approach used in this book is essentially sewing by number.
Paper piecing is also a creative means of using up oddly shaped pieces of fabric that might otherwise have been relegated to the scrap pile. Tools Paper (I recommend Carol Doaks Foundation Paper by C&T Publishing.) Sharp scissors Multipurpose tool (such as Alex Andersons 4-in-1 Essential Sewing Tool by C&T Publishing) or seam ripper Rotary cutter and mat Ruler with an easy-to-read line (such as Add-A-Quarter ruler by CM Designs) Lamp or a natural light source Flat-head straight pins Sewing machine Iron and pressing board Things to Know PREPARE A CONVENIENT WORK STATION Have the iron, pressing board, and cutting mat close to the sewing machine. There should be a light source handy for positioning scrap pieces on the back of the block. I use a window during the day and a lamp at night. Ive even used a television screen when desperate. STITCH LENGTH Set the stitch length at 1.5, which is about 20 stitches per inch.
The stitch perforations must be close enough to allow the paper to rip off easily, but not so close that ripping out a seam is an impossible task. FABRIC GRAIN For paper piecing find a straight edge on your scrap and use it. Place the sewing line a generous from any straight edge. Dont be concerned with the fabric grain unless the fabric is a stripe, plaid, or other directional fabric. STEAM PRESSING If fusible fleece or interfacing is called for, add decorative buttons or pom-poms after the fusing is finished. Use a damp pressing cloth and press from both sides of the fabric for the best adhesion.
THE BUTTERFLY EFFECT After sewing a seamline, the fabric is flipped behind the numbered piece that you are currently attaching. This creates a butterfly effect, meaning that the fabric scrap needs to be lined up to the seam in such a way that it will cover the space you are sewing after it is flipped into place. If you are concerned that the size of your scrap is insufficient, pin along the seamline and try flipping the scrap into place before sewing the seam. That way, if the scrap does not cover the area sufficiently, you can adjust it or find a larger scrap. FOLLOW ALONG If you are new to paper piecing, practice with the Rudolph block as you read the following instructions. (You need 3 copies for the Rudolph block.)  Cut the block into the segments denoted by the capital letters, adding seam allowances along the red lines and the outside edges of the block. For the example, use one copy for each of Segments A, B, and C.
 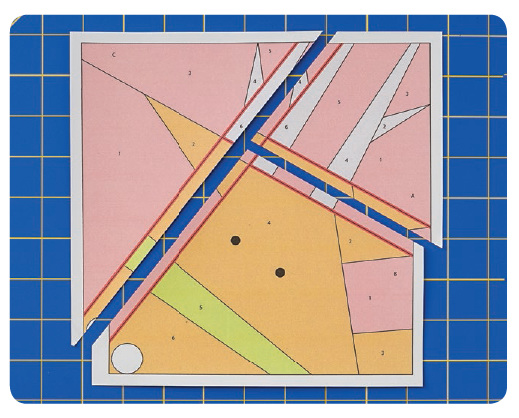 Segments A, B, and C with seam allowances around outside edges Paper Piecing Always stitch pieces in numerical order.
  Segments A, B, and C with seam allowances around outside edges Paper Piecing Always stitch pieces in numerical order.
Dont forget to set your stitch length to 1.5, or about 20 stitches per inch. 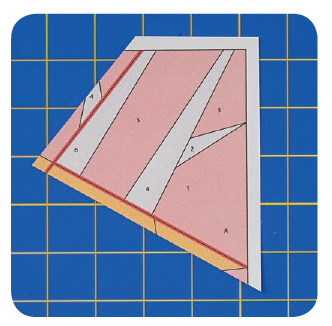 Front side of Segment A
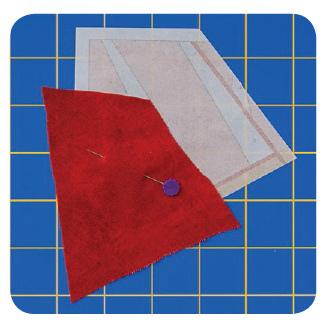
  Pin the wrong side of the Piece 1 fabric onto the unprinted side of the paper pattern. The right side of the fabric faces you (away from the paper).
 Line up the Piece 2 fabric by bending the paper along the seamline between Pieces 1 and 2. The fabric will be flipped into place after sewing. Use a generous seam allowance (this seam will be trimmed later).
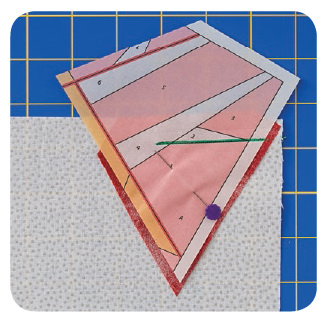
Pin in place, right sides together. 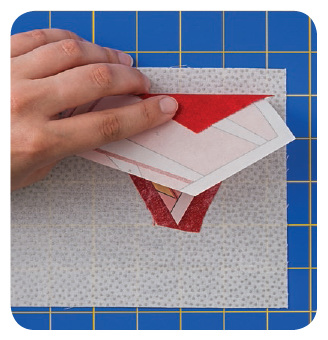 Tip As you are piecing, always place the fabrics right sides together.
 Sew beyond the seamline at the beginning and the end of this seam (as shown by the green line). No backtacking is needed, as the ends of the seams are stitched over by other seams. Notice that the fabric for Piece 2 is much larger than needed; it will be trimmed later.
Next page

 introduction
  This book is all about paper piecing with fewer rules and more fun! In no time at all, you will be creating lovely holiday projects with these cute and clever Christmas blocks. The book contains sixteen whimsical blocks that will make you smile.
 Cut the block into the segments denoted by the capital letters, adding seam allowances along the red lines and the outside edges of the block. For the example, use one copy for each of Segments A, B, and C.
  Segments A, B, and C with seam allowances around outside edges Paper Piecing Always stitch pieces in numerical order.
  Front side of Segment A
  Pin the wrong side of the Piece 1 fabric onto the unprinted side of the paper pattern. The right side of the fabric faces you (away from the paper).
 Tip As you are piecing, always place the fabrics right sides together.
 Sew beyond the seamline at the beginning and the end of this seam (as shown by the green line). No backtacking is needed, as the ends of the seams are stitched over by other seams. Notice that the fabric for Piece 2 is much larger than needed; it will be trimmed later.