Publisher: Amy Barrett-Daffin Creative Director: Gailen Runge Acquisitions Editor: Roxane Cerda Managing Editor: Liz Aneloski Editor: Katie Van Amburg Technical Editor: Linda Johnson Cover/Book Designer: April Mostek Production Coordinator: Tim Manibusan Production Editor: Alice Mace Nakanishi Illustrators: Linda Johnson and Freesia Pearson Blizard Photo Assistant: Gregory Ligman Photography by Estefany Gonzalez of C&T Publishing, Inc., unless otherwise noted Published by C&T Publishing, Inc., P.O. Box 1456, Lafayette, CA 94549 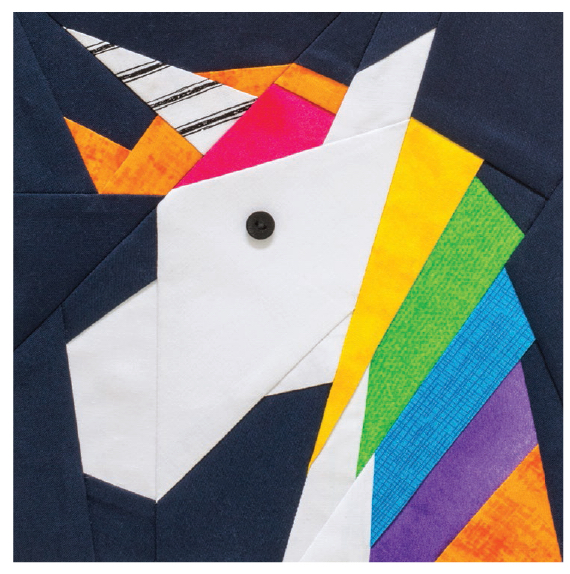
 Dedication I dedicate this book to my son, Brady, lover of all things mystical and magical. His favorite movies involve fantasy creatures. He is my inspiration and my biggest fan. Acknowledgments A special thank you to my daughter, Jesi. She is a loyal supporter and my right-hand gal.
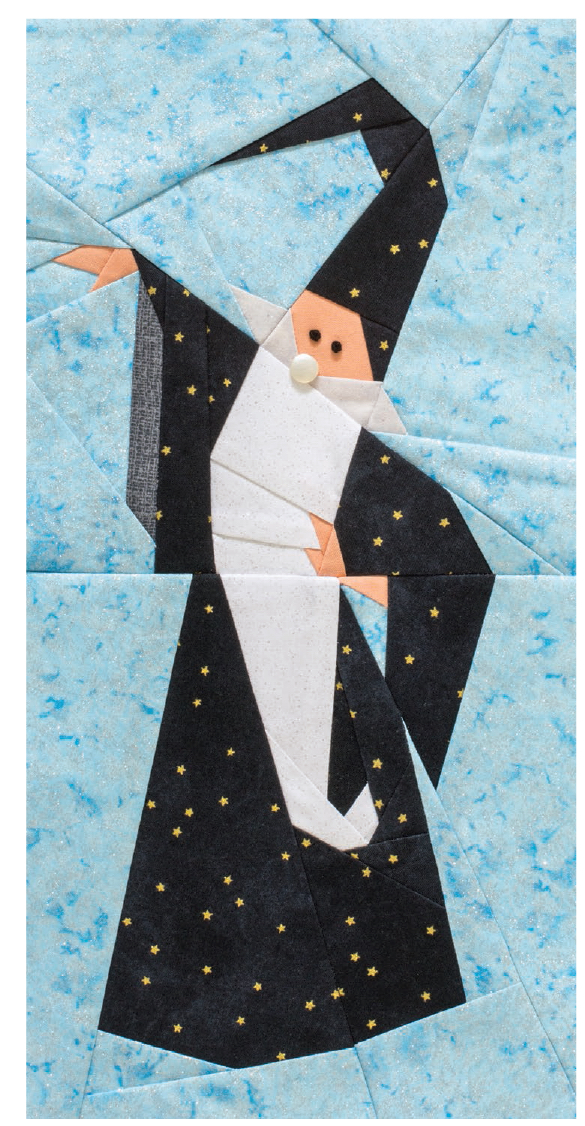
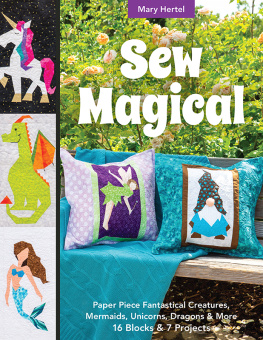
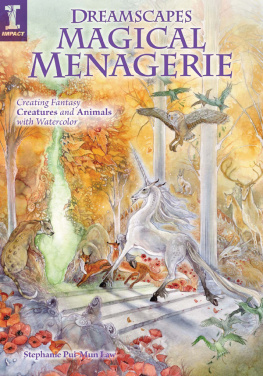
She accompanies me to my many lectures and vending gigs. I would be lost without her super organizational skills. 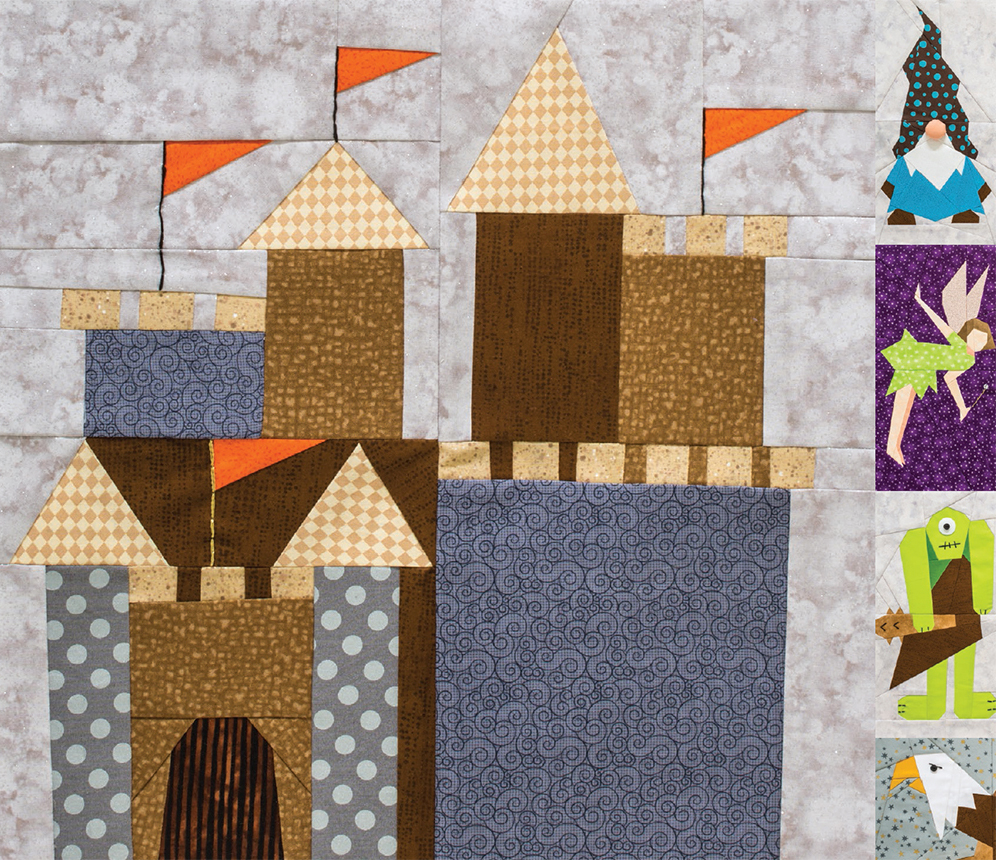 Introduction If you love mystical creatures, castles, and knights in shining armor reminiscent of days of old, you will love this book. I have always found fanciful creatures intriguing. This book is filled with patterns of magical mermaids, dragons, unicorns, wizards, and fairies and so much more! Journey with me through yesteryear into a land of dreams and fairy tales. Sew Magical is a book of paper-pieced block patterns and several useful projects you can sew them into.
This book does contain all the steps to learn paper piecing (see Paper-Piecing Basics), but it is different from my previous books in that the patterns are not made for beginners. So if you have never paper pieced before, I recommend practicing your paper-piecing skills using one of my previous books that are great for beginners, such as Sew Cute & Clever Farm & Forest Friends (by C&T Publishing; see other titles on), a book with lots of easy blocks. Then progress to these more challenging blocks. If you already are a seasoned paper piecer, prepare yourself for loads of fun! Another way this book is different: These blocks turn out larger than the blocks in my previous books, which all result in 8 8 square blocks. In this book, most creatures are a combination of two square blocks 8 8 sewn together, which result in a rectangular block that is 8 15. And here is something else that is the same in all of my books the block patterns are interchangeable in all of the projects! That means you can conceivably create over 100 different projects from this one book.
I cant wait for you to create these fun and fanciful creatures. With sixteen paper-pieced block patterns and seven projects, this book will help you sew some wonderful creations. If you love to paper piece, this is the book you have been waiting for! 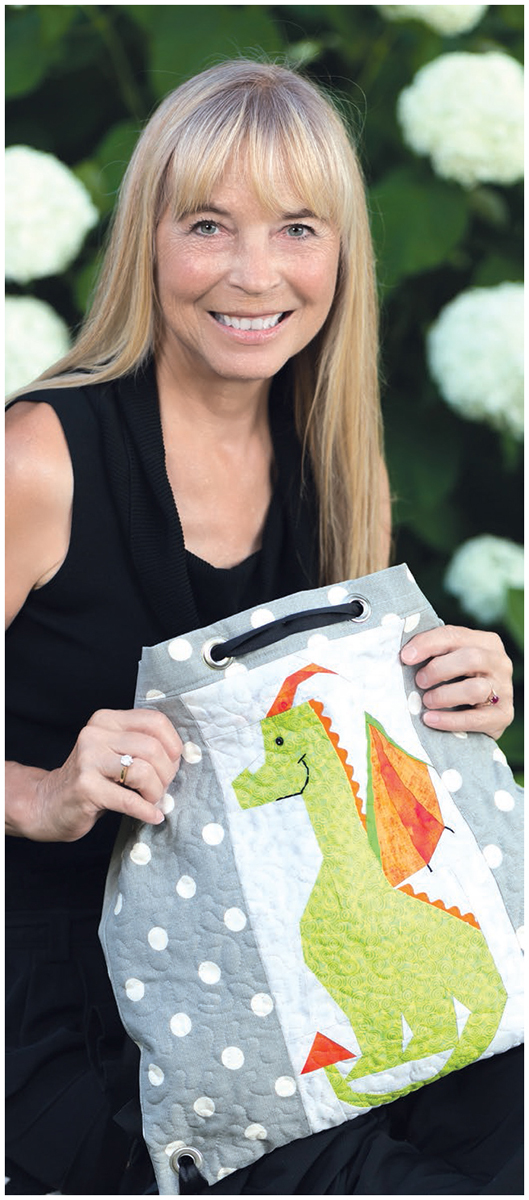 Photo by Gail Cameron Paper-Piecing Basics Paper piecing is a simple, straightforward method of sewing a design into a project. Perhaps you have experienced the joy and satisfaction of seeing the finished image after adding the last piece to a jigsaw puzzle. The effects of paper piecing are no different. Anyone with basic sewing skills can master paper piecing, as the approach used in all my previous books (which are tailored for beginners) and this book is essentially sewing by number.
Paper piecing is also a creative means of using up oddly shaped pieces of fabric that might otherwise have been relegated to the scrap pile. Tools Paper (I recommend Carol Doaks Foundation Paper by C&T Publishing.) Sharp scissors Rotary cutter and mat Ruler with an easy-to-read line (such as Add-A-Quarter ruler by CM Designs) Multiuse tool (such as Alex Andersons 4-in-1 Essential Sewing Tool by C&T Publishing) or seam ripper Flat-head straight pins Lamp or natural light source Sewing machine Iron and pressing board Things to Know STITCH LENGTH Set the stitch length at 1.5, which is about 20 stitches per inch. When paper piecing, the stitch perforations must be close together to allow the paper to rip easily, but not so close that ripping out a seam is an impossible task. PREPARE A CONVENIENT WORK STATION Have the iron, pressing board, and cutting mat close to the sewing machine. There should be a light source handy for positioning scrap pieces on the back of the block. A window works well during the day and a lamp at night.
THE BUTTERFLY EFFECT After sewing a seamline, the fabric is flipped behind the numbered piece that you are currently attaching. This creates a butterfly effect, meaning that the fabric scrap needs to be lined up to the seam in such a way that it will cover the space you are sewing after it is flipped into place. If you are concerned that the size of the scrap is insufficient, pin along the seamline and try flipping the scrap into place before sewing the seam. That way, if the scrap does not cover the area sufficiently, you can adjust it or find a larger scrap. FOLLOW ALONG If you are new to paper piecing, follow along for practice using the Seahorse block, Part 1 and Part 2, as you read the following instructions. (You need 3 copies for the Seahorse, Part 1 block.)  Cut the block into the segments denoted by the capital letters in circles, adding seam allowances along the red lines and the outside edges of the block. (You need 3 copies for the Seahorse, Part 1 block.)
  Cut the block into the segments denoted by the capital letters in circles, adding seam allowances along the red lines and the outside edges of the block.
For the example, use 1 copy for Segment A, 1 copy for Segments B and D, and 1 copy for Segment C. 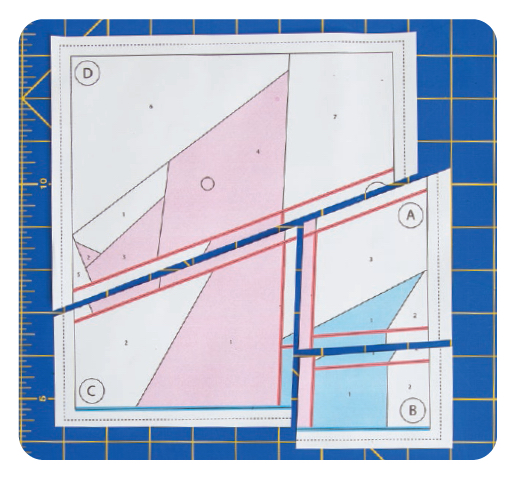 Segments A, B, C, and D with seam allowances around outside edges Paper Piecing a Segment Always stitch pieces in numerical order. Dont forget to set your stitch length to 1.5, or about 20 stitches per inch.
 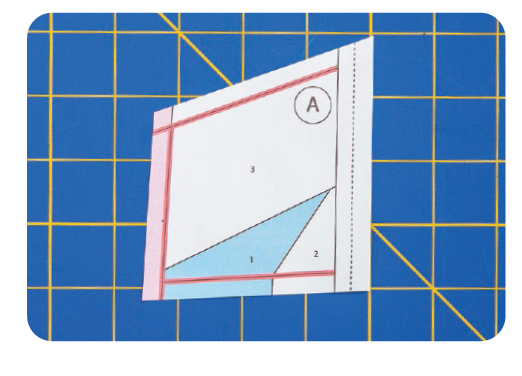 Front side of Segment A
  Pin the wrong side of the Piece 1 fabric onto the unprinted side of the paper pattern. The right side of the fabric faces you (away from the paper).
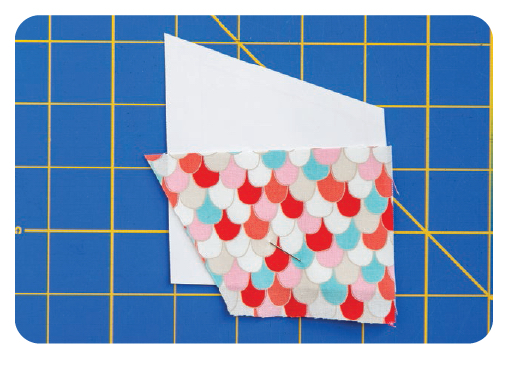
 Bend the paper pattern and fabric along the seamline between Pieces 1 and 2.
Use the side of a pencil, a pressing tool (such as the presser cap on Alex Andersons 4-in-1 Essential Sewing Tool), or a heavy piece of tagboard (such as a bookmark or postcard) to make the fold. (This will help you align the fabric for Piece 2.) 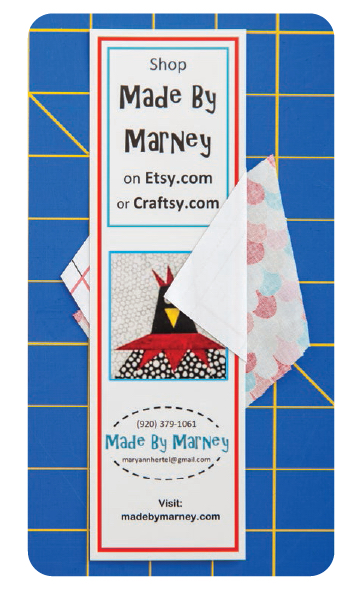
Next page


 Dedication I dedicate this book to my son, Brady, lover of all things mystical and magical. His favorite movies involve fantasy creatures. He is my inspiration and my biggest fan. Acknowledgments A special thank you to my daughter, Jesi. She is a loyal supporter and my right-hand gal.
 Introduction If you love mystical creatures, castles, and knights in shining armor reminiscent of days of old, you will love this book. I have always found fanciful creatures intriguing. This book is filled with patterns of magical mermaids, dragons, unicorns, wizards, and fairies and so much more! Journey with me through yesteryear into a land of dreams and fairy tales. Sew Magical is a book of paper-pieced block patterns and several useful projects you can sew them into.
 Photo by Gail Cameron Paper-Piecing Basics Paper piecing is a simple, straightforward method of sewing a design into a project. Perhaps you have experienced the joy and satisfaction of seeing the finished image after adding the last piece to a jigsaw puzzle. The effects of paper piecing are no different. Anyone with basic sewing skills can master paper piecing, as the approach used in all my previous books (which are tailored for beginners) and this book is essentially sewing by number.
 Cut the block into the segments denoted by the capital letters in circles, adding seam allowances along the red lines and the outside edges of the block. (You need 3 copies for the Seahorse, Part 1 block.)
  Segments A, B, C, and D with seam allowances around outside edges Paper Piecing a Segment Always stitch pieces in numerical order. Dont forget to set your stitch length to 1.5, or about 20 stitches per inch.
  Front side of Segment A
  Pin the wrong side of the Piece 1 fabric onto the unprinted side of the paper pattern. The right side of the fabric faces you (away from the paper).
