Publisher: Amy Barrett-Daffin Creative Director: Gailen Runge Acquisitions Editor: Roxane Cerda Managing Editor: Liz Aneloski Editor: Beth Baumgartel Technical Editors: Susan Allen and Debbie Rodgers Cover/Book Designer: April Mostek Production Coordinator: Tim Manibusan Production Editor: Alice Mace Nakanishi Illustrator: Kirstie L. Pettersen Photography by Estefany Gonzalez of C&T Publishing, Inc., unless otherwise noted Published by Stash Books, an imprint of C&T Publishing, Inc., P.O. Box 1456, Lafayette, CA 94549 Dedication To my children Acknowledgments This book would not be at all possible without the amazing support of my family; their support, love and encouragement keeps me going on this creative journey. Of course, I am so thankful for the inspiration gained from the hundreds of children that I have had the pleasure to teach over the past ten years. Each week I meet a whole new group of young students, and each one teaches me something new and inspires me to keep making and thinking outside of the box. I feel so lucky to have been paired up with the greatest editor in the world! Thank you, Beth, for your patience and kindness during this entire process.
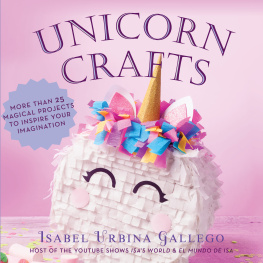
I feel like this book is as much yours as it is mine. Thanks to everyone at C&T for once again giving me this great opportunity to make a beautiful book together. Finally, big thanks to Kate McKean for everything you do! 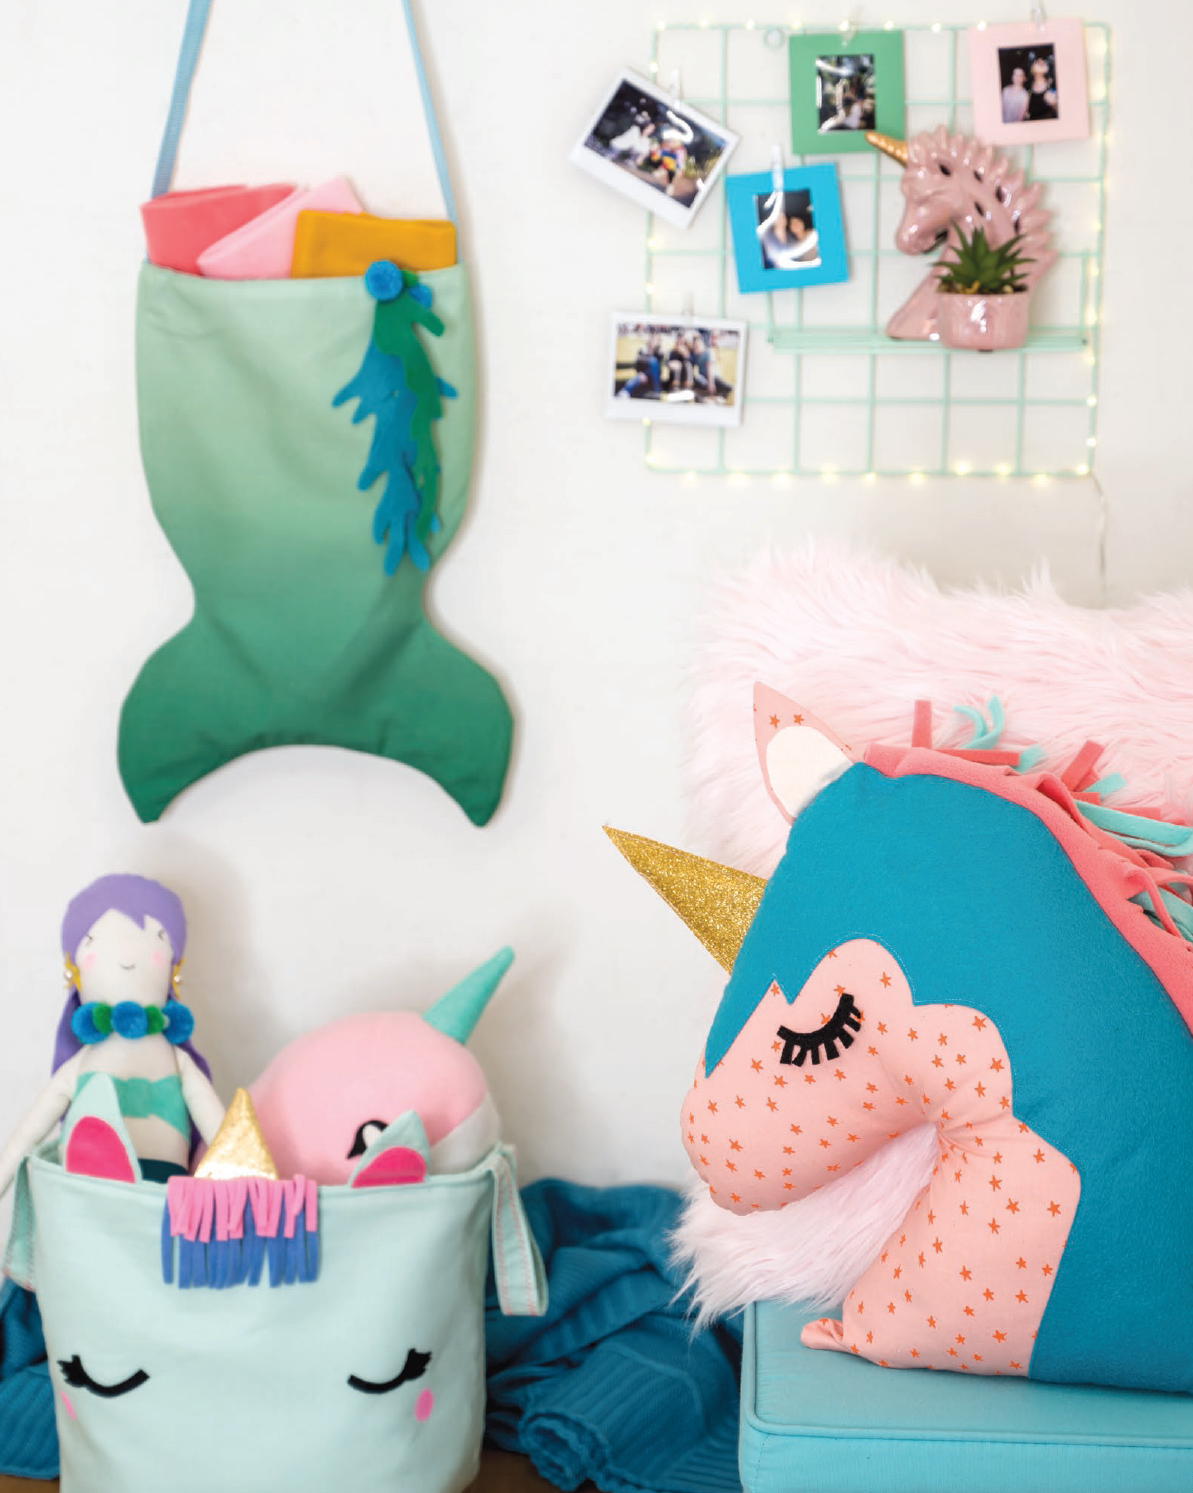 Introduction HELLO! I have been teaching creative kiddos how to sew for many years and whenever I ask a class what projects they want to tackle, they always involve unicorns or mermaids. It totally makes sense to me! I mean who wouldnt want to make a gorgeous and mythical creature! There is something beautiful about imagining a mythical and fantastical world filled with color, imagination, and in our case, glitter! When I was offered the opportunity to write a book with this topic in mind, I jumped at it. There is nothing more fun than designing a group of sewing projects that are so adorable and colorful that I would want to keep them all for myself.
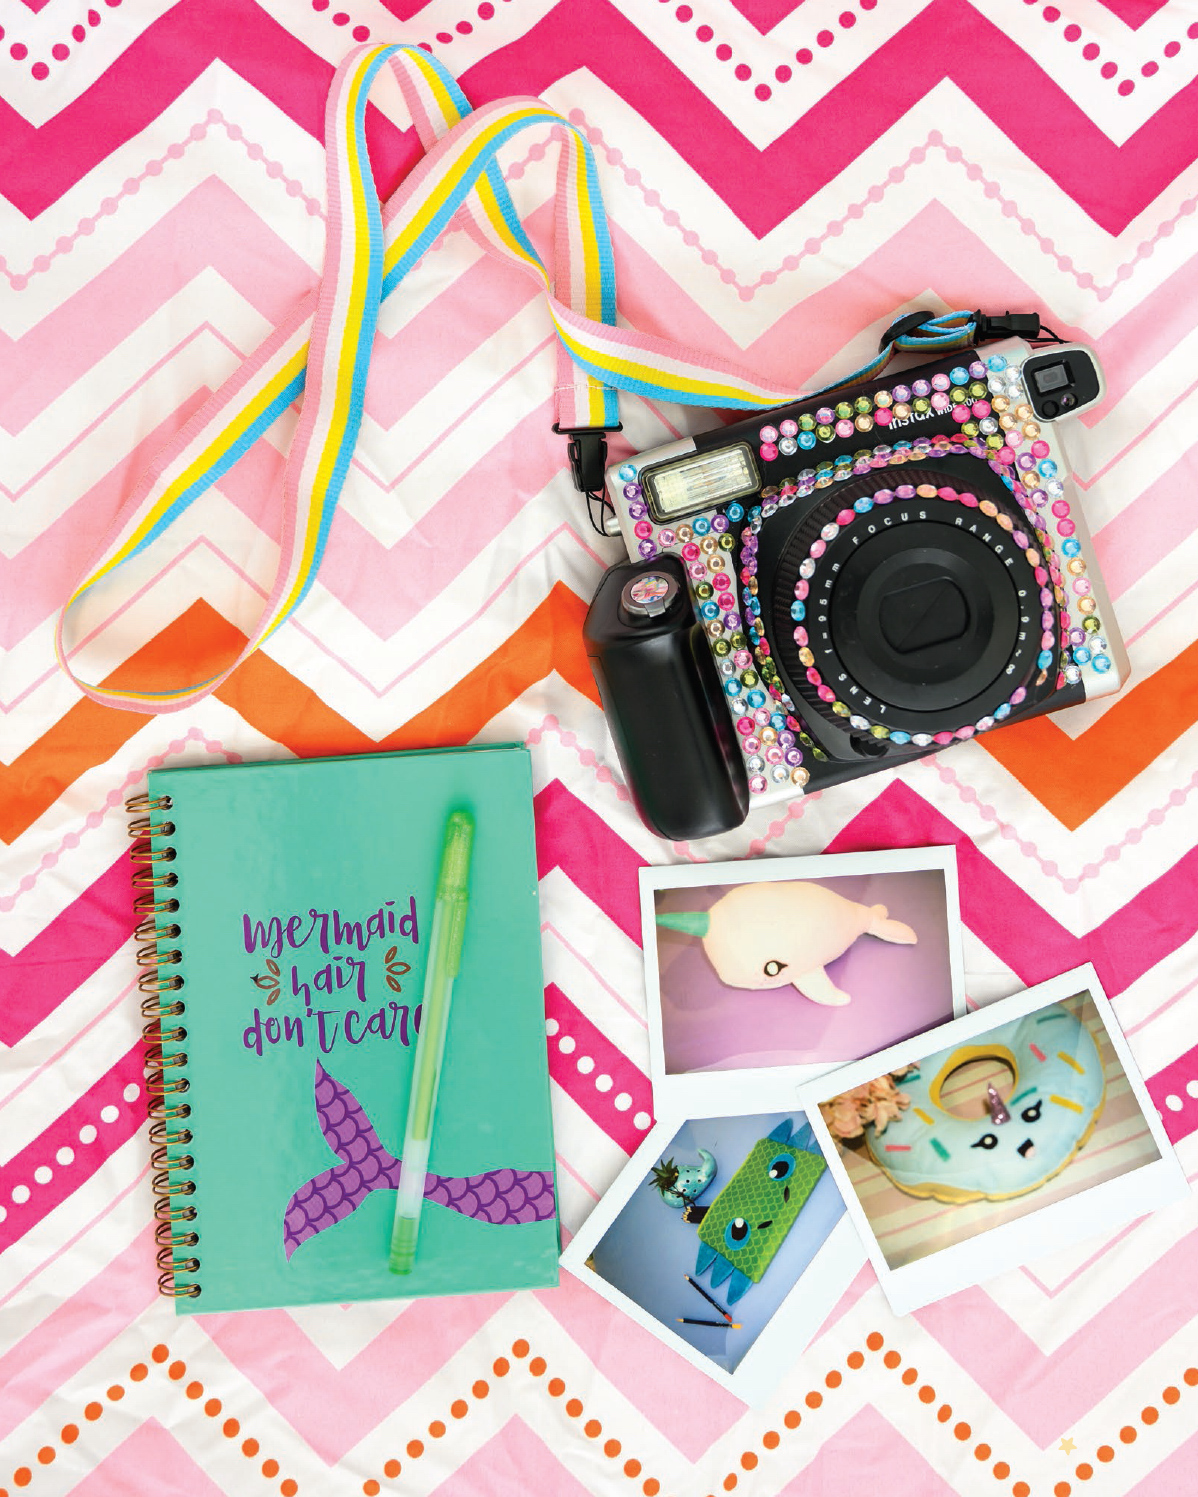
 Prepare to Get Magical
 Photo by Francey / Shutterstock.com How to Use This Book
  Patterns, how-to instructions, and difficulty ratings are provided for all the magical projects featured in this book.
 Prepare to Get Magical
 Photo by Francey / Shutterstock.com How to Use This Book
  Patterns, how-to instructions, and difficulty ratings are provided for all the magical projects featured in this book.
You might consider, if you havent sewn much recently, to start with the single rainbow projects and work up to the two or three rainbow projects. Or jump in and get startedand just like magic, your world will be full of unicorns, mermaids, and dragons! Level of Difficulty All the projects in this book have an individual difficulty rating. However, they are all designed with a beginner to intermediate sewist in mind. The step-by-step illustrations help make the sewing steps much easier to understand. Rainbow 1 Super-simple for beginner sewists who have some sewing machine confidence.  Rainbow 3 Requires a little more time and patience.
  Rainbow 3 Requires a little more time and patience.
These projects are more intricate and require good sewing knowledge and experience.  Using the Patterns All the pattern pieces you need to make the projects in this book can be found on the pattern pullout. The materials list for each project also lists the pattern pieces you need so that you can gather all the patterns before you start each project. The patterns on the pullout are sometimes nested within larger patterns. Tracing the patterns is a great way to preserve the pullout pattern page so that it can be used over and over.
  I like to use Pellon 830 Easy Pattern.
It is a lightweight, nonfusible interfacing that is designed for pattern tracing. Locate the pattern pieces for your chosen project. Use tracing paper or tracing cloth to trace each pattern piece, making sure to trace all the markings and cutting information. This is really important not only for cutting out the fabric, but also for placement references, such as ears, horns, and so on. Cut out your traced pattern pieces and set them aside until you are ready to lay them out on the fabric. Cutting the Fabrics The instructions for each project include a list of which pattern pieces need to be cut from which fabric.
Additionally, the pattern pieces have cutting instructions printed within them. Pay attention to the number of times you need to cut the pattern. If you need to cut 2, fold the fabric so you can cut 2 at a time. This method also works if a pattern piece needs to have the reverse (mirror image) cut. For some small pattern pieces, the instructions will tell you to trace around them onto the fabric, and instead of cutting them out, you will stitch directly on the traced lines. Once stitched, cut them out about from the stitching.
If there is a grainline marked on the pattern, make sure that the grainline is positioned parallel to the fabric selvage edge. If a pattern indicates that one edge should be cut on the fabric fold, be sure to do so. Note: About Grainline You will notice there is an arrow printed on some of the pattern pieces. This arrow indicates which direction you should lay the pattern on the fabric for cutting. This is called cutting straight on the grain or against the grain. The grain refers to the direction of the woven threads on a piece of fabric.
Cutting straight on the grain means cutting the pattern piece so that the arrow is parallel to the selvage. Cutting against the grain means that the arrow on your pattern piece is perpendicular to the selvage. For example, many of the projects in this book are made from fleece fabric. Fleece stretches more horizontally than it does vertically. This means that when we sew softies, it is important that the fabric stretches in the right way for optimal fluffiness. The only fabric where grain is not important is felt.
Next page

 Introduction HELLO! I have been teaching creative kiddos how to sew for many years and whenever I ask a class what projects they want to tackle, they always involve unicorns or mermaids. It totally makes sense to me! I mean who wouldnt want to make a gorgeous and mythical creature! There is something beautiful about imagining a mythical and fantastical world filled with color, imagination, and in our case, glitter! When I was offered the opportunity to write a book with this topic in mind, I jumped at it. There is nothing more fun than designing a group of sewing projects that are so adorable and colorful that I would want to keep them all for myself.
 Prepare to Get Magical
 Photo by Francey / Shutterstock.com How to Use This Book
  Patterns, how-to instructions, and difficulty ratings are provided for all the magical projects featured in this book.
  Rainbow 3 Requires a little more time and patience.
  Using the Patterns All the pattern pieces you need to make the projects in this book can be found on the pattern pullout. The materials list for each project also lists the pattern pieces you need so that you can gather all the patterns before you start each project. The patterns on the pullout are sometimes nested within larger patterns. Tracing the patterns is a great way to preserve the pullout pattern page so that it can be used over and over.
  I like to use Pellon 830 Easy Pattern.