Publisher: Amy Marson Creative Director: Gailen Runge Editors: Lynn Koolish and Katie Van Amburg Technical Editors: Nan Powell and Gailen Runge Cover/Book Designer: April Mostek Production Coordinator: Tim Manibusan Production Editors: Jennifer Warren and Nicole Rolandelli Illustrator: Kirstie L. Pettersen Photo Assistants: Carly Jean Marin and Mai Yong Vang Style photography by Lucy Glover and instructional photography by Diane Pedersen, unless otherwise noted Published by C&T Publishing, Inc., P.O. Box 1456, Lafayette, CA 94549  dedication I would like to dedicate Cute & Clever Totes to my many elementary art students from the Kaukauna Area Public Schools over the past 35 years. Their enthusiasm and eagerness to create inspires me every day. acknowledgments Many thanks to family and friends who encouraged and supported me while writing this book. I would also like to acknowledge the capable editors and production staff at C&T Publishing.
Working with you has taught me so much. Thank you to Gail Cameron Photography. And a special thank-you to Judy Gauthier for persuading me to pursue having my book published. 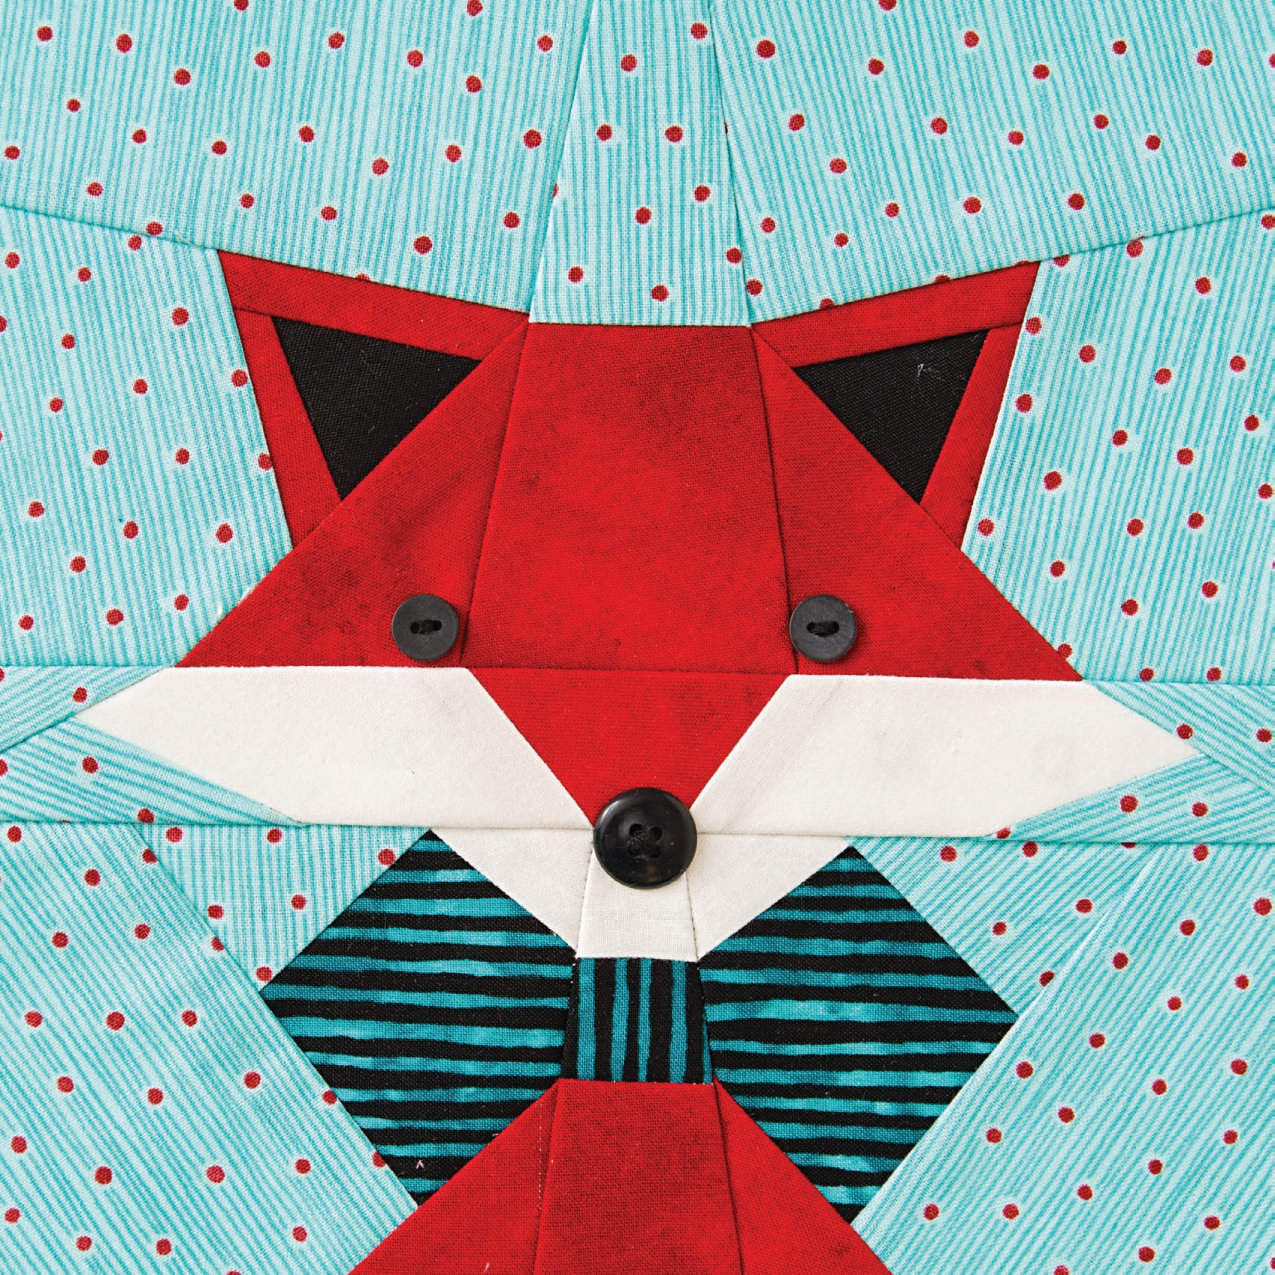 introduction: SIX GREAT TOTES FOR EVERY OCCASION Novelty fabric has always interested me. Wouldnt it be great to design a tote bag with an adorable themed pocket on the outside and a lovely novelty fabric inside? I thought so. Thats why I created Cute & Clever Totes, a book with a variety of fun and easy paper-pieced blocks that you can use to decorate six different bags.
Need an adorable tote bag? This is the book for you. There is something for everyone in this books sixteen block patterns, from animals to sports to modes of transportation. Any block can be used with any bag pattern. All of the totes make wonderful, useful gifts for friends and family. Collecting tote bags can be considered an art form when they are decorated with these fun and fanciful paper-pieced pockets. If paper piecing is not your bag, you can sew the totes and use any 8 8 unfinished block you likeit can be pieced, embroidered, appliqud, or just a piece of cute novelty fabric, if that is your preference.
I hope you enjoy my patterns as much as I delighted in creating them. 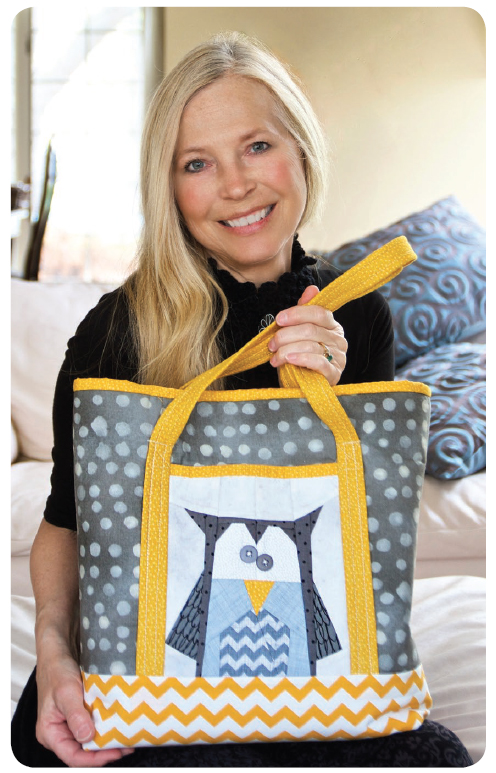 Photo by Gail Cameron Photography paper-piecing basics Paper piecing is a simple, straightforward method of sewing a design into a project. Perhaps you have experienced the joy and satisfaction of seeing the finished image after adding the last piece to a jigsaw puzzle. That is no different from paper piecing. Anyone with basic sewing skills can master paper piecing, as the approach used in this book is essentially sewing by number. Paper piecing is also a creative means of using up oddly shaped pieces of fabric that might have otherwise been relegated to the scrap pile.
Paper piecing has a long history. Many knowledgeable and skilled paper piecers have written excellent books and other instructional materials. Where I differ from them is in perspective: mine is that of artistry and efficiency, as I strive to piece faster and waste as little fabric as possible. Following my avoid precutting and wasting fabric method will result in piecing that is likely quicker and easier than other methods you might have tried. Greater productivity leaves more time and energy for creativity. This chapter explains my approach to foundation piecing.
All the blocks in this book use the following tools and methods. Tools Paper (I recommend Carol Doaks Foundation Paper by C&T Publishing.) Sharp scissors Multipurpose tool (such as Alex Andersons 4-in-1 Essential Sewing Tool by C&T Publishing) or seam ripper Rotary cutter and mat Ruler with an easy-to-read line (such as an Add-A-Quarter Ruler) Lamp or natural light source Flat-head straight pins Sewing machine Iron and pressing board 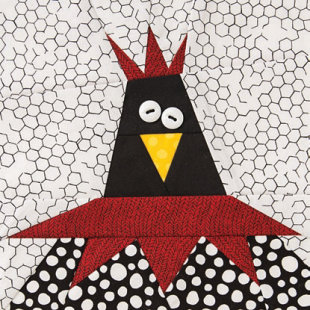 FOLLOW ALONG If you are new to paper piecing, practice with the Rooster block as you read the following instructions. Preparing the Patterns
 Make the recommended number of color copies of the original block. (You need 2 copies for the Rooster block.)
  Cut the block into the segments denoted by the capital letters, adding seam allowances along the red lines. For the example, use one copy for Segments A and C and the other copy for Segment B.
 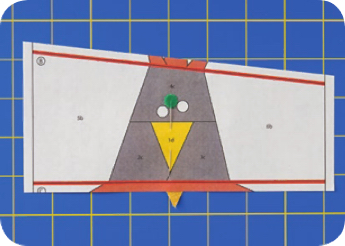 Front side of segment Tip: Stitch Length Set the stitch length at 1.5, which is about 20 stitches per inch.
  Front side of segment Tip: Stitch Length Set the stitch length at 1.5, which is about 20 stitches per inch.
When paper piecing, the stitch perforations must be close enough to allow the paper to rip off easily but not so close that ripping out a seam is an impossible task. Note: The samples use red thread so that the stitching will show up better in the photographs. Pin the wrong side of the Piece 1 fabric onto the unprinted side of the paper pattern. The right side of the fabric faces you (away from the paper).
 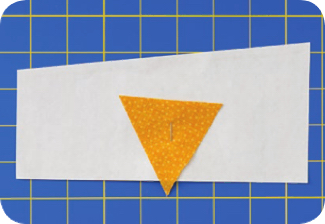 Tip: Have a Light Source Handy When positioning scrap pieces on the back of the block, hold the paper block up to a light source. Check to make sure the scrap is large enough to allow for a generous seam allowance on all sides. I use a window during the day and a lamp at night.
Ive even used a television screen when desperate. Line up the Piece 2 fabric by bending the paper along the seamline between Pieces 1 and 2. The fabric will be flipped into place after sewing. Use a generous seam allowance. (This seam allowance will be trimmed later.) Pin in place, right sides together.
 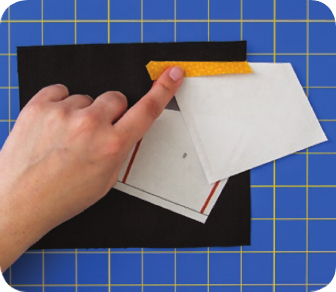 Tips FABRIC GRAINFor paper piecing, find a straight edge on your scrap and use it. Dont be concerned with the fabric grain unless the fabric is a stripe, plaid, or other directional fabric.FABRIC FACINGAs you piece, the right sides of fabric should always be together.
 Sew before the seamline at the beginning and beyond the end of the seam (as shown by the green line).
Use a 1.5 setting for the stitch length. No back tacking is needed. Notice that the fabric for Piece 2 is much larger than needed; it will be trimmed later. 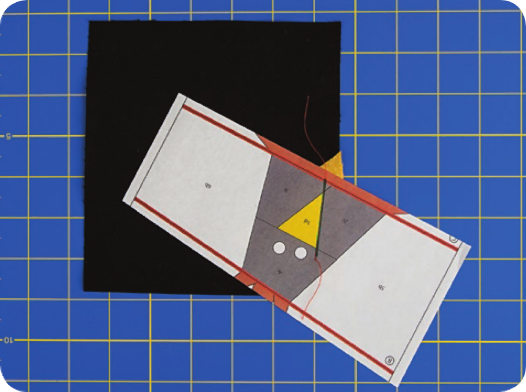
Next page

 dedication I would like to dedicate Cute & Clever Totes to my many elementary art students from the Kaukauna Area Public Schools over the past 35 years. Their enthusiasm and eagerness to create inspires me every day. acknowledgments Many thanks to family and friends who encouraged and supported me while writing this book. I would also like to acknowledge the capable editors and production staff at C&T Publishing.
 introduction: SIX GREAT TOTES FOR EVERY OCCASION Novelty fabric has always interested me. Wouldnt it be great to design a tote bag with an adorable themed pocket on the outside and a lovely novelty fabric inside? I thought so. Thats why I created Cute & Clever Totes, a book with a variety of fun and easy paper-pieced blocks that you can use to decorate six different bags.
 Photo by Gail Cameron Photography paper-piecing basics Paper piecing is a simple, straightforward method of sewing a design into a project. Perhaps you have experienced the joy and satisfaction of seeing the finished image after adding the last piece to a jigsaw puzzle. That is no different from paper piecing. Anyone with basic sewing skills can master paper piecing, as the approach used in this book is essentially sewing by number. Paper piecing is also a creative means of using up oddly shaped pieces of fabric that might have otherwise been relegated to the scrap pile.
 FOLLOW ALONG If you are new to paper piecing, practice with the Rooster block as you read the following instructions. Preparing the Patterns
 Make the recommended number of color copies of the original block. (You need 2 copies for the Rooster block.)
  Cut the block into the segments denoted by the capital letters, adding seam allowances along the red lines. For the example, use one copy for Segments A and C and the other copy for Segment B.
  Front side of segment Tip: Stitch Length Set the stitch length at 1.5, which is about 20 stitches per inch.
  Tip: Have a Light Source Handy When positioning scrap pieces on the back of the block, hold the paper block up to a light source. Check to make sure the scrap is large enough to allow for a generous seam allowance on all sides. I use a window during the day and a lamp at night.
 Tips FABRIC GRAINFor paper piecing, find a straight edge on your scrap and use it. Dont be concerned with the fabric grain unless the fabric is a stripe, plaid, or other directional fabric.FABRIC FACINGAs you piece, the right sides of fabric should always be together.
 Sew before the seamline at the beginning and beyond the end of the seam (as shown by the green line).