MARINE KNOTS . Copyright 2016 by Glnat. Translation copyright 2018 by HarperCollins Publishers. All rights reserved under International and Pan-American Copyright Conventions. By payment of the required fees, you have been granted the nonexclusive, nontransferable right to access and read the text of this e-book on-screen. No part of this text may be reproduced, transmitted, downloaded, decompiled, reverse-engineered, or stored in or introduced into any information storage and retrieval system, in any form or by any means, whether electronic or mechanical, now known or hereafter invented, without the express written permission of HarperCollins e-books.
Text by Patrick Moreau
Illustrations by Jean-Benot Hron
Originally published in France by ditions Glnat under the title Le b.a.ba des nuds marins.
Published in 2018 by
Harper Design
An Imprint of HarperCollinsPublishers
195 Broadway
New York, NY 10007
Tel: (212) 207-7000
Fax: (855) 746-6023
harperdesign@harpercollins.com
www.hc.com
Distributed throughout the world by
HarperCollins Publishers
195 Broadway
New York, NY 10007
Library of Congress Control Number: 2017947262
Digital Edition APRIL 2018 ISBN: 978-0-06-279776-6
Version 02022018
Print ISBN: 978-0-06-279775-9
Contents
As indicated by their name, stopper knots stop, or close off, the end of a rope.
Hitch knots are essential for docking a boat and therefore simplicity is key. It is particularly important that they can be easily untied, no matter what the tension is on the line.
These knots, rather than mooring a boat, are intended to secure part of the rigging, such as a coil of rope, an object, a safety rope, or any kind of equipment.
These loops are generally divided into two categories:
1) Sliding eyes close around the object to which they are tied.
2) Non-sliding eyes are used more frequently by sailors because they are much easier to untie. There are many types of non-sliding eyes.
These knots allow you to have a fixation point in the middle of a rope, even if you dont have access to the ends, while still respecting the integrity of the rope in terms of traction.
A bend knot is used to join two pieces of rope. The most common type joins the two laces of a shoe using a square knot and tying the ends with a bow so that you can immediately untie it.
When on board we often need to create traction along a rope or even a chain. This happens most often when a sheet jumps out of the winch headstock. Traditionally, we would use a tautline hitch, but there is a very effective alternative that is much easier to untie.
To keep the end of a rope from unraveling, you can solder it, but since the inner and outer materials are different, they will quickly detach from each other. The most efficient solution, of course, is to encase the end in such a way that the strings are pulled together as tightly as possible.
Finally, here are two knots that make a nice pair. They are not useful in the strict sense, since their value lies elsewhere. They are simply quite elegant and sailors wanted to give a name to their creations.
The art of knot tying is a type of geometry resulting from careful construction, based on logical and, above all, consistent principles. Studying this art only through rote memorization would be very limiting. Unless you use a particular knot regularly, it will quickly be forgotten, which is why we are interested in understanding how they are constructed in order to memorize them more easily.
To construct knots, we will use very specific language based on the following elements.
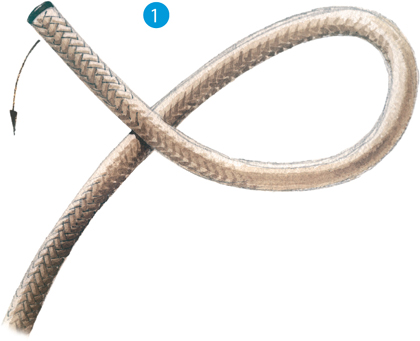
Logically, every knot starts with an initial hand movement. Since a majority of the population are right-handed, we have decided that the left hand will be the holding hand and the right hand, the working hand. Left-handed users will need to reverse the instructions so that the knot will be created by the left hand as the working hand. The standing end, which is generally the longest part, is located on the underside of the knot and does not move. The right hand crosses the working endwhich will create the knotover the standing end.
The gesture that we will use for the majority of the knots should be simple and flexible, and it should follow the natural curve, which should be clockwise.
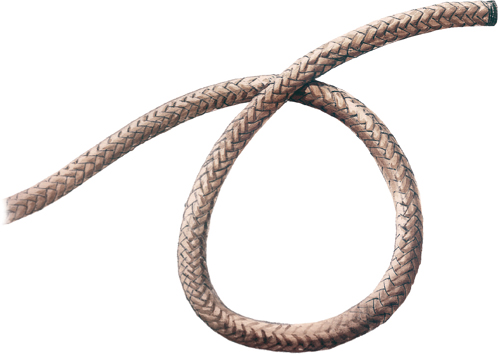
If we direct the rope in this way to the right, it will take the form of a curve, which will end by passing over itself to create the first cross.
By starting with this initial gesture and understanding that it is the basis for all simple knots, the learning process becomes easier.
In other words, the simplest way to start is to bring the working end over the standing end.
Before we continue, we should specify a few of the basic principles that will allow you to organize the ropes path to create logical and consistent knots.
As soon as a cross is created, four parts are automatically established that come from the center of the crossing.
Each part will be interpreted in one of two ways:
parallel, solely for creating a braid structure for a complex knot;
perpendicular to the center, which applies to direct knots, the ones of most interest to us. The working end is led under part 2 and over part 1.
And thus we have the alternating over-under principle.
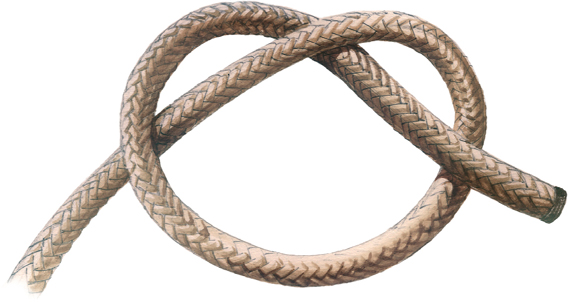
the half knot, or simple knot
This is the simplest, most straightforward knot and the one that everyone knows.
Start with the basic opening movement.
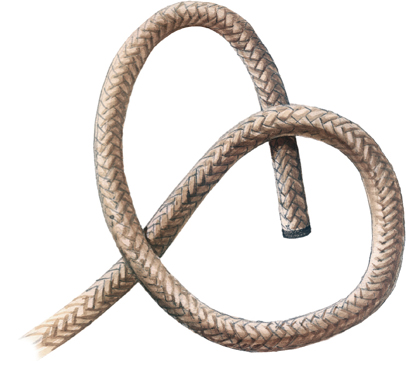
Then simply use the loop that you have just created and apply the over-under-over logic.
This creates a half knot, or a simple knot, that will kick off our first category of knots, the stopper knots.
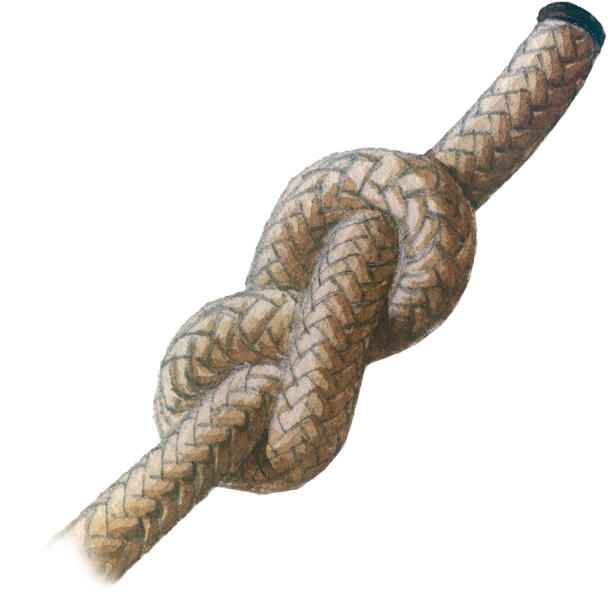
The figure-eight knot is an improvement on the half knot. It is commonly used to keep a sheet from coming out of a fairlead or a pulley. Even after strenuous use, this knot can still be untied. This is why it is the basic knot sailors use to secure a rope.
Next page
