Pattern Services and Revisions
If you are an Annies customer and have a question about the instructions on a pattern you have purchased, please visit:
http://www.anniescatalog.com/pages/customer_care/pattern_services.html
Introduction
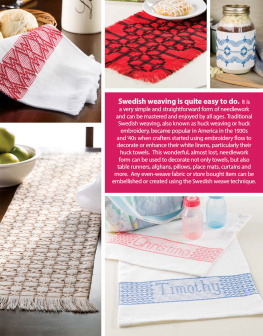
Huck embroidery on monks cloth. Is it easy? Engaging? Practical?
Yes, yes and yes!
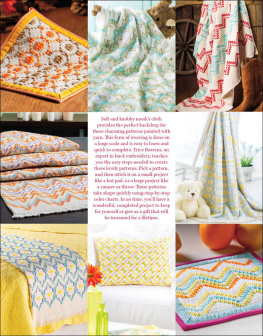
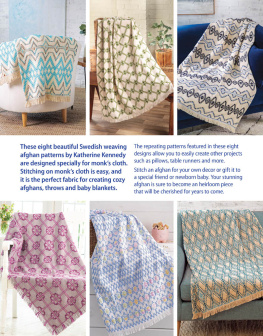
Soft and knobby monks cloth provides the perfect backdrop for charming patterns painted with yarn. This form of weaving is done on a large scale and is a first cousin to embroidery because it is an applied surface decoration. And it is a second cousin to cross-stitch because you use a charted design as a guide.
But this technique beats them both because the pattern takes shape quickly, and when the stitching is completed, you have a knockout throw (or afghan, or hot pad or pillow). And unlike embroidery and cross-stitch, mistakes are easy to correct.
I hope you enjoy these designs as much as I do. Happy weaving!
Trice Boerens
Meet the Designer

Trice Boerens has worked for many years in the quilting, needlework and paper industries. Along with designing projects for best-selling books and kits, she has also worked as a photo stylist, an art director and a creative editor.
The designs for this book were inspired by treasures that she uncovered in antique stores, flea markets and attics.
Table of Contents

Skill Level
Easy
Finished Size
10 x 10 inches
Materials
1 (15-inch) square, natural, preshrunk monks cloth
Worsted weight acrylic yarn*:
#254 pumpkin
#324 bright yellow
#505 Aruba sea
#624 tea leaf
Tapestry needle
1 fat quarter turquoise print cotton fabric
2 (10-inch) squares cotton batting
1 (10-inch) square needle-punched insulated batting
1 package -inch plum single-fold bias tape
All-purpose thread
Embellishments (optional)
Basic sewing supplies and equipment
*Sample was made with Red Heart Super Saver yarn.
Pattern Notes
Begin stitching at the red arrow on the design chart as instructed.
All stitching is done right to left from the marked starting point. If left-handed, stitch from left to right from the marked starting point.
Refer to General Instructions and Huck Embroidery/Swedish Weaving Stitch Guide for fabric preparation, weaving techniques and individual stitch diagrams.
Thread Lengths
Cut two 48-inch lengths of each yarn color.
Stitches
This design uses the diagonal straight stitch and slant stitch (up two). Refer to the Huck Embroidery/Swedish Weaving Stitch Guide on page 6 for individual stitch diagrams.
Weaving the Design
Mark the horizontal and vertical center of the monks cloth 15-inch square with a safety pin.
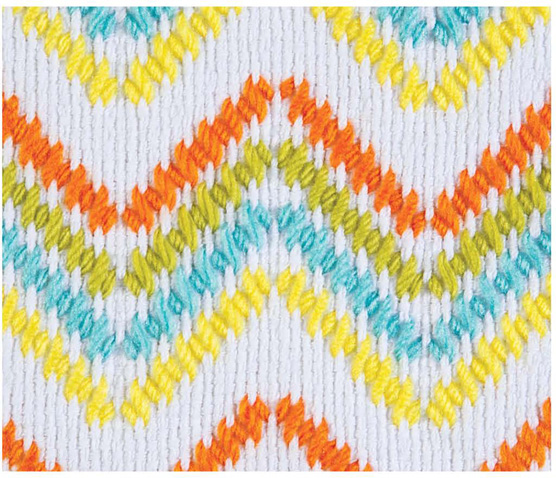
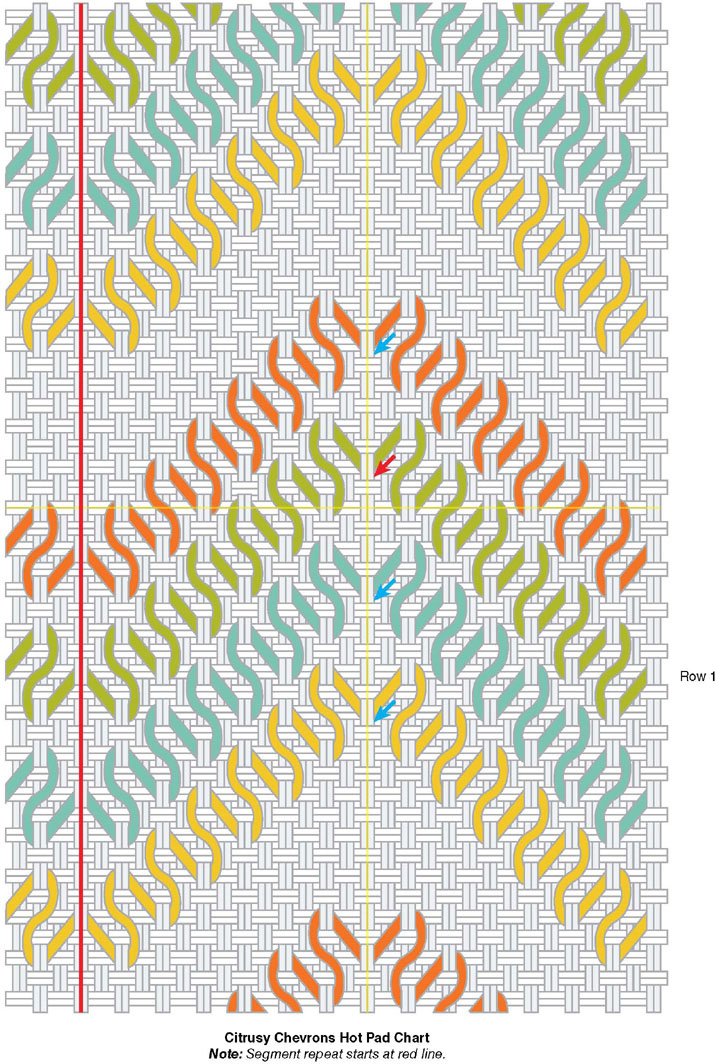
Referring to Citrusy Chevrons design chart on page 11, weave the tea leaf green yarn from the red arrow, marked one float up from the center, to the side edge.
Turn fabric and chart upside down and weave remaining yarn from red arrow to opposite edge to complete row 1 of design.
Refer to design chart for spacing and row color. Begin each row at blue arrow on chart to complete one design band of four rows.
Space design bands six floats apart. Stitch enough repeats to fill monks cloth square.
Finishing the Hot Pad
Cutting
From turquoise print:
Cut 4 (1 x 13-inch) border strips.
Cut 1 (11-inch) square for backing.
Stitch right sides together using a -inch seam allowance unless otherwise indicated.
On wrong side of woven monks cloth square, mark a 9-inch square centered on design (Figure 1). Machine zigzag-stitch along marked line to stabilize fabric.

Trim 15-inch square to a 9-inch square along stitching line, referring to Figure 1. Pin to mark center of each side.
Fold turquoise print border strips in half lengthwise and finger-press to mark center.
Position and pin border strips to monks cloth square, right sides together, matching center marks.
Stitch borders to square, beginning and ending inch from all four square edges (Figure 2).

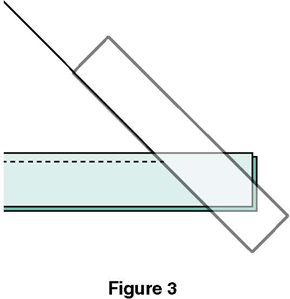
Fold and pin hot pad right sides together at a 45-degree angle on one corner (Figure 3). Place a straightedge along the fold and lightly mark a line across the border ends.
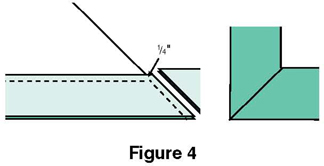
Stitch along the marked line, backstitching to secure. Trim seam to inch and press open (Figure 4). Press borders away from hot pad woven center creating a mitered border.
Layer turquoise print square, wrong side up; cotton batting; needle-punched insulated batting, shiny side down; a second cotton batting square and hot pad woven top, right side up. Pin in place.
Stitch in the ditch along border seams to hold layers together. Trim all edges even with hot pad top if necessary.
Stitch bias tape to top side of hot pad mitering corners. Turn bias tape to wrong side, pulling over the seam, and hand-stitch in place on hot pad back.
From remaining bias tape, cut one 6-inch strip. Fold in half lengthwise and stitch on both long edges. Fold strip in half to make a loop. Stitch loop to one corner on back.
Stitch embellishments to a corner as desired. 
Skill Level
Easy
Finished Size
9 x 9 inches
Materials
1 (12-inch) square, natural, preshrunk monks cloth
Worsted weight acrylic yarn*:
#254 pumpkin
#336 warm brown
Tapestry needle
1 fat quarter orange solid cotton fabric
2 (9-inch) squares cotton batting
1 (9-inch) square needle-punched insulated batting
1 package -inch melon single-fold bias tape
All-purpose thread
Basic sewing supplies and equipment
*Sample made with Red Heart Super Saver yarn.
Pattern Notes
Begin stitching at the red or blue arrows on the design chart as instructed.
All stitching is done right to left from the marked starting point. If left-handed, stitch from left to right from the marked starting point.

