Publisher: Amy Marson
Creative Director: Gailen Runge
Editor: Lynn Koolish
Technical Editor: Del Walker
Cover Designer: April Mostek
Book Designer: Christina Jarumay Fox
Production Coordinator: Zinnia Heinzmann
Production Editors: Jessica Brotman and Jennifer Warren
Illustrator: Freesia Pearson Blizard
Photo Assistant: Carly Jean Marin
Instructional photography by Diane Pedersen, unless otherwise noted
Published by C&T Publishing, Inc., PO. Box 1456, Lafayette, CA 94549
dedication
In memory of:
My great-grandmother Mabel, the weaver
My grandma Jean, the knitter
My dad, Jim, the needlepointer
In thanksgiving for:
My mom, Kathy, the clothing maker
I am so thankful for this legacy of creative stitching.
acknowledgments
Thank you to the staff at C&T Publishing for guiding me through the process of writing this book. I am grateful for your encouragement, expertise, and professionalism
I am also grateful for the benefits of my membership in various art groups, including the Dallas Area Fiber Artists and Studio Art Quilt Associates. Thank you to the small critique groups and art quilting friends who share this creative journey with me. I am so lucky to have people in my life who love me and my art.
Thank you to the contributing artists who were willing to share the fabulous works they have created based on the ideas and techniques from my workshops. My greatest delight is hearing that Ive inspired others. Thank you to all my students. Youve inspired me as well!
And with my deepest love and appreciation, thank you to Jeff, Claire, and Benjamin.
introduction
J ust recently I spent over an hour searching my studio for one specific piece of fabric. It was a short length of printed burlap from a beautiful Asian import store in Wiscasset, Maine; I remember splurging on it while visiting friends. Nine years later, I hadnt used the fabric, but I knew it was tucked away in one of my drawers. I was forced to clean the floor of my studio closet in order to find the proper drawer, but when I found the burlap it was exactly as I remembered it. I was designing a new art quilt and the burlap was the perfect addition. The quilt is on my design wall, and I am loving whats happening with the combination of fabrics, shapes, and stitching so far. Plus I am loving remembering that trip to Maine: coffee with my friends, the collection of treasures on the porch outside the shop, and the beautiful drive along the coast. (I am also loving the bonus of the newly cleaned studio closet!)
When you create artwork, you bring your whole self to the process. All your favorite colors and textures, your memories, and your experiences. The skills youve mastered and the skills youre still working on. The materials you purchased just yesterday or years before.
After years of creating art quilts, Ive settled into a process of building layers of design with fabric, paint, and stitching. It allows room for all those experiences and memories, plus favorite techniques and materials. I am delighted to share this process with you. Its a formula for creating a captivating composition and then adding details with layers of paint and stitching. Along the way, youll make small and large changes. Youll consider options for adding your own personal symbols and unique details. The formula is completely flexible and encourages you to find a way to create original work that you love.

SEE WHAT HAPPENS
Some of the chapters include short exercises called See What Happens. This is the mantra I always bring into the studio with me. It suggests that every part of the creative process has potential for discovery.
Whether you are cutting, sketching, stitching, layering, stamping, painting, writing, or just exploring, the outcome of every creative effort is full of possibility. The end result may not become a great piece of art, but it may lead to a new idea that leads to the best work youve ever created!
After each of the See What Happens exercises, there are several questions to consider. The questions may point toward fresh possibilities. They can help identify whats exciting and whats drudgerywhich is different for everyone. Your answers can point toward new ideas and take you to the next step in the creative process.
HOW TO USE THIS BOOK
We all approach reading a new book differently. Some sit down and read from cover to cover. Some flip through and look at the pictures for inspiration. Others jump around, picking and choosing what they want to do. What you do depends on your personality, and some of it depends on where you are on your art quilting journey.
Take a look at the list that follows and see how you might want to use this book.
Read through the chapters to get a sense of the process of building a quilt with layers of fabric, paint, and stitching.
Do the See What Happens exercises to ... well, see what happens.
Review the supplies and materials needed for creating a layered art quilt. Maybe you need to visit a quilt shop or art supply store (not that you need an excuse to go shopping). Maybe youll just need to gather the supplies from your drawers and cabinets.
Discover new ways to look for inspiration and learn how to apply it directly to your creative process.
Study individual sections for the techniques that are most interesting to you, such as printing with found objects, new embroidery stitches, ideas for chopping up fabric, or creating texture with machine stitching.
Put a sticky note on The Eight Design Guides and the Design Checklist so you can easily refer to them.
Maybe even make a copy of the design checklist and put it up on your wall to refer to during your current creative endeavor.
Check out Personal Symbols to explore the very personal possibility of including symbols in your artwork.
Gather lots of tips for working with fusible web, including cleaning it off your iron (dont tell me youve never gotten fusible on your iron; we all have).
Learn techniques for finishing the edges of an art quilt.
Check out innovative suggestions for titling your art quilts.
Read through the five parts of the Practice Exercise to get a sense of the process of creating a layered art quilt.
Create your own art quilt by working through the five-part Practice Exercise.
Take bits and pieces and make them your own. The ideas and techniques in this book translate easily to mixed media and other types of fiber art.
Keep it on the bookshelf to refer to later. I hope youll find new inspiration each time you open it.
Share it with your friends.
supplies
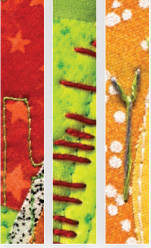
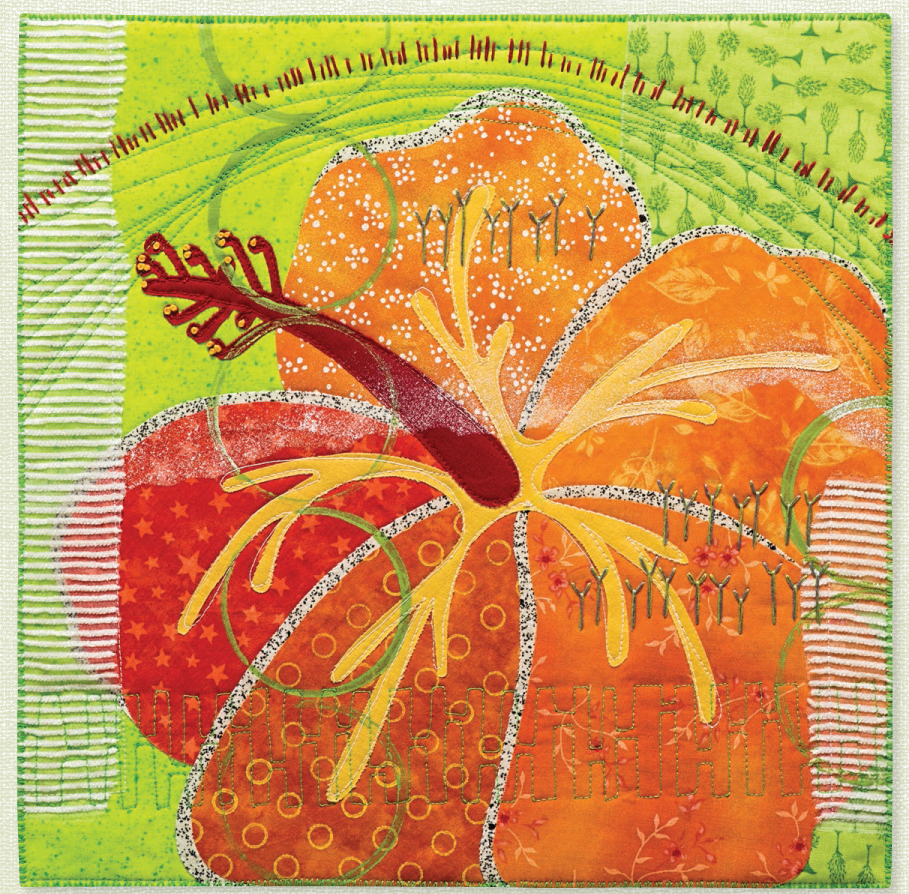
Hibiscus, 12" x 12"
This quilt includes commercial prints and fabrics, plus painting with stamps and stencils. It is stitched with both thread and embroidery floss using free-motion quilting and hand embroidery. A well- supplied studio ensures endless possibilities.
 in this chapter

Next page




 in this chapter