Baked goods are for sharing and its a known fact that your baking tastes better when you share it with others. And who wouldnt want to be known as That generous person with the great-tasting baked goods? Little packages of sweet treats make for perfect teacher gifts, loot bags, a warm welcome or even a little something for everyones place setting at your Thanksgiving table. Here Ive put together some fun and inexpensive ways to package up your goodies, but let your imagination run wild and have some fun with it!
LITTLE PAPER BAGS OF ALL SHAPES AND SIZES
A stash of waxed sandwich bags is always a good thing to have on hand. We use droves of simple white ones at the bakery every day but they are readily available in craft shops and paper goods stores in a wide range of colors and patterns. A small pink bag of peeking out of a bag thats been stamped with the word BOO! would make for pretty cute Halloween handouts.
HELLO, CELLO!
I couldnt possibly tell you how many cello bags we have used at Butter over the last eight years. We use them for everything from our marshmallows to loaves, right down to lined up in cello bags tied with pink or blue satin ribbon would make for the perfect little takeaway should you even host a baby shower.
VINTAGE PLATES AND PLATTERS
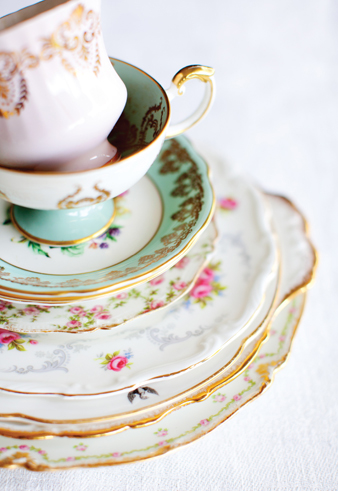
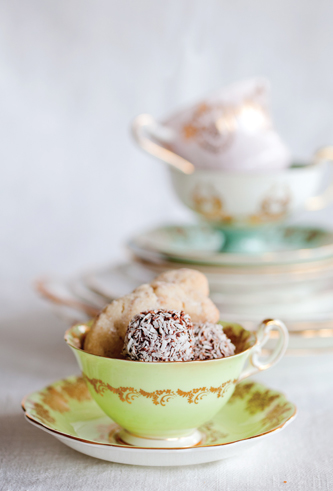
Over the years, anytime I have spied an inexpensive but pretty little vintage plate or platter at a yard sale or flea market I have bought it up and tucked it away for future gifts of baking. Imagine the added beauty of the presentation when you bring someone into. Should you also include a tin of tea, the teacup would prove very handy once all the goodies have been gobbled up.
MASON JAR, COOKIE JAR. WHATS THE DIFFERENCE?
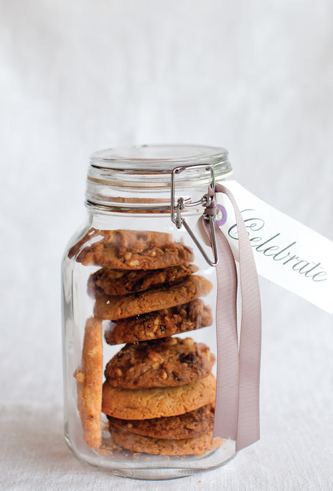
My local dollar store is the greatest resource for a variety of containers that you can fill up with baking. Of all the things I have discovered there, I think the glass canning jars with a rubber seal are the greatest. I love to fill them up at Christmastime with and hang a little tag off the side that reads Cookies for Santa. It makes for a perfect hostess gift. This idea would work anytime of year but make sure to switch up the Gingerbread Guys and hang tag or it might get confusing.
THINKING OUTSIDE THE BOX, LITERALLY
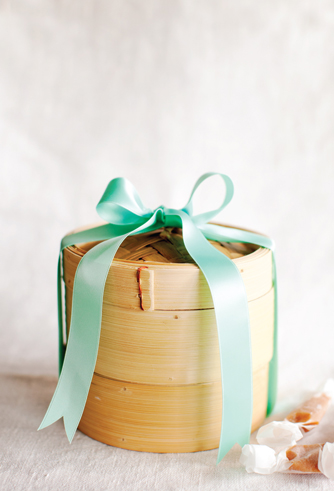
Some of my favorite containers to package baked goods in during the holiday season are bamboo steamers. Yet another item I discovered at the dollar store and cheap as chips to buy. They come in a variety of sizes and you can layer them up as high as you like. At Christmastime I will stack a steamer three layers high and fill each layer with a variety of baking. I will sometimes use paper muffin cup liners or parchment paper to hold or separate the different baking and then I tie the whole thing up with a wide satin ribbon and a couple of jingle bells or a piece of holly. If you were feeling really creative you could create a little guidebook with drawings and descriptions of each treat (just like the ones you find in a box of chocolates) and tuck it inside. Imagine the look of delight on your friends and familys faces as they lift each layer to discover . I hope you send me one. Id really like that.
-
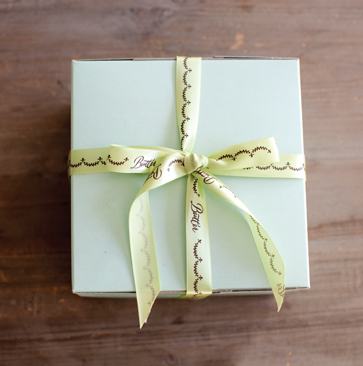
How to Tie the Perfect Bow
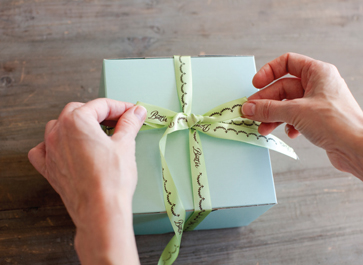
Mastering a good bow is a life skill that will take you far. We tie a lot of bows at Butter every day. And I mean a lot! It really is very easy once you figure it out. A couple of practice rounds and you will be wrapping anything and everything with big satin bows.
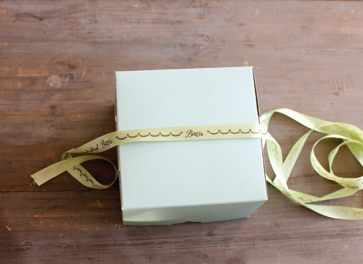
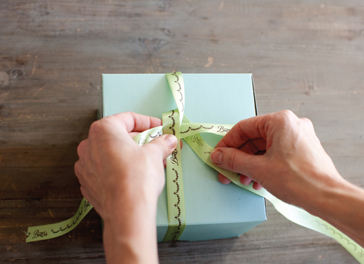
Lets pretend the top of the box needing to be wrapped is the face of a clock. Lay your piece of ribbon across the top of the box from the 3 to the 9, with about an 8-inch tail hanging off the 9 side. The rest of the length of the ribbon will be hanging off the 3 side.
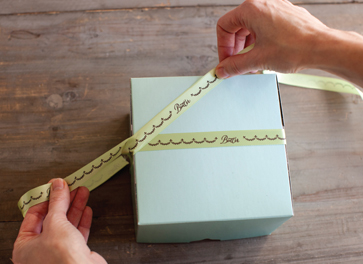
Wrap the balance of the ribbon on the 3 side under the box and come up at the 9.
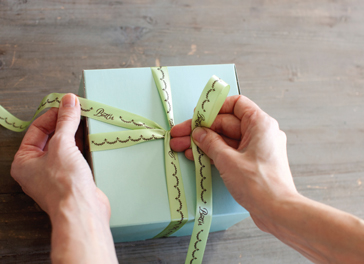
Cross the ribbon coming up from under the box over the top of the ribbon on the face of the box and head toward 12. Wrap the ribbon under the box again and bring it up at the 6.
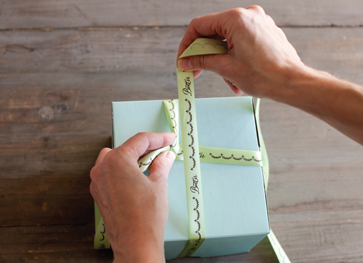
Take the 8-inch tail in your left hand and lift it up to pull the first point where the ribbon crosses toward the center of the box. In your right hand, take the balance of the ribbon coming up from 6 and wrap it over (toward 11) and under the point where the ribbon crosses (toward 5). You should now have a nice little intersection where the ribbon from all four sides meets.
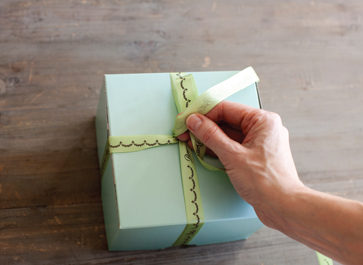
Take the lower ribbon in your right hand and make a loop.
Take the upper ribbon in your left hand and wrap it over and under the base the loop.
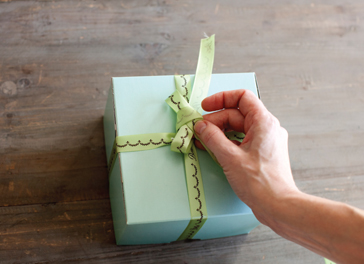
Pull the ribbon through the opening, which will create the second loop.
Pull tight to make a bow. Voila! You did it! Trim the ends of the ribbon with sharp scissors and there you have the perfect bow! 

