PUBLISHER: Amy Marson CREATIVE DIRECTOR: Gailen Runge ART DIRECTOR: Kristy Zacharias EDITOR: S. Michele Fry TECHNICAL EDITORS: Alison M. Schmidt and Debbie Rodgers COVER/BOOK DESIGNER: April Mostek PAGE LAYOUT ARTIST: Katie McIntosh PRODUCTION COORDINATOR: Freesia Pearson Blizard PRODUCTION EDITOR: Katie Van Amburg ILLUSTRATOR: Tim Manibusan PHOTO ASSISTANT: Mary Peyton Peppo STYLE PHOTOGRAPHY by Nissa Brehmer and INSTRUCTIONAL PHOTOGRAPHY by Diane Pedersen, unless otherwise noted Published by Stash Books, an imprint of C&T Publishing, Inc., P.O. Box 1456, Lafayette, CA 94549 Acknowledgments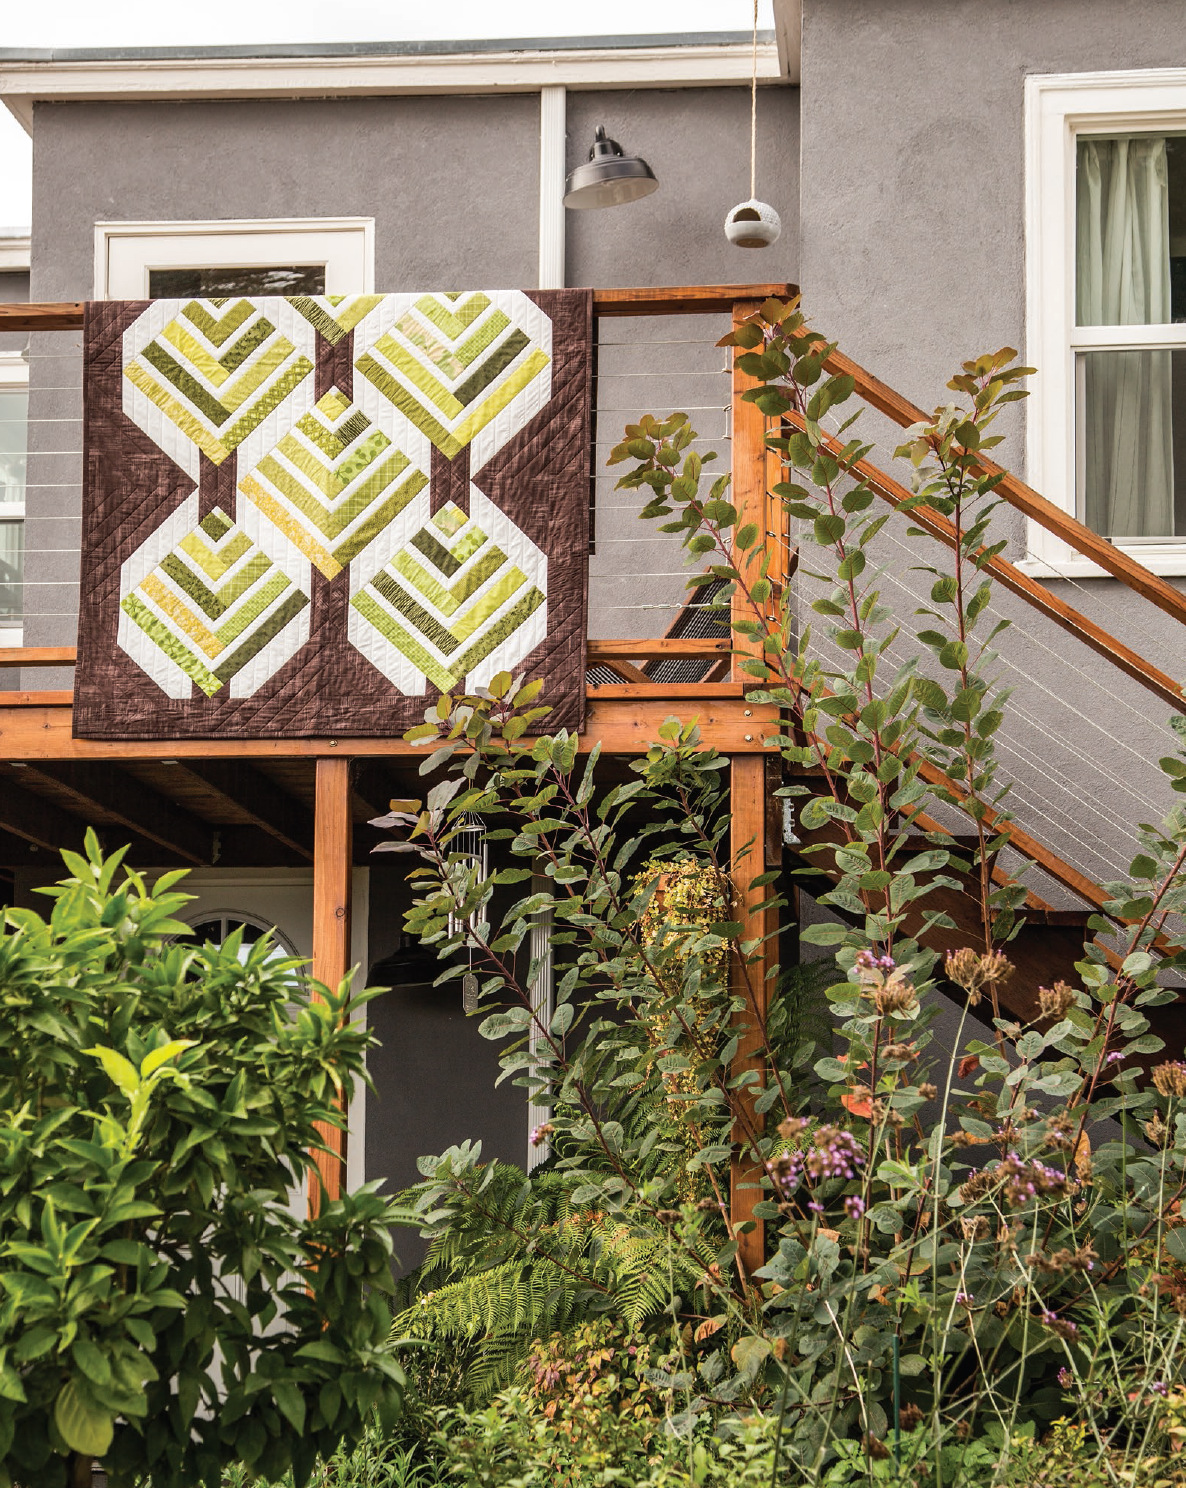 As much fun as I had working on the quilts in this book and getting all things written and handed in on time, I would never have finished without the help of some fantastic people in my life. My kids Atli, Gisli, and Svana: You are my biggest supporters and inspiration at the same time. Thanks for understanding when I am deep in a project and dont respond.
My assistant Yvonne Geske, thank you for always being there for me, whether it is helping with sewing, processing orders, or just keeping me sane with our laughs and deep talks. Thank you to my wonderful longarm quilters Harriet Bollig, Angela Walters, and Teresa Silva. Without you, these quilts would be just bleh. Thank you to Lissa Alexander and Moda Fabrics, Alex Veronelli and Aurifil, and the people at Creative Grids, for providing fabric, thread, and wonderful rulers for the quilts in the book. And finally, thank you to my wonderful book team at Stash Books: Gailen, Roxane, Michele, Alison, Katie V.A., Freesia, April, Katie M., Kristy, Debbie, Nissa, Diane, Mary Peyton, and Tim. Introduction I have been collecting strips ever since I had the privilege of taking a class with one of my quilting idols, Debbie Caffrey, shortly after I started quilting.
She told us to cut up our leftover yardage into 21/2 strips and store them that way, ready to go for the next project. I knew from experience that when I had 46 of fabric folded and stored in my cabinets, they would easily get lost in the stack of fabric, and I rarely ever used them up. When I did decide to use that fabric, I first had to iron it and then cut it up. So, of course, I took in every word Debbie said and have been storing my strips in color-coordinated drawers for years. This practice started way before precut strips were available for quilters. Over the years, my drawers of strips have grown to include leftover strips from jelly rolls that I didnt use in certain projects.
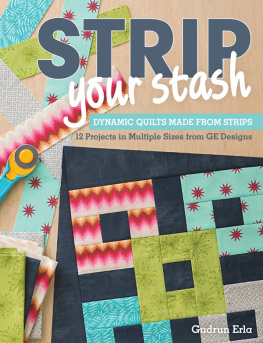
These drawers are a great treasure in my sewing room. I go to them all the time, whether I am testing out a new strip pattern concept, looking to make a quick quilt for a gift, or even working on a new project for a book. Something about pulling out the fabric needed for a quilt, already cut into strips and ready to go, is so fulfilling! The collection also gives me the variety of colors, textures, and depth that is hard to find when I try to work from just a single collection. This book includes twelve quilts that are all made using 21/2 stripsknown as Jelly Rolls, Roll-Ups, Bali Pops, Tonga Treats, and many other namesand a few coordinating fabrics. Many of the quilts were made from my eclectic drawers of strips. Others come from an already-coordinated collection of strips from the quilt shop.
I hope the different options and styles will give you the inspiration to take whichever route you prefer to follow when making these fresh, original quilts to your exact style. 
 Many quilters think that making scrappy quilts means giving up total control and grabbing the next fabric piece. That kind of fly by the seat of your pants method is not really necessary in most cases; you can plan out your quilt and make it look scrappy at the same time. When choosing strips and coordinating fabrics for your quilt, start with the quilt design. Some patterns call for a more controlled colorway, while others benefit from throwing some unexpected colors and fabric designs into the mix for extra interest. Here are some tips for stripping and picking fabrics that give a little insight into my choices.
Collecting and Storing Your Strips Whenever I have yardage in less than a yard, I always cut it into 2-wide strips. These days a vast collection of coordinated strip packs is also available in quilt shops. The different fabric companies call them different namesJelly Rolls, Roll-Ups, Bali Pops, Tonga Treatsbut they are all pretty much the same thinga collection of 2 strips from a single fabric line. The precut packets are a great way to start a collection of strips or to grab for use in an already-coordinated quilt. If you feel your strip stash needs more variety, there are many ways to do that economically. Round up your quilting friends and organize a strip swap.
Get four quilter friends. Cut four identical strips of six different fabrics, which totals about 1 yards. Meet with your friends and trade strips so that each person in the swap receives six different strips from four different people. You go home with 24 different strips. Choose themes for each swapholiday fabric, batiks, florals, basics, and so on. Swaps like this could be done on a larger scale, within quilt guilds, in classes, or at your local quilt shop.
I like to organize my strips by color. I store them in clear plastic drawers that measure 12 9 and 2 deep. A strip cut from the full width of the fabric folded in half twice fits perfectly. Mostly I save full width-of-fabric strips. But sometimes I save two half-strips of the same fabric, because I may be able to use it as one strip in a pattern, which is a great option for leftover fat-quarter pieces. 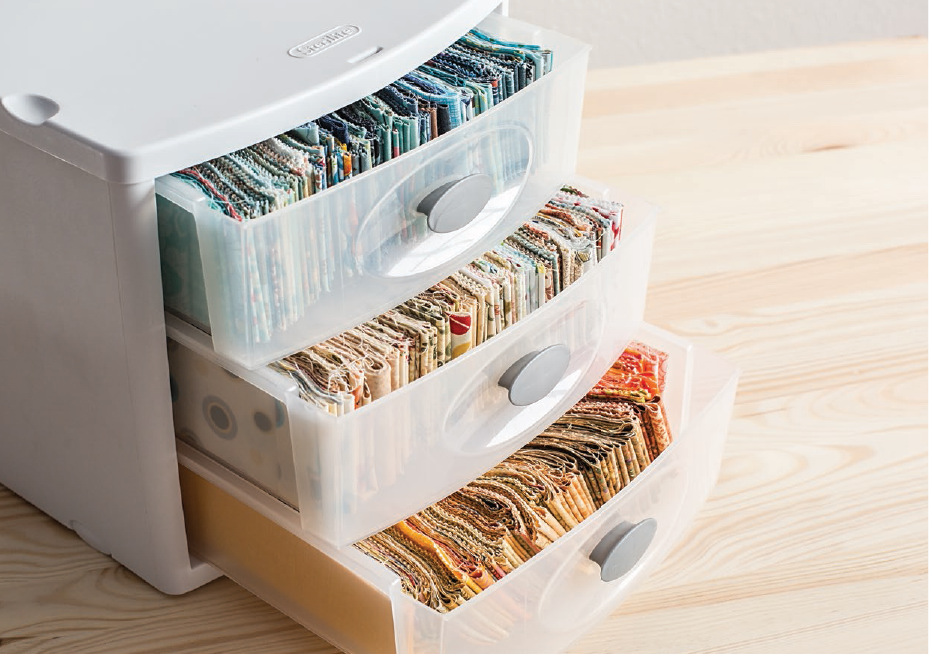 I lay my strips vertically in the drawers, with the folded edge to the front, which makes it easier to see what I have so I can pull out just the right color strip.
PREPARING YOUR STRIPS I never prewash my fabrics, and so far I have not had any issues with dye running when I do wash my quilts. If you buy precut strip packets, they certainly should not be prewashed, because they will end up a tangled mess and not the same size as when they went in the machine. When I get a strip packet or jelly roll, I always start by pressing my strips with a little steam, being careful not to distort them. Pressing the strips takes care of most of the shrinkage, if any. Make sure to press the center crease out if your pattern requires making full width of fabric strip units. After pressing, I measure the strips to make sure that they are 2 wide.
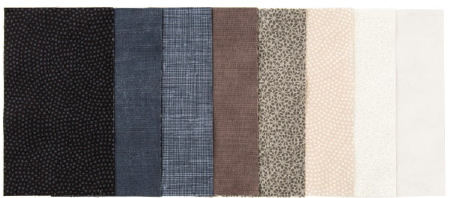
Some companies have pinked strips, and the pinking can be different sizes. Therefore, I recommend measuring strips; if the pinking makes the strip a little bit wider then 2, trim it to 2 right away for more accurate piecing. 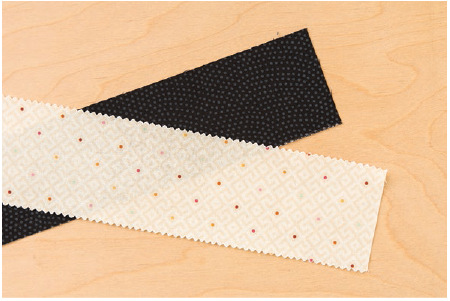 Example of a pinked-edge strip versus a straight-edge strip BACKGROUND FABRICS The choice of background will sometimes make the most difference in a quilts overall look and feel. Make sure to try your strips on different backgrounds with different colors and textures. You never know what will really make the strips pop until you try it.
Next page

 As much fun as I had working on the quilts in this book and getting all things written and handed in on time, I would never have finished without the help of some fantastic people in my life. My kids Atli, Gisli, and Svana: You are my biggest supporters and inspiration at the same time. Thanks for understanding when I am deep in a project and dont respond.
 Many quilters think that making scrappy quilts means giving up total control and grabbing the next fabric piece. That kind of fly by the seat of your pants method is not really necessary in most cases; you can plan out your quilt and make it look scrappy at the same time. When choosing strips and coordinating fabrics for your quilt, start with the quilt design. Some patterns call for a more controlled colorway, while others benefit from throwing some unexpected colors and fabric designs into the mix for extra interest. Here are some tips for stripping and picking fabrics that give a little insight into my choices.
 I lay my strips vertically in the drawers, with the folded edge to the front, which makes it easier to see what I have so I can pull out just the right color strip.
 Example of a pinked-edge strip versus a straight-edge strip BACKGROUND FABRICS The choice of background will sometimes make the most difference in a quilts overall look and feel. Make sure to try your strips on different backgrounds with different colors and textures. You never know what will really make the strips pop until you try it.