Dedication
This book is dedicated to Asha and Ciara; thank you for putting all these playful ideas in my head. This book would not exist without youxoxo.
Acknowledgments
Thank you to all my blog readers, who have given me the support I needed to push my creative ideas.
Thank you to Cheryl Freydberg at Moda Fabrics for giving me the chance to design fabric for such a unique and wonderful company; to my husband, P. J., who doesnt know what to make of all this but goes along with it anyway; and to my friend Zoe Harper for making light work of any crisis.
Thank you also to Susanne Woods at Stash Books for this amazing opportunity and to Cynthia Bix for making all my words sound like I know what Im talking about.
INTRODUCTION
I have always loved to make thingsfrom the paper clothes I made for my paper dolls, to curtains and quilts, to jam, and even to plants, which I like to propagate. If you can make it, Ill certainly try it.
Embroidery was something I learned to do in school during needlework class, when I was eight years old. I still have the drawstring bag, stitched with the My Little Pony motif, that I completed at age sixteen for the practical part of my CSE (United Kingdom Certificate of Secondary Education) Needlework Exam. Somehow, that bag hasnt fallen apart in the slightest, despite almost 25 years of constant use .
I thought I had long forgotten the skills I learned in those early years. But when I was asked to take part in an online embroidery swap a few years ago, there were those old skills, waiting for me to put them to use again. This time around, I have become particularly enamored with both making embroidery and creating patterns for stitching. I love the creative outlet embroidery provides, as well as its therapeutic properties. (I put most of my days to bed with a few stitches and a cup of chamomile tea.)
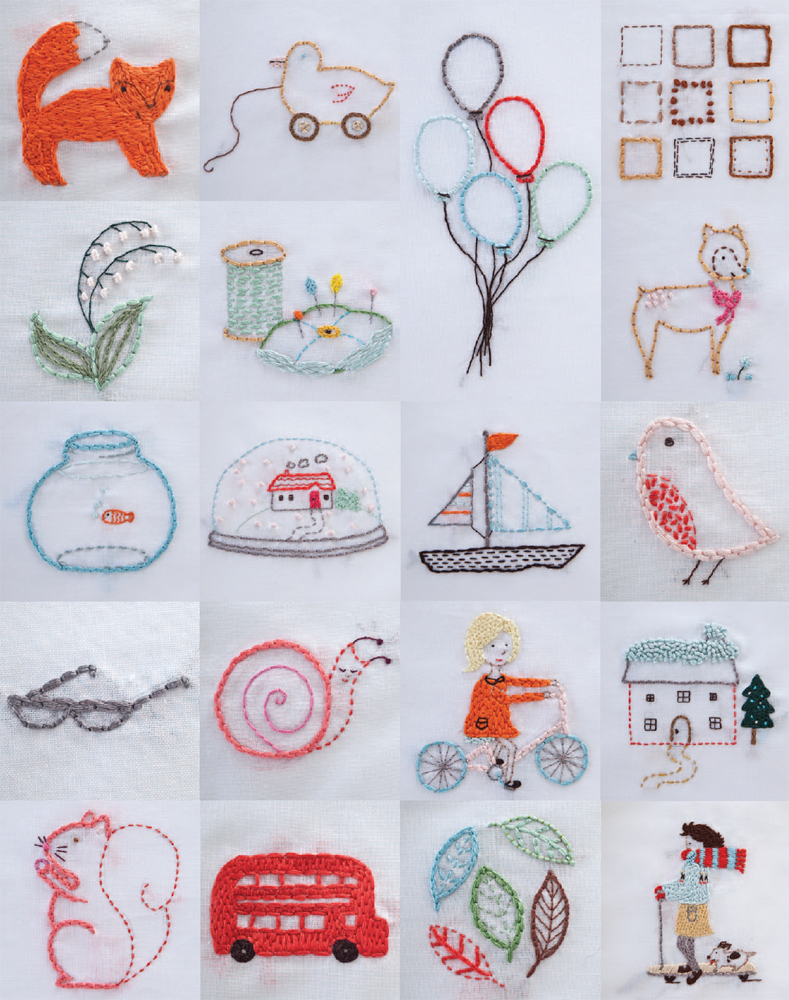
In this book, I offer basic instructions for simple stitches, along with a generous selection of original embroidery patterns, which are also printed on transfer paper so you can easily iron them onto your fabric and stitch away. Ive also included twelve projectsfrom sewing accessories like a pincushion and needle case to whimsical but practical items like a hot water bottle coverthat you can embroider and sew.
Many of my pieces are very playful in nature, because thats how I feel when Im stitching. Both the subjects I stitch and the stitches I use are happy and creativepart of my grown-up playtime. I hope this book helps you find some fun playtime too.
EMBROIDERY BASICS
Whether you are an accomplished stitcher or a complete beginner, a little time spent going over the basics will be well worth your while before you start on the projects in this book.
Embroidery Tool Kit
One of the best things about deciding to try your hand at embroidery is that it is very low in cost to undertake. Only a handful of tools are needed, and these tools are both widely available and easy to obtain. The following is a breakdown of the tools you will need.
EMBROIDERY HOOP
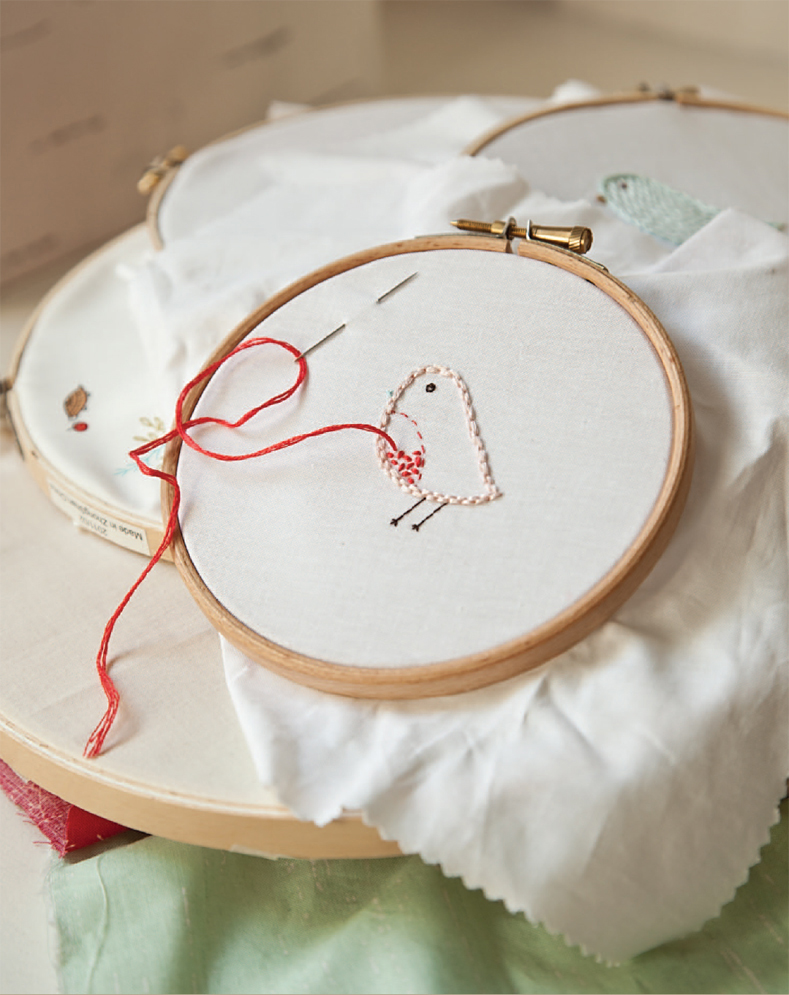
Hoops are measured by their diameter. Both wooden and plastic versions are available; what you decide to use is purely a matter of personal preference and what is readily available to you. I have always used wooden hoops, although I do like the pretty look of plastic ones. For best results, choose a hoop size large enough to accommodate your embroidery image. To make the smaller projects in this book, like the Empire State Building Needle Case (). Check the project you wish to make for required hoop sizes.
To tighten up your embroidery hoop, keep a small screwdriver close at hand.
FABRIC
I always stitch on good-quality 100% cotton fabric. I think if you are going to spend time and effort making something that you will want to keep for a very long time, you want it to stay looking its best. For this reason, I never use synthetic fabrics. White cotton fabric is my preferred choice; you may also wish to consider off-white and solid-colored cottons or prewashed linen.
EMBROIDERY PATTERNS
All the embroidery patterns for the projects offered here can be found at the back of the book, printed on both regular paper (). Youll find the project patterns and three alternative patterns for each project, as well as a nicely sized haul of additional patterns for you to try. If you wish to substitute one of the additional patterns in a sewing project, choose one similar in size to the suggested options in the project pages. No stitching suggestions are provided for the additional patterns, so if you are new to embroidery, it is best to start with the patterns that have instructions in the project pages.
The transfers are printed with heat- transferable ink; transfers can usually be used more than once. Keep any used transfers in an envelope for a future project.
EMBROIDERY FLOSS
I always use six-stranded cotton embroidery floss, which is widely available in a variety of deliciously colored hues and which is inexpensive to buy. As the name suggests, the strands, or plies, can be separated so you can use from one to six of them. The number of strands you choose to use can give either delicacy or weight to the various elements in your design, thereby creating textural interest and depth.
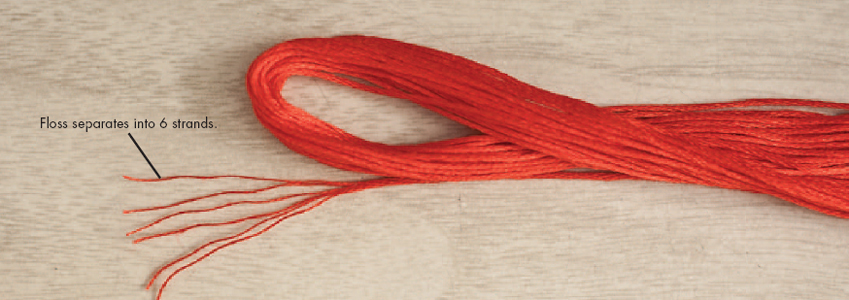
Separating the Strands
Cut a length of around 15 of floss from the skein. Hold the floss in one hand and gently pull out the number of strands you wish to use. Do not pull too hard, or the threads will become tangled up and knotted.
Storing Flosses
Many stitchers like to wind their flosses onto small cards and store them neatly in boxes. Personally, I find this tedious and would much rather be stitching instead of winding! I keep all my floss skeins in a see-through plastic zip pouch that is about 12 6. You can find this kind of pouch in stationery shops or even drugstores. I gather all the cut and unused strands of floss into a loose ball (like a floss tumbleweed), and store them in the corner of the pouch. An advantage of storing floss in this way is that its very easy to throw the pouch into my bag for stitching on the go.
NEEDLES
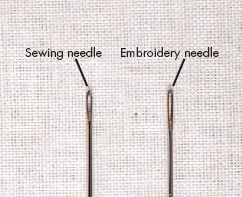
It is fine to use ordinary sewing needles for your embroidery designs. However, its worth seeking out embroidery needles; these have a longer eye, which makes it a lot easier to thread up to six strands of floss through at once. These needles glide through the fabric a whole lot easier too, which is particularly useful when making filling stitches in embroidery. Embroidery needles are inexpensive and widely available.
SCISSORS
To cut embroidery floss easily and neatly, use very sharp scissors. Embroidery scissors or small regular sewing scissors with sharp, pointed blades are the best kinds to use .

