
To Caroline Turner and Miranda Money for their unfailing friendship and support
Contents
Inspired by the countryside
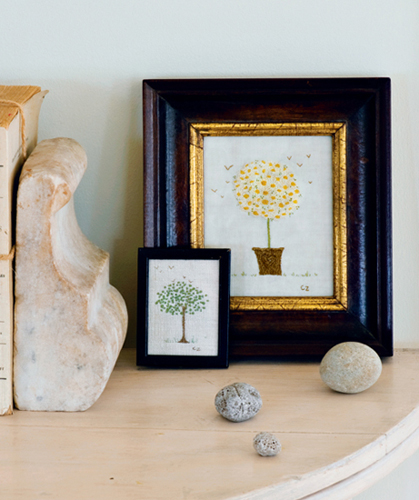
Propping these naive embroideries on a table like decorative objects makes them work in a sophisticated interior setting better than if they were hung on the wall.
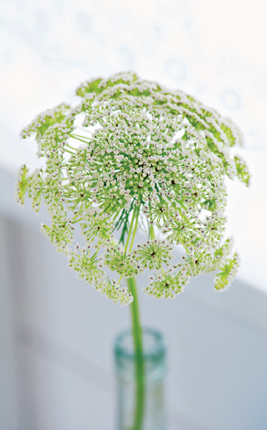
Is there an embroiderer who is not inspired by the countryside? Trees, flowers, animals, the patchwork patterns of fields and hedgesall lend themselves to embroidery. Roadside banks fringed with a mix of grass, Queen Annes lace, poppies, cornflowers, and ox-eye daisies, the dip of a field outlined by post-and-rail fencing and little rows of trees breaking the line of a hillsideall of these cry out to be captured with the needle.
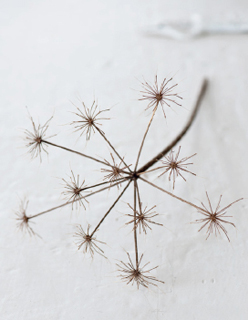
I once asked an artist where she found her inspiration and she told me it was simply a matter of keeping your eyes open. Nature is the richest source of inspiration, from the deceptive simplicity of the daisy to the intricacies of Queen Annes lace or an allium gone to seed. Even if you do not plan to embroider a particular item, always bring home any interesting stems or seed heads you spot and keep them in a vase. It is also a good idea to keep a little notebook with you to jot down ideas or sketches. Gradually you will build up layers of inspiration so that when you pick up your needle everything will flow more easily.
Inspiration from wild flowers
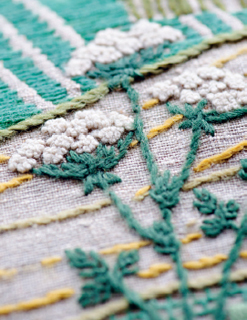
Gather drying flower heads in the fall so that you can study the underlying structure. I bought the vintage panel worked in wool (below) because of its beautifully embroidered Queen Annes lace.
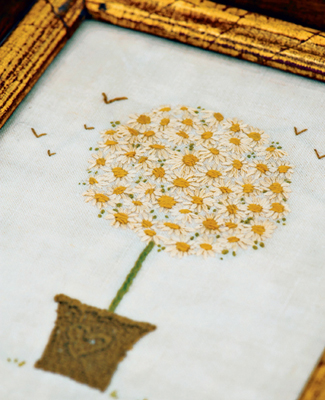
The frame suggests the embroidery. For this black-and-gilt frame, which was given to me to fill as a commission, I felt the formality of a standard daisy bush was appropriate. I lightly penciled the size of the circle but filled it without using tracings. The daisies are worked in three strands, but occasionally I have doubled back to make the petals thicker. If you would like to embroider your own daisy basket, see .
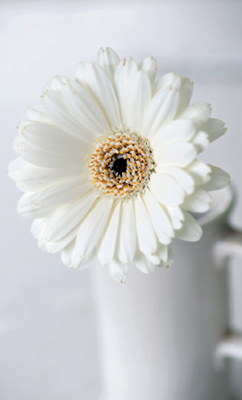
The gerbera lends itself to representation in stitches with its long petals in a collar around a lovely inflorescence.
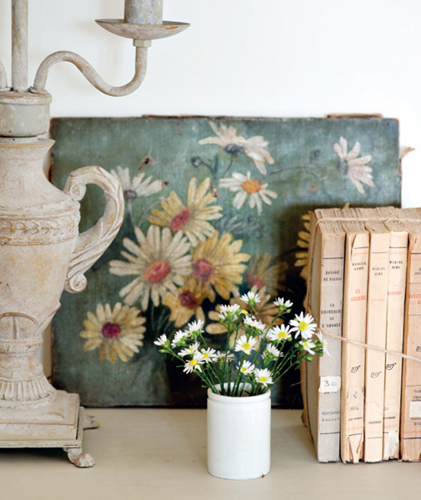
Daisies are such cheerful flowers, reminiscent of summery days spent in fields making daisy chains. I have always loved them and almost the first thing I tried to embroider was a daisy. It is thought of as such a simple little flower and yet when you look closely at the layers of tiny petals joined to the central disk you appreciate that the structure is quite complicated. To begin with I embroidered them like sunflowers, or as a yellow face surrounded by straight white lazy daisy petals in a circle. Then one rainy day in Nice I came across an early study of marguerites by Matisse and noticed how he had captured all the different angles of the petals and the way that sometimes, when you look straight at a daisy, you only see the flat of the central disc and one or two petals sticking up at different angles. I began looking at daisies differently after I saw this painting, and I have tried ever since to make each daisy unique looking. Now I stitch the petals using long and short stitches built up in layers, which gives a more precise effect than simply using multistranded thread. For the centers, I sometimes use tiny stitches very close together, which more closely imitates the real structure of the flowers, or satin stitches pierced with a few tiny stab stitches.
Daisy basket picture
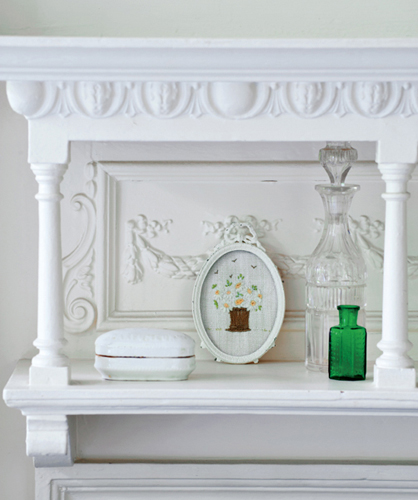
Years ago at an antiques market I found an old basket with a slanted base that tilted slightly to one side. I took it home and filled it with a bunch of Michaelmas daisies and since then whenever I embroider a basket I have an image of it in my head. is similar to this pot of flowers, but it has even more daisies.
Materials
A frameFor me, the frame suggests the piece and certainly the base fabric.
Base fabricSomething fine in weave but still firm and not too textured. Also not too white so the daisies stand out.
Lining fabric
Threads
Bonding web
Muslin cloth
For the
Stitches used:
Method
First lay your frame wrong side up on the fabric with the glass out and mark where the corners are. Never work too close to the edge of the frame or your picture will look squashed in. Even in a small frame you want to have some space around your work. Decide where your ground level is and start to work the basket. First sew two lines of short running stitches as a guide for the top and bottom of your basket.
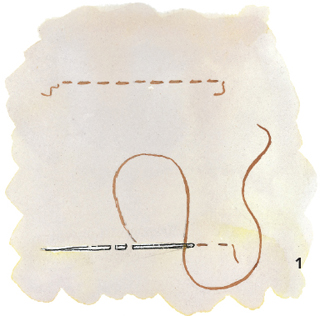
Using a single thread create the long vertical stitches to form the base of the basket. Keep the stitches close together and flat. Because they are long they may feel a little loosedont worry about this. Create the flared base of the basket in the same away only using shorter stitches and have them on a slant.
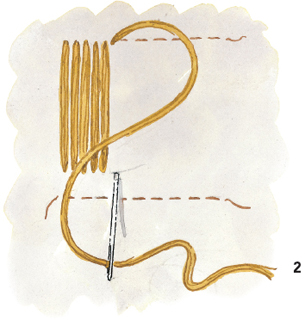
Starting at the top, weave your needle and single thread in and out of each vertical stitch to the other side and then back. Repeat all the way to the base. It does not matter if you catch more than one thread occasionally as long as you create the woven effect. You will find that there is a slight pulling in at the sides of the basketthis is good as it makes the basket resemble a vase.
To create the lips that form the base of the basket and also its top edge, simply make three raised lines using a rollover stitch with double thread.
Next page
