Publisher: Amy Marson Creative Director: Gailen Runge Art Director/Book Designer: Kristy Zacharias Editor: Lynn Koolish Technical Editors: Helen Frost and Gailen Runge Production Coordinators: Jenny Davis and Karen Ide Production Editor: Alice Mace Nakanishi Illustrator: Jessica Jenkins Photo Assistant: Mary Peyton Peppo Photo Stylist: Lauren Toker Instructional photography by Diane Pedersen, unless otherwise noted; Style photography by Nissa Brehmer, unless otherwise noted Published by Stash Books, an imprint of C&T Publishing, Inc., P.O. Box 1456, Lafayette, CA 94549 Acknowledgments Thank you to my husband, Ryan, and daughters, Chloe and Elonie, for putting up with seemingly endless hours of sewing. Huge thanks go out to my personal cheerleader, my mom. She has never failed to encourage me in any endeavor Ive wished to undertake and is always willing to help when I get in over my head. Thank you to C&T Publishing for helping me realize my goal of becoming an author and for your willingness to work with a complete newbie. Introduction My love of appliqu began about fifteen years ago, prompted by my love of fabric. Introduction My love of appliqu began about fifteen years ago, prompted by my love of fabric.
I began purchasing fabric before I had ever even touched a sewing machine or knew how to sew. There is just nothing like that fresh-from-the-bolt fabric smell, the vibrant prints, and the bright colors ... yes, I was hooked. The obvious outlet for my fabric-loving self was in the world of quiltmaking. My mom was both a quilt piecer and quilter, as were my grandma, my great-grandma, and others further back than that I am sure. Combine that fact with growing up in an Amish communitywhere quiltmaking is certainly an art, handmade items are prized, and small family fabric shops aboundand of course I fell in love with the world of quilts.
The first quilt I made involved 10 yards of $1.00 Grinch flannel. It was the first time I had used a sewing machine, and the quilt didnt involve any piecing. I gave it to my husband for Christmas on one of the first Christmases we shared. We still use it every day. The second quilt I made was a simple rag quilt using scrappy flannel homespun fabrics sewn together at my moms house, with a ton of help from her, using her sewing machine (at this point, I didnt have one of my own). Then came quilt number three, a coin quilt featuring traditional appliqu and raw-edge appliqu.
I agonized over every step, from choosing the right fabrics for the quilt pattern to piecing it perfectly and completing the appliqu. Once again, I pieced the quilt top at my moms house, but this time all on my own. Shortly thereafter, I purchased my trusty Bernina, and shes been with me ever since. That first appliqud quilt quickly led to one more, followed by several more. This led to the opening of my appliqud childrens clothing business, and then on to quilt design. Through it all, appliqu has always played a primary role in my designs.
I hope that as you look through the projects in this book and try your hand at some of the designs, you will come to love appliqu as much as I do! In designing the projects in this book, I have kept the piecing simple to allow the appliqu to shine. All the projects have been designed using just one appliqu shape, a simple petal. There are no reverse templates, additional template seam allowances, or time-consuming methods to worry about. The projects are perfect for beginning quiltmakers as well as experienced quiltmakers who wish to broaden their quilting repertoire.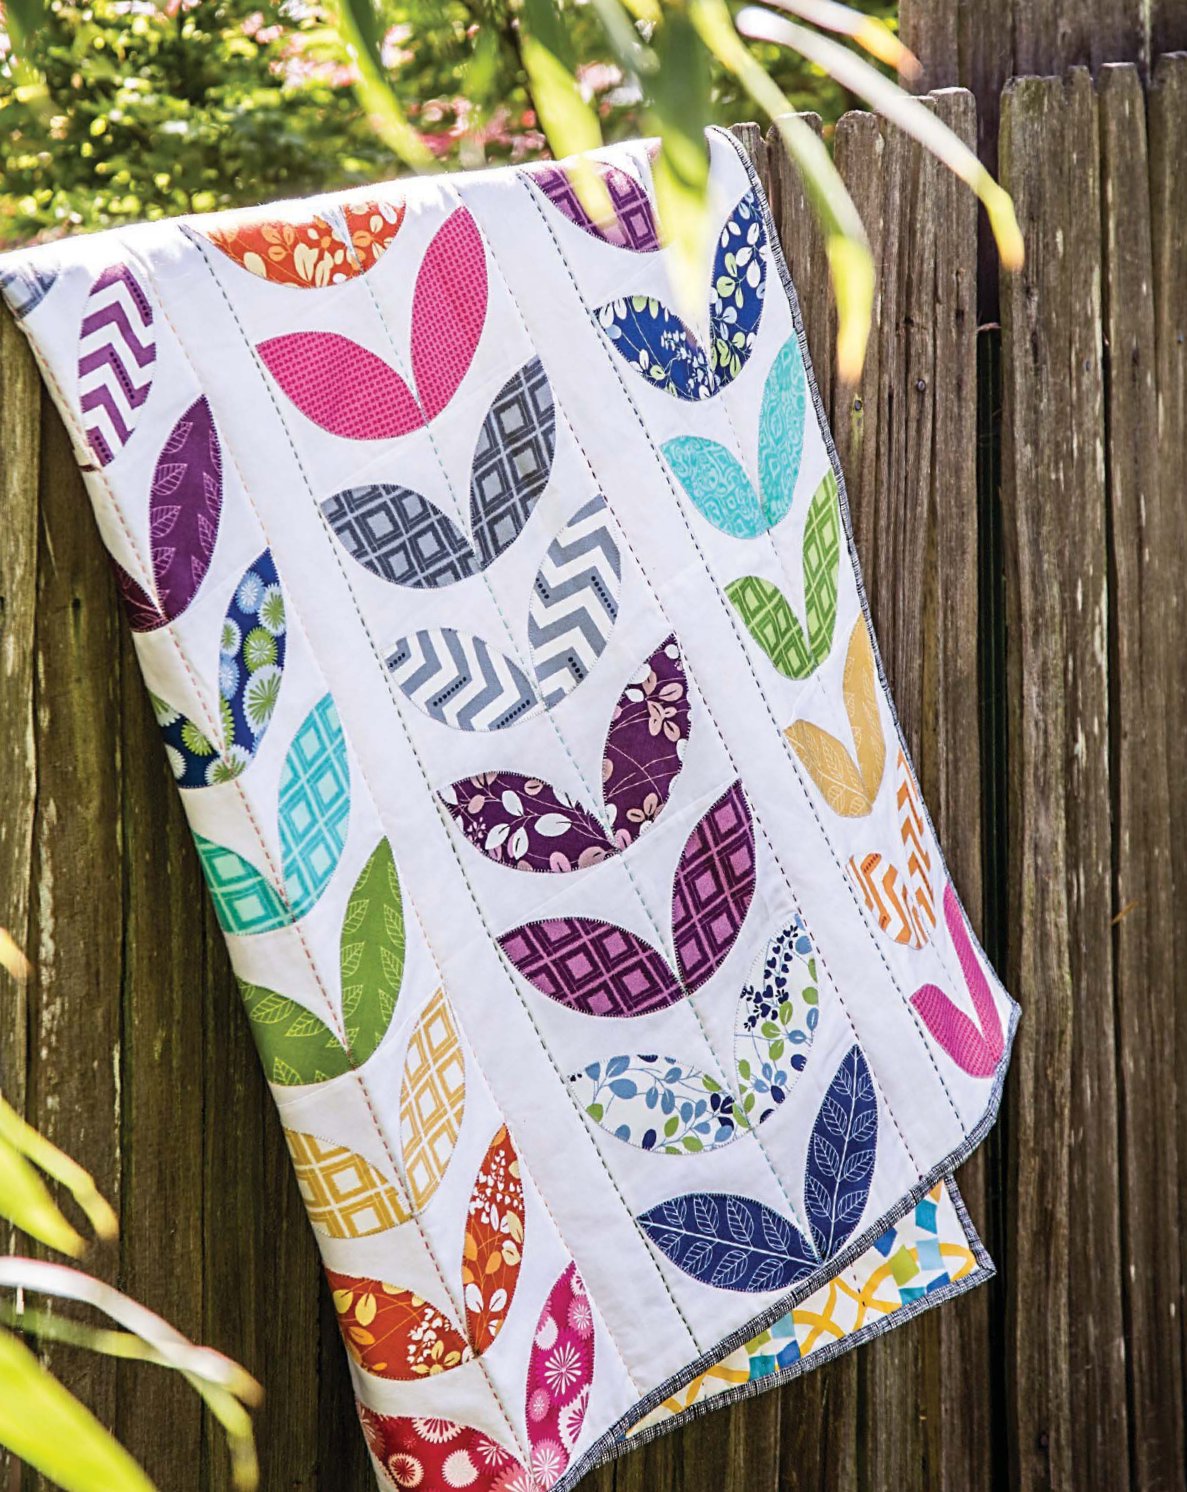 Appliqu Basics Appliqu is simply the process of creating a design by layering one fabric (the design) over another (the background). There are many different ways to do this. tip If you already make quilts, paper-backed fusible web is most likely the only additional item you will need to purchase to begin to appliqu.
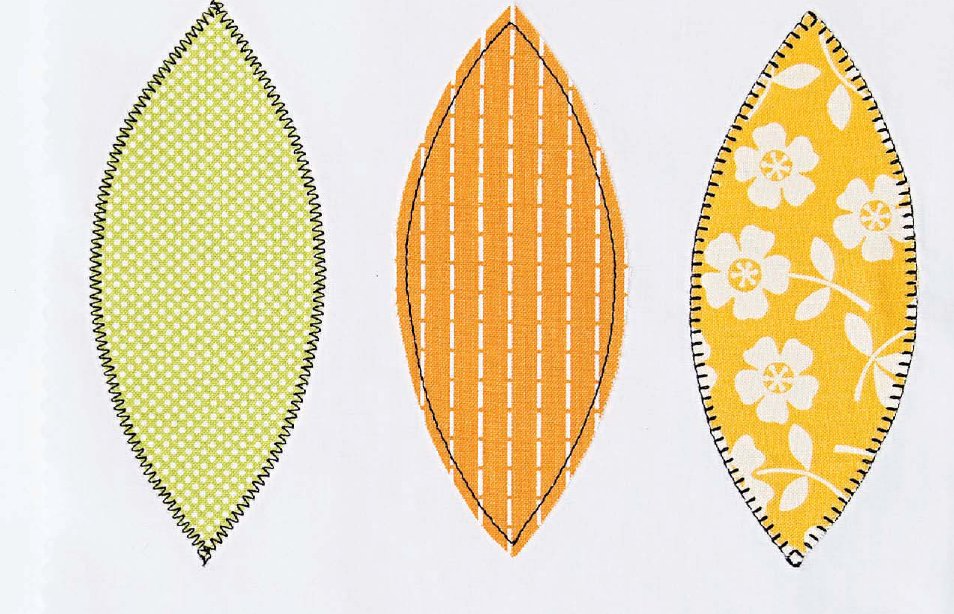 FUSIBLE WEB There are many different brands of fusible web, including those with paper backing and those without. tip If you already make quilts, paper-backed fusible web is most likely the only additional item you will need to purchase to begin to appliqu.
 FUSIBLE WEB There are many different brands of fusible web, including those with paper backing and those without.
HeatnBond, Wonder-Under, SoftFuse, and Trans-Web are examples of paper-backed fusible web. The paper backing provides a protective barrier between your iron and the fusible, eliminating the need for an appliqu pressing sheet. It also provides the perfect surface for tracing the appliqu template pieces. My personal favorite, and the fusible web I turn to most often, is HeatnBond Lite, followed closely by HeatnBond FeatherLite. No matter which brand of fusible web you use, for the most part opt for the lightest weight available from that brand. This eliminates extra bulk, which is important because you will be stacking up multiple layers of fabric.
A lighter-weight fusible also allows all the raw edges to be finished with a sewing machine. 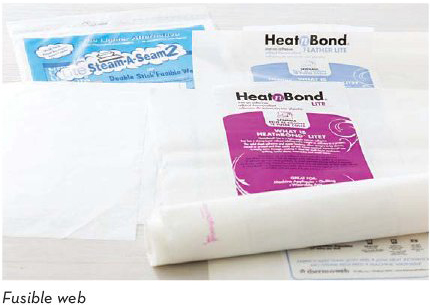 tip When purchasing fusible web, always purchase by the yard or by the roll if possible. Try to avoid prepackaged folded fusible web. The adhesive along the edges of fusible web that is folded in packages can deteriorate over time. Because paper-backed fusible web is so easy to use, it will always be my number one choice, and the project instructions within this book are written for paper-backed fusible web. Should you be more comfortable using a paperless fusible, adapt the instructions accordingly and remember to use an appliqu pressing sheet or Silicone Release Paper (by C&T Publishing).
  NOTE Many fusible web products, when sold by the yard, are 17 wide.
Yardages for the projects in the book are based on that width. If the brand you purchase happens to be a bit wider, save the excess; small extra pieces are perfect for small projects such as pillows. FABRIC Choose good-quality fabric for your projects, both for the background and for the appliqu. Lightweight fabrics, such as muslin, voile, and knits, are more difficult to work with and require extra prep work to make them substantial enough to use as an appliqu background. Theres a whole chapter on fabric () that gives you much more information. PENCIL, PAPER, SCISSORS The first step in fusible appliqu is to transfer the pattern onto the fusible web.
Because you are working with symmetrical petals that do not need additional seam allowances added, this step is quite simple. Find the desired petal, place the fusible web paper side up on top of the petal pattern, and trace. The quilt projects in this book all use a number of petals, so follow the petal placement guide when tracing the petals and adjust as needed based on the size of the petals. 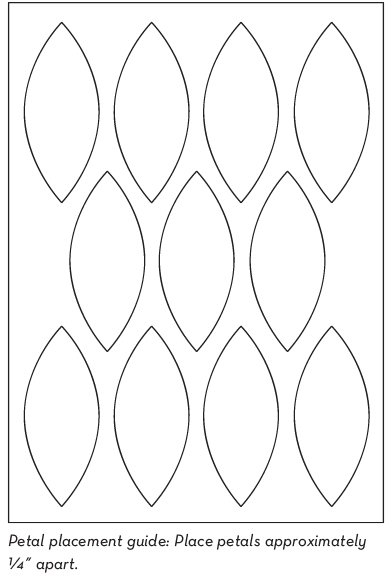 After you have traced the desired number of petals, cut them out. Cut each petal out approximately from the traced lines. To reduce stiffness in the finished quilt, remove the center portion of each petal.
Next page


 Appliqu Basics Appliqu is simply the process of creating a design by layering one fabric (the design) over another (the background). There are many different ways to do this. tip If you already make quilts, paper-backed fusible web is most likely the only additional item you will need to purchase to begin to appliqu.
 FUSIBLE WEB There are many different brands of fusible web, including those with paper backing and those without. tip If you already make quilts, paper-backed fusible web is most likely the only additional item you will need to purchase to begin to appliqu.
 tip When purchasing fusible web, always purchase by the yard or by the roll if possible. Try to avoid prepackaged folded fusible web. The adhesive along the edges of fusible web that is folded in packages can deteriorate over time. Because paper-backed fusible web is so easy to use, it will always be my number one choice, and the project instructions within this book are written for paper-backed fusible web. Should you be more comfortable using a paperless fusible, adapt the instructions accordingly and remember to use an appliqu pressing sheet or Silicone Release Paper (by C&T Publishing).
  NOTE Many fusible web products, when sold by the yard, are 17 wide.
 After you have traced the desired number of petals, cut them out. Cut each petal out approximately from the traced lines. To reduce stiffness in the finished quilt, remove the center portion of each petal.