Australia
HarperCollins Publishers (Australia) Pty. Ltd.
Level 13, 201 Elizabeth Street
Sydney, NSW 2000, Australia
http://www.harpercollins.com.au
Canada
HarperCollins Canada
Bay Adelaide Centre, East Tower
22 Adelaide Street West, 41st Floor
Toronto, ON, M5H 4E3, Canada
http://www.harpercollins.ca
India
HarperCollins India
A 75, Sector 57
Noida, Uttar Pradesh 201 301, India
http://www.harpercollins.co.in
New Zealand
HarperCollins Publishers (New Zealand) Limited
P.O. Box 1
Auckland, New Zealand
http://www.harpercollins.co.nz
United Kingdom
HarperCollins Publishers Ltd.
1 London Bridge Street
London SE1 9GF
http://www.harpercollins.co.uk
United States
HarperCollins Publishers Inc.
195 Broadway
New York, NY 10007
http://www.harpercollins.com
I hope that you have found this book useful, and that in your own application of the techniques I have described and demonstrated you will develop a skill that will lead you to the goal you have set yourself. Perhaps you will also find that this interest in drawing and painting your pet will develop into a passion and, as a result, you will develop a style that is your own and one that will be recognized and appreciated by many. This might seem a far-reaching concept to a beginner, but perseverance will eventually pay off.
Make sure you surround yourself with people who believe in you and who are supportive of your artistic interests. Be ambitious and do not accept any negativity as regards your aspirations in drawing and painting.
Keep your goal in mind and good luck!
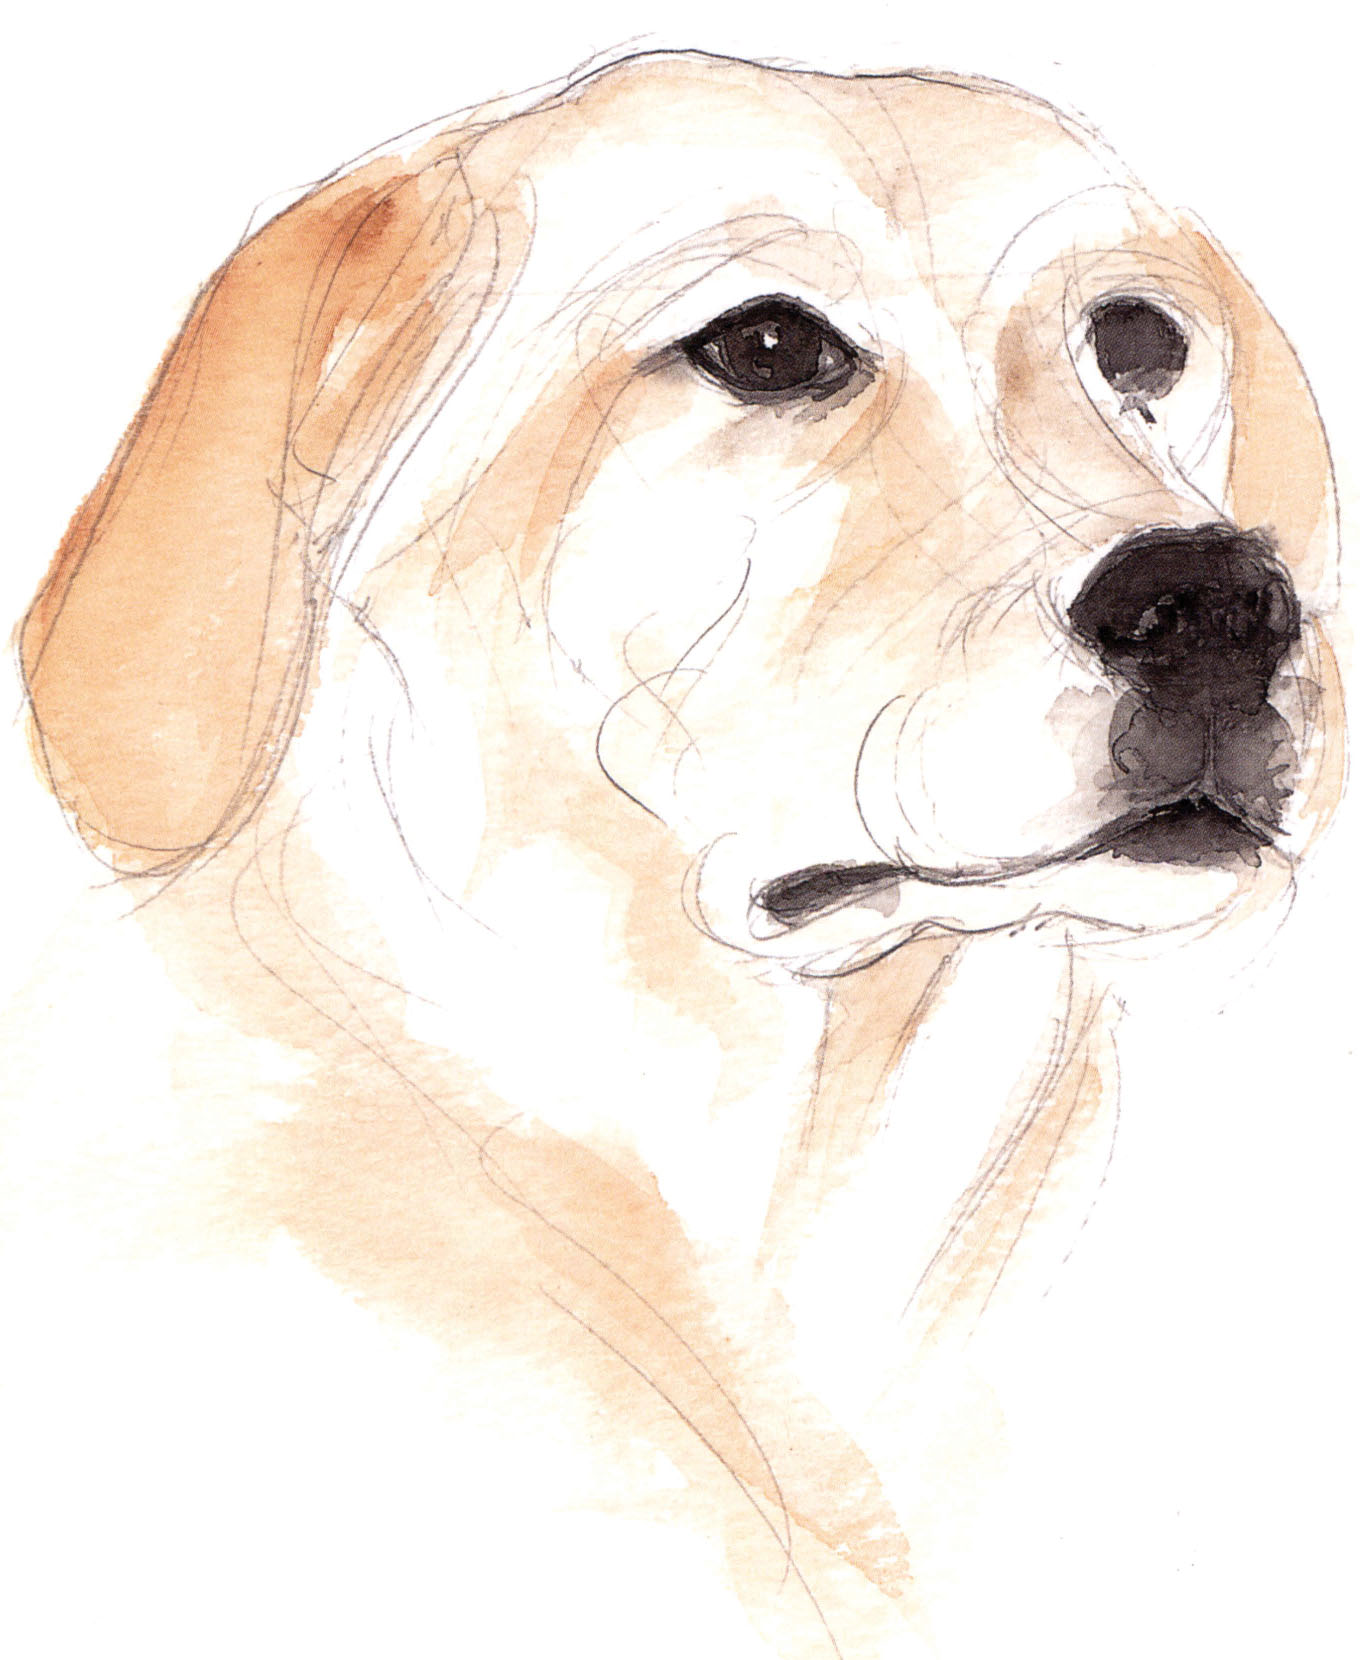
George Vesteys silky coat and general appearance are quite the best I have ever seen. The pale colouring complements his rich dark eyes and facial markings beautifully. He has the bearing of a very well-bred dog and I found this captivating and inspirational.
I would like to thank Cathy Gosling and Caroline Churton of HarperCollins and Geraldine Christy for their hard work and guidance in helping me put all this together. My special thanks go to: Michael Bond, for his constant encouragement and support; Caro Skyrme of the Le Mur Vivant Gallery; Heather, Clementine and Iona Kirby; F. B. Birch; Mr and Mrs McGlone; Rachael Moorhead; Alison Batchelor; Mark Chard; David Pope; Ann-Louise Dyer; Derek Cooke; Julian Hare; The Lord and Lady Vestey; Rhonda and John Jones; Belinda Tapp; Gray Levett of the Nikon Owners Club International and Grays of Westminster; Nick, my husband; and L. Ron Hubbard for his inspirational writing on art.
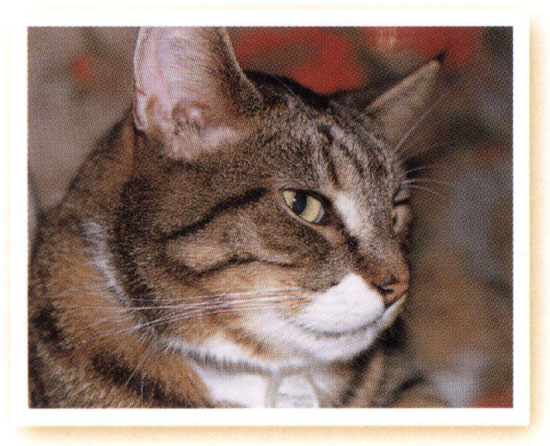
My tabby cat Rambo has been a tireless model for me over the years. I have made sketchbook notes, but also taken good sharp close-up photographs. Painting from a photograph, of course, gives you time to study detail without worrying about the cat moving. It also allows time to develop the skill of building up the fur texture with watercolour pencil or the impression of fur with a paintbrush.
MATERIALS
300 gsm (140 lb) watercolour paper, cold pressed
HB pencil
Putty eraser
Watercolour brushes:
no. 11
sizes 00 and 000
WATERCOLOUR PAINTS
| Burnt Sienna |  |
| Raw Sienna |  |
| Yellow Ochre |  |
| Cadmium yellow |  |
| Alizarin Crimson |  |
| Lamp Black |  |
| Titanium White |  |
| Burnt Umber |  |
| Sap Green |  |
STAGE 1
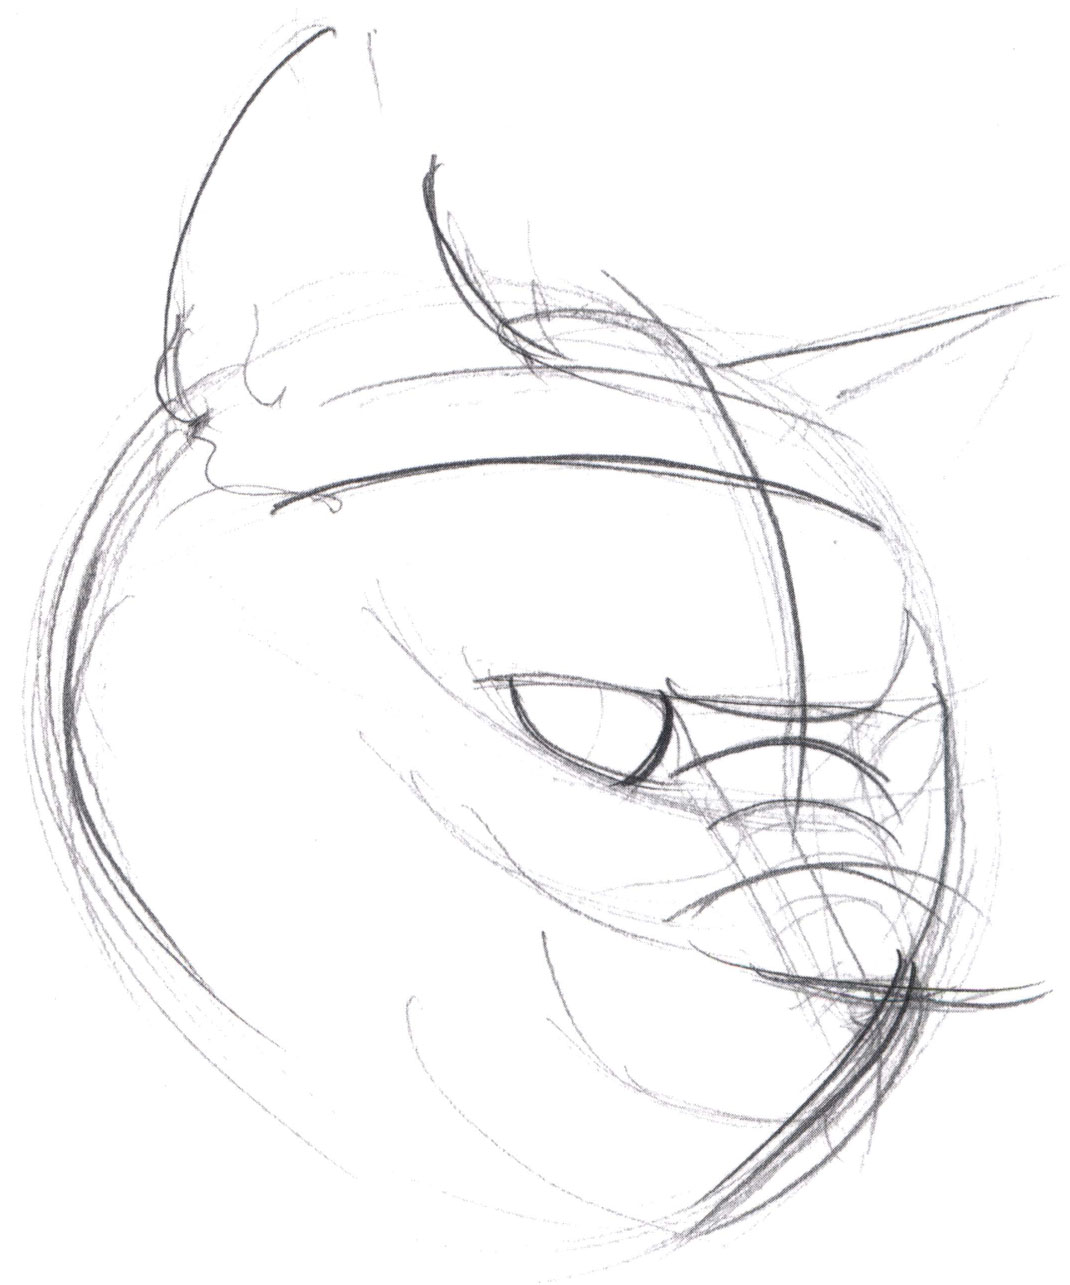
I drew a circle as a first step for this painting. A cats head appears to be made up of a series of circles and curves. There is no need to put in detail at this stage just laying down the basic structure is all that is important. Keep an eye on how one facial feature relates to another. You will find it helpful if you sketch in guidelines within the main circle, as I have.
Study your cats head and notice how the bone structure is formed. For example, the bridge of the nose is quite rounded and raised and the cheekbones protrude markedly.
STAGE 2
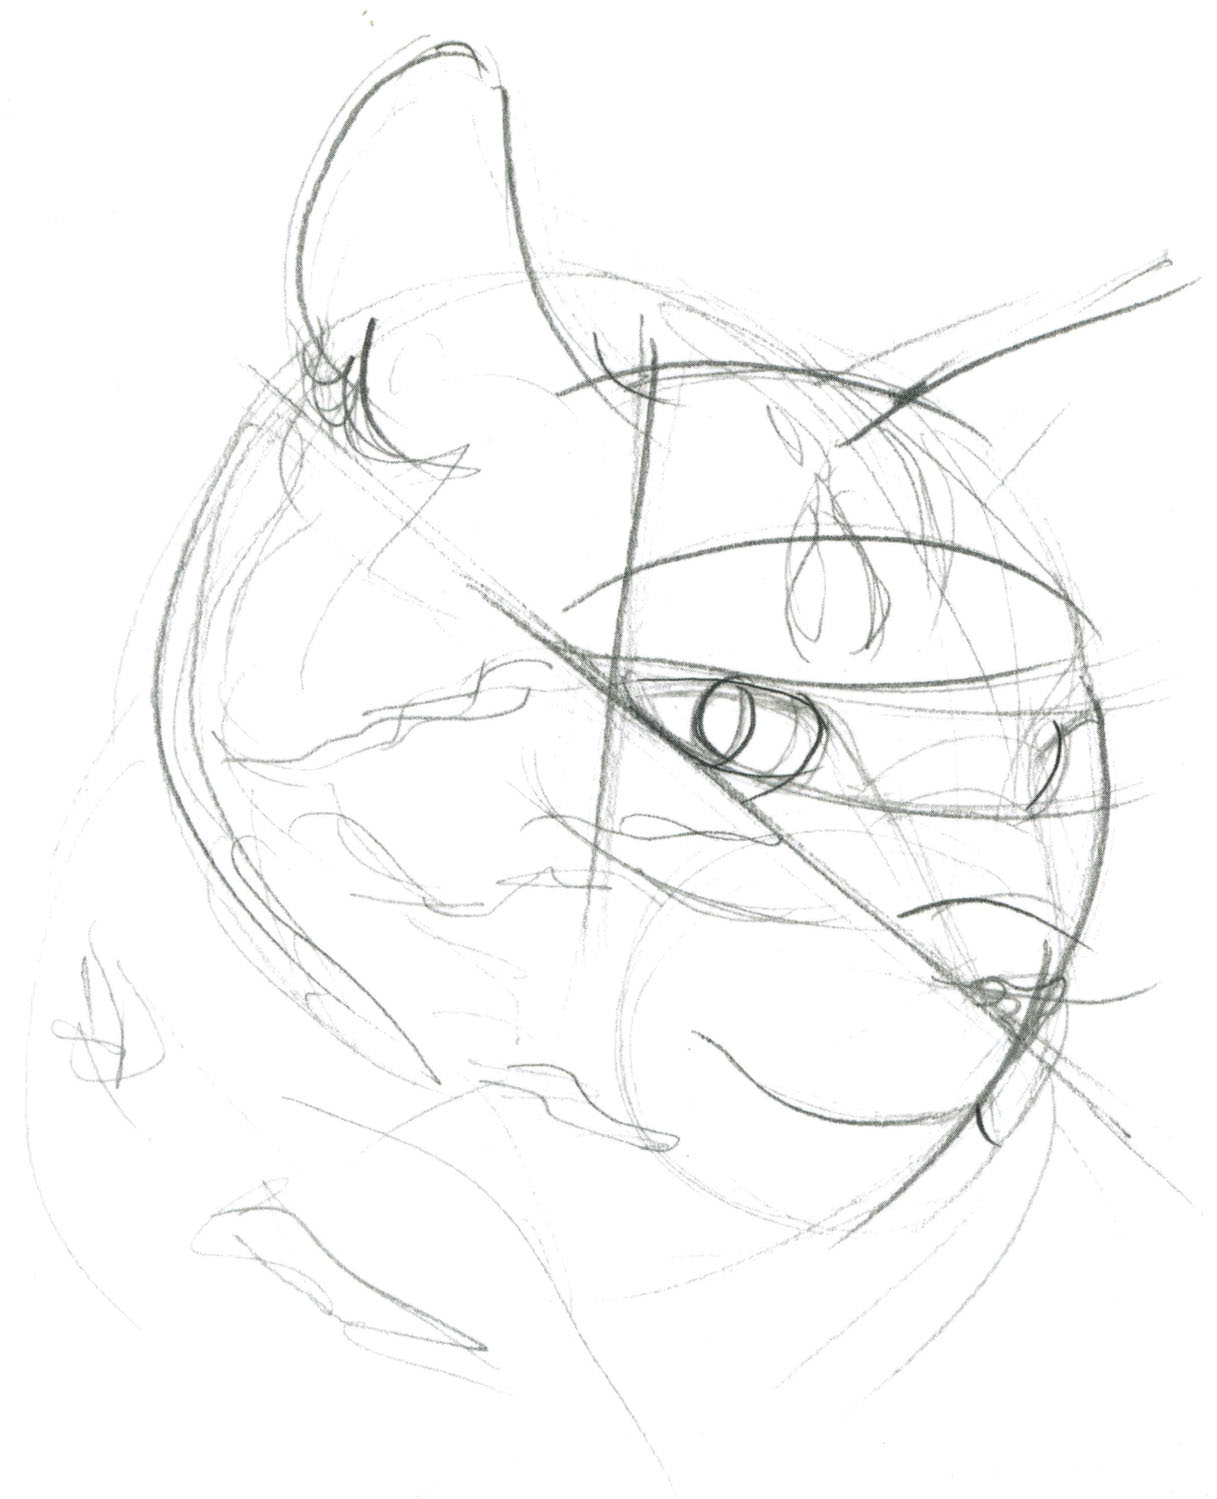
Notice how the edge of the ear falls in line with the edge of the right eye. A diagonal line is a useful guide for you to see how the other side of the ear falls in line with the nostrils. I drew in another pencil guideline to line up the ears across the top of the head. Notice how the forehead slopes flatly down towards the eyes. I kept my pencil lines light so that they could be easily erased before I began painting.
Then I drew the cats markings and nose detail. I made sure that I reproduced the angle of the nose and the curvature of the eyes accurately. Remember the eyes are the most important feature; they capture the character and soul of the animal.
STAGE 3
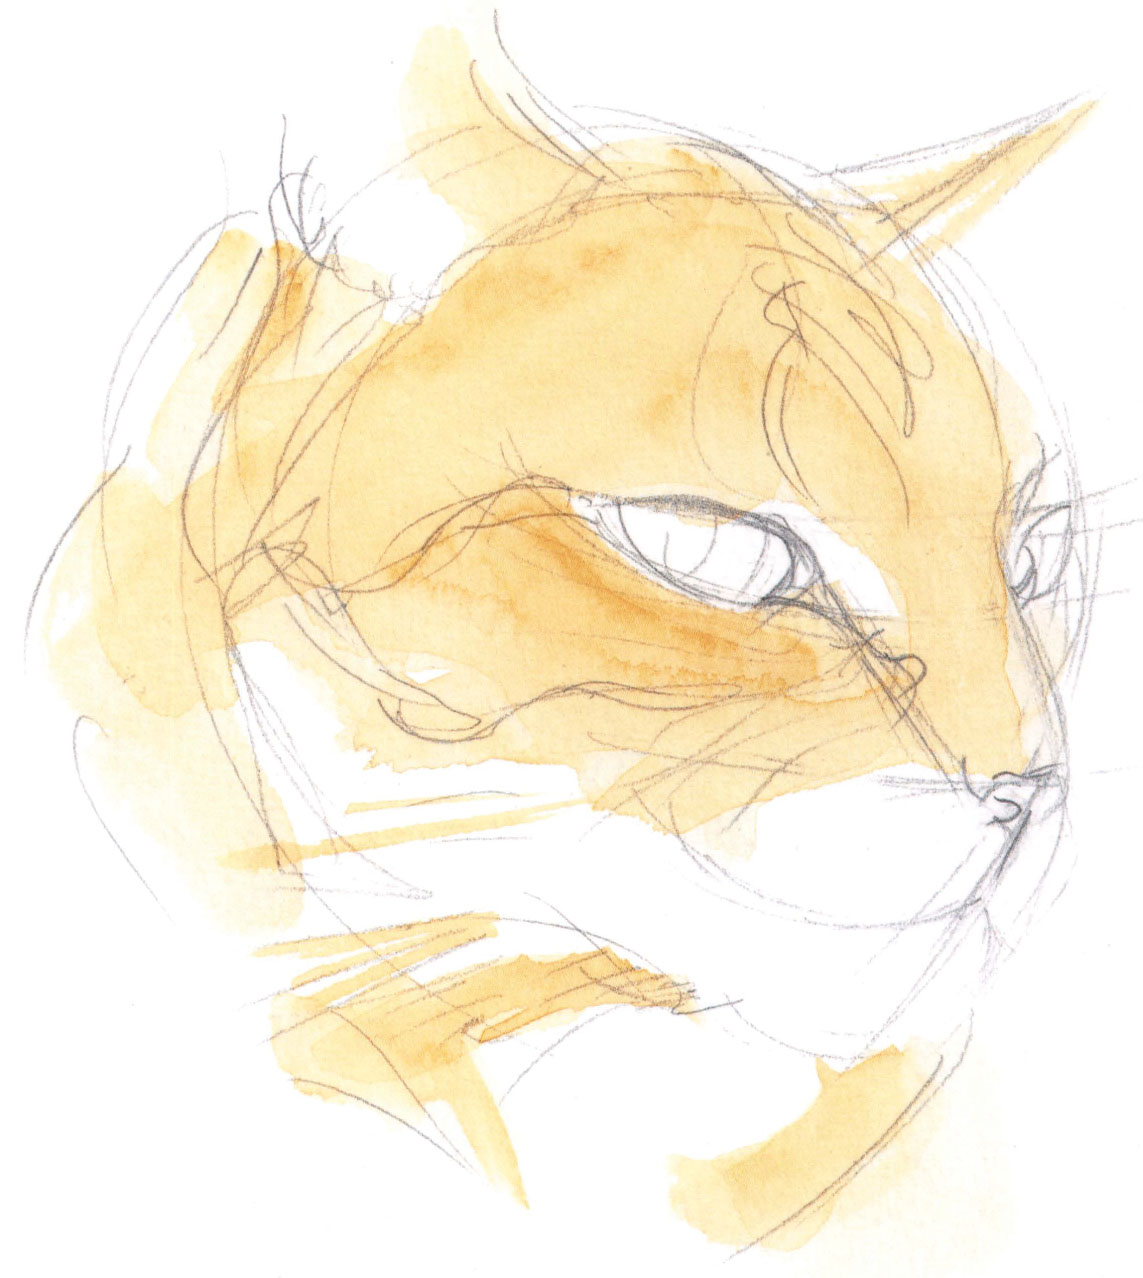
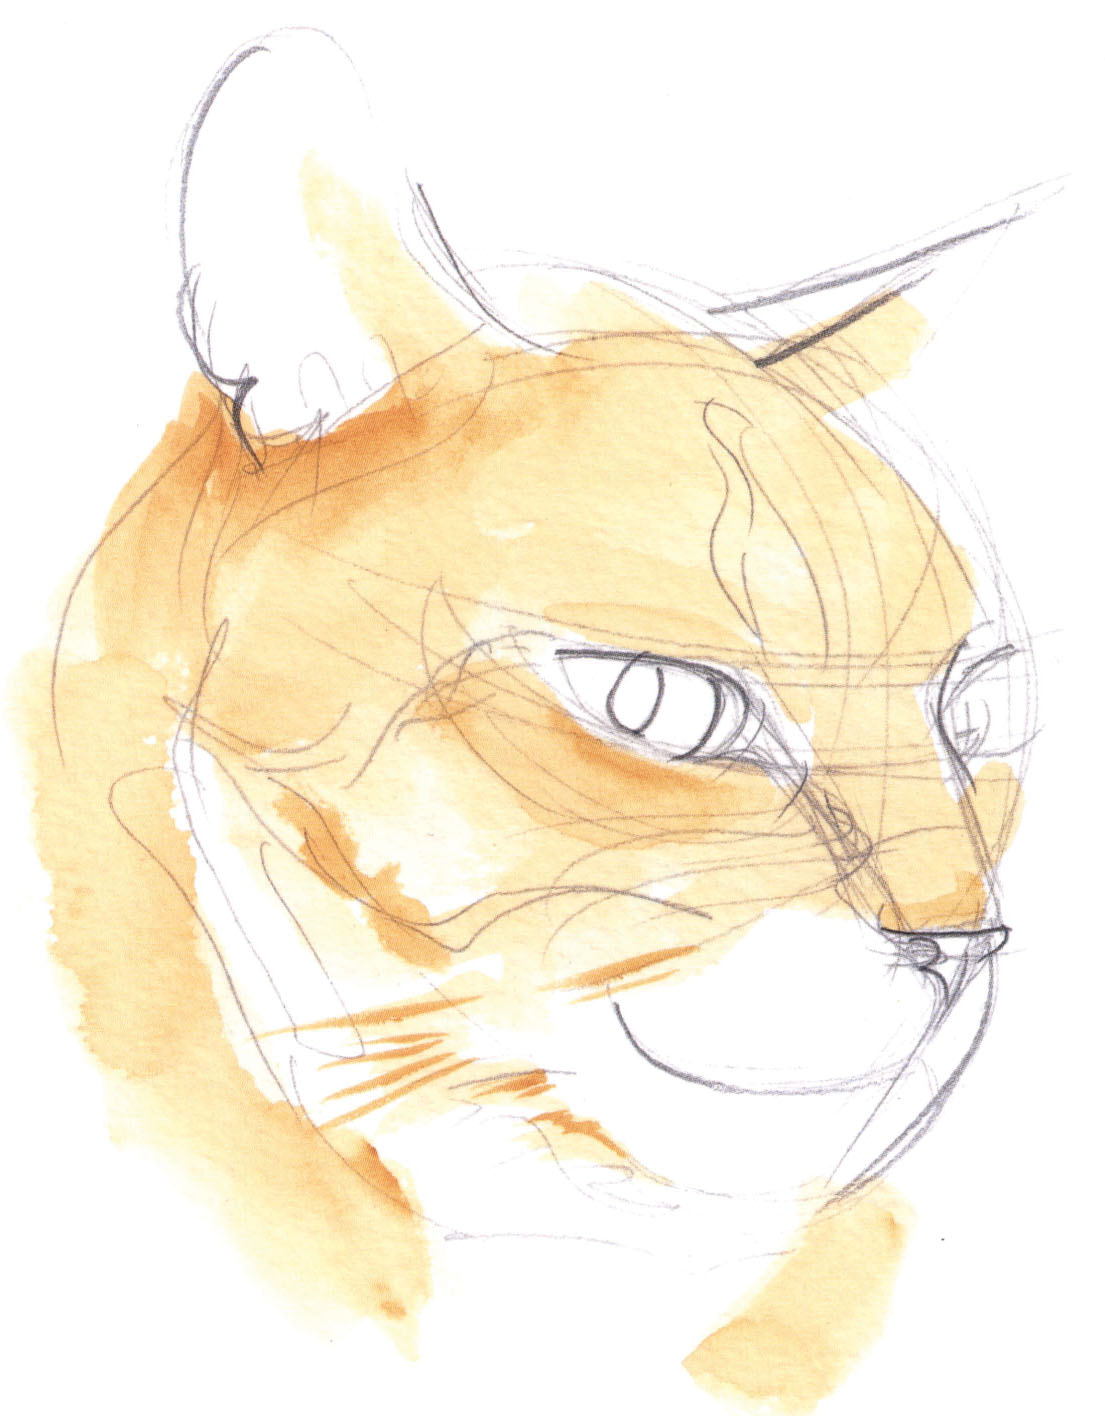
Using a no. 11 brush, I painted the forehead area with some Yellow Ochre, and then below the right ear. I worked the brush in the direction of the fur growth and spread the paint evenly to avoid hard edges.
I allowed the first layer to dry and then applied the same amount of Yellow Ochre for another coat. Mistakes can be corrected in watercolour, but only if you can do so speedily before the paint begins to dry.

