dedication
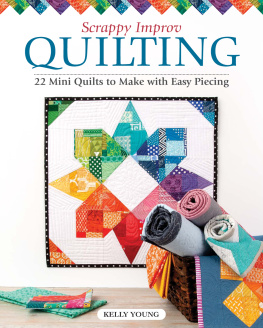
This book is for all quilters and sewers, for those who need some more color in their lives, and in memory of Judith Leigh Thompson (19412013).
Contents
Introduction
Most of the people in this book began quilting on a whim, having seen something in a book, online, or at an exhibit. They opened a blog, went to a museum, or browsed through a bookstore, and wham! Struck with the notion that they wanted to make that, weeks later their houses were half-full of fabric, and they were addicted to making quilts. Thats the story I heard over and over again. He saw something on Pinterest and knew he wanted to make a quilt. She had decided to stay home with the kids and needed something to fill the gap that not working had left in her life. He wanted to do something with color. She needed to make something with her hands, to have a complete project to show for her work at the end of the day.
Maybe this is you.
Six years ago, it was me. My sister had given my mother a book of Gees Bend quilts for Christmas, and, stealing a peek over the holiday, I was intrigued. Id known how to sew since I was little, but hadnt been interested enough in making the outfits that I once fantasized would fill my closet. I didnt like the careful measuring and cutting process required for making clothes, the precision needed for each seam to be in just the right place.
As I interviewed quilters, I heard over and over again that inspiration struck, and a few days later, they were making their first quilt.
Still, I had a sewing machine sitting in the closet. And if I made quilts sort of freestyle, I thought, it might be fun. I went to Jo-Anns and rummaged around in the sale basket for scraps that ended up costing a total of $25. I went home and pieced my first quilt, a wedding present for friends. I didnt measure or plan too far ahead, just one strip at a time, one piece next to the other, then the strips became rows until I had the top of a quilt. Once I finished that, I Googled how to make a sandwich. I watched a video. I bought some safety pins, tied the quilt layers, and did a hodgepodge binding job.
It was a quilt!
I was thrilled, and... addicted. And once I learned how to do a proper binding, I saw the beauty of quarter-inch seams, gaining more complex skills, and learning from patterns.
All it took was a look at my mothers book of Gees Bend quilts for me to get my sewing machine out of the closet.
Give It a Go
If youve never sewn a stitch before, the easiest way to start is to get a used sewing machine, find a tutorial on threading it, and go home and practice sewing straight lines. Once you can sew a straight line, you can make lots of different projects including a quilt. It really is that easy. I hope that this book will give you some ideas to get you started. You might work with a pattern, make a mini-quilt, or improvise. Some people get a lot of satisfaction from handwork; you could start by paper-piecing hexagons. Others like to work on the machine. Follow the thread of your curiosity.
The quilters in these pages were inspired by Amish quilts, traditional patterns, Nancy Crow (page ). Head for your local bookstore or fabric shop. Go online and look at quilt history sites and contemporary blogs and Flickr. There are endless possibilities for getting that spark of inspiration, gaining knowledge about quilt history, acquiring skills, and finding what you love.
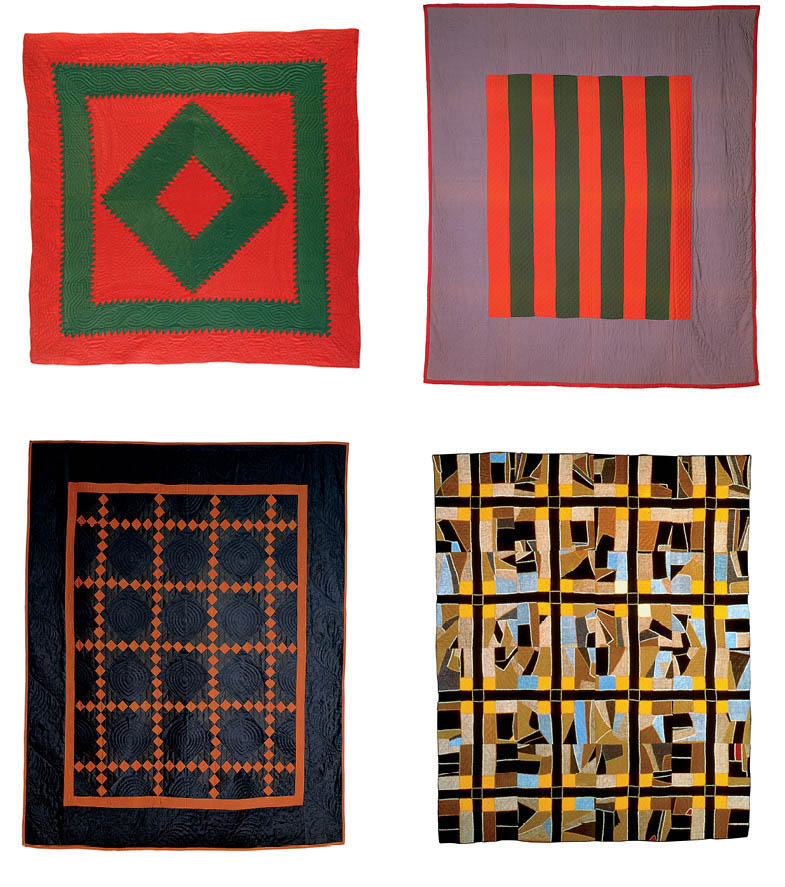
Amish quilts
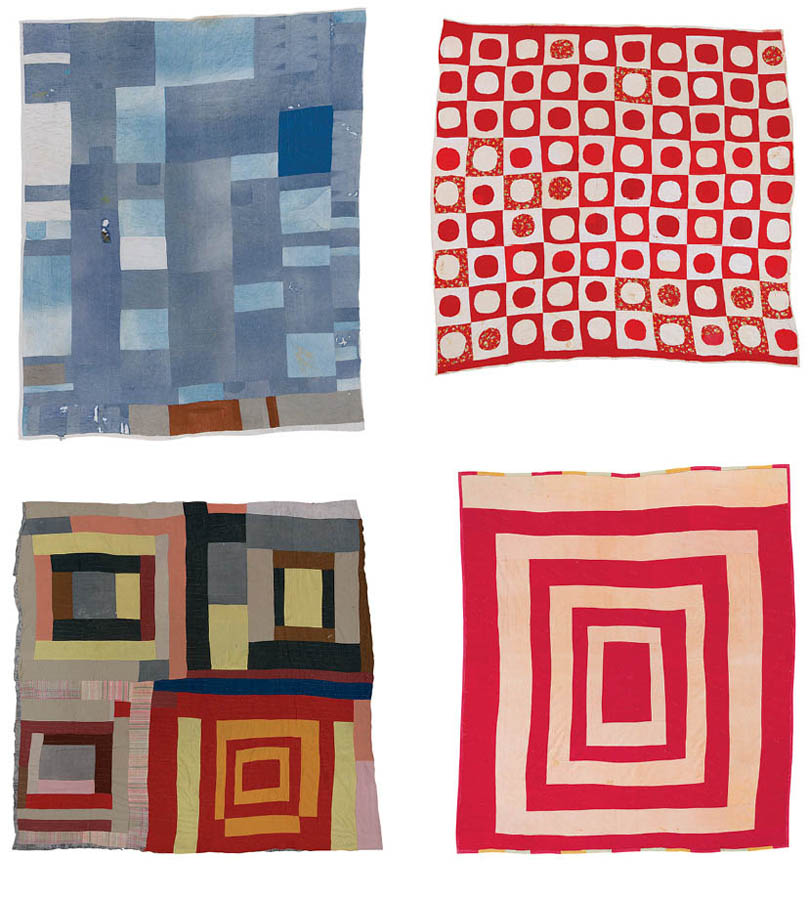
Gees Bends quilts
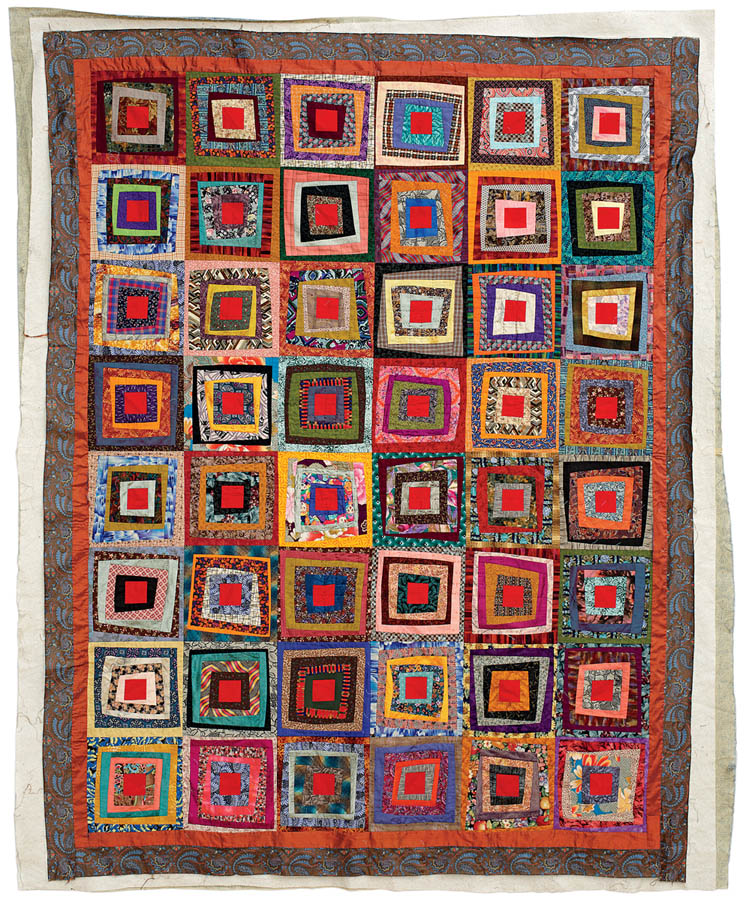
Clockwise from top-left: Blocks and strips work-clothes quilt (1970) by Lucy Mingo, 79" 69"; Snowball (1950) by Lucy T. Pettway, 83" 85"; Housetop (1975) by Qunnie Pettway, 82" 74"; Housetop four-block variation (1965) by Mary L. Bennett, 77" 82"
What I hope youll discover as you read are the myriad styles and processes of quilting. And I hope that, as you read these peoples stories and look at their work, youll find something that strikes you and inspires you to pick up fabric and scissors, needle and thread, and make something of your own. As you sew, youll find what you love and eventually, your own voice.
Rachel May
How-To
Six Steps to a Quilt
- Piece the top. This can be done in any style, from improv to traditional pattern. A simple way to start might be strip piecing: simply sew together long strips of fabric in rows until your quilt is long enough. Or try this easy improv log cabin (see page for more log cabin variations).
- Make the backing. If youre making a small quilt, you may be able to use a single piece of fabric, rather than sewing together two long strips. (You can piece more, of course: make the backing as fancy or as plain as you want.)
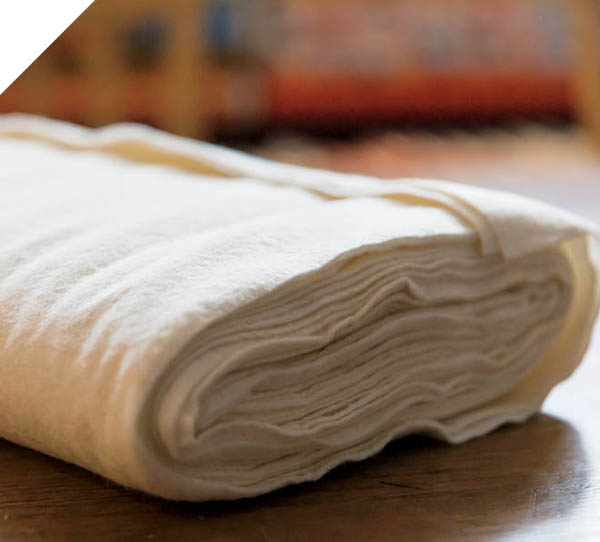
- Cut the batting to size. The batting (a.k.a. wadding, filler, insulating material) should be a few inches wider on every side than your top. Lay out the batting underneath the top to make this easy.
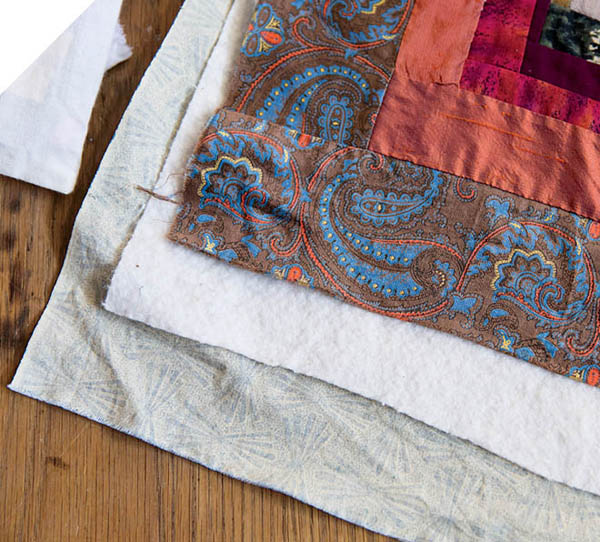
- Make a quilt sandwich in this order: backing on the bottom, batting in the middle, quilt top on the top (naturally).
- First, lay down your backing on the floor, right side facing down, and use painter's tape on the corners to keep it in place and wrinkle-free on the floor. Its okay if your backing is bigger than your top.
- Lay down your batting (which should be a little bigger than your quilt top, remember) over the backing, and smooth it out with your hands.
- Lay your top piece right side up, lining it up with the backing underneath the oversized batting. Spread it smooth, and then start pinning the quilt from the center out, applying pins about 4 inches apart (the holes the pins make will disappear with quilting and washing).
- Quilt it. This could be as basic as tying the quilt, or anything from a simple to complicated machine-quilting design, or hand-quilting.
- Bind it. See how in the tutorial, Finishing Your Quilt, on page .
