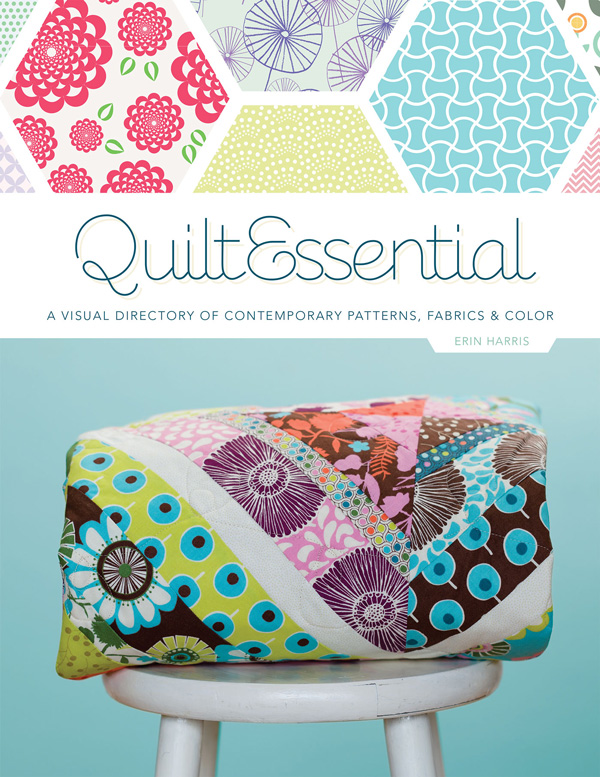
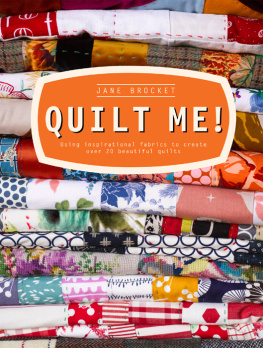
Harris - Quiltessential: a visual directory of contemporary patterns, fabrics and colors
Here you can read online Harris - Quiltessential: a visual directory of contemporary patterns, fabrics and colors full text of the book (entire story) in english for free. Download pdf and epub, get meaning, cover and reviews about this ebook. City: Lafayette;CA, year: 2013, publisher: C&T Publishing, genre: Home and family. Description of the work, (preface) as well as reviews are available. Best literature library LitArk.com created for fans of good reading and offers a wide selection of genres:
Romance novel
Science fiction
Adventure
Detective
Science
History
Home and family
Prose
Art
Politics
Computer
Non-fiction
Religion
Business
Children
Humor
Choose a favorite category and find really read worthwhile books. Enjoy immersion in the world of imagination, feel the emotions of the characters or learn something new for yourself, make an fascinating discovery.
- Book:Quiltessential: a visual directory of contemporary patterns, fabrics and colors
- Author:
- Publisher:C&T Publishing
- Genre:
- Year:2013
- City:Lafayette;CA
- Rating:5 / 5
- Favourites:Add to favourites
- Your mark:
Quiltessential: a visual directory of contemporary patterns, fabrics and colors: summary, description and annotation
We offer to read an annotation, description, summary or preface (depends on what the author of the book "Quiltessential: a visual directory of contemporary patterns, fabrics and colors" wrote himself). If you haven't found the necessary information about the book — write in the comments, we will try to find it.
Harris: author's other books
Who wrote Quiltessential: a visual directory of contemporary patterns, fabrics and colors? Find out the surname, the name of the author of the book and a list of all author's works by series.


Quiltessential: a visual directory of contemporary patterns, fabrics and colors — read online for free the complete book (whole text) full work
Below is the text of the book, divided by pages. System saving the place of the last page read, allows you to conveniently read the book "Quiltessential: a visual directory of contemporary patterns, fabrics and colors" online for free, without having to search again every time where you left off. Put a bookmark, and you can go to the page where you finished reading at any time.
Font size:
Interval:
Bookmark:
Editor: Liz Jones
Commissioning Editor: Isheeta Mustafi
Art Editor: Jennifer Osborne
Art Director: Emily Portnoi
Design and illustration: Natalie Clay
Technical Adviser: Sara Cook, Brighton Fashion and Textile School and Joanna Corney
Photography: Michael Wicks
Picture research: Diane Leyman
Cover Design: Emily Portnoi
INTRODUCTION
I vividly remember being 10 years old and absolutely fascinated that my 14-year-old cousin had a sewing machine and could make things. I watched her cut the fabric, pin it together, and sew the seamsentranced the entire time. I knew right then that I wanted to learn to sew. Three years later, when the opportunity presented itself, along with a lot of urging from my mother, I took home economics in the seventh grade. Ive been sewing ever since.
Quilting entered my life relatively recently. Amazed and inspired by the variety of contemporary quilts I was seeing on the Internet, I jumped right in. I knew little to nothing about quilting except that the seams should be " (6 mm). Confident in my sewing ability, but lacking any real quilting knowledge, I started a queen-sized bed quilt. As nave as I was about quilting, I learned a lot working on that first quilt project, especially from the mistakes I made along the way. As frustrating as those errors were, I successfully finished the quilt and started on the next one. Again, I was hooked.
Making a quilt can seem like a daunting prospect, but it is really quite simple. Anyone who has the will to make a quilt and is armed with a little knowhow can do this. My goal with this book is to help you get from the idea of a quilt to the reality of it. I have compiled information on the multiple aspects of quilting and put it together in this reference manual that will have you designing and constructing your own quilts in no time at all.
While the book does not include specific quilting projects, I cover all the basics you need to think about when making a quilt. From what fabrics to use, how to develop your color palette, and different quilting styles and designs, to ways to piece and assemble the layers, its all here. Ive also interviewed a handful of talented contemporary quilters whose work will inspire you creatively to keep sewing and to keep quilting.
QuiltEssential will give you the information and the confidence you need to create your own project from start to finish. Its my sincere hope that it will also inspire you to make quilts that will be treasured for years to come.

Erin Burke Harris
QUILTING TOOLS
The tools on these pages should get you started. You can then gradually add to your toolkit as you work through different projects.
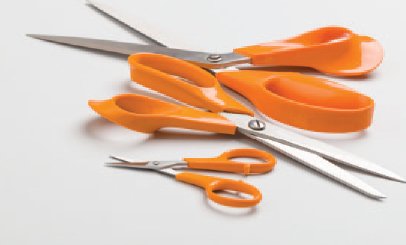
SCISSORS
Youll need one pair of scissors for cutting fabric 8" (20 cm) dressmakers shears are a good choice. A second pair of scissors should be used when cutting paper patterns, plastic templates, and the like. Embroidery scissors or small snips are helpful for trimming threads close to the fabric.
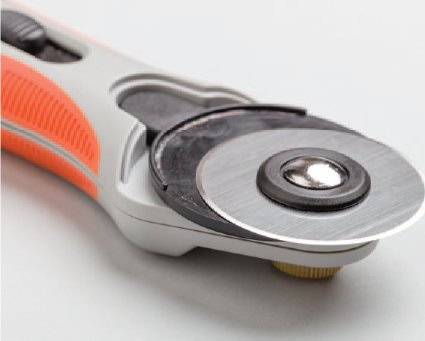
ROTARY CUTTER
While quilting fabric can certainly be cut with scissors, using a rotary cutter is faster and more efficient. These tools have extremely sharp blades, which makes slicing through fabric easy, but care is required when using them. Dull blades should be replaced promptly to avoid injury.
Rotary cutters are available in a wide range of styles, all with different handles and safety mechanisms. They also come with blades ranging in size from 18 mm to 60 mm, with 45 mm being the most common. Larger blades are for more utilitarian cutting, while smaller blades work well on curves and little pieces.
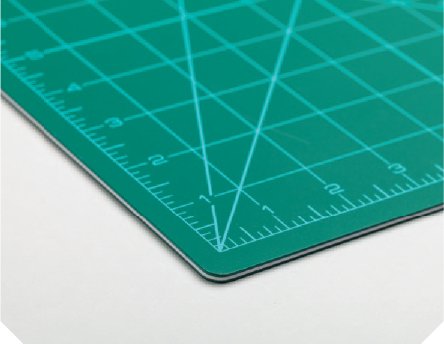
SELF-HEALING CUTTING MAT
These gridded cutting mats are necessary when cutting fabric using a rotary cutter. A 24" 36" (61 91 cm) mat is a good choice to start withit will allow you plenty of room to cut large pieces of fabric, but isnt so large that it wont fit on a small table. Smaller mats are helpful for traveling to classes, but larger sizes are wonderful if you have the table space to accommodate them.
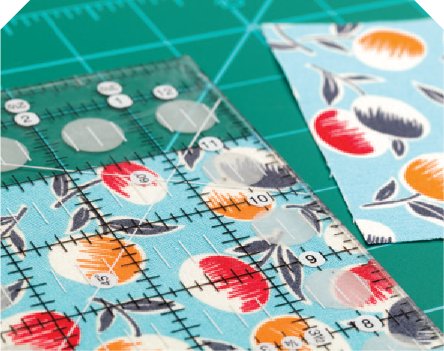
ACRYLIC QUILTERS RULERS
Also essential for rotary cutting fabric, quilters rulers are manufactured in myriad shapes and sizes. These gridded rulers are clear acrylic, which allows you to see through them and line up the fabric for cutting. The most basic and useful size is a 6" 24" (15 61 cm) rectangular ruler, which can be used for almost all your cutting needs. Over time you are likely to accumulate a collection of different quilting rulers. Square rulers of different sizes are helpful when squaring up blocks, and other specialty shapes may be useful for particular patterns.
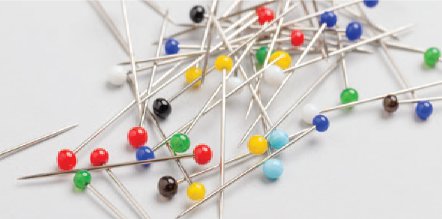
PINS
Straight pins are essential for piecing. Sharp, thin pins with glass heads will easily pierce the fabric without leaving a large hole and can be ironed without fear of them melting. Store them in a pincushion and replace them when they become dull. Quilters safety pins are needed for pin basting. Their curved side allows you to easily maneuver them through all layers of the quilt sandwich and back to the top.
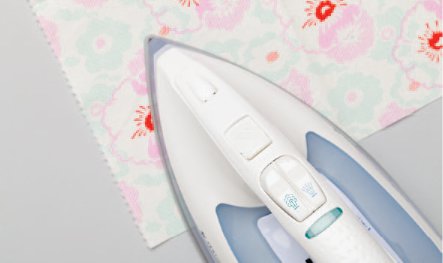
IRON AND IRONING BOARD
A steam iron with multiple heat settings is crucial for ironing wrinkles from fabrics and pressing seams. A standing ironing board works well for all ironing purposes. Table-top and space-saving versions are great for small workspaces.
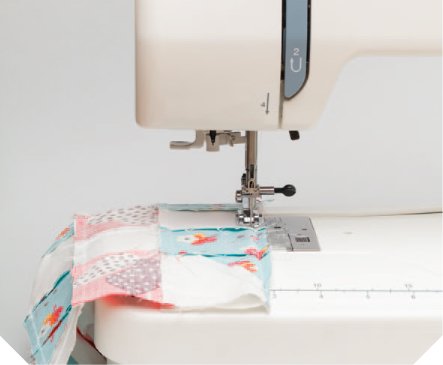
SEWING MACHINE
Any machine with straight and zigzag stitches and good tension will work for piecing a quilt. If you plan on machine quilting your projects, look for a machine that can accommodate a walking foot and has free-motion capability. A " (6 mm) patchwork presser foot is extremely helpful.
SEWING NEEDLES
Universal machine needles in sizes 75/11 or 80/12 are suitable for piecing most quilting cottons. Heavier fabrics and different fibers may require specialty needles. Remember to replace your machine needles frequentlya good rule of thumb is to use a new needle for each new project.
For hand sewing, quilters often use sharps and betweens. Sharps are medium length with a sharp point and are used for general hand sewing. Betweens are shorter than sharps and are often used for hand quilting because their short length allows for quick, small stitches. Both come in a variety of sizesthe larger the number, the smaller the needle.
Next pageFont size:
Interval:
Bookmark:
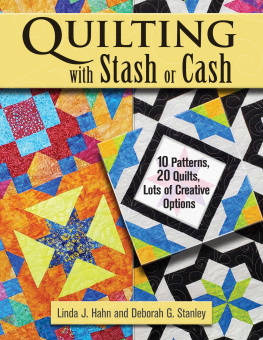
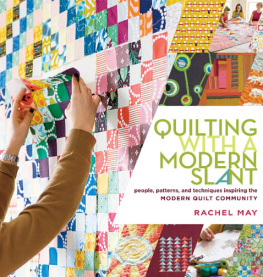
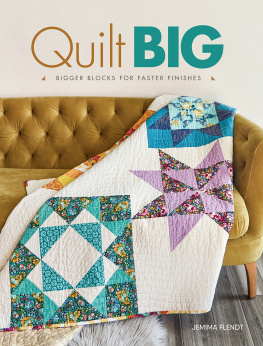
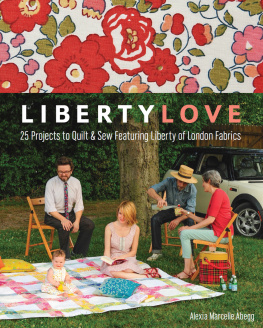
Similar books «Quiltessential: a visual directory of contemporary patterns, fabrics and colors»
Look at similar books to Quiltessential: a visual directory of contemporary patterns, fabrics and colors. We have selected literature similar in name and meaning in the hope of providing readers with more options to find new, interesting, not yet read works.
Discussion, reviews of the book Quiltessential: a visual directory of contemporary patterns, fabrics and colors and just readers' own opinions. Leave your comments, write what you think about the work, its meaning or the main characters. Specify what exactly you liked and what you didn't like, and why you think so.