Contents
Guide
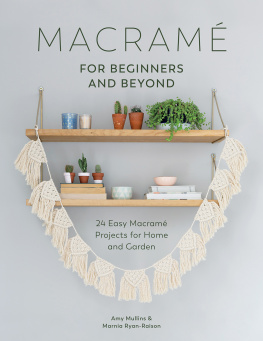
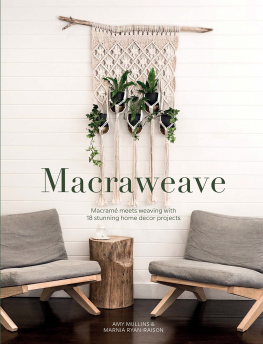
MACRAM
FOR BEGINNERS AND BEYOND
24 Easy Macram Projects for Home and Garden
Amy Mullins & Marnia Ryan-Raison

www.sewandso.co.uk
CONTENTS
INTRODUCTION
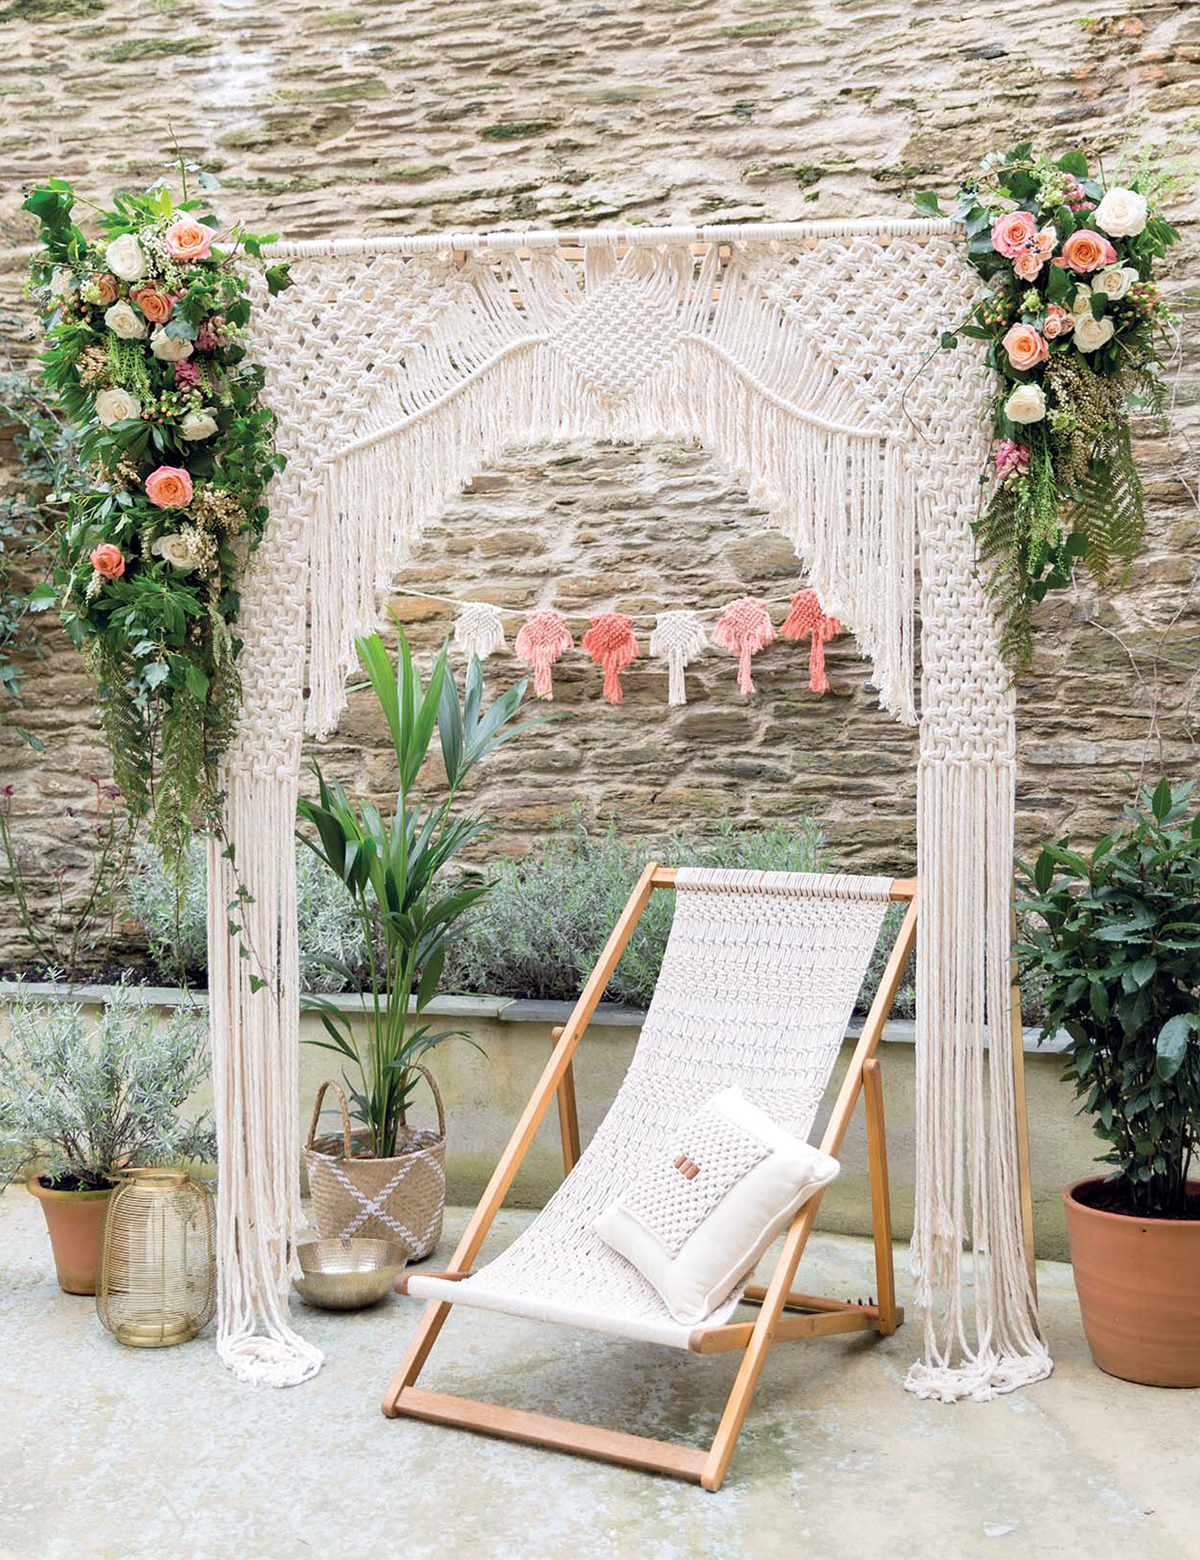
Macram for Beginners and Beyond fuses the ancient art of creative knot tying with exciting new design interpretations to bring macram into the world of modern living. Whether you are looking for an artistic feature to enliven a room, or decorative yet functional pieces to transform your entire home, weve put together a diverse selection of enticing projects to meet all your creative ambitions.
Whether you are wanting to learn a new craft or simply to advance your skills, weve something for everyone. There are twenty-four projects to choose from and we have presented them as twelve project pairings, with the first an ideal platform to begin your knotting journey and the second the perfect opportunity to expand on your current skills as a macram artist.
In devising our designs we have aimed to introduce you to a wide variety of decorative possibilities, using an assortment of rope thicknesses, rich colourways and interesting textural techniques. There is a detailed guide to tying knots, and we strongly advise you to practise the knots you need before beginning a project.
Each project starts by listing the knots and techniques required as well as the essential materials you will need, before describing the pattern instructions in step-by-step detail for each design. There are lots of detailed photographs to guide you through the tying sequences; follow these precisely and you will see that even the most complex of designs is far easier to achieve than you might have expected.
TOOLS & MATERIALS
This section gives us the opportunity to introduce you to the most important material of all for any macram artist, the cords for tying the knots, as well as a few basic tools that you will need. The exact materials used for each design are listed at the beginning of each project chapter.
KNOTTING CORDS
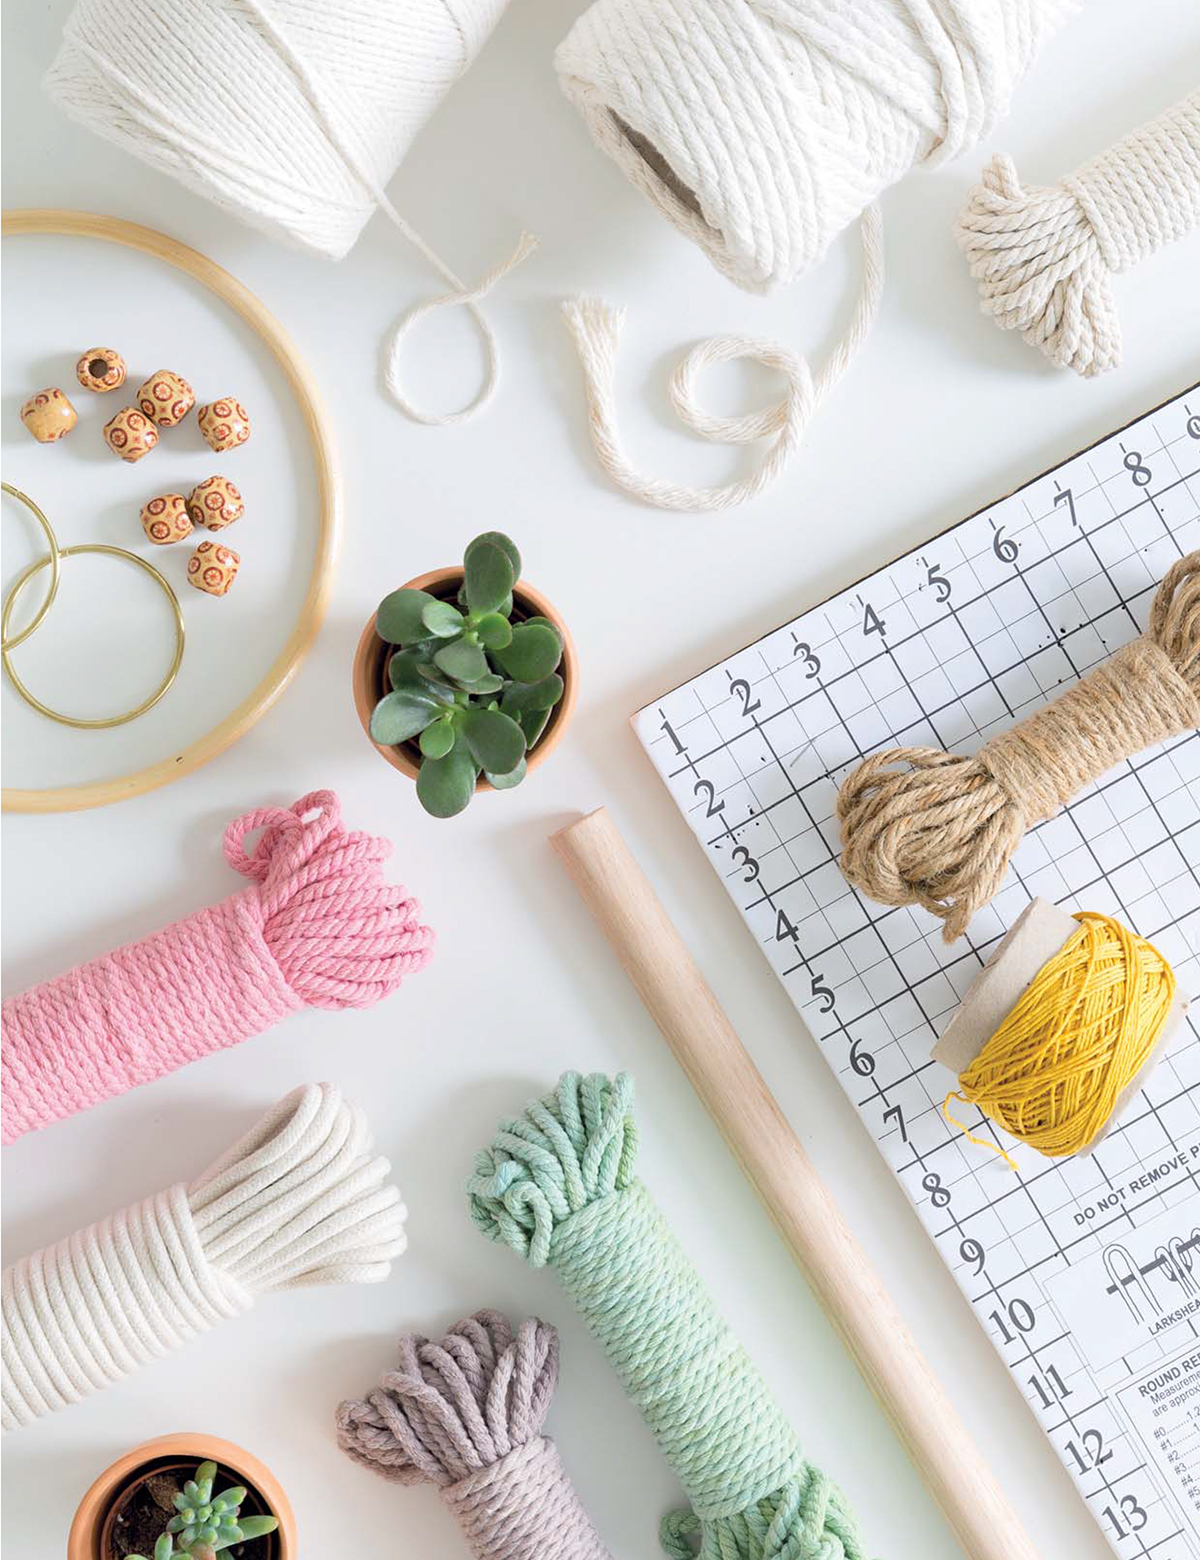
We have used a number of different cords for the projects in this book, some of which are pictured here, but the one we use most often is 5mm (14in) rope as we find it is the perfect thickness for most projects (use too thin rope and it can become tedious and time consuming to finish projects, and thicker rope is best reserved for large scale projects only). We recommend the use of cotton rope as it is soft on the hands when knotting. Cotton rope has a much more sophisticated look than polypropylene or polyester rope, which can look tacky, and its texture is better suited to beautiful interiors.
The size and exact amounts of cord required for each project are listed at the beginning of each project. Cords may be substituted to suit your personal preference although choosing a different cord thickness will affect the quantities you require, so for the best results we suggest you limit substitutions to cord texture and colour only and we recommend that you use the same cord thickness. Cord is available through www.edeneve.com.au or from all good rope suppliers and haberdashery stores.
You may find it useful to invest in a project board for laying down your cords when working the smaller projects in the book (see ). Project boards are often printed with a grid and useful basic knot-tying information, and cords are attached to the board using T-pins.
BASIC TOOLS
In addition to the tools listed in the requirements for each project, you will also need:
- Scissors
- Tape measure
- Adhesive tape
Note: When buying and cutting rope and cord lengths, use either the metric or the imperial measurements given do not switch between the two.
KNOTS & TECHNIQUES
KNOTTING TERMINOLOGY
Before you start creating the knots, there is some basic terminology that you need to familiarize yourself with. This list covers all of the terms used in this book:
Sinnet: A vertical column of tied knots.
Row: A series of knots tied side by side.
Working cords: The cords that are used to create the knot.
Filler cords: The nonworking cords around which the working cords are tied.
Holding cord: The object onto which cords are tied, that is a ring, a dowel or another piece of rope.
Alternate cords: The means by which you create a new knot by taking half of the cords from a previous knot together with half of the cords from its adjacent knot to form a new group.
OVERHAND KNOT
An overhand knot is the most basic way of tying a knot. To make a double overhand knot, simply repeat the steps.
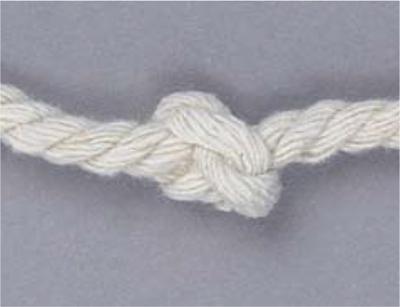
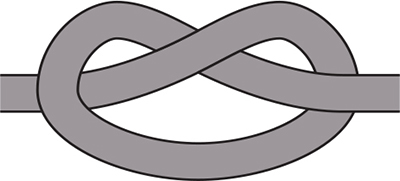
Hold both ends of the cord and make a loop by bringing the left end over the right end.

Pull the left end through the loop and pull to secure.
HALF HITCH KNOTS
Half hitch knots are important and widely used in macram. They are made with a working cord and holding cord, and can be used in a vertical, horizontal or diagonal manner by changing the angle of the holding cord. These instructions show you how to create various half hitch knots.
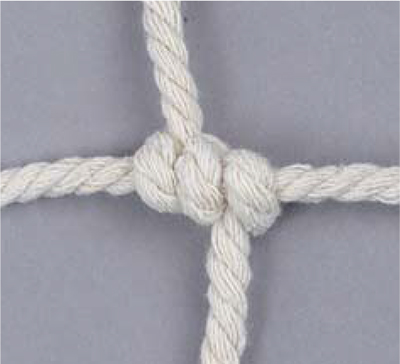
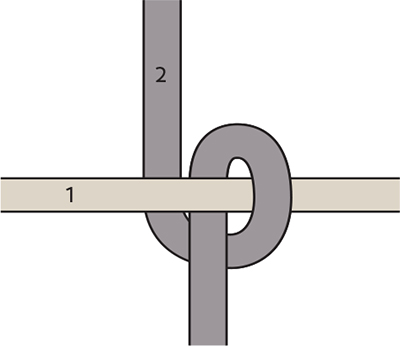
Begin with the working cord 2 under the holding cord 1. Bring the working cord up and over the holding cord and down through the loop. This is a Half Hitch.
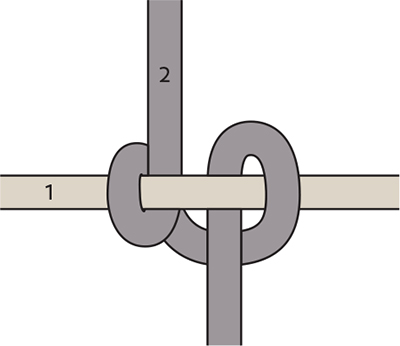
Bring the working cord up and over the holding cord again, completing the Double Half Hitch.
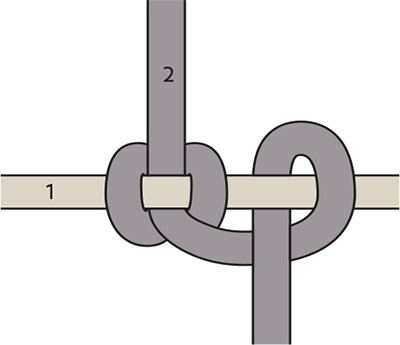
Bring the working cord up and over the holding cord a third time to create a Triple Half Hitch
HORIZONTAL DOUBLE HALF HITCH
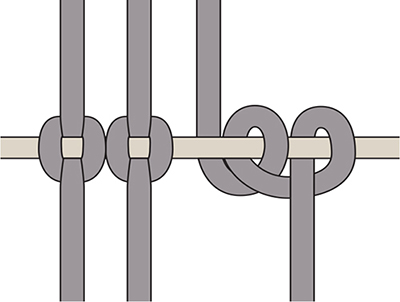
This is a series of double half hitches tied along a horizontal holding cord.

