Contents
Guide
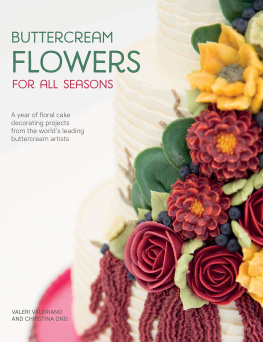
BUTTERCREAM
FLOWERS
FOR ALL SEASONS
A year of floral cake
decorating projects
from the worlds leading
buttercream artists
VALERI VALERIANO
AND CHRISTINA ONG

www.sewandso.co.uk
CONTENTS
INTRODUCTION
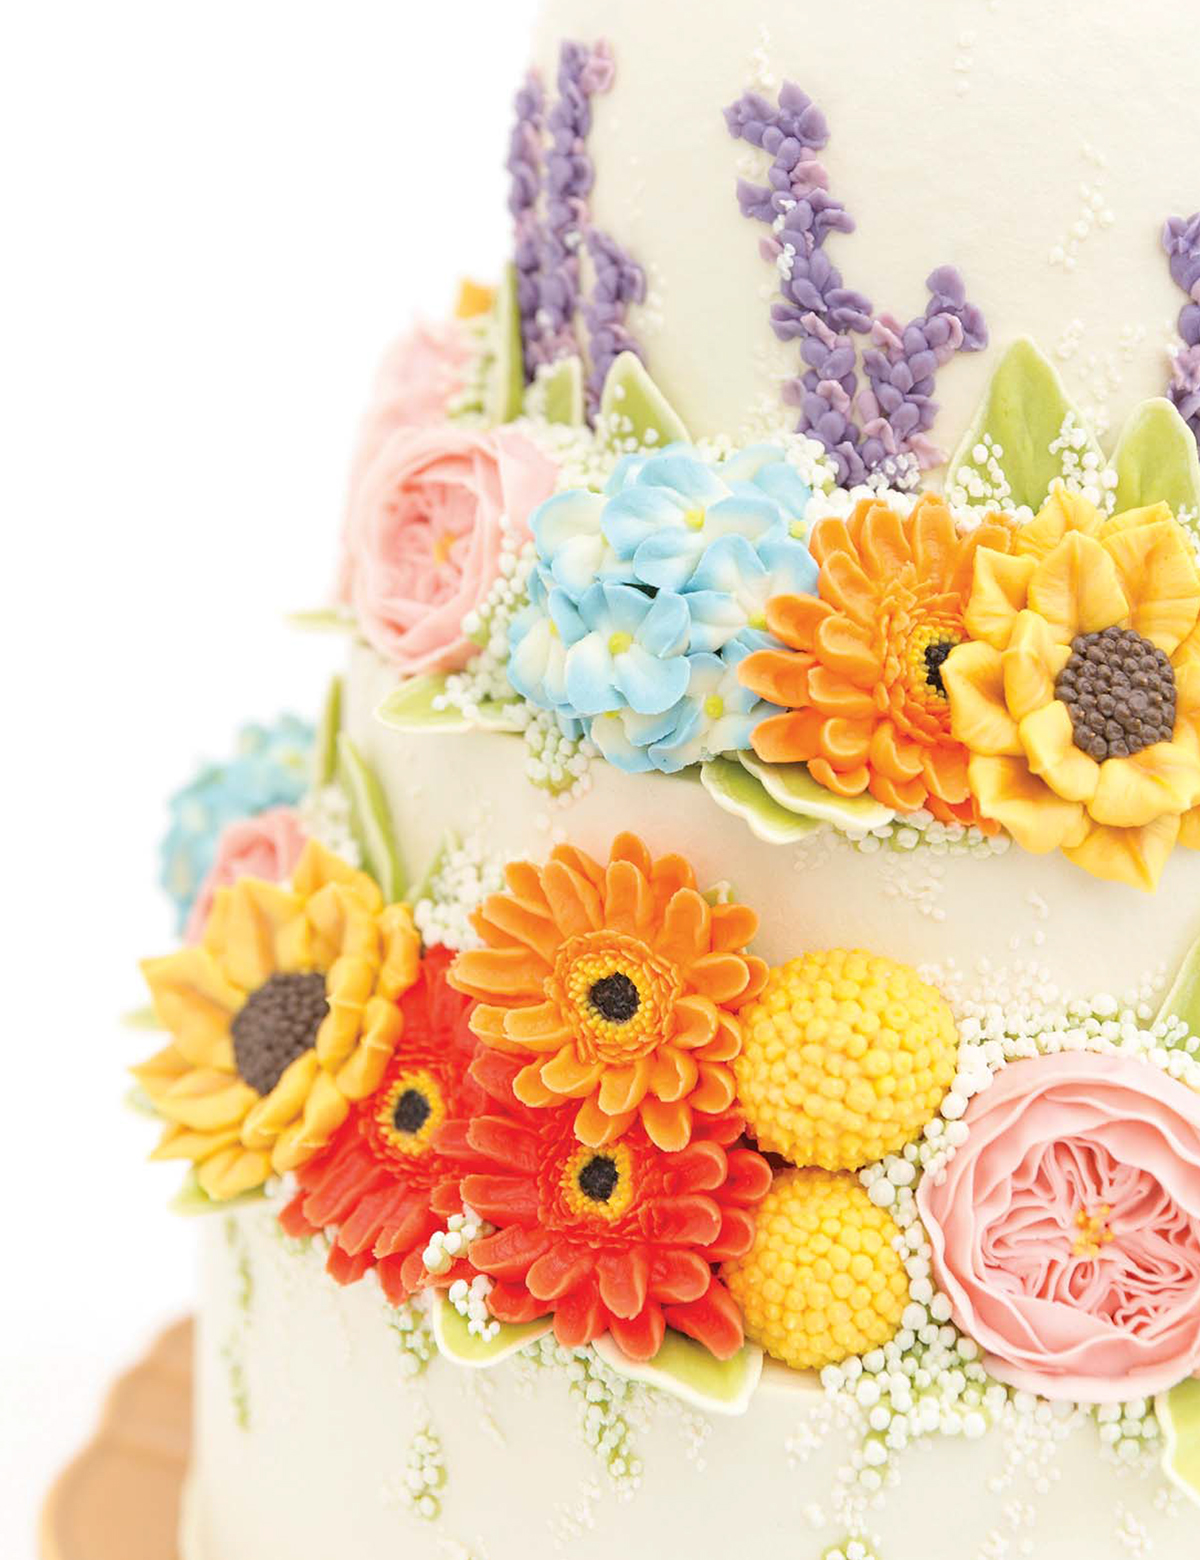
When we wrote and launched our book, 100 Buttercream Flowers back in 2015, we didnt expect it to be such a huge success, and translated into ten different languages! The response to that first book specifically about piping flowers in buttercream has been absolutely overwhelming. Since its publication, flower piping has become a craze, so we thought it was high time to take this trend to the next level.
We are extremely happy to share with you our fourth book, Buttercream Flowers for All Seasons. We think youll find that this is an excellent follow up to 100 Buttercream Flowers; it will teach you to pipe more flowers and how to arrange them on your cakes. For those of you who do not make towering multi-tiered cakes, dont worry as we have also designed small versions and even cupcakes for you. Have we covered enough?!
Each of the cake projects will give you loads of ideas about how to arrange the floral elements, choose the right colours and all the other aspects to help you create your edible masterpieces. Our aim has been to maximise each cake canvas to showcase as many flowers as possible, but weve also kept in mind that as the cake becomes smaller, it becomes more full. To be completely honest, we are not big fans of bouquet style cupcakes the ones with a large number of blooms on each little cake. Weve made a few extravagant cupcakes for this book, and they are without a doubt very pleasing to the eyes, but they can also mean too much buttercream for every bite. So if we were to make a dozen cupcakes, wed probably just make between three and six bouquet style ones and the rest would just be topped with a single flower to keep a good balance between cake and frosting. We would advise you to do this too.
We have carefully chosen beautiful flowers that will match the four seasons of the year: Spring, Summer, Autumn and Winter. Every project and flower is thoroughly explained in the easiest way possible so that anyone will be able to re-create it. We have included a lot of step-by-step photos to guide you, plus top tips aplenty.
We have tried to cover as many topics as we can to make sure that this book is a great and worthy addition to your cake-decorating book collection. We hope that it will inspire you and help you with your flower piping journey.
So beat your buttercream now and pick up your piping bag! If on your first go your piped rose looks rather more like a cabbage, just smile and say, what a beautiful cabbage I have made! Then practise again.
Lets go #TeamBUTTERCREAM

BUTTERCREAM BASICS
OUR BUTTERCREAM
Here we offer you the recipe that we have always used, tried and tested. This is our crusting type of buttercream. As we travel and teach cake decorating in different parts of the world, during the summer season and in countries where it is hot and humid, we find that this is the best recipe for withstanding warm and damp conditions. To prove its stability, we actually covered and decorated a (dummy) cake with our buttercream and left it in direct sunlight at a temperature of about 3844C, for 2 to 3 hours. Yes, we may have melted while filming it, but the cake stood proud. The the main reasons this recipe remains our favourite are that it is very simple and quick to do, and heat-proof as well!
Another reason why we love this recipe is because of its crusting quality, which means you can do so many different techniques to its surface. You can further smooth it to give a more professional look, just like the even finish you can achieve with fondant icing. Or you can partially blend in different colours before you smooth it, to give a cake a lovely marbled appearance, and there are so many other options too, as well explore in this book.
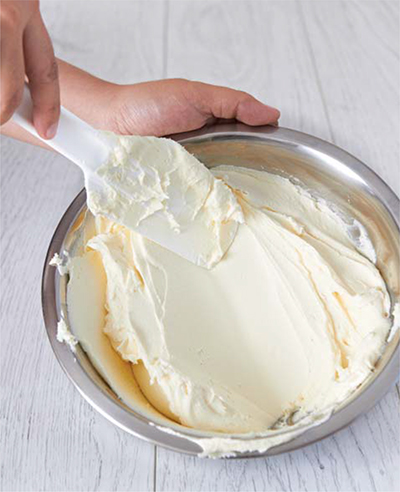
Basic buttercream recipe
The one thing you should remember is never over-beat your buttercream. If you do it will become grainy and the edges are likely to break when you pipe your flowers and textures. When you over-beat, you incorporate lots of air in your buttercream, thus, the surface will have holes or air-pockets when you spread it on the cake, making it hard to smooth. Remember that a hand-held mixer is not usually as powerful as a stand mixer, so if you are using a hand-held one, make sure you fold your mixture manually first until the ingredients are incorporated. This helps to avoid over-beating as well.
What is so good about our recipe is that a little less or more of a certain ingredient is fine. So if your buttercream is too stiff, add water or milk. If it is too thin, just add icing sugar (confectioners sugar). Adjust it as you need to all in moderation, of course. You may use your buttercream straight away to cover and decorate your cakes, but if you think it is too soft, we suggest you chill it in the fridge for about an hour, or touch the surface if it is hard enough, take it out of the fridge.
YOU WILL NEED
- 225g (8oz) butter, room temperature
- 115g (4oz) medium soft vegetable fat (shortening) (Trex), at room temperature, OR 225g (8oz) of soft spreadable vegetable fat (shortening) (Crisco)
- 23 tsp vanilla essence, or your choice of flavouring
- 1 tbsp water or milk (omit if you live in a hot country or whenever the temperature is hot)
- 600g (1lb 5oz) icing sugar (confectioners sugar), sifted, if using medium soft vegetable fat (shortening) OR 750g (1lb 10oz) icing sugar (confectioners sugar), sifted, if using soft spreadable vegetable fat (shortening)
- Mixer (hand-held or stand mixer)
- Mixing bowls
- Spatula
- Sieve (sifter/strainer)
- Measuring spoons
Beat the butter at medium speed until soft and pale (about 1 to 2 minutes). Some brands of butter are more yellow in colour, so to make it paler you can increase the beating time to about 2 to 5 minutes.
Add the vegetable fat (shortening) and beat for another 20 to 30 seconds or less. Make sure that it is well incorporated and that there are no lumps.
Important note: As soon as you add anything to the butter, you must limit your beating time to 20 to 30 seconds or even less.
Add vanilla essence, or your flavour of choice, and water or milk, then beat at medium speed for about 10 to 20 seconds until well incorporated.
Slowly add the sifted icing sugar (confectioners sugar) and beat at medium speed for another 20 to 30 seconds or until everything is combined. You may want to fold the ingredients together manually before beating to avoid puffing clouds of sugar round your kitchen. Make sure you scrape the sides and bottom of your bowl, as well as the blade of your mixer, so you dont miss any lumps of icing sugar.

