Contents
Introduction
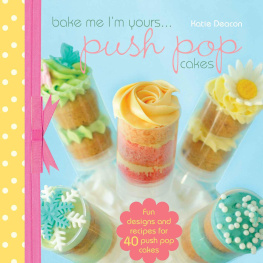
Cupcakes are a phenomenon they have been taking the world by storm and nothing seems to stand in their way. Cupcakes not only look and taste delicious but theyre making way for some new and exciting ideas. First came cake pops, now welcome their super-cute big sister the cupcake push pop! As soon as I discovered the premise of combining my passion for baking with my nostalgic, child-of-the-90s memories, I was hooked. Layers of cake sandwiched together with frosting, just like a regular cupcake but in a no-fuss container, whats not to love?

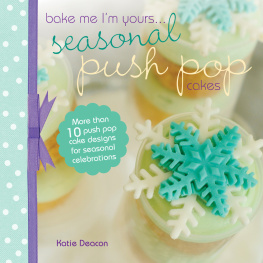
Push pops undeniably look impressive but theyre practical too. Easy to transport and store, theyre perfect for kids of all ages and make the ideal gift for a special occasion. Within this book Ive included decorations and flavours that can be used for a whole host of events and celebrations, from Christmas to weddings. My aim is for these designs to provide you with a creative platform and inspire you to devise your own push pop masterpieces.
I really hope you have as much fun with these adorable little treats as I did thinking them up.
Keep sweet.
Katie xo
Tools & equipment
Before you start, its probably a good idea to look through the book and make a note of any equipment you have and what you need. Here is a basic list that will help you create all of the projects featured.

- Electric hand whisk or freestanding mixer for mixing cake batters
- Mini cupcake tin (pan) all of the recipes make 24 mini cupcakes, so either choose a 24-cup one or buy two 12-cup tins to save you baking time
- Teaspoons perfect size for measuring out your batter
- Wire rack to cool cupcakes
- Food colour paste is always best, as it wont affect the consistency of cake batters and frostings
- Cocktail sticks (toothpicks) for adding food colour and indenting paste decorations
- Non-stick rolling pin for rolling out your sugarpaste (rolled fondant) and flower (petal/gum) paste
- Craft knife for cutting out paste shapes by hand
- Cutters and plunger cutters its a good idea to collect a few different designs
- Palette knife For lifting and turning paste pieces
- Edible glue for sticking paste shapes together
- Edible ink pens for adding small detailing
- Small paintbrushes for applying water, lustre dust and edible glue to paste decorations, and cornflour (cornstarch) to moulds
- Foam mat for drying paste decorations
- Piping (pastry) bags disposable is always best for ease of clean-up
- Piping tubes (tips) for decorating; try to get a set with a few different sizes
- Push pop containers
- Perspex push pop stand for decorating and displaying your push pops
US cup measurements
If you prefer to use cup measurements, please use the following conversions. (Note: 1 Australian tbsp = 20ml.)
liquid
1 tsp = 5ml
1 tbsp = 15ml
cup = 120ml/4fl oz
1 cup = 240ml/8fl oz
butter
1 tbsp = 15g/oz
2 tbsp = 25g/1oz
cup/1 stick = 115g/4oz
1 cup/2 sticks = 225g/8oz
caster (superfine) sugar/brown sugar
cup = 100g/3oz
1 cup = 200g/7oz
sifted icing
(confectioners) sugar
1 cup = 100g/3oz
flour
1 cup = 125g/4oz
cream cheese
1 cup = 230g/8oz
peanut butter
1 cup = 260g/9oz
Recipes
So now you have your baking kit ready, its time to decide which delicious cake flavour you want for your push pops, whether its a classic like chocolate or something a bit more daring such as red velvet. Then simply choose a luxurious frosting to complement it on offer are some exciting variations on the beloved traditional butttercream, including peanut butter and rose-flavoured!

Mini cupcake recipes
Vanilla
These vanilla mini cupcakes will always deliver, but Ive also suggested some twists on the traditional flavouring for when you fancy something just a bit different.
You will need
Makes 24 mini cupcakes
- 175g (6oz) self-raising (-rising) flour
- 25g (1oz) plain (all-purpose) flour
- 1 tsp baking powder
- 175g (6oz) unsalted butter, softened
- 175g (6oz) caster (superfine) sugar
- 3 large free-range eggs
- 1 tsp (5ml) vanilla extract
- 3 tbsp (45ml) milk
1 Preheat the oven to 180C/fan 160C/350F/Gas Mark 4. Spray the cups of your mini cupcake tin(s) (pan(s)) with cake release spray or grease with butter.
2 Sift both flours and the baking powder together into a bowl.
3 In a separate bowl and using an electric hand whisk, or using a freestanding mixer, beat the butter and sugar together for about 5 minutes until light and fluffy.
4 Add the eggs one at a time, mixing thoroughly between each addition. If the batter begins to curdle, add 1 tablespoon of the flour mixture after each egg. Add the vanilla extract and mix well.
5 Add the flour mixture all at once and fold into the batter. Add the milk and mix to combine.
6 Using 2 teaspoons, fill each cupcake cup two-thirds full. Bake in the oven for 15 minutes, or until the cupcakes are risen, golden and firm to the touch. Allow to cool in the tin for 5 minutes, then use a small palette knife to remove the cupcakes and transfer to a wire rack to cool completely.
Make it different
lemon: Add 2 tsp grated lemon zest with the vanilla extract.
amaretto: Replace the vanilla extract with 1 tsp (5ml) almond extract.
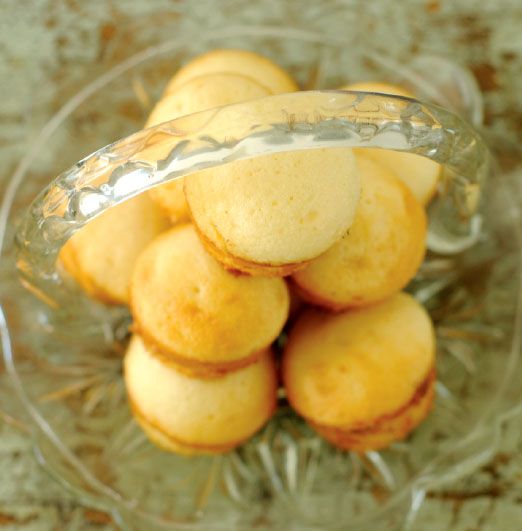
Chocolate
Theres nothing nicer than a choccy cupcake and this is such an easy, dependable recipe. Chocolate lovers are also sure to enjoy the variations on the basic flavour theme.
You will need
Makes 24 mini cupcakes
- 175g (6oz) self-raising (-rising) flour
- 50g (1oz) cocoa powder (unsweetened cocoa)
- 1 tsp baking powder
- 175g (6oz) unsalted butter, softened
- 100g (3) caster (superfine) sugar
- 75g (2oz) light brown sugar
- 3 large free-range eggs
- 1 tsp (5ml) vanilla extract
- 3 tbsp (45ml) milk
1 Preheat the oven to 180C/fan 160C/350F/Gas Mark 4. Spray the cups of your mini cupcake tin(s) (pan(s)) with cake release spray or grease with butter.
2 Sift the flour, cocoa and baking powder together into a bowl.
3 In a separate bowl and using an electric hand whisk, or using a freestanding mixer, beat the butter and both sugars together until light and fluffy.

