PUBLISHING DIRECTOR Sarah Lavelle
COMMISSIONING EDITOR Lisa Pendreigh
EDITORIAL ASSISTANT Harriet Butt
CREATIVE DIRECTOR Helen Lewis
DESIGNERS Katherine Keeble, Vanessa Masci
RECIPE WRITER Jenni Powell
FOOD STYLIST Marianne Stewart
PHOTOGRAPHER Rita Platts
PROPS STYLIST Louie Waller
PRODUCTION DIRECTOR Vincent Smith
PRODUCTION CONTROLLER Emily Noto
First published in 2016 by
Quadrille Publishing Ltd
Pentagon House
5254 Southwark Street
London SE1 1UN
www.quadrille.co.uk
www.quadrille.com
Quadrille is an imprint of Hardie Grant
www.hardiegrant.com.au
Text, cake designs, photography, design and layout
2016 Quadrille Publishing Ltd
The publisher has made every effort to trace the copyright holders of the imagesfeatured in this book. We apologize in advance for any unintentional omissions andwould be pleased to insert the appropriate acknowledgement in any subsequent edition.
The rights of the author have been asserted. All rights reserved. No part of thispublication may be reproduced, stored in a retrieval system, or transmitted in anyform or by any means, electronic, electrostatic, magnetic tape, mechanical, photocopying,recording, or otherwise, without the prior permission in writing of the publisher.
Cataloguing in Publication Data: a catalogue record for this book is available fromthe British Library.
eISBN 978 1 84949 922 4
If you have any comments or queries regarding the instructions in this book, pleasecontact us at enquiries@quadrille.co.uk
EDIBLE EMOJIS
BASIC RECIPES AND TECHNIQUES
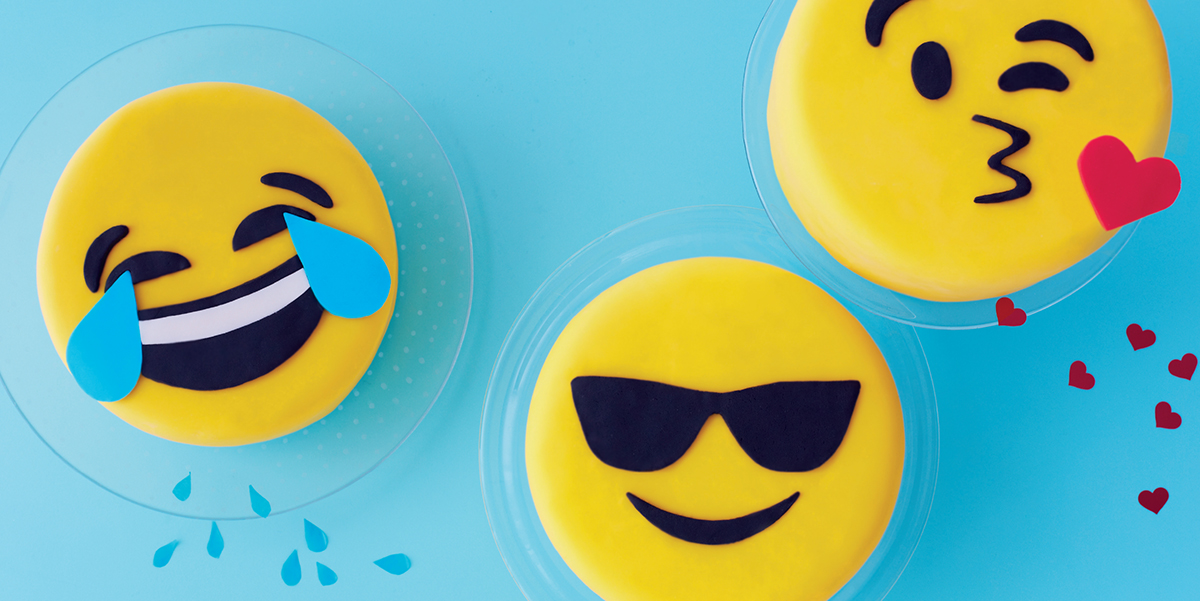
Everybody loves emojis. Nowadays, a text message is rarely sent or a post is seldomuploaded without using at least one or two emojis. There is always more than a littleexcitement online when new emojis are released. So when the lovely people at Quadrillegot in touch about creating a cake decorating book based on everyones favouritelittle characters, well, I jumped at the chance. Fast forward a good few months ofback and forth comparing our favourite and most-used emojis to decide those wewanted to include, discussing the cakes we wanted to create and, most importantly,how to combine the two and Cakemoji is finally here.
As well as speaking emoji, lets start eating emoji too. Cakemoji is a collectionof different emoji-themed bakes that we hope everyone will enjoy making and sharing.Weve based the projects around some of our favourite emojis, but once youve learnedthe various techniques you can apply them to any emoji you fancy.
The cakes themselves are all super simple yet delicious recipes that Im sure youllbe baking over and over. (Try the brownie recipe, still warm and gooey from the oven,with a dollop of ice cream and some caramel sauce you can thank me later.)
I have a very relaxed approach to cake decorating, and I hope that rubs off on youa little. Making cakes is fun, so take your time with the steps and dont worry ifthings dont go the way you expect straight away it will still look and taste amazing.
We mention a few pieces of specialist equipment throughout this book, but there areoften other options you can use that will work just as well, which you probably alreadyhave in the kitchen.
Dont forget to take a picture of your emoji cakes and share them online with thehashtag #cakemoji. We cant wait to see what you make.
 DIFFICULTY LEVELS
beginners
intermediate
expert
 YOU WILL NEED
Three 15cm (6 in.) round sponges in the flavour of your choice, made following the
One quantity of filling in the flavour of your choice (see )
One quantity of buttercream in the flavour of your choice (see )
740g (26 oz.) yellow fondant, either pre-coloured or coloured following the instructionson
Small amount of fondant in each of the colours needed to make the facial features,black, white, red, blue, pink
Edible glue and paintbrush
Paper template of your
 DIFFICULTY
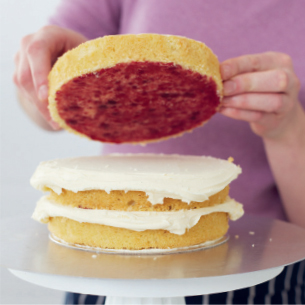
Level and layer the sponges, following the using thefilling of your choice.
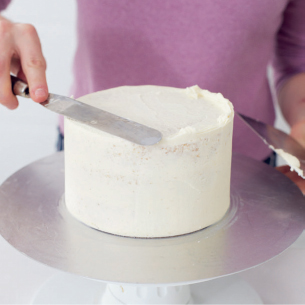
Crumbcoat the sponges with a thin layer of buttercream, following the . Chill for 30 minutes in the fridge.
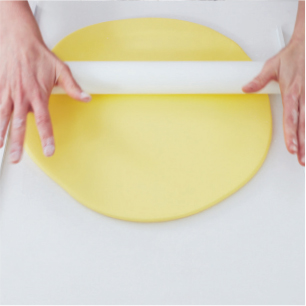
Roll out the yellow fondant on a lightly dusted worksurface to 5mm (1/8 in.) thickness,preferably using spacers to ensure an even thickness.
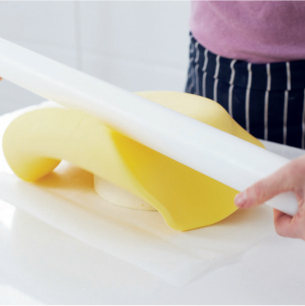
Carefully lift up the rolled-out fondant and use it to cover the layered sponges,following the .
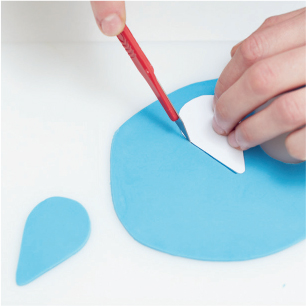
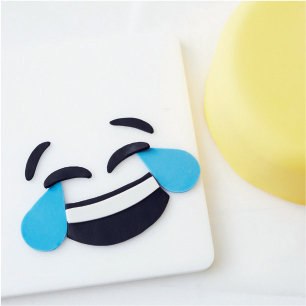
Roll out the coloured fondants to 3mm (1/8 in.) thickness. Using paper templatesand a sharp knife, cut out the facial details as necessary.






 DIFFICULTY LEVELS



 YOU WILL NEED
