 OTHER BOOKS BY DIANA SCHOENBRUNMake Your Own Sock Puppets!:
Tips & Techniques for Fabulous Fun!Beasties: How to Make 22
Mischievous Monsters
That Go Bump in the Night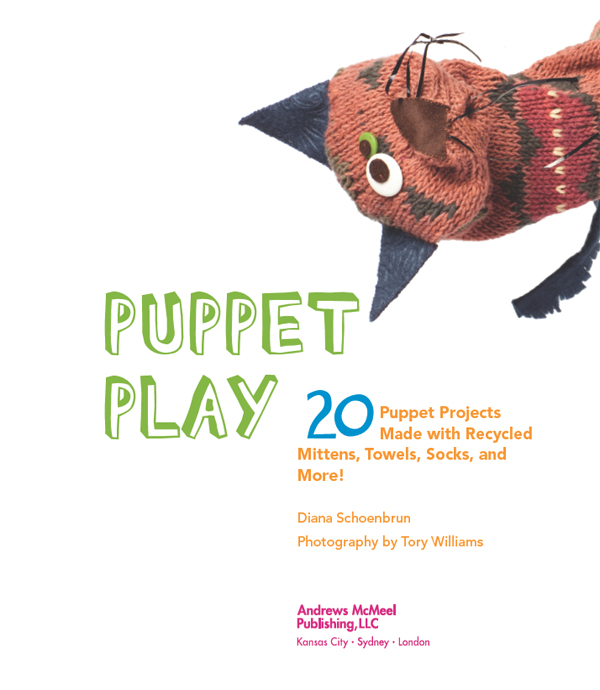 PUPPET PLAY Copyright 2011 by Diana Schoenbrun. Photographs copyright 2011 by Tory Williams. Illustrations copyright 2011 by Diana Schoenbrun. All rights reserved. No part of this book may be used or reproduced in any manner whatsoever without written permission except in the case of reprints in the context of reviews. For information, write Andrews McMeel Publishing, LLC, an Andrews McMeel Universal company, 1130 Walnut Street, Kansas City, Missouri 64106.
EISBN: 978-1-4494-0674-5 Library of Congress Control Number: 2010930541 www.andrewsmcmeel.com Photography by Tory Williams, www.torywilliamsphotography.com. Book design by Diane Marsh Cover design by Julie Barnes www.dianaschoenbrun.com www.andrewsmcmeel.com ATTENTION: SCHOOLS AND BUSINESSES Andrews McMeel books are available at quantity discounts with bulk purchase for educational, business, or sales promotional use. For information, please write to: Special Sales Department, Andrews McMeel Publishing, LLC, 1130 Walnut Street, Kansas City, Missouri 64106. 

INTRODUCTION
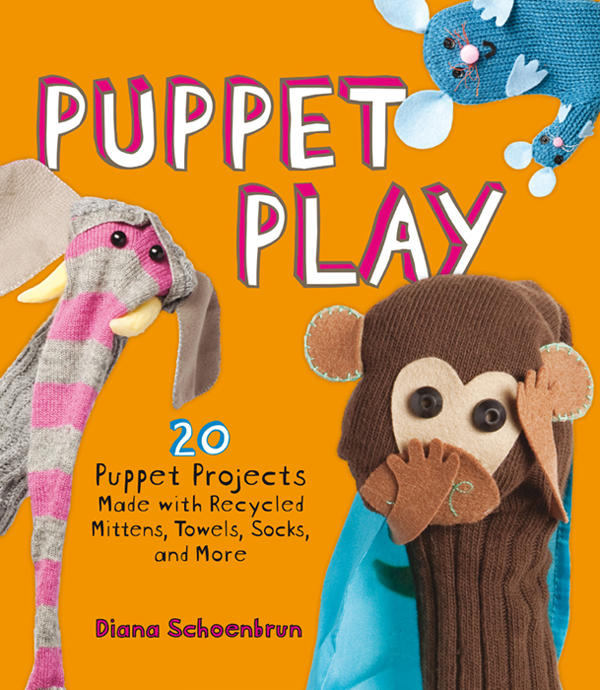
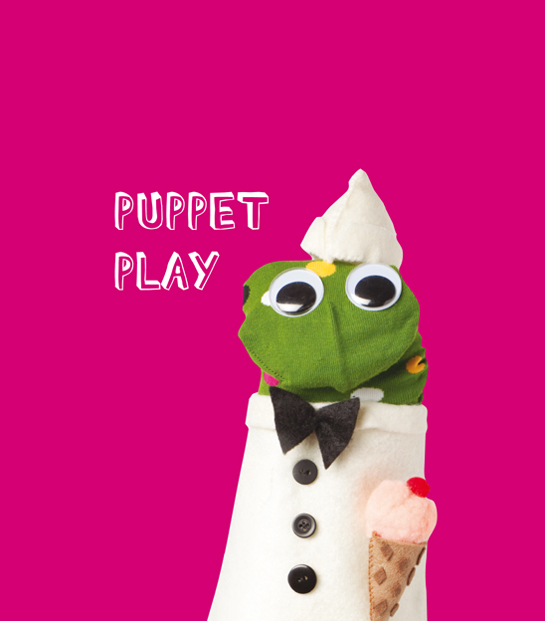
W hat do you do with a holey sock? Turn it into a magical wizard! What do you do with a sad glove that has lost its mate? Turn it into the five little pigs puppets! What do you do with that leg warmer stuffed in your drawer? Turn it into a crazy cat puppet! In
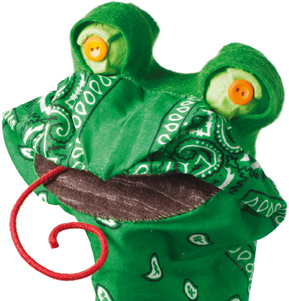
Puppet Play youll discover how to make these fun puppets and many more for endless hours of crafting fun and family play. Each innovative puppet is made using recycled and reused materials that can be easily found around the home. You can use a variety of items for the body of the puppet, such as socks, gloves, mittens, scarves, towels, bandanas, and many other reusable household items.
The function of an ordinary object changes by using your creativity and artistic eye. Then you add the details using thread, glue, felt, buttons, and more. Found objects from inside or outside your home can be transformed into amazing puppetry art. Best of all, you can create handmade personalized toys that you can animate. These twenty do-it-yourself projects can be done alone or with the help of an adult or friend, depending on your age and ability. Each project has a level range from 1 to 3: level 1beginner, 2intermediate, and 3advanced.
First, you find your materialsa great way to introduce being green in a fun way. Then you cut, glue, and sew your way to adorable puppet creatures. After, its time to practice your puppeteering skills, adding voice and movement to bring your puppet characters to life. You can even put on your own live puppet show by building a puppet stage! Puppets are popular in movies, television, and theater. Now you can create your very own handmade puppets and be puppeteer of the show!
PUPPET BUILDING AND MATERIALS
MAKING PUPPETS T o start making the puppets shown in the book, you may want to go on a treasure hunt through your house. Start with the sock drawer and dig up those holey ancient socks and the lonely socks that have lost their mates.
Then peruse your drawers and find those retired mittens and gloves. Do you have leg warmers and scarves you have not worn in years? Does your closet contain a t-shirt that should be moved into the rag pile? Raid the linen closet for old washcloths and towels. Check the kitchen for a wooden spoon or empty can. Search in boxes, in bags, and under couch cushions for any other puppet accouterments you can find. Ask your family members for anything they dont want. If you still cant find enough to start with, then you can always go to the store to find accessories.
The materials to make puppets are inexpensive and can be purchased at local discount, retail, and craft stores. All the puppet patterns in this book have been made availble for you to download and print from your computer or tablet. Please click this link: Puppet Play Patterns
REUSED AND RECYCLED MATERIALS Each project lists recycled and reused items at the beginning of the materials list. These are the primary reused objects needed for the puppets body. Each project will list additional materials that may be found at home and reused or also can be purchased. Here is a list of the reused objects you may use for the base of the puppet for projects in this book: socks gloves mittens washcloths scarves leg warmers sweaters t-shirts dish and tea towels bandanas cans cardboard egg cartons cereal box cardboard ADDITIONAL PUPPET PATTERNS Click the link for some basic shapes you can use for additional eyes, ears, noses, and other parts to make with felt or fabric.
Puppet Play Patterns. Consider these other unique materials you may want to try: false eyelashes, play jewelry, vintage jewelry, doll clothes, shoelaces, barrettes, hair ties, twist ties, vegetable nets, bubble wands, bottle caps, balloons, feathers, key covers, washers, zippers, wire springs, notebook spirals, paper clips, erasers, paper towel or toilet paper rolls, clothespins, wooden spoons, paper cups, toothpicks, cotton swabs, chopsticks, wire hangers, fishing line, and more. Just use your imagination! CONSTRUCTION MATERIAL AND TOOL LIST Some of the following will be helpful for puppet construction. ruler fabric scissors fabric marker chalk paper scissors sewing needles embroidery floss embroidery needles pins pin cushion thread craft glue hot glue gun paint paint brushes stuffing wire cutters pliers sewing machine (optional) PUPPETMAKING SAFETY Children should work with adults to be safe, especially when using hot glue guns, sharp scissors, and other tools such as wire cutters, pliers, or sewing machines. When making puppets for toddlers and younger children, use soft materials only, such as fabric and felt. 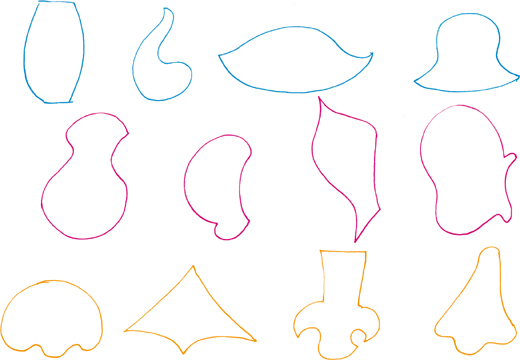
SEWING AND GLUING
CONSTRUCTING YOUR PUPPET M any of the puppets need to be sewn together.

SEWING AND GLUING
CONSTRUCTING YOUR PUPPET M any of the puppets need to be sewn together.
If you dont have a sewing machine, do not fret. The projects in this book can all be made with a few simple hand stitches. To prepare your needle, thread one strand of thread through the eye of the needle, pull it through, and fold it over so that you have a double thickness of thread with the needle at one end and the spool at the other. Youll have to guess at the length based on how far youre going to sew, but as a general rule, make your length of doubled-up thread at least twice as long as the length you need to sew. But dont make it more than 12 inches because the longer it is the easier it is to get tangled up. Cut the thread at the spool and tie a knot at the end of the two strands to keep it from pulling through the fabric as you sew.
Next page




 OTHER BOOKS BY DIANA SCHOENBRUNMake Your Own Sock Puppets!:
 PUPPET PLAY Copyright 2011 by Diana Schoenbrun. Photographs copyright 2011 by Tory Williams. Illustrations copyright 2011 by Diana Schoenbrun. All rights reserved. No part of this book may be used or reproduced in any manner whatsoever without written permission except in the case of reprints in the context of reviews. For information, write Andrews McMeel Publishing, LLC, an Andrews McMeel Universal company, 1130 Walnut Street, Kansas City, Missouri 64106.


