Table of Contents
Guide
On YouTube,
Adam Vandergrift is known as Will It Slime? but at home, he is simply Daddy. He is a husband, and a father to three adorable daughters, ages four, six, and ten. His journey with slime began when his young daughters wanted to get creative one afternoon. The girls, who are homeschooled, are interested in crafting, science experiments, and anything fun! Slime making has been a fun project that is enjoyed as a family. Mixing together a few ingredients and witnessing the transformation into slime while hearing the laughter and excitement of his daughters has been such a joy for Adam. Adam first created the YouTube channel Will It Slime? after noticing that slime was a growing trend on Instagram.
At that time, it had only a small presence on YouTube, so he decided to create a channel devoted solely to slime. In addition to making slime, Adam used creative editing, sound effects, and upbeat music to make the channel even more interesting and exciting for viewers, which made the channel as distinctive and unique as possible. Will It Slime? has grown to become the largest channel on YouTube dedicated to slime. Be sure to look for Will It Slime? on YouTube. Follow Adam on Instagram and Facebook @willitslime, and visit his website www.willitslime.com. In 1976, Mattel introduced Basic Slime to American kids.
Since then, slime has expanded beyond just childs play. Youll see it used in schools as a science experiment, as a relaxation tool to reduce anxiety, or simply as a creative outlet. One thing remains a constant, thoughslime continues to bring great satisfaction to those who play with it. 1 (4-ounce) bottle white glue 2 tablespoons clear liquid detergent medium bowl spoon Empty the white glue into a bowl. Now slowly add the detergent, continuously mixing with a spoon. Once your slime is thoroughly mixed and holds it shape, pick it up and begin kneading it by hand. As you stretch the slime, it will become less sticky.
Store in a sealable container.
Slime Hack If your slime is too sticky, add a little more detergent. Add a few drops of green food coloring for that classic slime look.
Simple slime in just a few minutesperfect! tablespoon baking soda 1 tablespoon contact lens solution 1 (4-ounce) bottle white glue small bowl spoon medium bowl Mix the baking soda and contact solution together in a small bowl. This will be your activator. Empty the white glue into a medium bowl.
Slowly add your activator into the glue and mix them together with the spoon. Once your slime is thoroughly mixed and holds it shape, pick it up and begin kneading it by hand until it becomes less sticky. Store in a sealable container.  Clear Slime is super versatile and can be used as a base for many other incredible slimes. You may also see this referred to as liquid glass or crystal-clear slime. 1 (4-ounce) bottle clear glue cup water 3 to 4 tablespoons clear liquid detergent medium bowl spoon Mix the clear glue and water together in a medium bowl. Slowly add the clear detergent, one tablespoon at a time, into your glue mixture while stirring.
Continue adding detergent and mixing with a spoon. When the glue mixture is thoroughly mixed and holds it shape, youll know that its fully formed (some water will still remain). Remove from the bowl and place on a flat, smooth surface. The mixture will be a little sticky. Knead gently with your hands until it becomes less sticky.
Slime Hack If your Clear Slime isnt stretchy enough, add a tablespoon of water and let it sit for a day.
Slime Hack If your Clear Slime isnt stretchy enough, add a tablespoon of water and let it sit for a day.
The slime will absorb the extra water. For thicker, putty-like slime, add more detergent.
Face masks plus slime equals awesomeness! tablespoon baking soda 1 tablespoons contact lens solution 2 (.33-ounce) packets liquid, clear, peel-off face mask 1 teaspoon water small bowl medium bowl spoon Combine the baking soda and contact lens solution thoroughly in a small bowl. Set aside. This will be your activator. Combine the 2 packets of face mask with the water in a medium bowl.
Add your activator to the face masks and mix until thoroughly combined. Place the slime in an airtight container and let sit for 3 to 5 days, or until it is clear and free of bubbles. 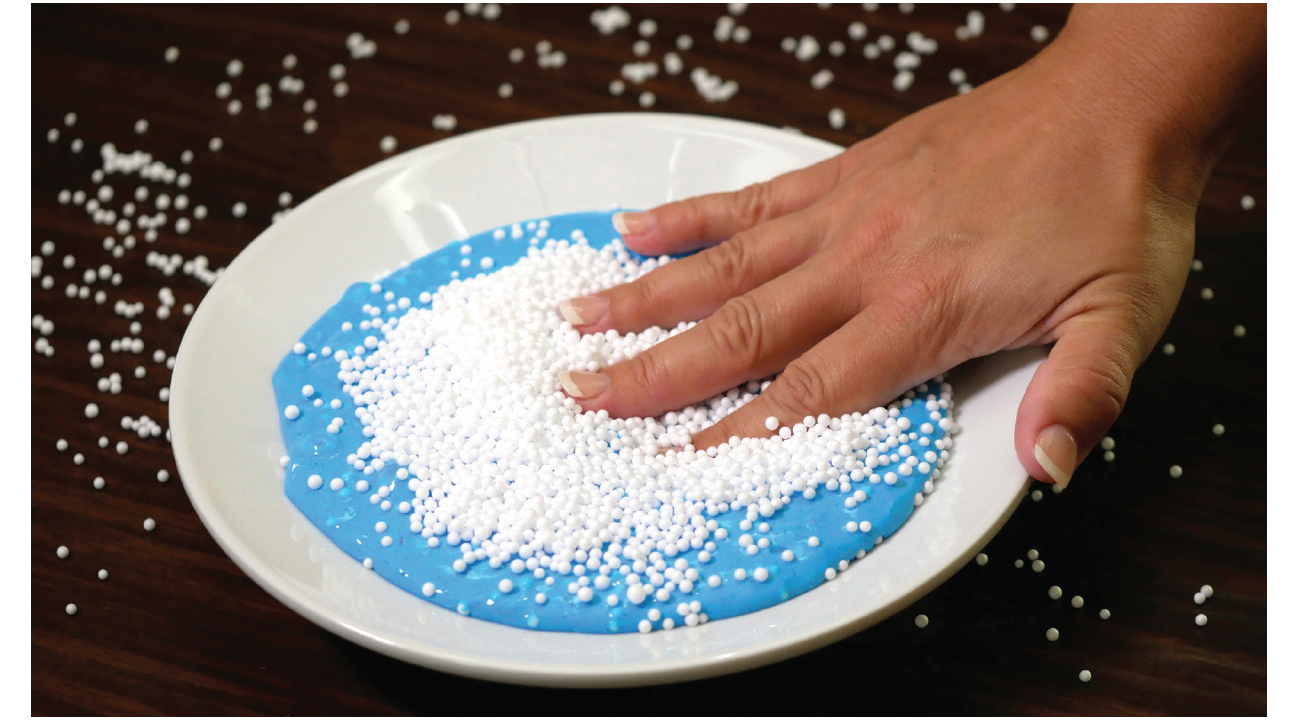 Add some texture to your slime with this tactile phenomenon. Styrofoam plus slime equals Floam Slime! This slime is stretchier than regular slime. And the tingly feeling you get when you squish Floam Slime between your hands and it crunchesits a sensory overload! 1 (4-ounce) bottle white glue 3 drops food coloring of choice 2 cups shaving cream 3 tablespoons contact lens solution 1 to 2 cups small Styrofoam beads (2 to 4 mm) medium bowl spoon Mix the white glue and food coloring in a medium bowl. Add the shaving cream and mix all the ingredients together.
Add the contact lens solution little by little into the mixture, stirring thoroughly. Once the slime is mixed thoroughly and holds it shape, but is still a little tacky, pour in your Styrofoam beads. Start with 1 cup and add more as desired for even more texture. Press and knead them in and enjoy. Store in a sealable container.
Slime Hack Instead of adding the Styrofoam beads to your slime, put them in their own bowl and pour the slime on top.
Its a very satisfying variation! Too sticky? Combine teaspoon baking soda and 2 tablespoons water and apply to your slime as needed. This will get rid of the stickiness.
Fun Fact Let your floam sit for a while and the Styrofoam beads will rise to the top.
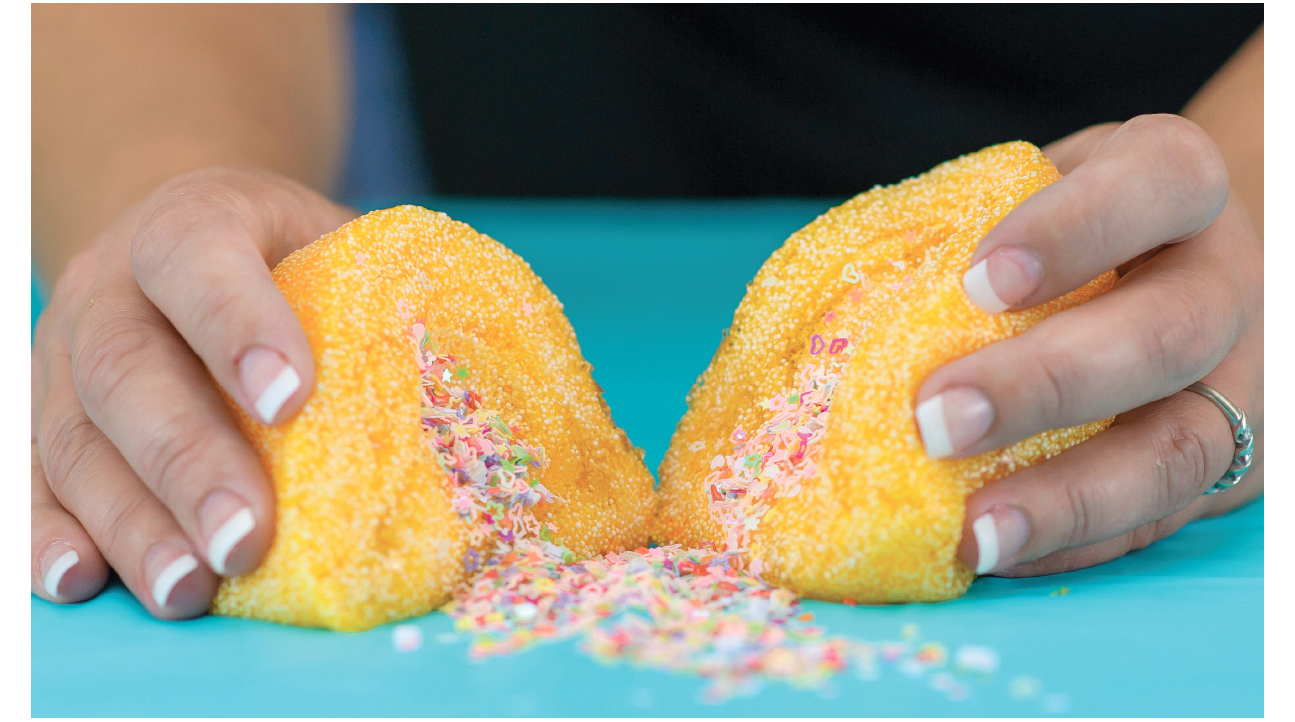 Surprise! This slime looks so ordinary until you reveal the beautiful center.
 1 (4-ounce) bottle clear glue cup water a few drops food coloring of choice (optional) 3 to 4 tablespoons clear liquid detergent 2 to 3 cups Styrofoam micro beads (1 to 2 mm) 2 tablespoons glitter medium bowl spoon plastic wrap Combine the glue, water, and food coloring, if using, in a medium bowl. Mix thoroughly. Stir. Stir.
You want to leave your slime slightly sticky. Let it rest in the bowl at room temperature, covered with plastic wrap, for 3 to 5 days until the bubbles disappear. When the bubbles are gone, begin adding the micro beads by pushing and kneading them into your slime. Add as many as will fit without falling out. Roll your floam into a ball. Take your pointer finger and push lightly into the ball to create a small hole.
Put the glitter inside the hole and then close it up by pinching the sides of the ball back together. Once you pull and stretch your crunchy floam ball, the surprise will be revealed, leaving you with a sparkling ball of floam. Surprise!
Slime Hack Instead of glitter, try adding another kind of slime, gems, or even toys!
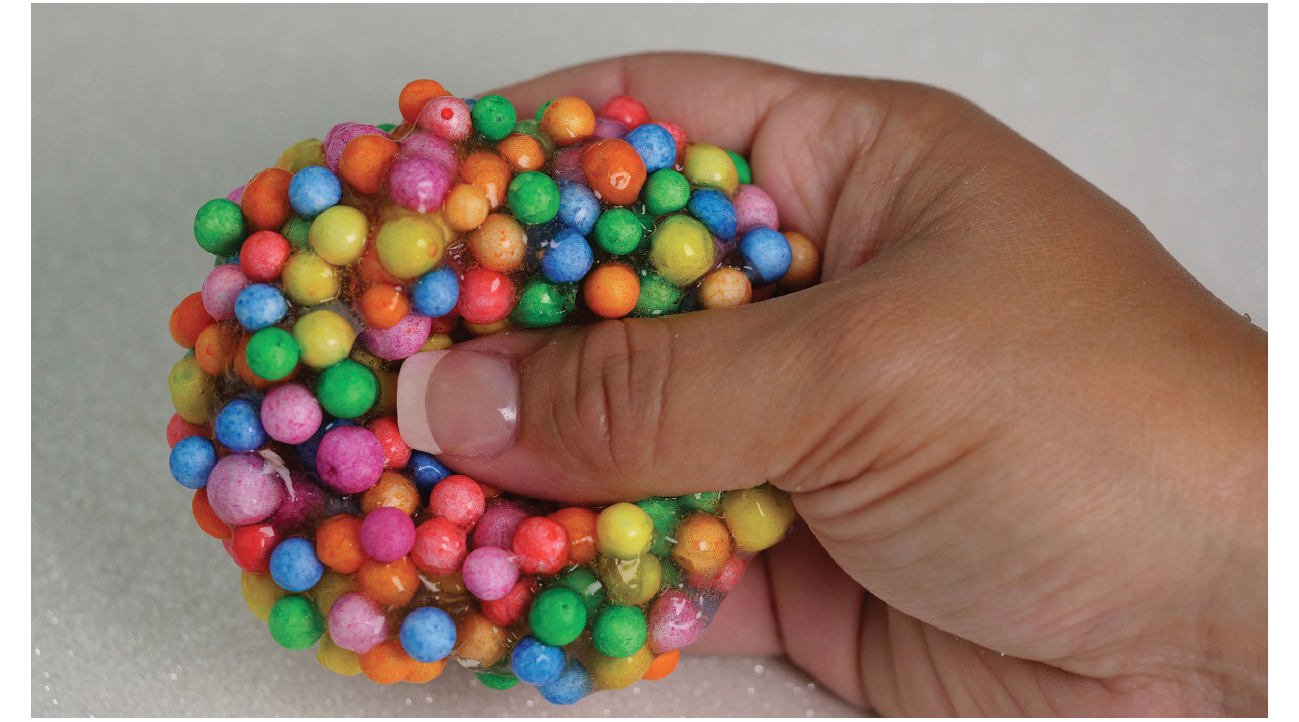 Jump in and get lost in this slime with its mass of color and crunch power. You wont want to put this energizing slime down!
 1 recipe Clear Slime (see ) 1 cup colored Styrofoam balls, or as needed medium bowl After the Clear Slime has rested for 3 to 5 days, put it into a medium bowl and then add the Styrofoam balls. Press the balls into your slime until no more will fit.
Next page



 Clear Slime is super versatile and can be used as a base for many other incredible slimes. You may also see this referred to as liquid glass or crystal-clear slime. 1 (4-ounce) bottle clear glue cup water 3 to 4 tablespoons clear liquid detergent medium bowl spoon Mix the clear glue and water together in a medium bowl. Slowly add the clear detergent, one tablespoon at a time, into your glue mixture while stirring.
 Add some texture to your slime with this tactile phenomenon. Styrofoam plus slime equals Floam Slime! This slime is stretchier than regular slime. And the tingly feeling you get when you squish Floam Slime between your hands and it crunchesits a sensory overload! 1 (4-ounce) bottle white glue 3 drops food coloring of choice 2 cups shaving cream 3 tablespoons contact lens solution 1 to 2 cups small Styrofoam beads (2 to 4 mm) medium bowl spoon Mix the white glue and food coloring in a medium bowl. Add the shaving cream and mix all the ingredients together.
 Surprise! This slime looks so ordinary until you reveal the beautiful center. 1 (4-ounce) bottle clear glue cup water a few drops food coloring of choice (optional) 3 to 4 tablespoons clear liquid detergent 2 to 3 cups Styrofoam micro beads (1 to 2 mm) 2 tablespoons glitter medium bowl spoon plastic wrap Combine the glue, water, and food coloring, if using, in a medium bowl. Mix thoroughly. Stir. Stir.
  Jump in and get lost in this slime with its mass of color and crunch power. You wont want to put this energizing slime down! 1 recipe Clear Slime (see ) 1 cup colored Styrofoam balls, or as needed medium bowl After the Clear Slime has rested for 3 to 5 days, put it into a medium bowl and then add the Styrofoam balls. Press the balls into your slime until no more will fit.