 How to view and download the free online videos and patterns 1. Make sure you have an Internet connection. 2. Type the URL below into your web browser. www.tuttlepublishing.com/mind-blowing-paper-puzzles-kit-downloadable-content For support, you can email us at . Mind-Blowing Paper PuzzlesHARUKI NAKAMURA
 Required Tools & Materials
 Utility knife
  Ruler
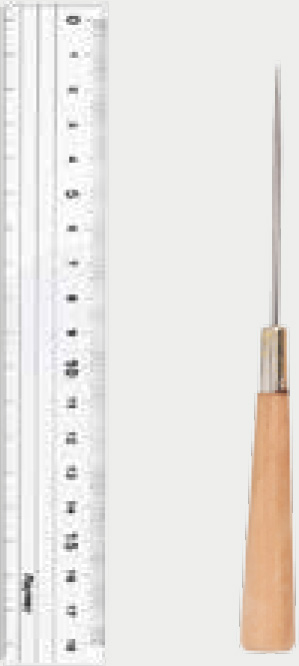
Ruler  Fine burnishing tool, such as an awl
  Toothpick
  Tweezers
  Quick-drying craft glue
 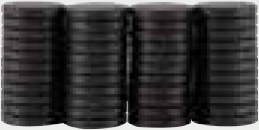 Small craft magnets WARNING When using a knife or making folds, use a cutting mat to avoid damaging the table.
Tools and materials required for each model will be differentthe necessary tools will be specified on the individual instruction pages. The Basics of Making Paper Puzzles Pop out the die-cut model pieces Carefully detach the model pieces from the included cards. Cut out parts as necessary The paper pieces in this kit are perforated for easy removal, but you will find some tight corners and short edges that are not perforated. Gently free any parts that dont easily detach by precisely slicing through any restraining material with a craft knife or box cutter. 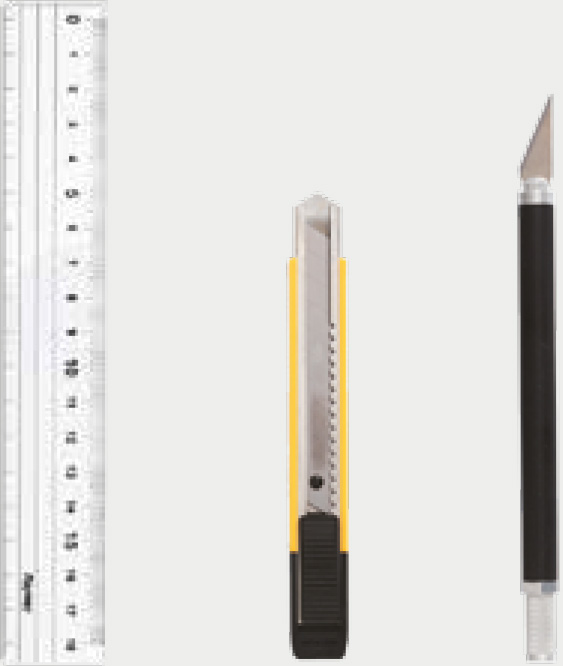
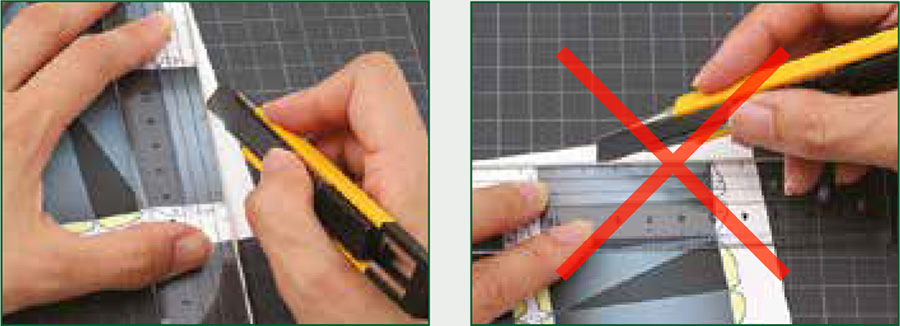 WARNING! For safety and precision, it is standard practice to move the knife from top to bottom, instead of left to rightthis way your hand and the ruler will not obscure where the knife is going.
 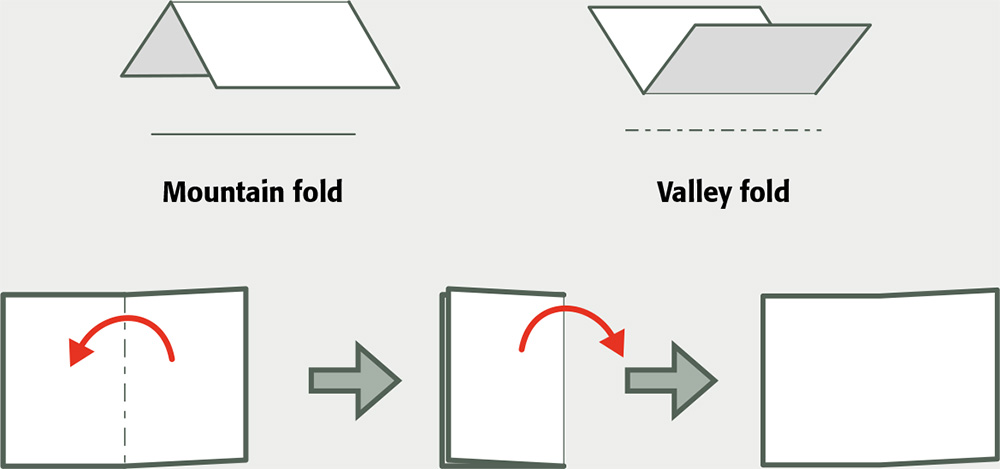 WARNING! Be sure to fold in the correct direction the first timeif you need to reverse a crease, it weakens the paper. Simplify folding by pre-burnishing Regardless of whether a mountain fold or a valley fold is required, use a burnishing tool and a ruler to carefully install creases. Simplify folding by pre-burnishing Regardless of whether a mountain fold or a valley fold is required, use a burnishing tool and a ruler to carefully install creases.
You may use a stylus, ball-point pen without ink, an awl, a compass, or other burnishing tool to score the paper. 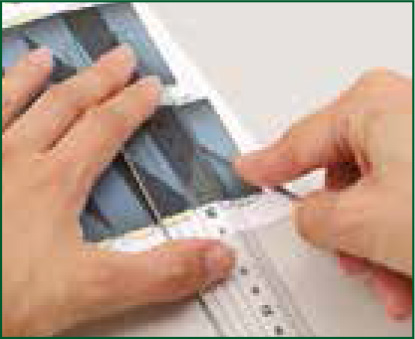
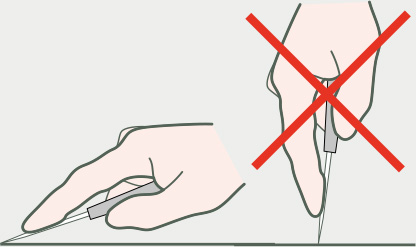 TIP! A burnishing tool is used at a steep angle.
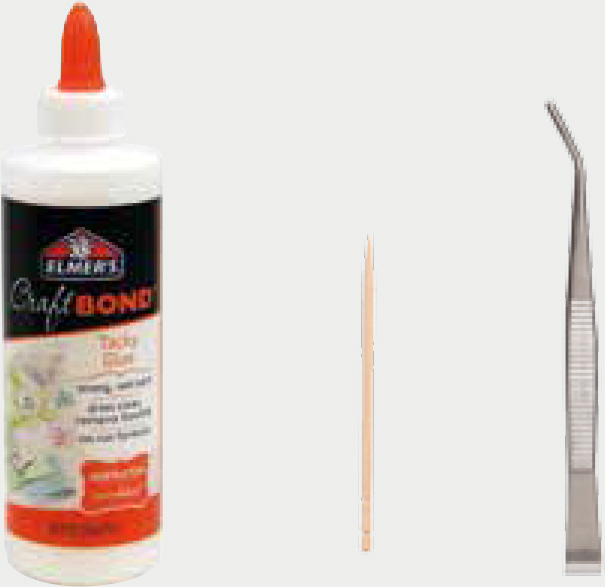
  Working with glue Put glue on the tabs to hold the models together.
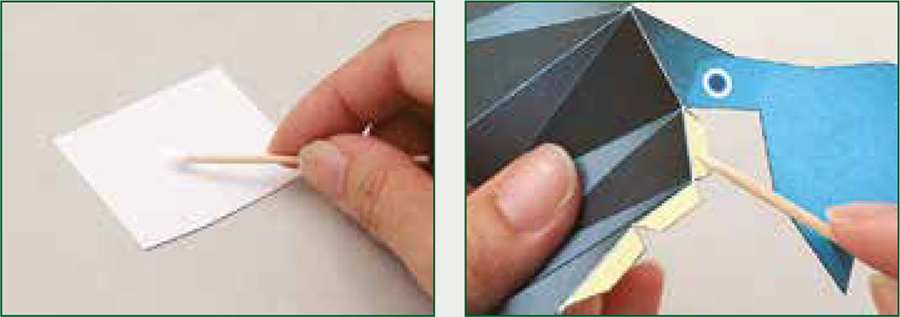 Instead of applying glue directly from the bottle again and again, it is more convenient to put some glue on a piece of paper and use a toothpick to scoop the glue up for application to the tabs. Spread the glue on the tabs like you would spread butter on toast.
 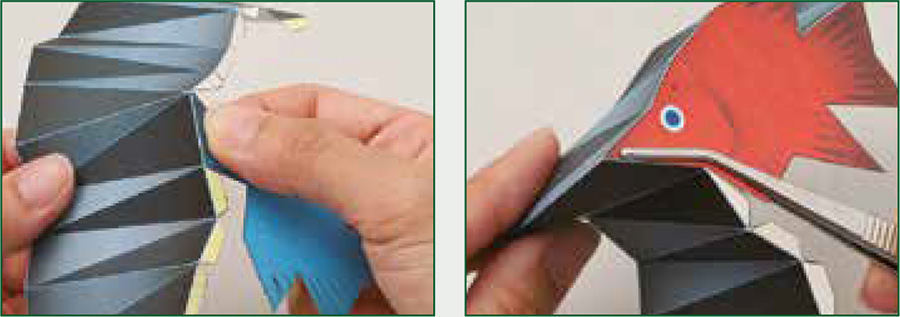 After putting glue onto the tabs, press and hold with your fingers to secure them into place.
Use tweezers to grasp and fasten tight corners and areas where your fingers cannot reach. The 12-Lizard Cube LEVEL OF DIFFICULTY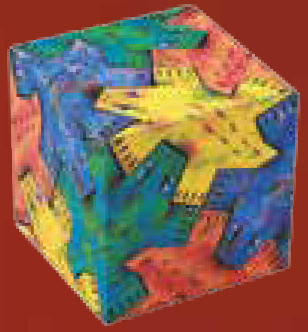 Twelve colorful lizards fit perfectly together to form this intriguing cube form. The assembly of the individual pieces is straightforward, and the repetition will go a long way toward building your paper model-making skills, so this project is a fine choice to begin with. The finished piece will make a handsome display on your shelf or desk, but fun and satisfaction of assembling the finished pieces into a perfect cube will have you reaching for the puzzle again and again.
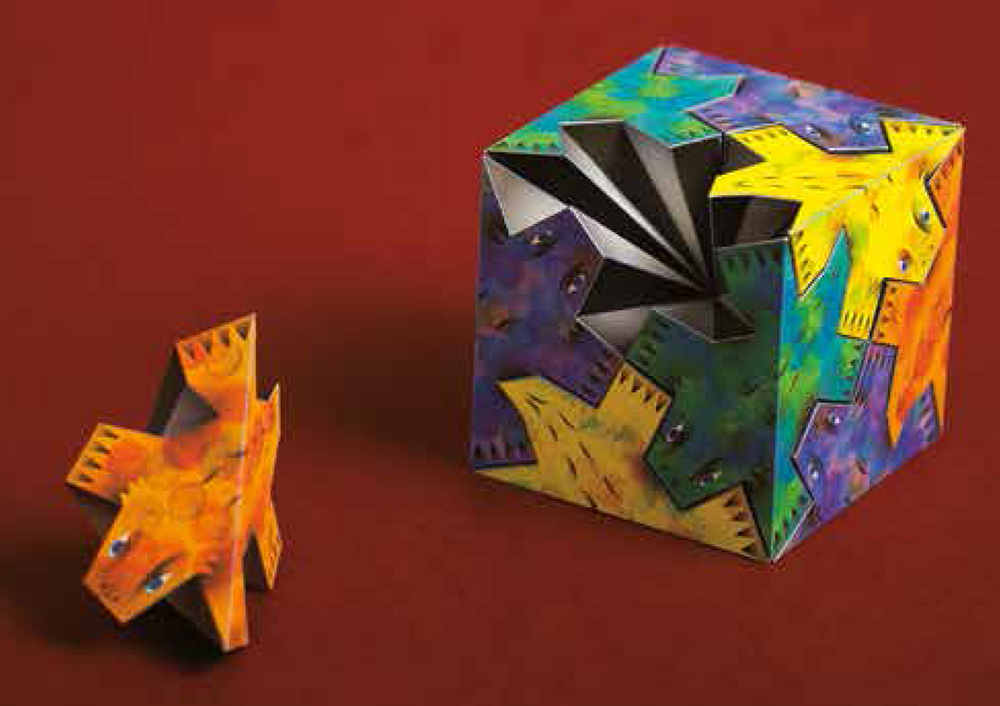
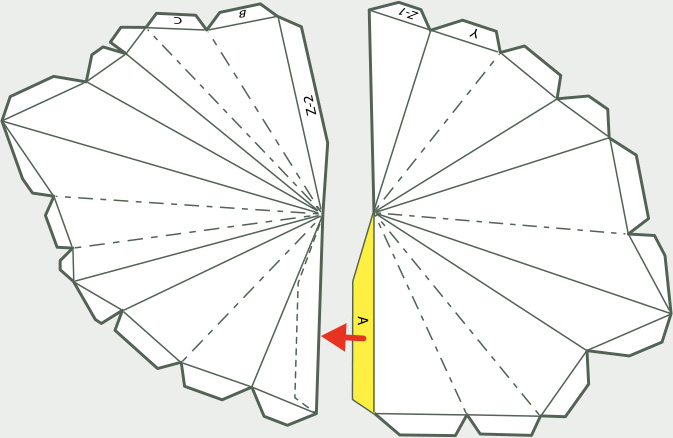 Pop out the parts for a lizard puzzle piece. Use a craft knife to release any stubborn parts, and trim away any flashing.
Install all creases as indicated. Glue tab A to receiving area A. 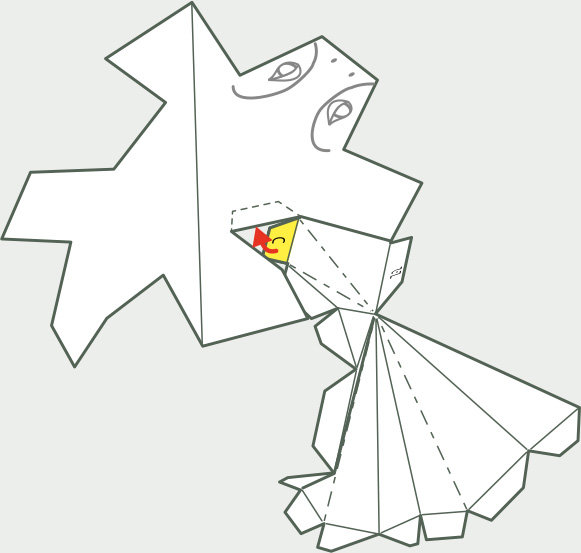 Glue tab B to receiving area B, and then glue tab C to receiving area C. Continue around the form in a clockwise fashion, gluing tabs as you go until you glue tab Y to receiving area Y.
 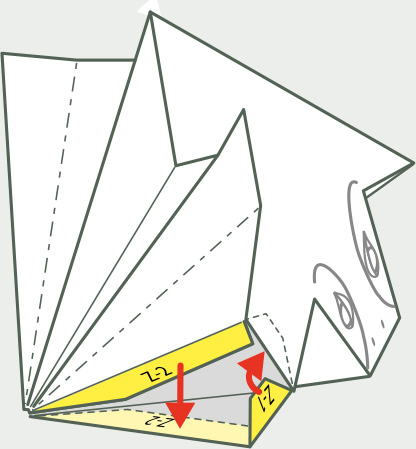 Apply glue to tabs Z-1 and Z-2, and simultaneously adhere them to receiving areas Z-1 and Z-2, holding them together while the glue sets to complete the form. Repeat steps 13 to assemble the remaining 11 lizard pieces.
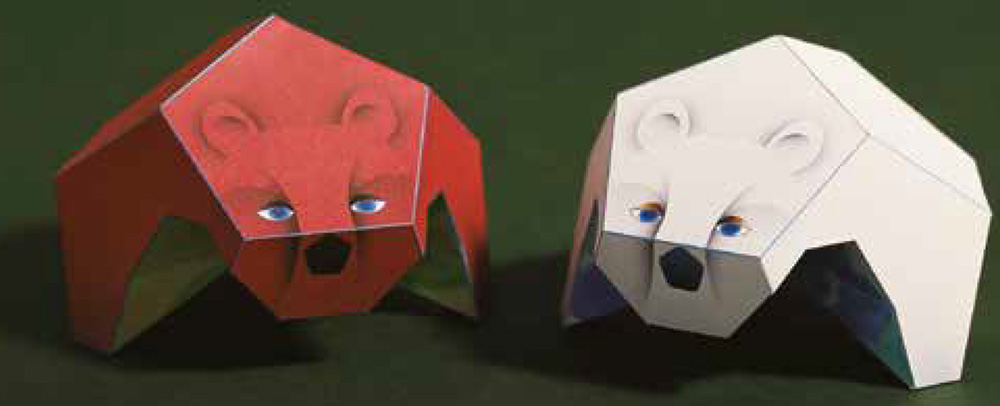
Assemble the cube! ChallengeAssemble twelve lizards so each side of the cube displays all four colors. Regular Dodecahedron Bears LEVEL OF DIFFICULTY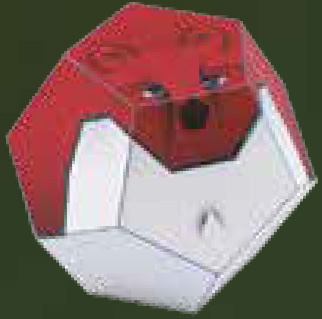 These hulking, friendly bears love to cuddle together for warmth, or perhaps they just enjoy wrestling! They look great standing side by side, but they slide together so perfectly into a dodecahedron shape that youll want to alternate how you display the finished forms.
Next page



![Kimura Yoshihisa [木村良寿] - Origami Animal Boxes Kit: Cute Paper Models with Secret Compartments!](/uploads/posts/book/306557/thumbs/kimura-yoshihisa-origami-animal.jpg)

 How to view and download the free online videos and patterns 1. Make sure you have an Internet connection. 2. Type the URL below into your web browser. www.tuttlepublishing.com/mind-blowing-paper-puzzles-kit-downloadable-content For support, you can email us at . Mind-Blowing Paper PuzzlesHARUKI NAKAMURA
 Required Tools & Materials
 Utility knife
  Ruler
Ruler  Fine burnishing tool, such as an awl
  Toothpick
  Tweezers
  Quick-drying craft glue
  Small craft magnets WARNING When using a knife or making folds, use a cutting mat to avoid damaging the table.
 WARNING! For safety and precision, it is standard practice to move the knife from top to bottom, instead of left to rightthis way your hand and the ruler will not obscure where the knife is going.
  WARNING! Be sure to fold in the correct direction the first timeif you need to reverse a crease, it weakens the paper. Simplify folding by pre-burnishing Regardless of whether a mountain fold or a valley fold is required, use a burnishing tool and a ruler to carefully install creases. Simplify folding by pre-burnishing Regardless of whether a mountain fold or a valley fold is required, use a burnishing tool and a ruler to carefully install creases.
 TIP! A burnishing tool is used at a steep angle.
  Working with glue Put glue on the tabs to hold the models together.
 Instead of applying glue directly from the bottle again and again, it is more convenient to put some glue on a piece of paper and use a toothpick to scoop the glue up for application to the tabs. Spread the glue on the tabs like you would spread butter on toast.
  After putting glue onto the tabs, press and hold with your fingers to secure them into place.
 Twelve colorful lizards fit perfectly together to form this intriguing cube form. The assembly of the individual pieces is straightforward, and the repetition will go a long way toward building your paper model-making skills, so this project is a fine choice to begin with. The finished piece will make a handsome display on your shelf or desk, but fun and satisfaction of assembling the finished pieces into a perfect cube will have you reaching for the puzzle again and again.
 Pop out the parts for a lizard puzzle piece. Use a craft knife to release any stubborn parts, and trim away any flashing.
 Glue tab B to receiving area B, and then glue tab C to receiving area C. Continue around the form in a clockwise fashion, gluing tabs as you go until you glue tab Y to receiving area Y.
  Apply glue to tabs Z-1 and Z-2, and simultaneously adhere them to receiving areas Z-1 and Z-2, holding them together while the glue sets to complete the form. Repeat steps 13 to assemble the remaining 11 lizard pieces.
 These hulking, friendly bears love to cuddle together for warmth, or perhaps they just enjoy wrestling! They look great standing side by side, but they slide together so perfectly into a dodecahedron shape that youll want to alternate how you display the finished forms.