The Art of
Drawing People
41 2004, 2005 Ken Goldman. Artwork on pages 42, 4463 1989, 1997, 2003 WFP. Artwork on pages 1, 4, 6, 96123 2006 Debra Kauffman Yaun. Artwork on pages 3, 94, 124139 2007 Debra Kauffman Yaun. All rights reserved. Walter Foster is a registered trademark.
Softcover edition: 978-1-60058-069-7
Digital edition: 978-1-61059-817-0
This book has been produced to aid the aspiring artist. Reproduction of the work for study or finished art is permissible.
Any art produced or photomechanically reproduced from this publication for commercial purposes is forbidden without written consent from the publisher, Walter Foster Publishing, Inc.
10 9 8 7 6 5
CONTENTS
CHAPTER 1
I NTRODUCTION TO
D RAWING
P EOPLE
People are such interesting and varied subjects to draw. With this compilation of projects from some of the most popular titles in our How to Draw and Paint series, youll find in-depth information on every aspect of drawing people. Featuring instruction from four accomplished artists, this book is filled with step-by-step demonstrations that show you how to re-create a range of people of differing ages and ethnicities. Youll find plenty of helpful tips on tools and materials, shading, and other fundamental drawing techniques, as well as important information about the influences of bone structure and musculature. And detailed examples of facial features, hands, and feet will help guide you through the most challenging aspects of drawing people. With practice, youll soon be able to capture amazing likenesses of family and friends in your pencil drawings!
T OOLS & M ATERIALS
D rawing is not only fun, it also is an important art form in itself. Even when you write or print your name, you are actually drawing! If you organize the lines, you can make shapes; and when you carry that a bit further and add dark and light shading, your drawings begin to take on a three-dimensional form and look more realistic. One of the great things about drawing is that you can do it anywhere, and the materials are very inexpensive. You do get what you pay for, though, so purchase the best you can afford at the time, and upgrade your supplies whenever possible. Although anything that will make a mark can be used for some type of drawing, youll want to make certain your magnificent efforts will last and not fade over time. Here are some materials that will get you off to a good start.
Work Station It is a good idea to set up a work area that has good lighting and enough room for you to work and lay out your tools. Of course, an entire room with track lighting, easel, and drawing table is ideal. But all you really need is a place by a window for natural lighting. When drawing at night, you can use a soft white light bulb and a cool white fluorescent light so that you have both warm (yellowish) and cool (bluish) light.
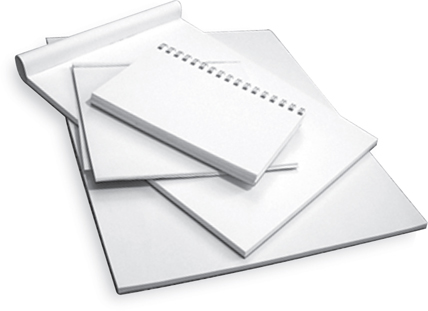
Sketch Pads Conveniently bound drawing pads come in a wide variety of sizes, textures, weights, and bindings. They are particularly handy for making quick sketches and when drawing outdoors. You can use a large sketchbook in the studio for laying out a painting, or take a small one with you for recording quick impressions when you travel. Smooth-to mediumgrain paper texture (which is called the tooth) often is an ideal choice.
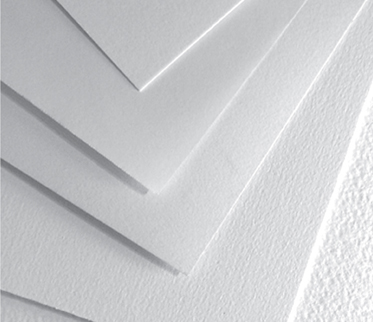
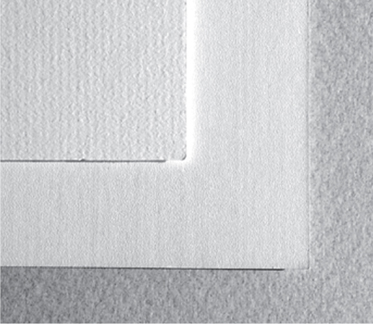
Drawing Papers For finished works of art, using single sheets of drawing paper is best. They are available in a range of surface textures: smooth grain (plate and hot pressed), medium grain (cold pressed), and rough to very rough. The cold-pressed surface is the most versatile. It is of medium texture but its not totally smooth, so it makes a good surface for a variety of different drawing techniques.
Charcoal Papers Charcoal paper and tablets also are available in a variety of textures. Some of the surface finishes are quite pronounced, and you can use them to enhance the texture in your drawings. These papers also come in a variety of colors, which can add depth and visual interest to your drawings.
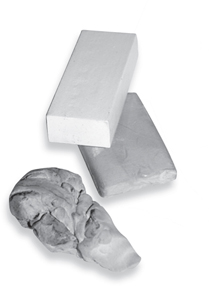
Artists Erasers A kneaded eraser is a must. It can be formed into small wedges and points to remove marks in very tiny areas. Vinyl erasers are good for larger areas; they remove pencil marks completely. Neither eraser will damage the paper surface unless scrubbed too hard.
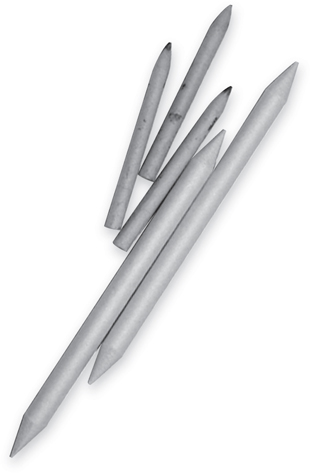
Tortillons These paper stumps can be used to blend and soften small areas where your finger or a cloth is too large. You also can use the sides to quickly blend large areas. Once the tortillons become dirty, simply rub them on a cloth, and theyre ready to go again.
Utility Knives Utility knives (also called craft knives) are great for cleanly cutting drawing papers and mat board. You also can use them for sharpening pencils. (See the box on .) Blades come in a variety of shapes and sizes and are easily interchanged. But be careful; the blades are as sharp as scalpels!
G ATHERING THE B ASICS
You dont need a lot of supplies to start; you can begin enjoying drawing with just a #2 or an HB pencil, a sharpener, a vinyl eraser, and any piece of paper. You always can add more pencils, charcoal, tortillons, and such later. When shopping for pencils, notice that they are labeled with letters and numbers; these indicate the degree of lead softness. Pencils with B leads are softer than those with H leads, and so they make darker strokes. An HB is in between, which makes it very versatile and a good beginners tool. The chart at right shows a variety of drawing tools and the kinds of strokes that are achieved with each one. As you expand your pencil supply, practice shaping different points and creating different effects with each by varying the pressure you put on the pencil. The more comfortable you are with your tools, the better your drawings will be!


