The first step for any drawing project is to gather the necessary tools and materials. Deciding which tools to use depends on your subject and which materials you are most comfortable using. The tools and materials detailed here will help you get started.
PENCILS
Intricate or detailed drawings call for harder leads, or H pencils. Hard pencils are labeled 9H to H, with the highest number being the hardest. Soft pencils run from B to 9B, with 9B being the softest. Soft pencils create much darker lines and velvety tones. You can also choose graphite lead holders that come in different diameters, or woodless pencils, which have the advantage of a larger diameter lead.
PENCIL STROKES
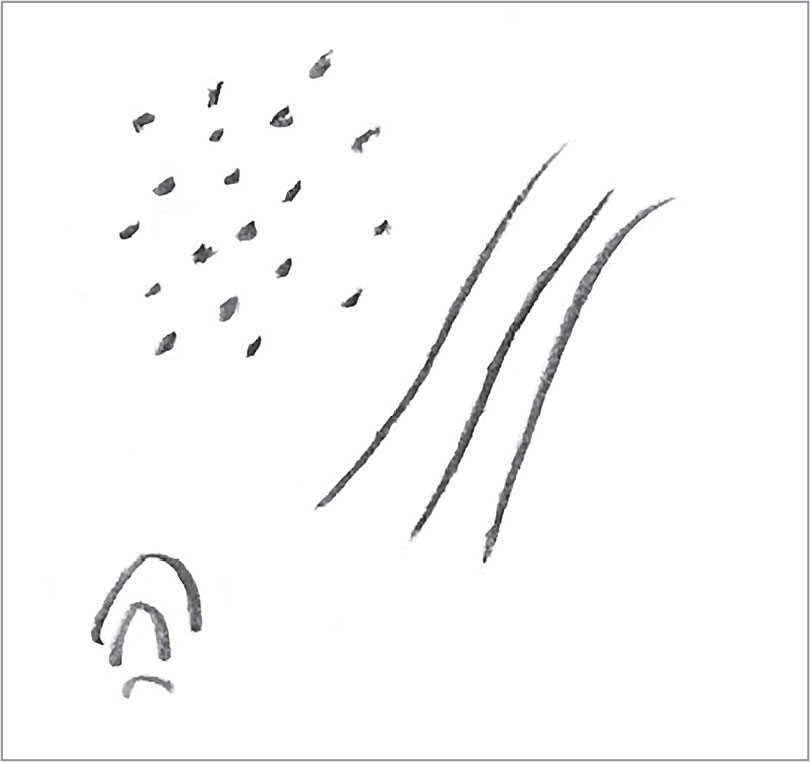
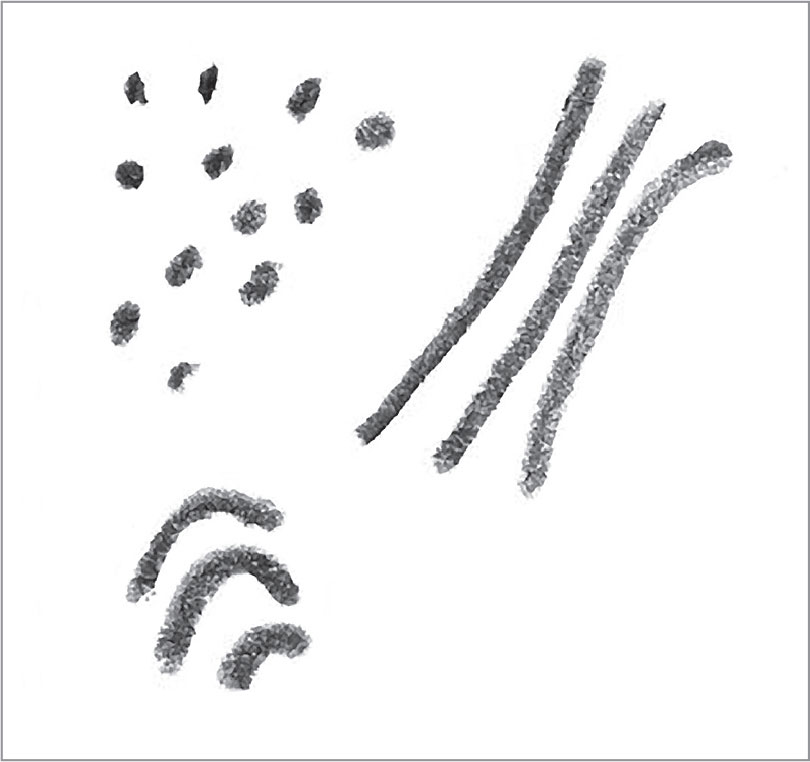
On the sample shown here, I used a 5H pencil, which has a hard lead. On the sample below, I used a 6B pencil, which has a much softer lead. You can see how the strokes of the 5H pencil are much sharper.
SHARPENERS
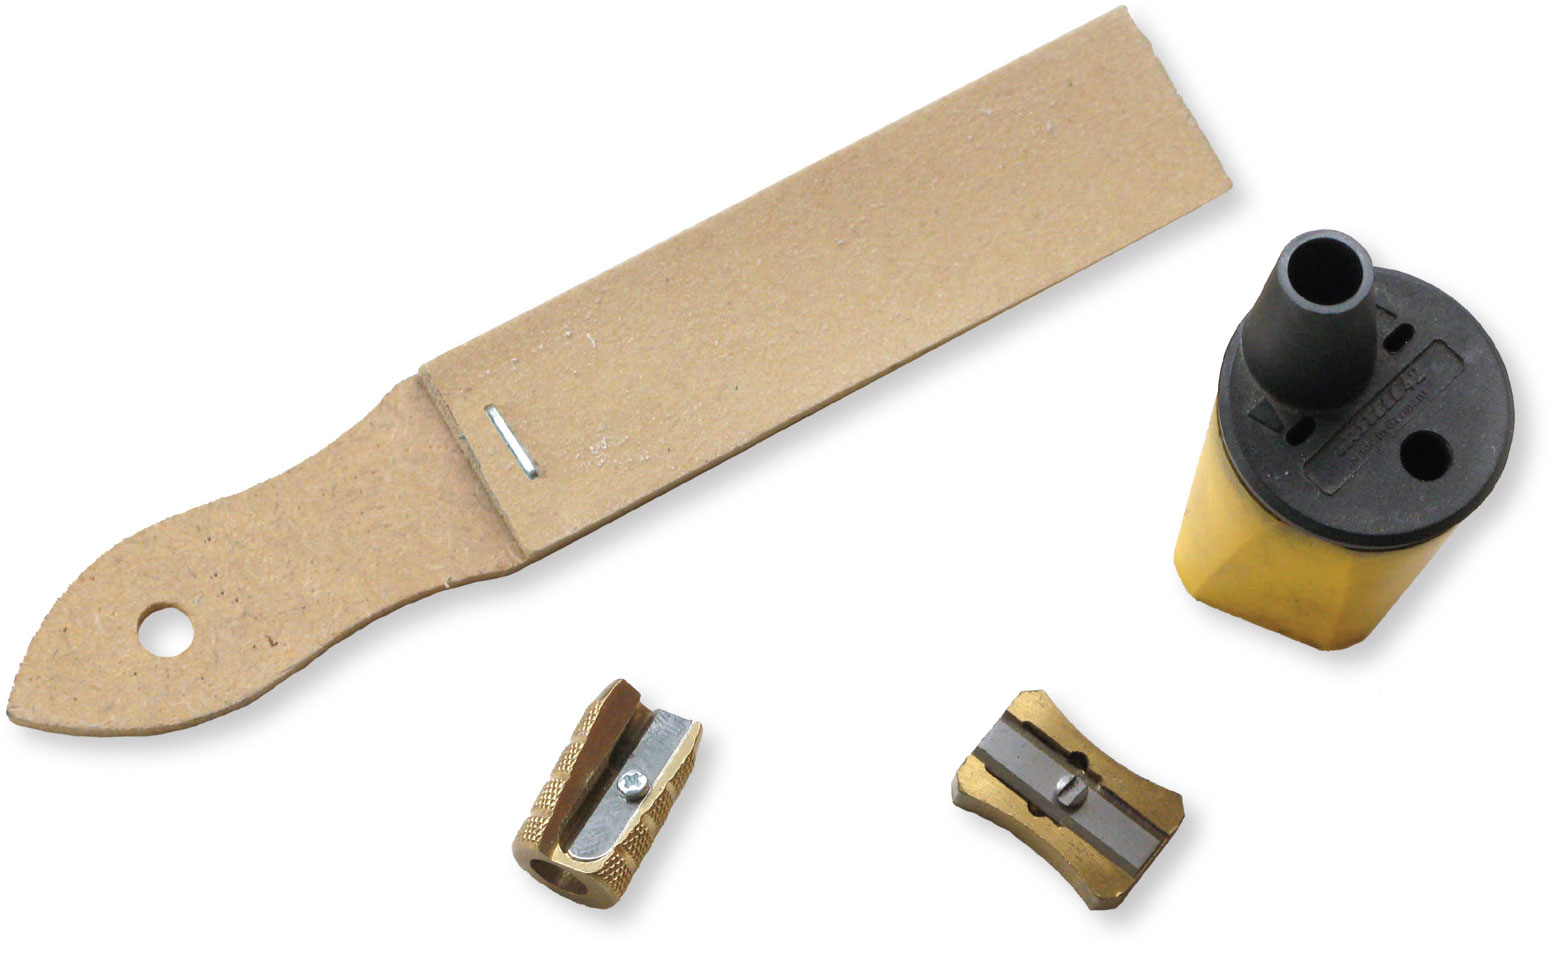
If you choose a traditional pencil, you will also need a sharpener. You can use a small, handheld sharpener or an electric sharpener. To sharpen lead in a lead holder, you will need a specialized sharpener called a pointer. Flat sketching pencils can be chiseled on a sandpaper pad.
ERASERS
My favorite eraser is the kneaded eraser, which can be molded to give you a lot of control over what you want to erase. There are also vinyl erasers and electric erasers. It is also very handy to have an erasing shield, which works like a stencil and protects other parts of the drawing.
BLENDING TOOLS
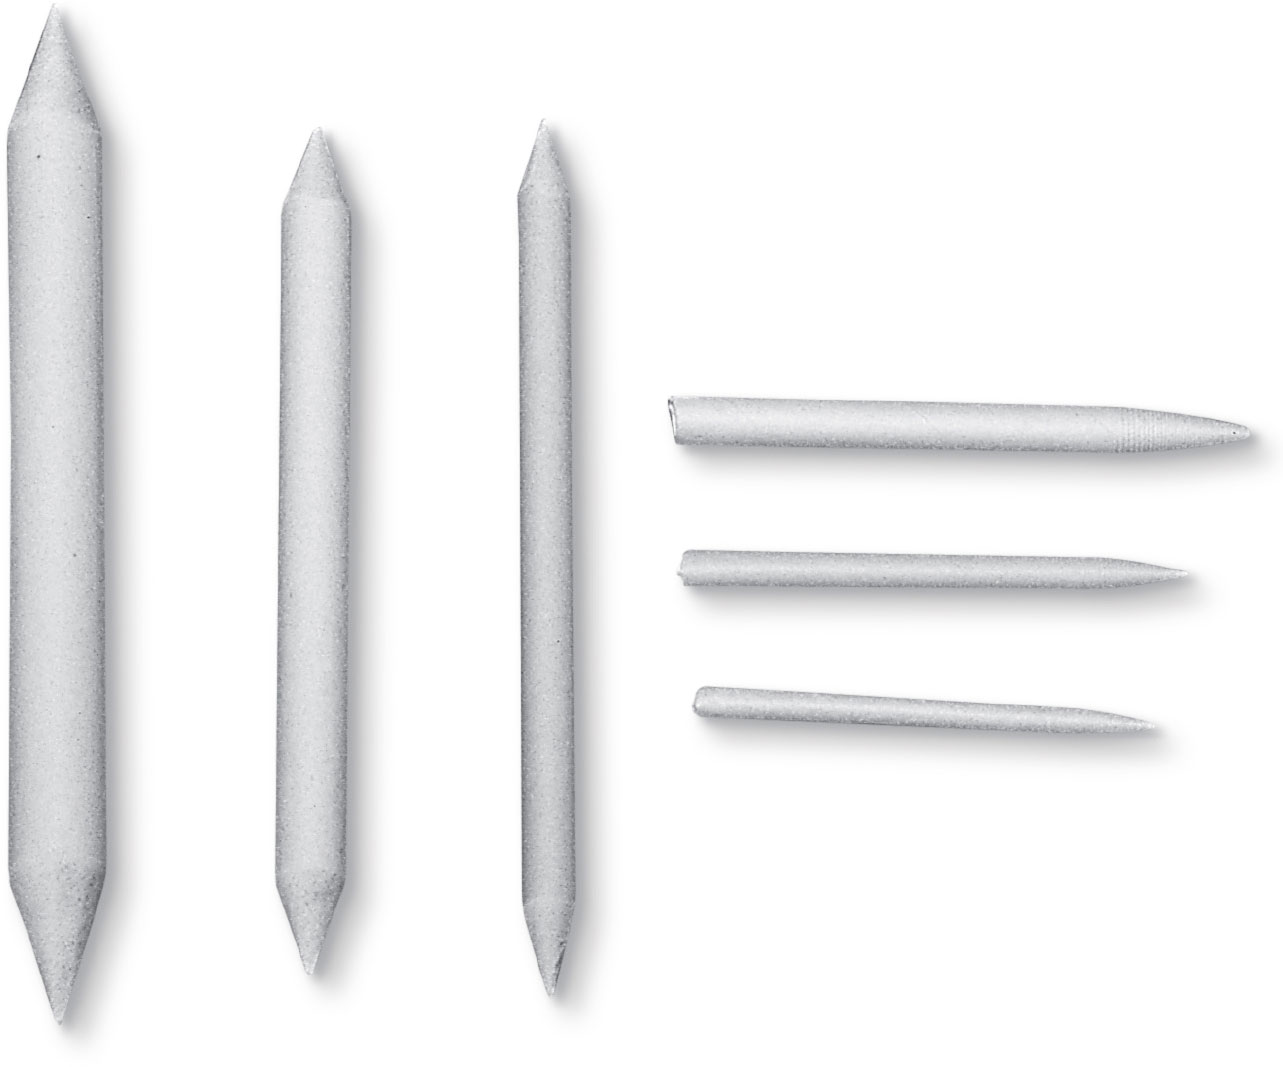
There are several tools that can be used to smudge and blend graphite. A blending stump is made of paper and has two pointed ends that can be used for blending. A tortillon is similar, but is hollow and has only one point. When youre working with a larger area, you can use a chamois cloth for blending.
PAPER
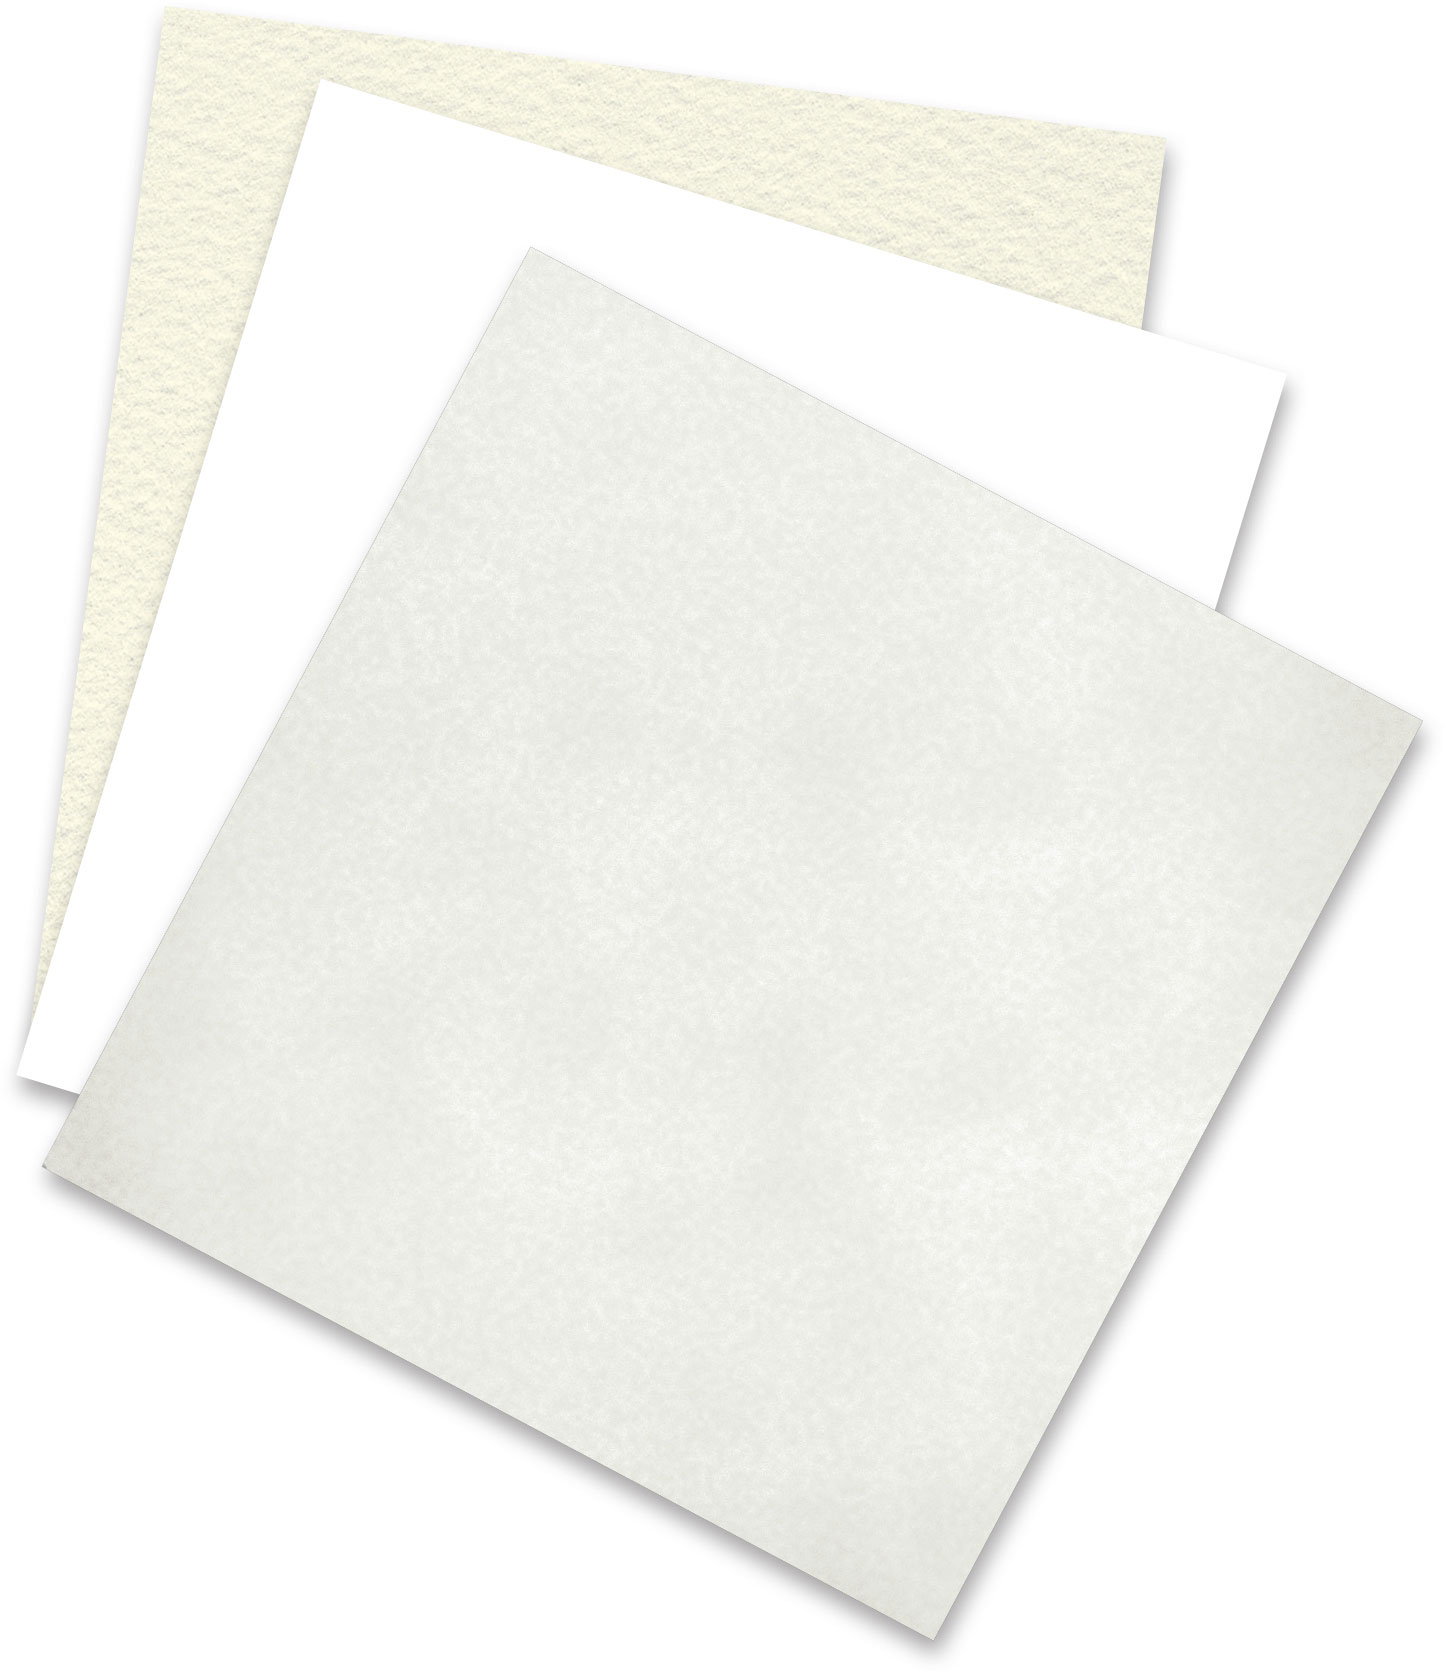
The quality of your paper directly influences the appearance of your artwork. Paper is often categorized by its tooth, or surface texture. The papers tooth affects the smoothness of your drawing and the number of graphite layers you can apply before the paper rips. Below are the most common surface types:
Hot-pressed paper has little to no tooth, resulting in smooth textures.
Cold-pressed paper has more tooth than hot-pressed paper; its grainy surface yields more textured strokes.
Rough paper features a coarse tooth that creates rough, broken strokes.
I prefer working on Bristol papera thick paper that is available in a smooth or textured surface. Choose acid-free paper to eliminate future discoloration and deterioration.
TIP
Tracing paper is an excellent tool! If you find yourself erasing too much and your paper is getting messy and confusing, simply take another piece of tracing paper and trace the lines that are most accurate.
DRAWING PROCESS
Every artist has his or her own drawing processa pattern they follow to get from an initial sketch to a final drawing. You may find that a different process works for you, but I suggest first trying the process detailed below. Its a great method, especially for beginning artists.
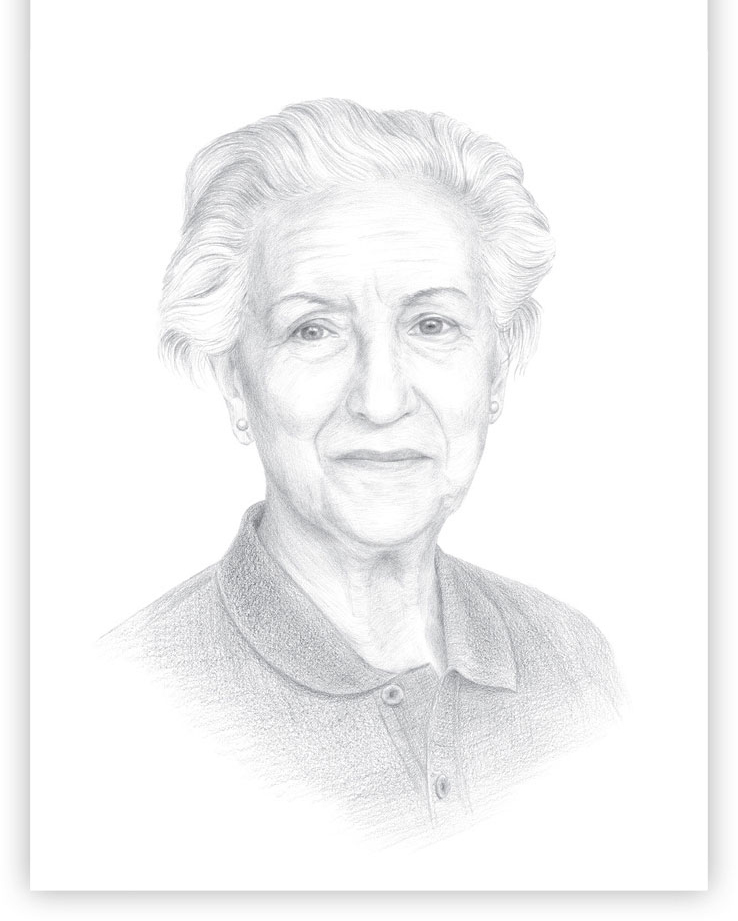
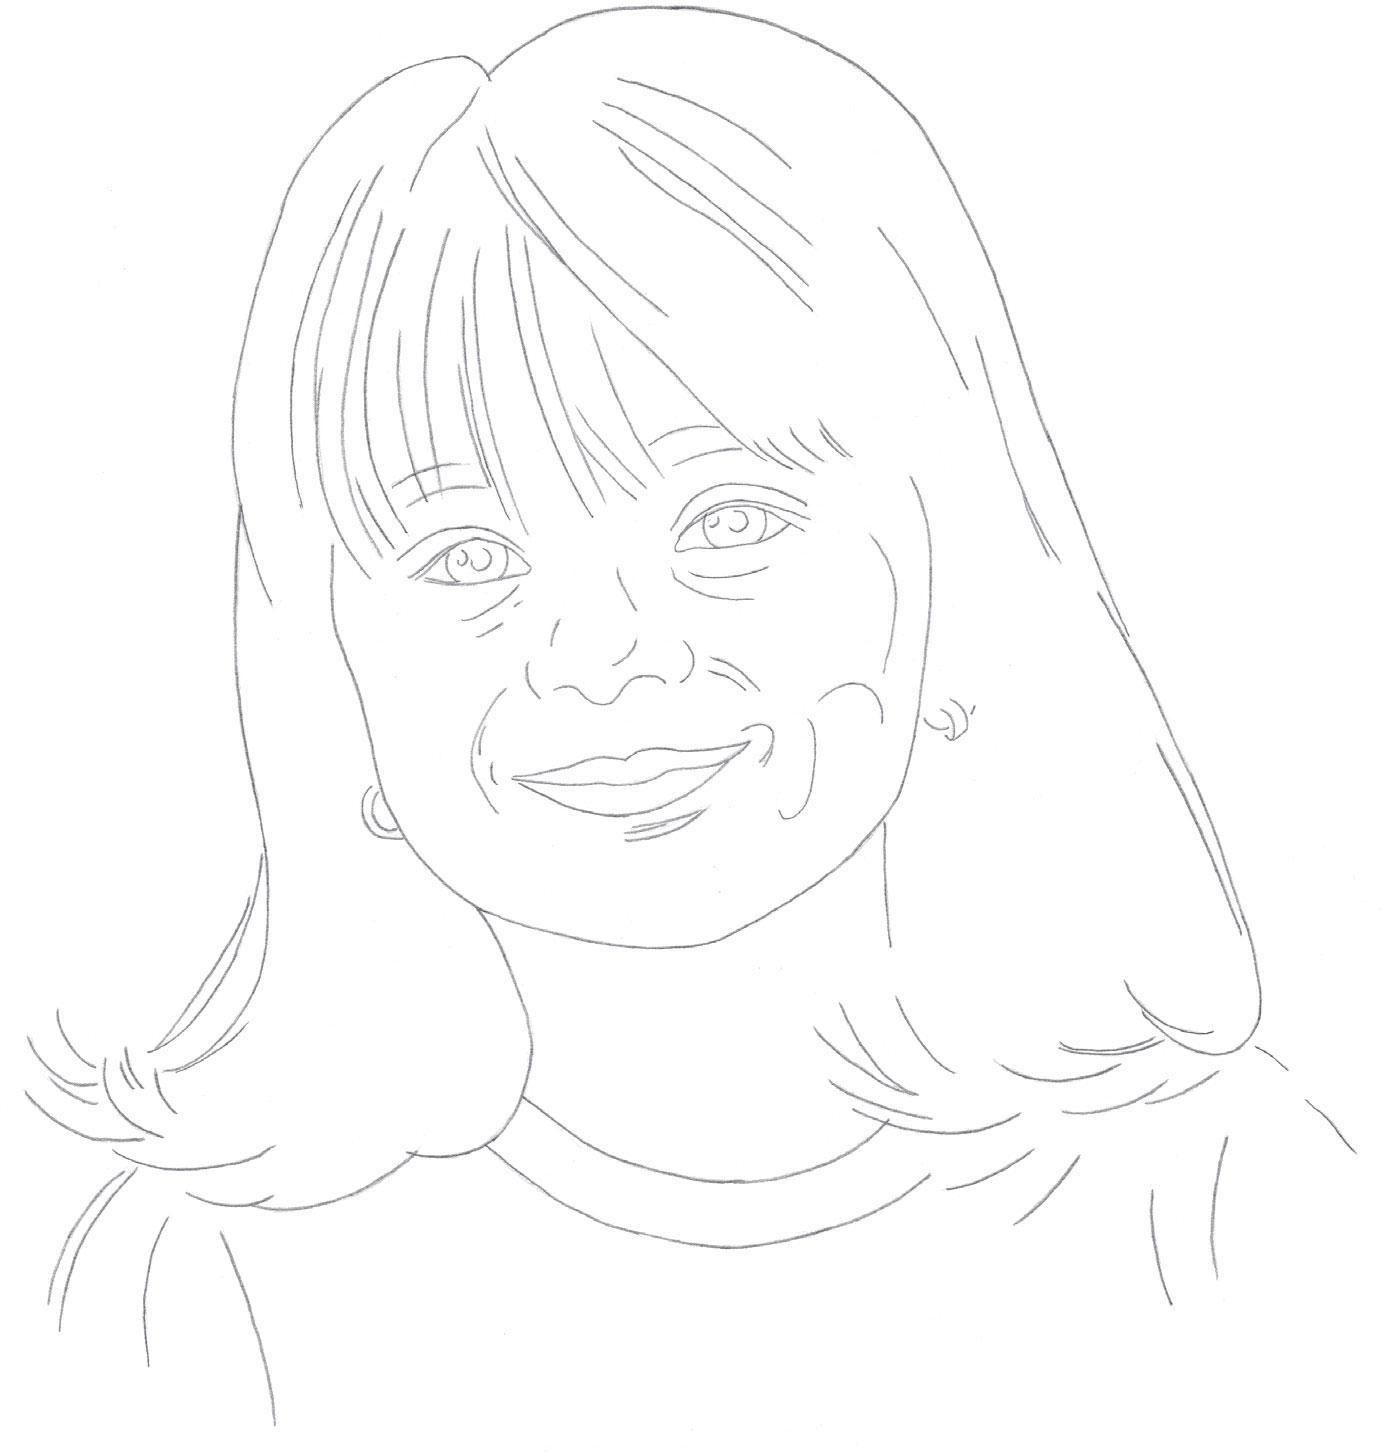
Begin with an initial sketch to help you find the right proportions and the proper facial feature placement. Add the shapes of the features only when you are sure the angles and proportions are correct.
Tape a piece of heavyweight tracing paper on top of the sketch. Then use the guidelines to draw the shape of the face and add details. Transfer the drawing to a clean sheet of drawing paper (see Transferring the Drawing shown ), and start developing your portrait!
TIP
A drawing can be brought to many different levels of finished, as long as the level of refinement is consistent among all parts of the drawing.
TRANSFERRING THE DRAWING
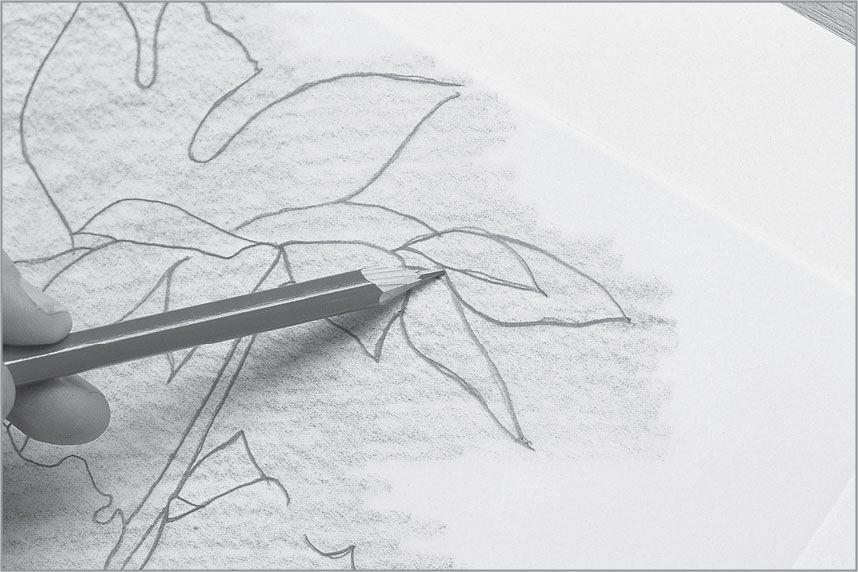
I typically work out my composition sketch on a sheet of extra drawing paper and then transfer the final outline to a nicer piece of art board to finish. Transferring the sketch is simple.
Step One Use a 6B pencil to completely cover the back side of your sketch paperthe side opposite the image. For an even layer of coverage, you may wish to smear the graphite with a tissue or blending stump.
Step Two Turn the sketch right-side up, and place it on top of the art board youve selected for your final drawing. (Use artist tape to secure it, if you like.) Lightly retrace the lines of your sketch with a sharp pencil.


