Contents
Guide
Page List

ALSO BY LORI RICE
FOOD ON TAP: COOKING WITH CRAFT BEER
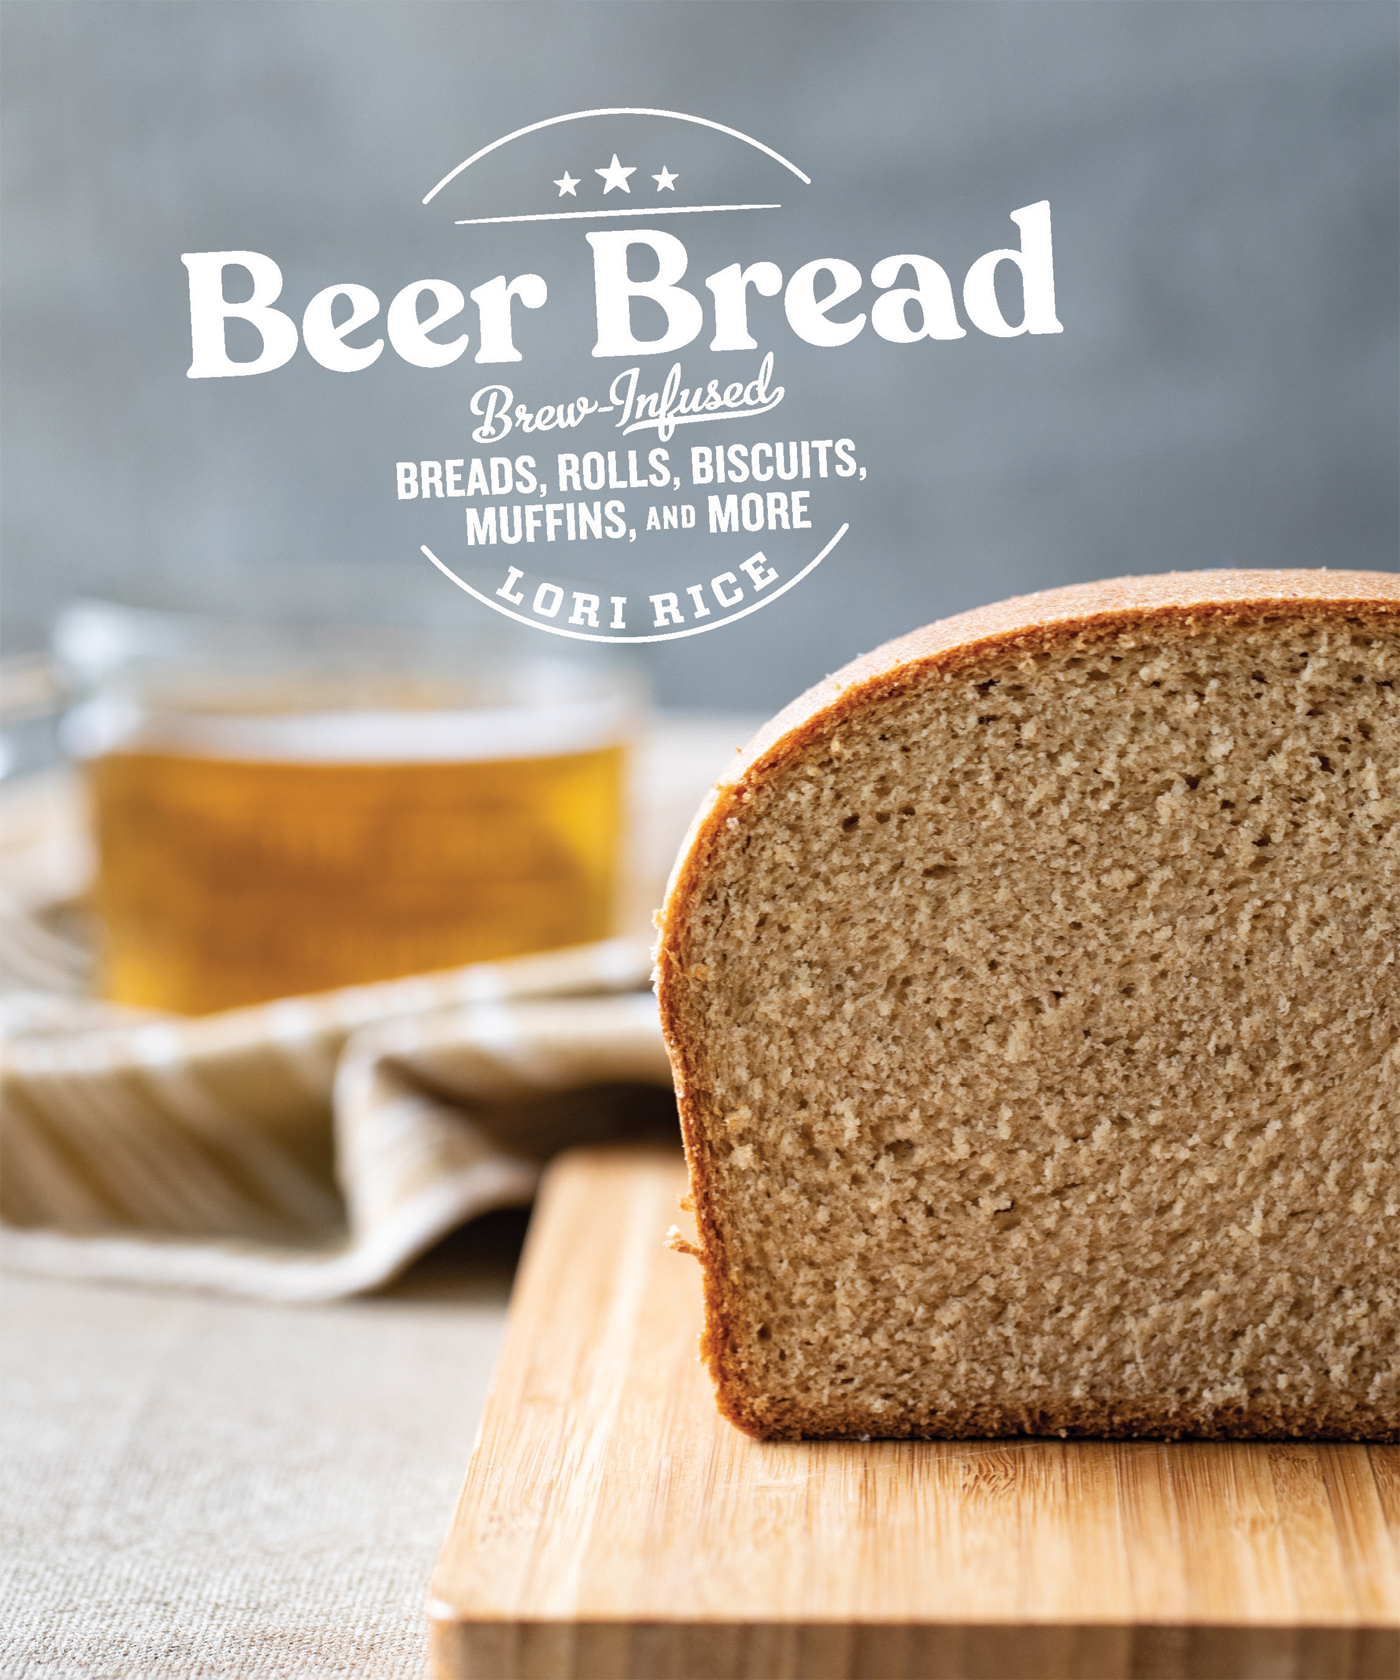
Beer Bread
Brew-Infused
BREADS, ROLLS, BISCUITS, MUFFINS, AND MORE
LORI RICE


To Dixie and Macy.
Thank you for showing me that there
is nothing better than a canine
coworker and that all breweries are
best visited with a dog.

Contents

If one were trying to come up with a list of the most desirable foods and drinks that require the fewest number of ingredients, beer and bread would be at the top of it. In its most basic form, bread can be made with grain, water, and yeast, and beer is created with grain, water, yeast, and hops. The two have much in common and it is why beer can be a versatile ingredient in bread-making for flavors and textures that spark adventure and curiosity.
Beer bread is not an uncommon phenomenon. For years, variations have existed. They range from three-ingredient recipes using only beer, butter, and self-rising flour to the more complex creations Ive been introduced to during my travels, like the dark, grainy breads made with Guinness and served alongside comforting soups in Dublin.
With these experiences and recipes at its core, Beer Bread takes a classic concept and puts a twist on the ordinary and the traditional. There are many ways to reinvent breads with ingredients, styles, shapes, and serving suggestions. Similarly, the number of craft beers available to consumers today feels endless. Baking with beer allows the opportunity to support your local brewery while experimenting in the kitchen.
If you are new to baking, this book has plenty of simple, straightforward recipes, including a few creative takes on the classic beer bread with fewer than five ingredients. Along with that are some more elaborate breads and baking techniques, like braided loaves for more advanced bakers. If you are new to beer, that will not be a challenge either. For many recipes, multiple types of beers can be used, so you can grab what you are familiar with or branch out and try something new.
This book aims to be a good fit for anyone interested in bread and beer by exploring baking to create new flavors in innovative ways. The result is tempting, modern recipes for approachable, freshly baked breads at home.
I hope your taste buds are ready because they are about to go on an unforgettable adventure.


The difficulty, ingredients needed, and time required to bake bread varies by the type of loaf you want to pull out of the oven. Its true that baking requires a more precise measurement of ingredients and more specific tools than cooking, but this shouldnt scare you if you feel inexperienced. Preparing breads for baking is really a simple andfor manytherapeutic and rewarding process. Once you grow familiar with the basic steps, it only gets easier from there.
The goal of this book isnt to teach you how to bake, but to show you creative ways to do so with beer. With that in mind, it is still helpful to do a brief overview of the what and why of bread baking so that I can share some tips Ive found useful over the years and provide some explanations regarding methods and recipes in this book.
Types of Breads in this Book
The breads and variations of breadssuch as flatbreads, biscuits, and rollscan be classified into two categories: yeast breads and quick breads. Yeast breads tend to be the scariest for beginner bakers and sometimes the most finicky for even the experienced, so lets start by discussing why this is often the case. Then well move on to quick breads. Both produce equally enjoyable results, but hopefully some basic tips and guidelines will help you decide where you want to start as you dig into these beer bread recipes.
Yeast Breads
Yeast breads require the three main ingredients of flour, yeast, and a liquid. In basic versions that liquid is water, but as you may have guessed, the liquid in our case will be beer. There are several steps in making yeast breads and each plays an important role in achieving the desired recipe results.
Mixing: When the ingredients are mixed, enzymes begin to break down starch molecules into sugars that will feed the yeast. Mixing the ingredients is the initial step in facilitating the fermentation process, when yeast produces the carbon dioxide and alcohol that contribute to the structure and flavor of your bread.
Kneading: Kneading dough, whether done by hand or with a mixer, helps to develop the proteins in the dough, called the gluten network. This network traps the air bubbles given off by the yeast to give bread strength and a desirable rise and texture.
I find hand-kneading meditative, but I also understand that it can be time consuming and sometimes frustrating when you are working with a stickier dough. For most yeast breads in this book, you will find the general instructions to knead the dough in an electric stand mixer for 5 minutes and then knead by hand for 3 to 4 additional minutes. Doughs that have fat added like butter or oil and sweeteners like sugar often require longer kneading times and they can sometimes be very sticky until the kneading is complete. In these cases, I often suggest doing it all in the mixer. It really doesnt matter how you work the dough, just that the gluten is fully developed after kneading.
Rising: The rising stage for bread is also called proofing, and that is how I refer to it in this book. Once you knead a dough, its formed into a ball and placed in a greased bowl. It can then be covered with a cloth bowl cover, dish towel, loose lid, or even a shower cap to rest. During this proofing stage is when fermentation occurs. The yeast does its thing, producing carbon dioxide and alcohol that will create the crumb and structure of the bread. It also contributes to the aroma and flavor.
Proofing a loaf of bread is both a straightforward and a tricky step. A bread dough with healthy yeast is going to rise, but how quickly and how much is where bakers sometimes run into problems. The reason is that room temperature affects how quickly dough rises.
The ideal temperature for proofing the doughs in this book during fermentation is around 75 to 80F, but the temperature of your room can vary. Perhaps its a chilly winter morning or maybe the oven has been running all day and your kitchen is warmer. I often put dough in my pantry in the winter because it provides a warm, draft-free spot, but in the summer it runs a few degrees warmer than my already-warm kitchen so its not a good option.


