Introduction
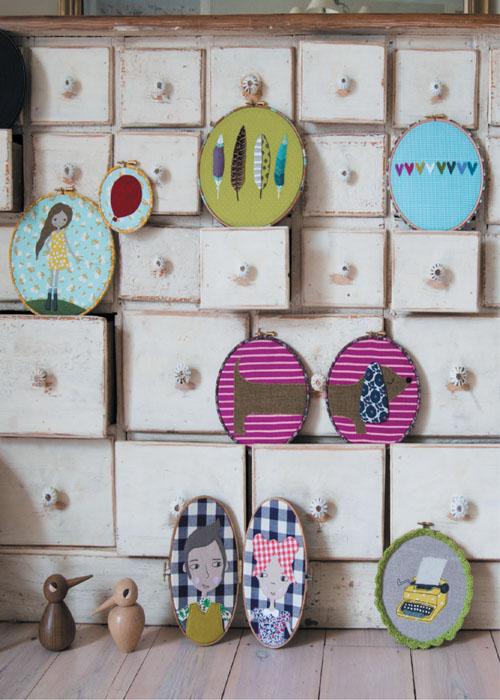
One of the things I love most about the internet is how quickly it can spread a good idea. Framing a piece of embroidery or an appliqud picture used to be a tricky and often prohibitively expensive business. The concept of framing an unembellished piece of fabric just because you liked the pattern was pretty much out of the question. Im not sure when I first noticed people sharing pictures of embroidery displayed in the same hoop used to stitch it, but right from the start it seemed like the smartest of solutions.
Over the last few years, this idea has grown to be not just popular but seemingly the standard way of displaying fabric-based art. However, something that often surprises me is how rarely the hoops themselves are decorated. Its not so much that plain wood is unattractive but more often that it is uninteresting. So, alongside the fabric-based projects, this book also includes a section on decorating embroidery hoops from simple techniques like painting and staining, to more elaborate options including collage and crochet.
While most of the projects show off one of these hoop treatments, the idea is that youre free to mix and match. Take your favourite appliqu design and frame it in a collaged hoop instead of a painted one. If you cant crochet, swap yarn for a fancy lace trim. You can also mix things up when decorating the hoops, maybe yarn-wrapping sections of a wood-stained frame or combining paint and decorative tape. Think of the ideas as a recipe, blending different ingredients to create projects that perfectly suit your style and skills.
However you use the ideas, I hope youll be inspired to create beautiful projects that youre proud to display in a smarter-than-average embroidery hoop.
Materials and Equipment
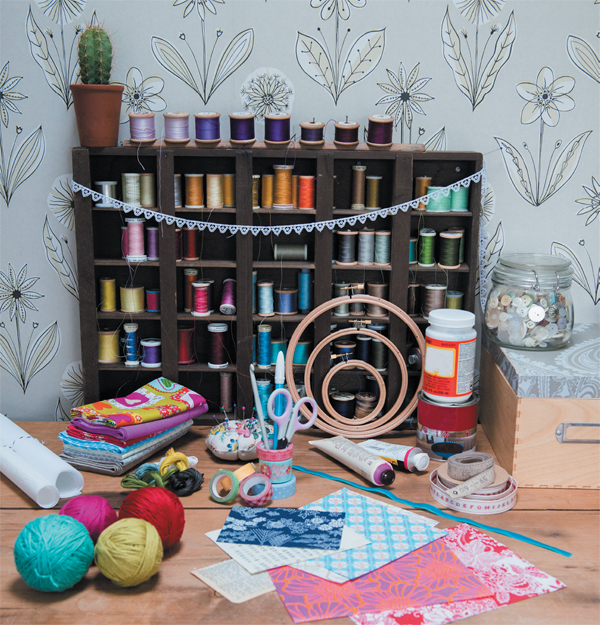
You may already have many of the tools needed for general sewing and crafting projects. The list given here covers those needed to make the projects in this book.
Materials
Fabric: Plain and patterned, new or vintage, in just about any colour or weight you want to try.
Felt: For covering the back of hoops, as well as using in projects.
Fusible web: This is a type of heat-activated dry adhesive, sold in sheets with a paper backing and used to join two pieces of fabric together. Its often sold under a brand name such as Bondaweb, HeatnBond or Wonder Under.
Interfacing: Fusible (iron-on) in medium and heavy weights.
Paper: For collage, e.g. patterned tissue, gift wrap, old book pages, scraps torn from magazines or catalogues.
Ribbon, braid, lace and other fancy trims: Short lengths of various trims will be useful for some of the projects.
Threads: Stranded embroidery threads and reels of sewing cotton.
Yarn: For wrapping and crochet.
Equipment
Wooden embroidery hoops: Various sizes, round or oval.
Scissors: A small pair for threads and embroidery, a large pair for cutting fabric and a separate pair for cutting paper or card.
Needles: Embroidery needles, sharps for general stitching, crewel or tapestry needles for stitching with yarn.
Pins: Dressmakers pins for temporarily fixing fabric pieces together.
Erasable fabric marker pen: For transferring patterns onto fabric. Remove the lines with water and a small paintbrush, or alcohol-free baby wipes.
Ruler and/or tape measure: A normal desk ruler and standard tape measure will be fine.
Screwdriver: For adjusting and tightening the hoop screw.
Pencil and tracing paper: For copying and transferring templates.
Adhesives: Fabric glue or good quality PVA for general use and finishing the back of your hoop, double-sided tape for yarn-wrapping hoops, Mod Podge for collage and spray adhesive for fixing felt to the back of hoops.
Iron and ironing board: Always press your work as you go along. It gives a much smarter finish and is well worth the small amount of extra time it might take.
Sewing machine (optional): Most projects can be stitched by hand and even those that specify machine stitching can be adapted to work as hand-sewn ideas.
Disposable nail file or sandpaper: For smoothing rough hoop edges (often in the join below the screw) so they dont snag fabric.
Washi or similar decorative tape: For decorating hoops.
Paint: Acrylic paint is tough and easy to use, but tester pots of household emulsion also work.
Wood stain: Go for a medium shade, such as walnut or oak. Brush on a single coat for a light finish or add several layers to build up a darker colour.
Small paintbrushes: For applying paints, wood stain or glue.
Crochet hook: A 3mm4mm (US D3G6) size crochet hook will be needed.
Computer and printer (optional): For projects with a digital element.
Hoop Treatments
This section gives instructions on starting and finishing work with a hoop, plus descriptions of the hoop treatments used, including painting, staining, yarn wrapping, decorative tape, collage, crochet and braid.
Working with Hoops
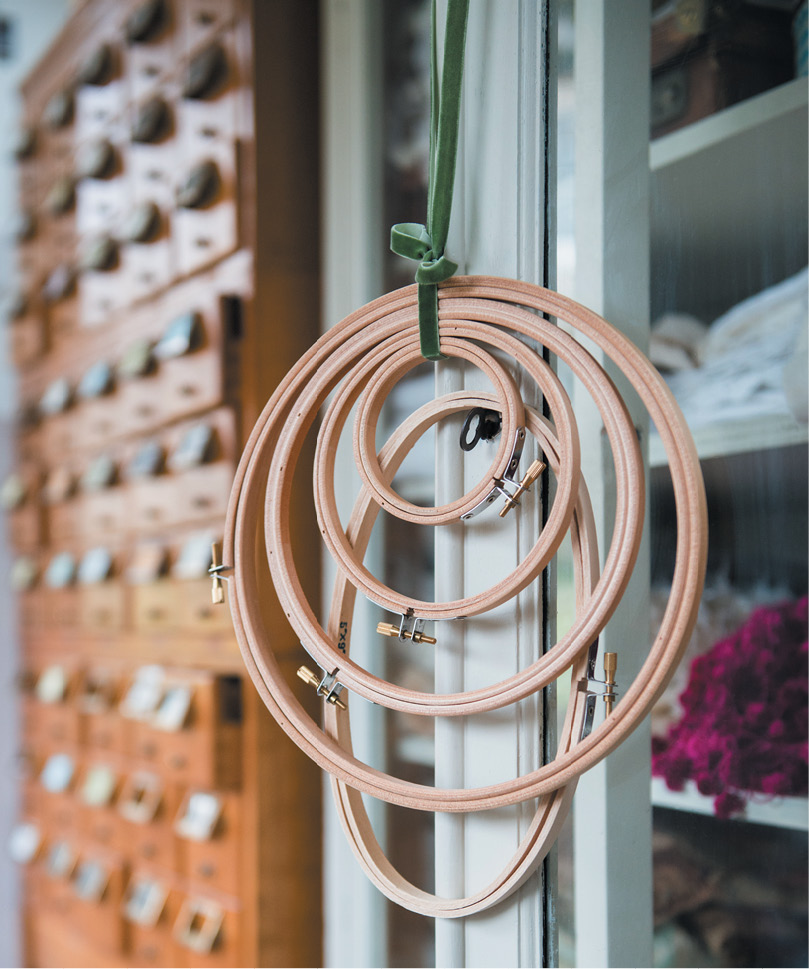
All of the embroidery hoops used in this book are wooden because they are easy to source, simple to use and tend to hold fabric more securely than plastic hoops. They range in size from 7.5cm (3in) to 30cm (12in). When youre shopping for hoops, theyll usually be sized in inches, going up in increments of an inch at a time. Oval hoops are a little harder to find, but make a nice alternative or complement to their circular cousins.
Top Tip
The fact youre choosing to display your work in an embroidery hoop doesnt necessarily mean you have to stitch it in a hoop. You can sew with it in a hoop or not, whichever you prefer for any given project.
Starting
To fix fabric across your hoop, loosen the screw at the top edge just enough to accommodate the thickness of the fabric. Separate the inner and outer parts of the hoop, place the fabric on top of the inner hoop and then press the outer one down firmly on top. If theres too much resistance, loosen the screw a little more. Once the fabric is in place, you can gently pull at the edges to make any small adjustments. When its smooth and taut in the hoop, use a screwdriver to re-tighten the screw.
Top Tip
Stretch fabrics, such as jersey, are tricky to fix evenly across a hoop. For the best results, iron interfacing onto the back of the fabric to stabilize it before you start.
Finishing
Once your project is stitched and stretched into a decorated hoop, you need to finish off the back so its neat and ready to display. There are various ways to do this, as follows. For an extra-neat finish, cut out a circle of felt and glue over the back of your hoop to cover all raw edges and knotted threads.

