

TABLE OF CONTENTS

SUPPLIES

BASIC TECHNIQUES
PROJECTS

BASIC TECHNIQUES
PROJECTS

BASIC TECHNIQUES
PROJECTS

BASIC TECHNIQUES
PROJECTS

BASIC TECHNIQUES
IN MEMORY OF
DOROTHY JANE LANDON,
MY GRANDMA.
I MISS YOU.


A
INTRODUCTION
Id like to start this book out on the right foot by telling you what I tell students at the start of most of my classes and workshopsits a suggestion for how to begin. Id like to ask you to approach this book, and your work in general, with a spirit of experimentation and curiosity. It has been my experience that from this place, great ideas are generated.
Many times when Ive been teaching, students have requested that I not look at the wrong side of their work, for fear that I will judge them for having sloppy knots or loose stitches. For many years, to learn how to embroider was to learn something about perfection, patience, and politeness. A look at nineteenth-century Colonial samplers reveals a practice dedicated to teaching not only embroidery but also, and perhaps more importantly at that time, following rules. To say that embroidery was uptight is an understatement.
However, to know me is to know that I am not a perfectionist. I like to make things up as I go along. I approach embroidery as a way of drawing, using stitches to add layer after layer of color and texture, producing dense artworks that hang on the wall as a painting would. If a stitch ends up where it doesnt belong, I add more over the top instead of taking it out.
When students ask me not to look at their embroiderys wrong side, I laugh. Look at mine! Sometimes the front is almost as crazy! While an embroidery instructor in the 1950s might have insisted that your cloth be knot-free, I encourage you to do what it takes to get going and to think of knots as an opportunity to add texture to even the front side of your fabric.
I learned how to embroider in a feminist art history class, diving deep into the history of sampler makers and falling instantly in love with this history embedded in womens lives. Since then, Ive been interested in turning it on its head. While embroiderys history has sometimes been oppressive, it has also yielded a huge stock of beautiful artwork, with many shining examples of women and girls who broke the mold to tell their own stories. I started using embroidery as a way to tell my own non-traditional story in that college course, and along the way, I fell in love with this rich and textured medium.
This book introduces a new way of working with needle and thread, inspired by traditions, but forging ahead into a new artful way of manipulating them, with exercises that invite everyone, regardless of ability or experience, to jump in, stretch, and make things. I hope youll begin with a few experiments of your own and see where they take you.
A
GET READY
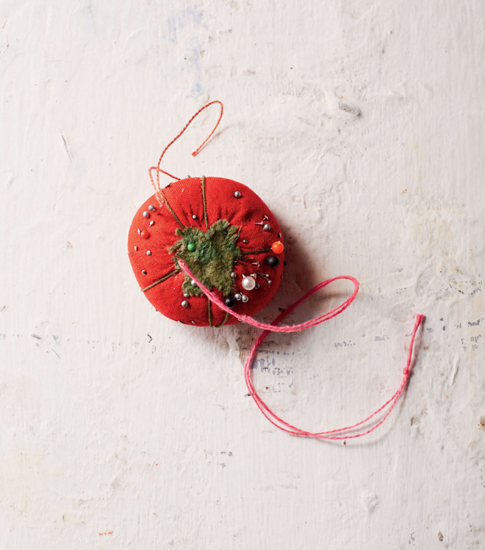
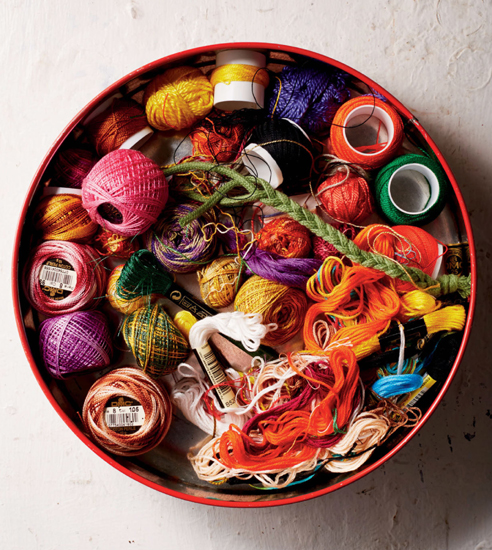
Once you begin to embroider, you may find yourself the lucky recipient of everyone elses inherited sewing notions. Over the years Ive inherited beautiful cookie tins full of scissors, antique tomato pincushions, rusted needles, handmade wooden hoops, and thread, so much thread. One of my most treasured notions is a tattered and worn tape measure, carefully hand-appliqud with the users name: Rose. Many of these notions, passed down through friends and family, are still in fine shape. In fact, some are in better shape than what I could go out and buy today. All this is to say that if youre looking to get started in embroidery, most of what youll need might be as close by as your neighbors bottom drawer or crowded closet.
Here, Ive included the supplies that I like to keep on hand. Compared to other art forms and pastimes, embroidery doesnt require much in the way of materials and tools. Youll need fabric, which you likely have lots of (think old clothes), thread, a hoop, a needle or two, and some scissors. All in all, you could assemble a basic kit for under ten dollars.
A
THREADS

When most people get ready to embroider, they reach for embroidery floss. This consists of 6 fine strands of (usually) cotton thread, loosely twisted together, which can be separated and used singly or combined to make the desired thickness. For a really thick mark you can double it and use 12 strands, or add even more. DMC 6-strand floss is the gold standard in this department. It is a double-mercerized cotton that has been dyed (in more than 400 colors!) in France for over a century. Another good brand is Anchor. Both are lightfast, colorfast, and smooth, and stay relatively tangle-free as you work. The colors are consistent, and they do not run if you need to wet your fabric. Pay the extra few cents to purchase the real thing.
However! Embroidery is like drawing, and just as drawing can be done with all sorts of implements, from a thin pencil to a fat crayon, you can embroider with almost anything that you can stuff into a needle.
A
FOR THIN LINES
FLOWER THREAD
A single-strand unmercerized cotton with a dull finish.
SEWING THREADS
Next page
