Ken Goldman - Drawing Concepts: A Complete Guide to Essential Drawing Techniques and Fundamentals
Here you can read online Ken Goldman - Drawing Concepts: A Complete Guide to Essential Drawing Techniques and Fundamentals full text of the book (entire story) in english for free. Download pdf and epub, get meaning, cover and reviews about this ebook. year: 2021, publisher: Walter Foster Publishing, genre: Home and family. Description of the work, (preface) as well as reviews are available. Best literature library LitArk.com created for fans of good reading and offers a wide selection of genres:
Romance novel
Science fiction
Adventure
Detective
Science
History
Home and family
Prose
Art
Politics
Computer
Non-fiction
Religion
Business
Children
Humor
Choose a favorite category and find really read worthwhile books. Enjoy immersion in the world of imagination, feel the emotions of the characters or learn something new for yourself, make an fascinating discovery.

- Book:Drawing Concepts: A Complete Guide to Essential Drawing Techniques and Fundamentals
- Author:
- Publisher:Walter Foster Publishing
- Genre:
- Year:2021
- Rating:5 / 5
- Favourites:Add to favourites
- Your mark:
Drawing Concepts: A Complete Guide to Essential Drawing Techniques and Fundamentals: summary, description and annotation
We offer to read an annotation, description, summary or preface (depends on what the author of the book "Drawing Concepts: A Complete Guide to Essential Drawing Techniques and Fundamentals" wrote himself). If you haven't found the necessary information about the book — write in the comments, we will try to find it.
Step-by-Step Studio: Drawing Concepts offers the fundamental information beginning artists need to kick off their creative pursuits in graphite pencil.
Featuring in-depth instruction on composition, value, creating textures, using and manipulating photo references, and more, Step-by-Step Studio: Drawing Concepts is the perfect guide for you as a beginning or intermediate artist. After an introduction to art tools and materials and very basic techniques, four accomplished artists offer insight, tips, and helpful demonstrations that illustrate important art concepts and techniques. You will also find an impressive and varied selection of step-by-step projects to re-create, including still lifes, flowers, animals, landscapes, and portraits in the four sections.
Values: Covers shapes, form, the light source, how to create depth, and the elements of design.
Dynamic Compositions: Discusses viewpoint, the golden mean, symmetry and asymmetry, focal points, landscapes, and negative space.
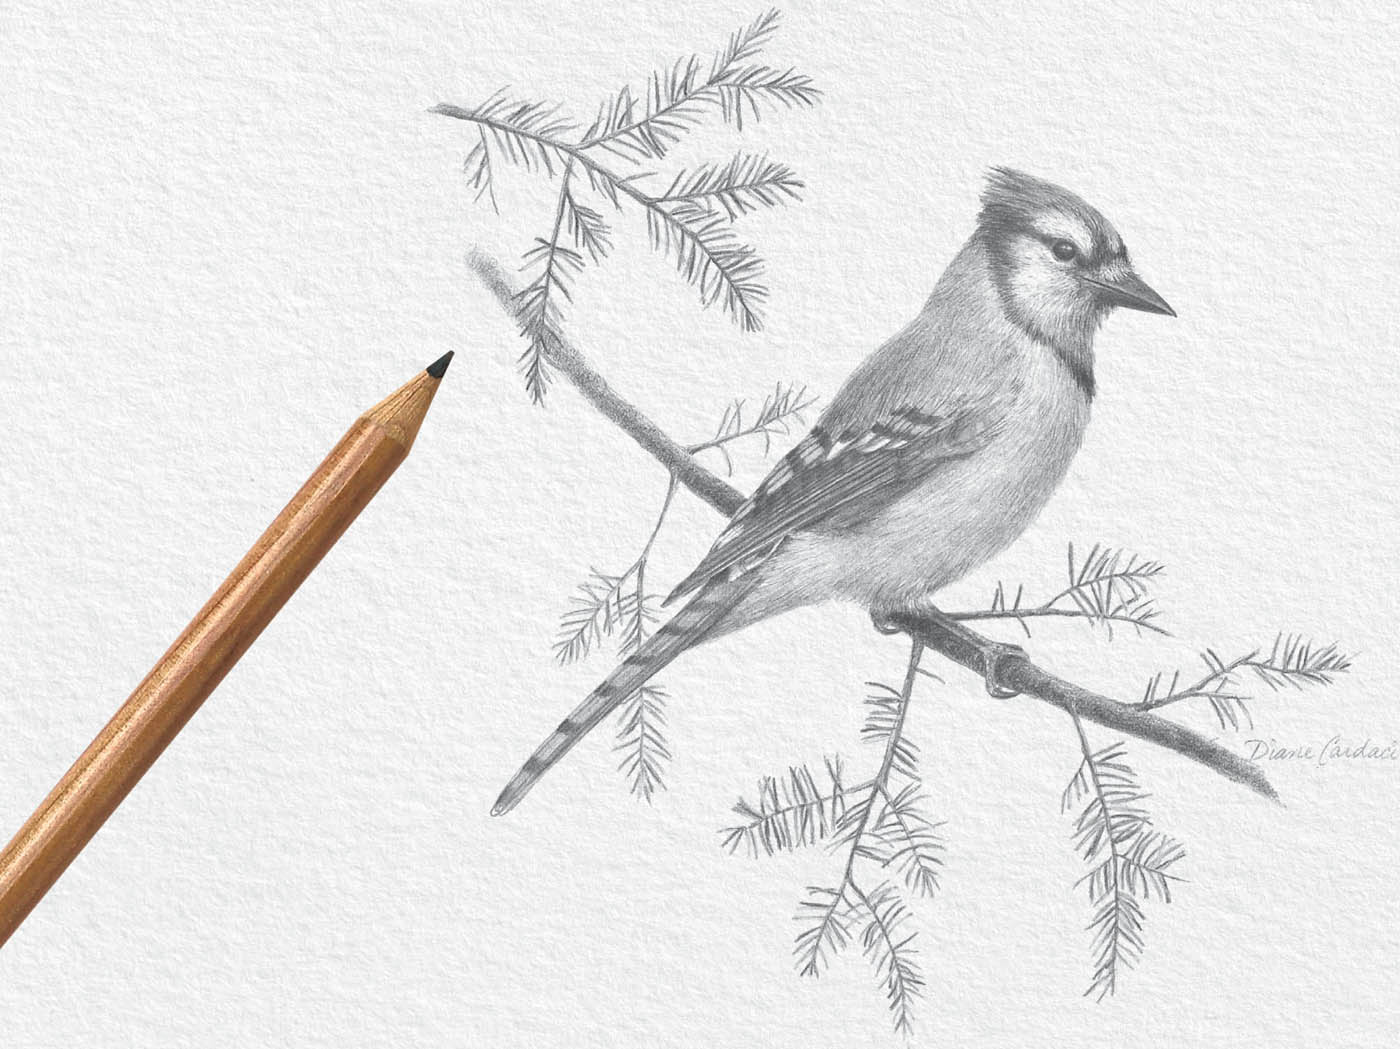
Realistic Textures: Focuses on rendering the many different textures found in traditional still lifes, animals, people, plants and flowers, and landscapes.
Step-by-Step Exercises: Includes additional drawing projects, such as a teddy bear, landscape, horse, floral still life, portrait of a girl, and fruit and wine.
Throughout the book, artists Ken Goldman, William F. Powell, Diane Cardaci, and Carol Rosinski offer practical and easy-to-understand drawing techniques and art principles. The journey through Step-by-Step Studio: Drawing Concepts is not about making perfect drawings; its about making each drawing better than the one before it, while having a great time.
The books in the Step-by-Step Studio series are project driven and introduce beginning artists to the fundamental tools and techniques of their chosen medium. Easy-to-follow step-by-step projects help beginners hone their skills while creating artwork across a variety of subjects, from still life and landscapes to animal portraits and botanicals.
Ken Goldman: author's other books
Who wrote Drawing Concepts: A Complete Guide to Essential Drawing Techniques and Fundamentals? Find out the surname, the name of the author of the book and a list of all author's works by series.
Drawing Concepts: A Complete Guide to Essential Drawing Techniques and Fundamentals — read online for free the complete book (whole text) full work
Below is the text of the book, divided by pages. System saving the place of the last page read, allows you to conveniently read the book "Drawing Concepts: A Complete Guide to Essential Drawing Techniques and Fundamentals" online for free, without having to search again every time where you left off. Put a bookmark, and you can go to the page where you finished reading at any time.
Font size:
Interval:
Bookmark:
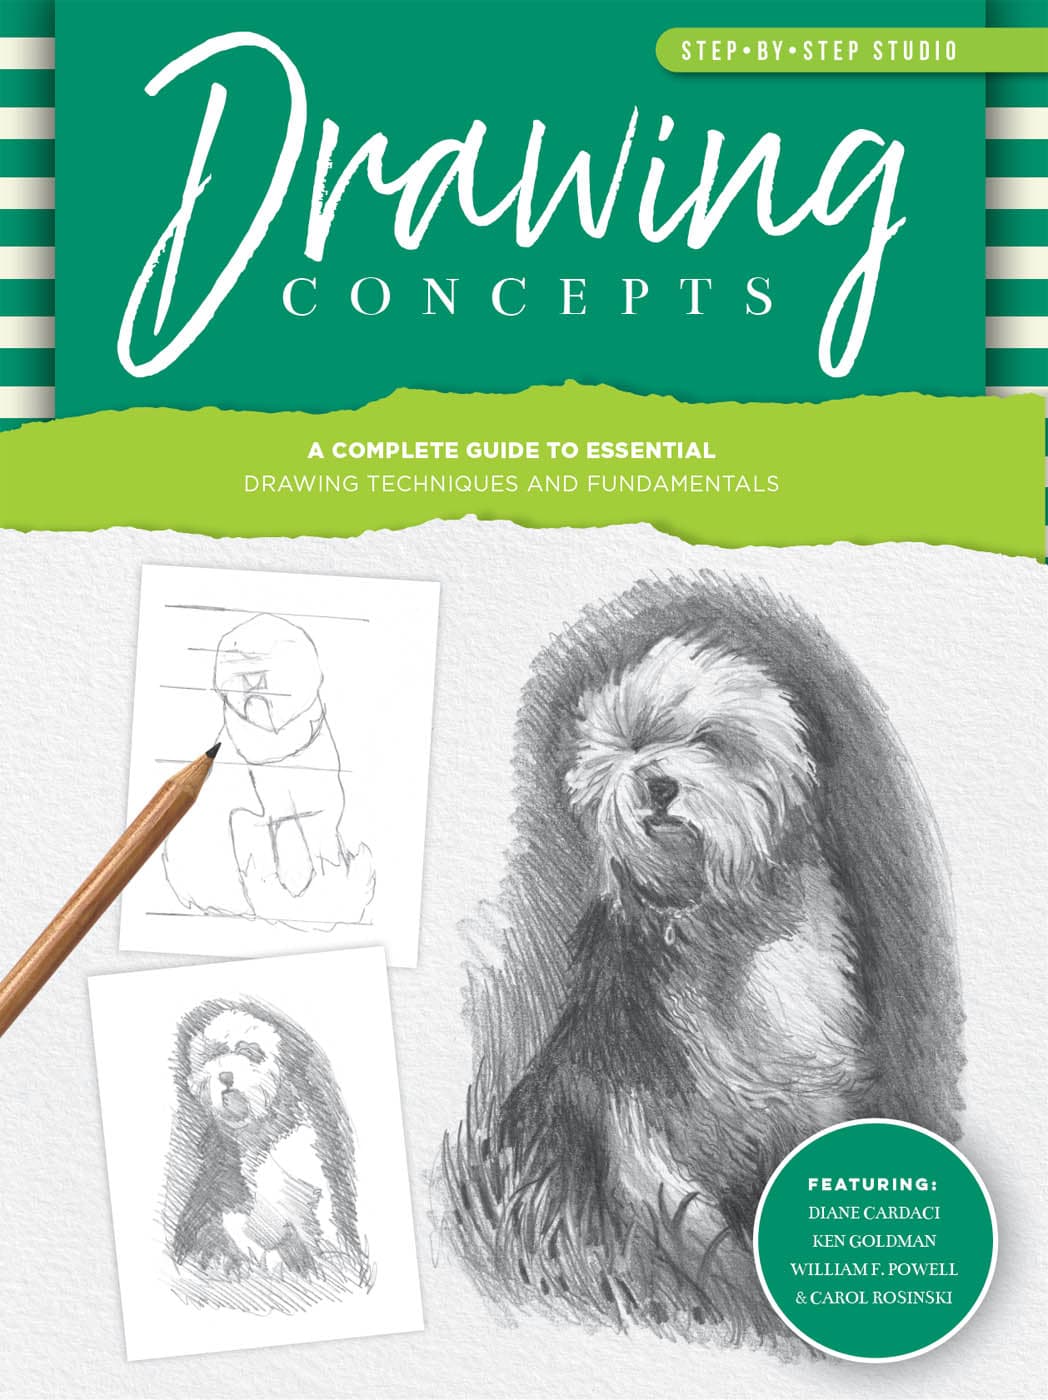
CONCEPTS
With Diane Cardaci, Ken Goldman, William F. Powell, and Carol Rosinski

One of the great things about drawing is that you can do it anywhere, and the materials are inexpensive. You do get what you pay for, though, so purchase the best you can afford, and upgrade your supplies whenever possible. All you really need to start are a pencil, eraser, and paper, but there are a few other items that will come in handy as well.
Artists pencils (A) contain a graphite center (lead) and are sorted by hardness (grades), from very soft (labeled 9B) to very hard (labeled 9H). You dont need a pencil of every grade when you first begin drawing; a good starting collection for this book is 6B, 4B, 2B, HB, B, 2H, 4H, and 6H. Pencil hardness is not standardized, so when buying this first group of pencils, make sure they are all the same brand. Lead holders (B), which take lead refills, are an alternative to wooden pencils. Usually made of metal and plastic, lead holders are convenient and easy to use but less economic than wooden pencils.
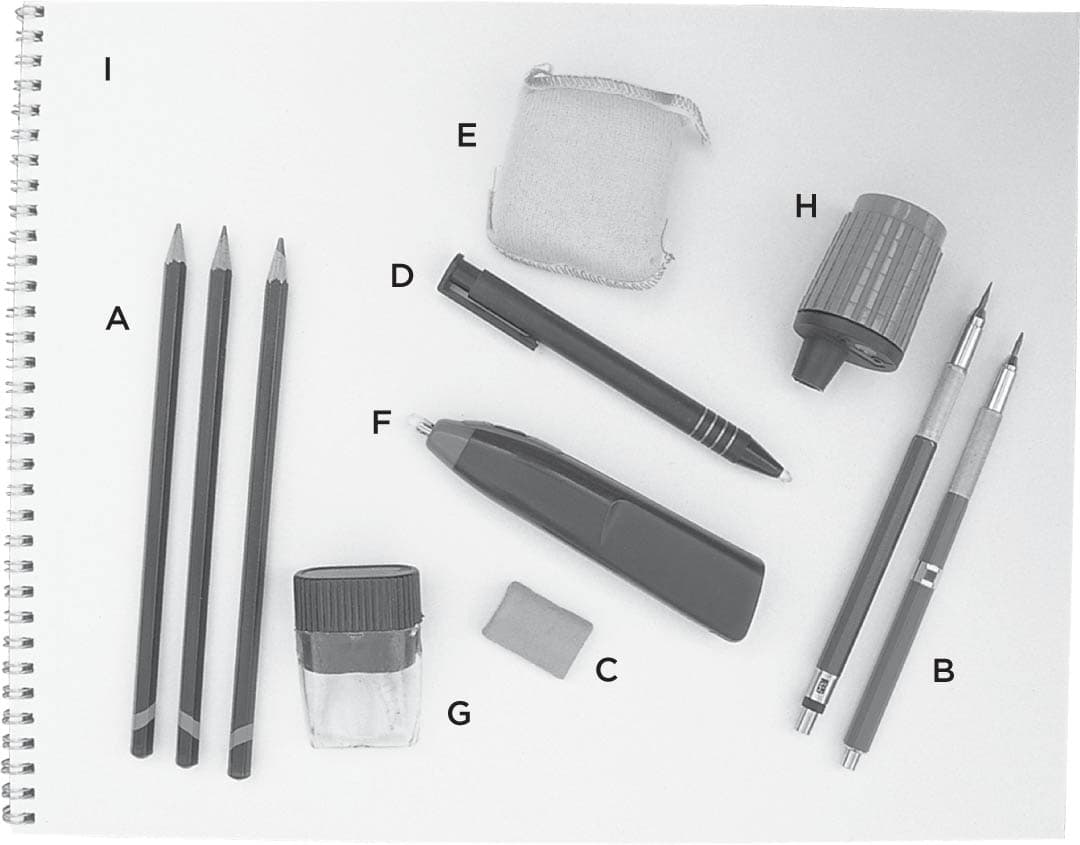
Purchasing the Essentials Your local arts and crafts store is sure to carry the basic items shown above. Keep in mind that its best to purchase the highest quality materials you can afford, as these produce the best results.
There are three basic types of erasers for use in pencil drawing: kneaded (C), stick (D), and pillow (E). Kneaded erasers are very soft and can be molded into different shapes. Stick erasers come in pen-shaped holders and easily can be carved into a point using a craft knife or razor blade. Pillow erasers are made of a loosely woven cloth filled with loose erasing material, allowing you to clean up smudges and accidental marks on large areas.
If you are using wooden pencils, a simple hand-held sharpener (G) that catches the shavings is a good choice. Electric sharpeners also are great, as they quickly produce a very sharp tip. If you are using lead holders, be sure to buy the appropriate sharpener for your brand (H).
For practice sketches, purchase a medium-weight (50-to 60-lb) paper pad, which is bound with tape or a wire spiral (I). For more finished drawings, buy a heavy-weight paper (about 70- to 80-lb). Paper texture (the tooth) also varies: Plate or hot-pressed paper is smooth and allows for softer blends and smooth shading, whereas vellum or cold-pressed paper is rough and allows for strokes with more texture.
Brushes arent usually thought of as a drawing tool, but they can be extremely useful for creating smooth blends and gradations and for applying graphite dust directly to the drawing surface. You can use any flat, soft-bristle paintbrush for this method. Small brushes with short bristles allow for more accuracy, so you may have to trim the bristles to the desired length with a small pair of sharp scissors.
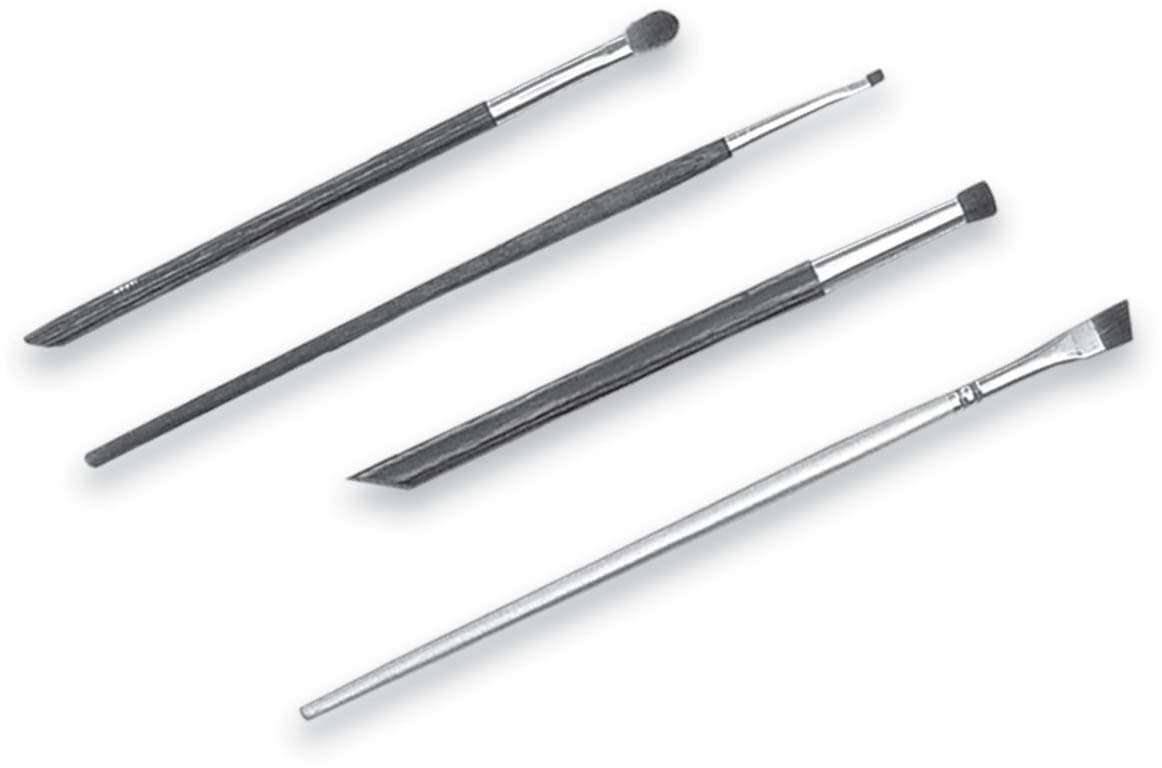
Trimming Bristles When trimming the bristles of a paintbrush, cut the bristles at a slight angle (youll be holding the brush at an angle to the paper). The trimmed brush has stiffer bristles that give you much more control when working with graphite.
A blow bulb comes in handy for blowing away loose graphite dust and eraser crumbs without disturbing the drawing (A). A small craft knife is an ideal tool for shaping erasers (B). A blending stumpsoft paper packed into the shape of a slim cylinderhelps smearing and blending (C). Emery boards allow you to sharpen pencils and create piles of loose graphite (D). Pencil extenders add length to your short pencils so you can grip them properly (E), and spray fixative prevents smudging on your finished piece (F).
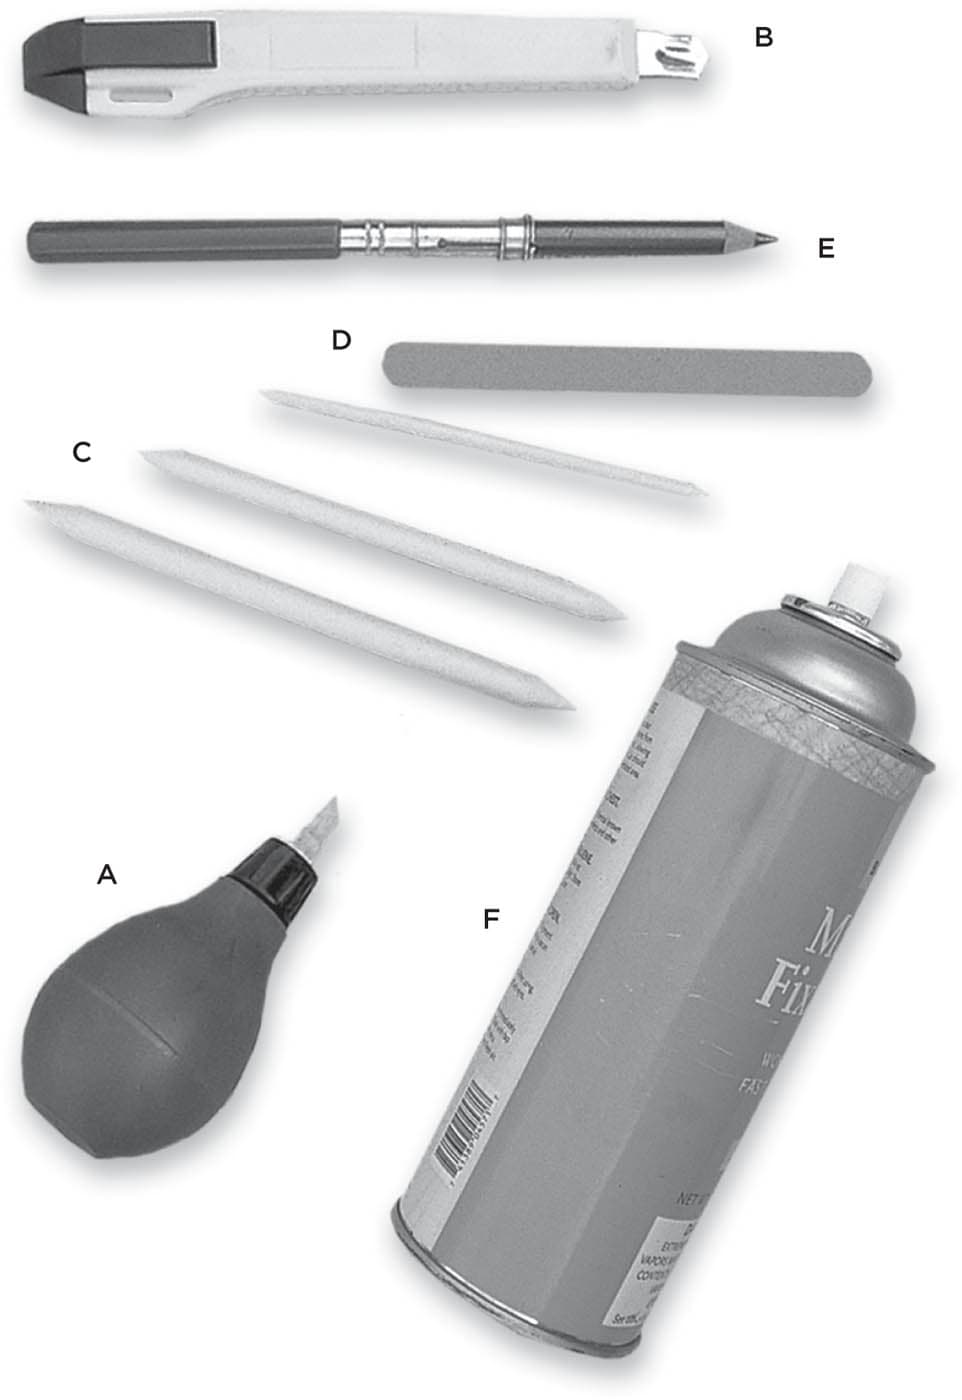
Gathering Additional Items Most of the items pictured above can be found at your local arts and crafts store. Others, such as tissues and cotton swabs, you may already have in the house.
Set up a comfortable workspace to match your style. You may choose to stand to allow free arm movement or sit at a table for more precise work. Make sure that your body or hand will not block good lighting. Ensure good lighting with a floor lamp, desk light, or clamp-on light with a natural or daylight bulb, which mimics sunlight and is easy on the eye.
You can create an incredible variety of effects with a pencil. By using various hand positions and shading techniques, you can produce a world of different lines and strokes. If you vary the way you hold the pencil, the mark the pencil makes changes. Its just as important to notice your pencil point. The point is every bit as essential as the type of lead in the pencil. Experiment with different hand positions and pencil points to see what your pencil can do!
There are two main hand positions for drawing. The writing position is good for very detailed work that requires fine hand control, as well as for texture techniques that require using the point of the pencil. The underhand position allows for a freer stroke with more arm movementthe motion is almost like painting.
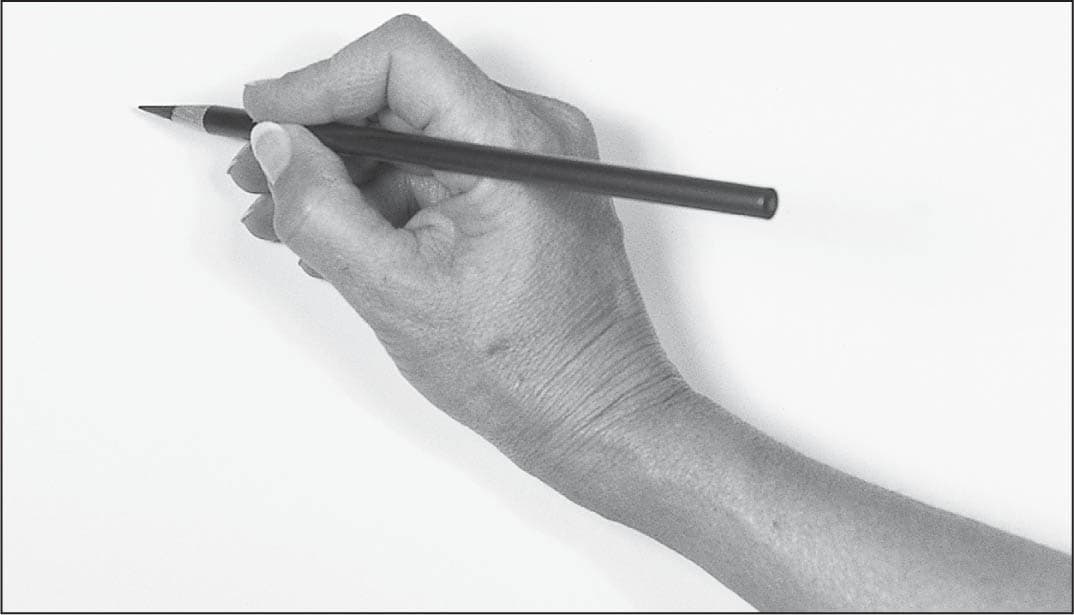
Using the Writing Position This familiar position provides the most control. Hold the pencil as you normally do while writing. The accurate, precise lines that result are perfect for rendering fine details and accents.
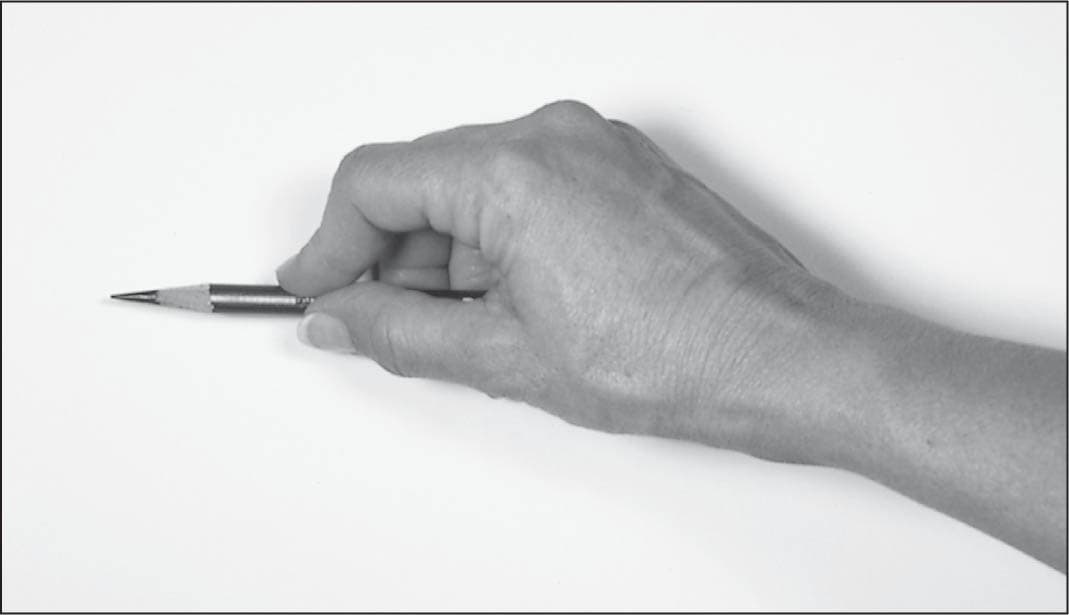
Using the Underhand Position Pick up the pencil with your hand over it, holding the pencil between the thumb and index finger; the remaining fingers can rest alongside the pencil. You can create beautiful shading effects from this position.
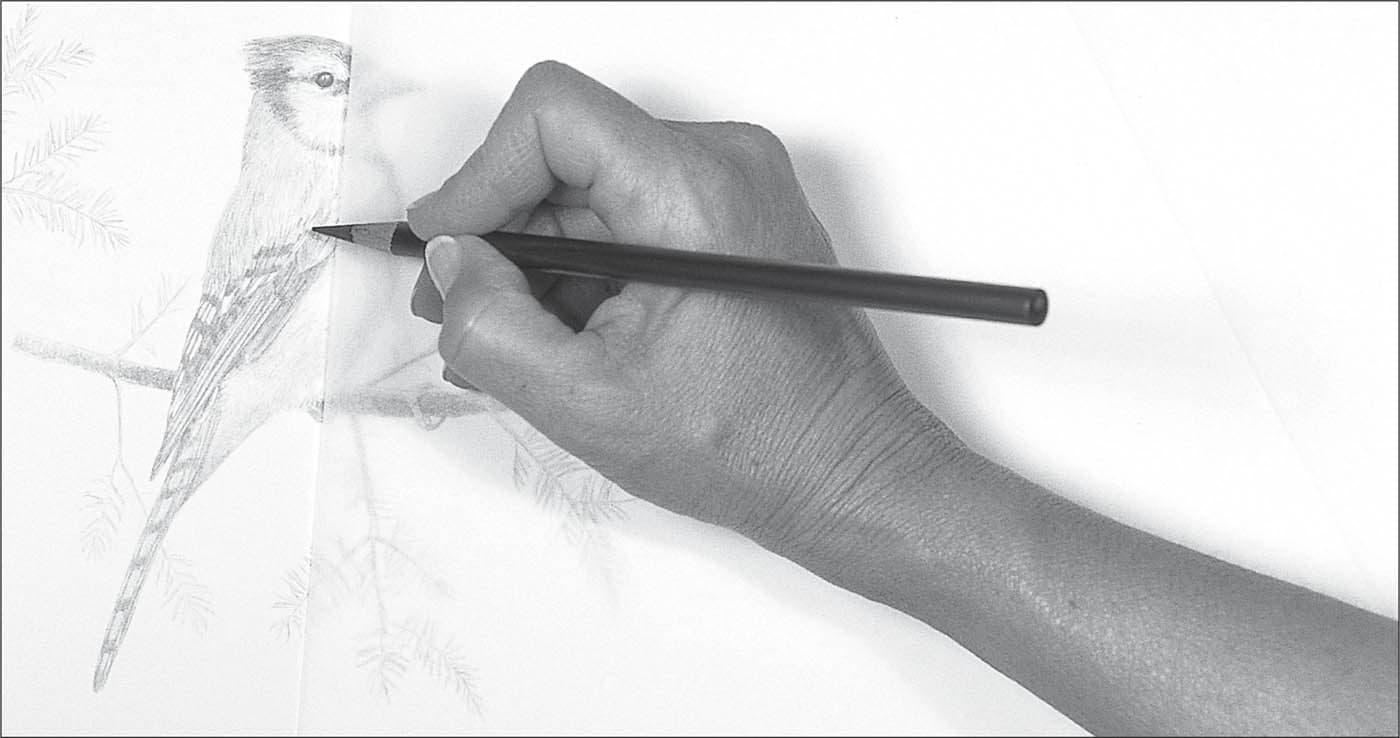
Protecting Your Art Use a piece of tracing paper as a barrier between your hand and your drawing. The tracing paper not only prevents you from smudging your drawing, but it also keep oils from your skin from damaging the art.
Font size:
Interval:
Bookmark:
Similar books «Drawing Concepts: A Complete Guide to Essential Drawing Techniques and Fundamentals»
Look at similar books to Drawing Concepts: A Complete Guide to Essential Drawing Techniques and Fundamentals. We have selected literature similar in name and meaning in the hope of providing readers with more options to find new, interesting, not yet read works.
Discussion, reviews of the book Drawing Concepts: A Complete Guide to Essential Drawing Techniques and Fundamentals and just readers' own opinions. Leave your comments, write what you think about the work, its meaning or the main characters. Specify what exactly you liked and what you didn't like, and why you think so.