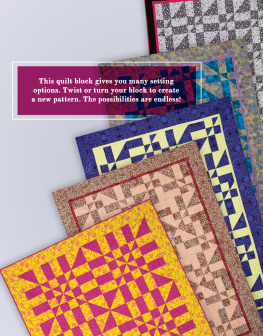
Carolyn Vagts - I Can Quilt
Here you can read online Carolyn Vagts - I Can Quilt full text of the book (entire story) in english for free. Download pdf and epub, get meaning, cover and reviews about this ebook. year: 2014, publisher: Annies, genre: Home and family. Description of the work, (preface) as well as reviews are available. Best literature library LitArk.com created for fans of good reading and offers a wide selection of genres:
Romance novel
Science fiction
Adventure
Detective
Science
History
Home and family
Prose
Art
Politics
Computer
Non-fiction
Religion
Business
Children
Humor
Choose a favorite category and find really read worthwhile books. Enjoy immersion in the world of imagination, feel the emotions of the characters or learn something new for yourself, make an fascinating discovery.

- Book:I Can Quilt
- Author:
- Publisher:Annies
- Genre:
- Year:2014
- Rating:5 / 5
- Favourites:Add to favourites
- Your mark:
I Can Quilt: summary, description and annotation
We offer to read an annotation, description, summary or preface (depends on what the author of the book "I Can Quilt" wrote himself). If you haven't found the necessary information about the book — write in the comments, we will try to find it.
Carolyn Vagts: author's other books
Who wrote I Can Quilt? Find out the surname, the name of the author of the book and a list of all author's works by series.


I Can Quilt — read online for free the complete book (whole text) full work
Below is the text of the book, divided by pages. System saving the place of the last page read, allows you to conveniently read the book "I Can Quilt" online for free, without having to search again every time where you left off. Put a bookmark, and you can go to the page where you finished reading at any time.
Font size:
Interval:
Bookmark:
If you are an Annies customer and have a question about the instructions on a pattern you have purchased, please visit:
AnniesCatalog.com/pages/customer_care/pattern_services.html
To download templates for easy printing, view the download instructions at the end of this book or click the Templates chapter in the Table of Contents.
Introduction
Before you begin your quilting lessons, learn about your sewing machine and practice stitching on scraps of fabric.
Then read through the following general supplies list given below, and quilting how-to tips and quilting vocabulary found in General Instructions, pages 31 and 32. Your lessons will have you turning to these sections for tips.
SUPPLIES YOU WILL NEED
Each lesson will list materials you will need to complete the lesson project. You will also need the basic tools and equipment listed here. Please be careful when handling all the tools and equipment. Some can be dangerous.
Sewing machine
Fabric scissors
Rotary cutter and cutting mat
Clear quilting ruler
Straight pins
Curved quilting safety pins
Variety of hand-sewing needles
Seam ripper
Iron and ironing board
Water soluble fabric marking pen
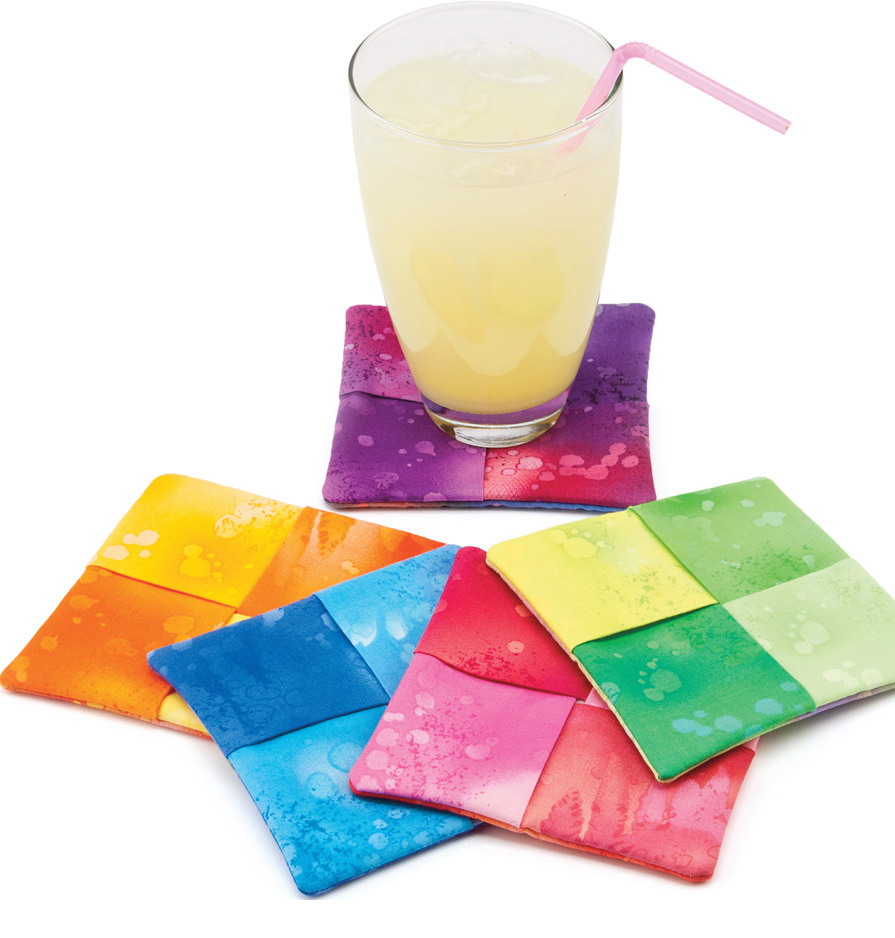
Coaster: 4" x 4"
Materials listed make one coaster.
5 different (5") precut squares in the same color family
1 (5") square of batting
Neutral-color all-purpose thread
Basic sewing tools and supplies
Stitch right sides together using a " seam allowance unless otherwise indicated.
Fold four of the 5" precut squares in half wrong sides together, as shown in Figure 1, and press. Mark with numbers 14 and set aside.

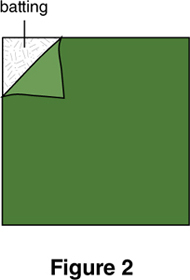
Position the last 5" precut square right side up on top of the 5" square of batting matching the edges as shown in Figure 2 to make a batting/backing unit.
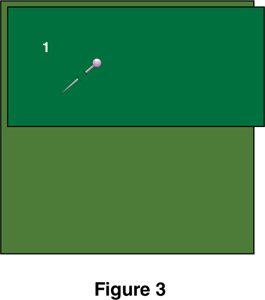
Position folded square 1 across the top half of the batting/backing unit matching cut edges (Figure 3). Pin in place.
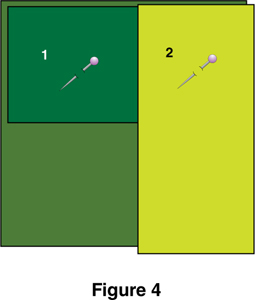
Position folded square 2 on top of the first folded square matching cut edges with the right side of the batting/backing unit as shown in Figure 4. Pin in place.
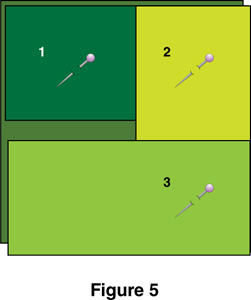
Position folded square 3 across the bottom of the batting/backing unit and on top of folded square 2 as shown in Figure 5 matching cut edges. Pin in place.
Remove the pin from folded square 1 and fold un-pinned section back over the upper right corner of folded square 2 as seen in Figure 6a.
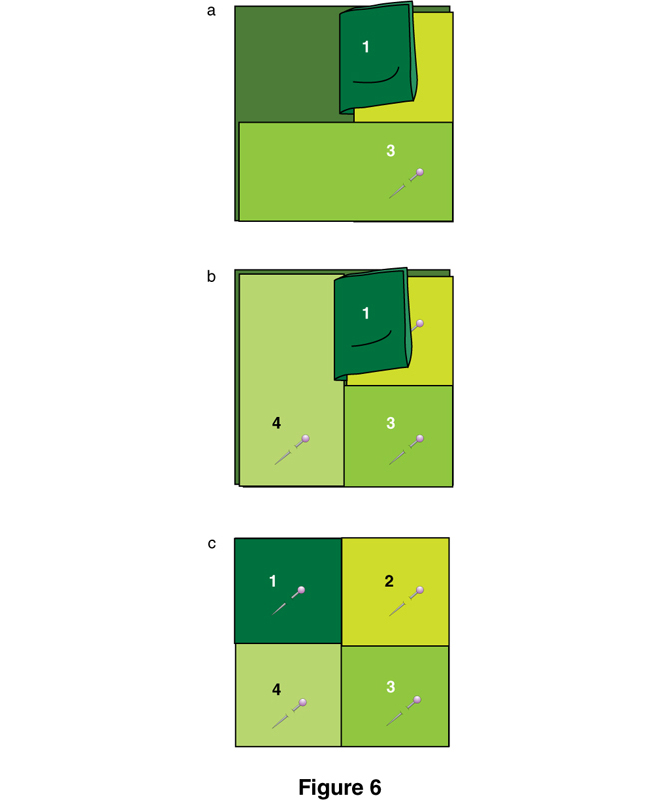
Position folded square 4 on the left side of the batting/backing unit matching cut edges as seen in Figure 6b.
Unfold folded square 1 to cover the top left corner of folded square 4 as shown in Figure 6c and pin around outside edges to hold.
Stitch " away from all outer edges, pivoting at each corner (Figure 7). Remove all pins.

Quilters Seams
Quilters want a seam that is the same width the entire length of the seam. Sewing a consistent seam is easy if you take your time and follow these instructions.
Pin through all layers close to the raw edges.
Position the raw edges on the " mark on your sewing machine bed under the presser foot and needle.
Lower the needle into the fabric, lower the presser foot and slowly begin stitching.
Keep the raw edges moving along the " mark until you have completed the seam.
Raise the needle and presser foot. Pull the stitched fabric layers away from the needle and clip the threads leaving a thread tail on the seam.
Remember: Practice makes perfect. If you are having problems, practice stitching two or more layers of scrap fabric together.
Trim each corner by cutting off some of the seam allowance on the diagonal (Figure 8). Be careful not to cut through the stitching. Trimming the corner will help make sharp, pointed corners after turning right side out.

Push the batting/backing to the right side through the folded squares. Carefully push the coaster points out with a pencil or pen. Press coaster flat.
Make more coasters by gathering the materials listed for each coaster to be made and repeat all assembly steps. 


7" x 7" folded
9 coordinating 5" precut squares
1 coordinating fat quarter
2 (36") pieces of coordinating color "" cord
All-purpose thread
Safety pin
Basic sewing tools and supplies
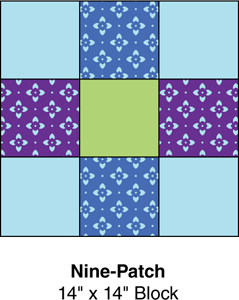
Cut one 14" square from the coordinating fat quarter.
Arrange the nine 5" precut squares in three rows of three squares each as shown in Figure 1.
Note: You can rearrange the squares in the rows to make your own color arrangement and design.
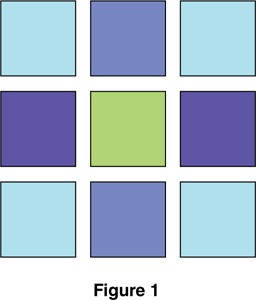
Stitch the first row of squares right sides together along one side using a " seam allowance (Figure 2). Press the seam allowances to one side. Go to Pressing on page 31 for tips.

Font size:
Interval:
Bookmark:
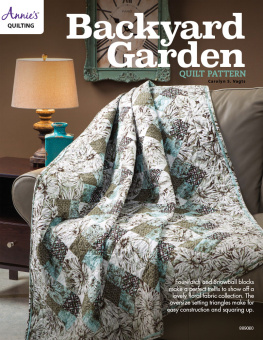
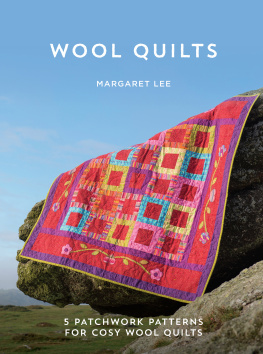
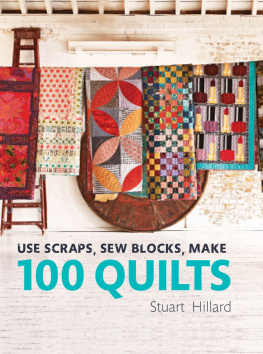
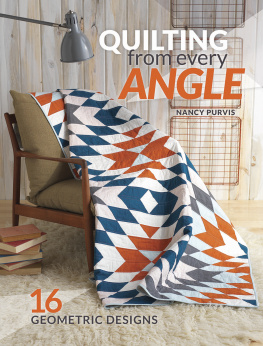
Similar books «I Can Quilt»
Look at similar books to I Can Quilt. We have selected literature similar in name and meaning in the hope of providing readers with more options to find new, interesting, not yet read works.
Discussion, reviews of the book I Can Quilt and just readers' own opinions. Leave your comments, write what you think about the work, its meaning or the main characters. Specify what exactly you liked and what you didn't like, and why you think so.