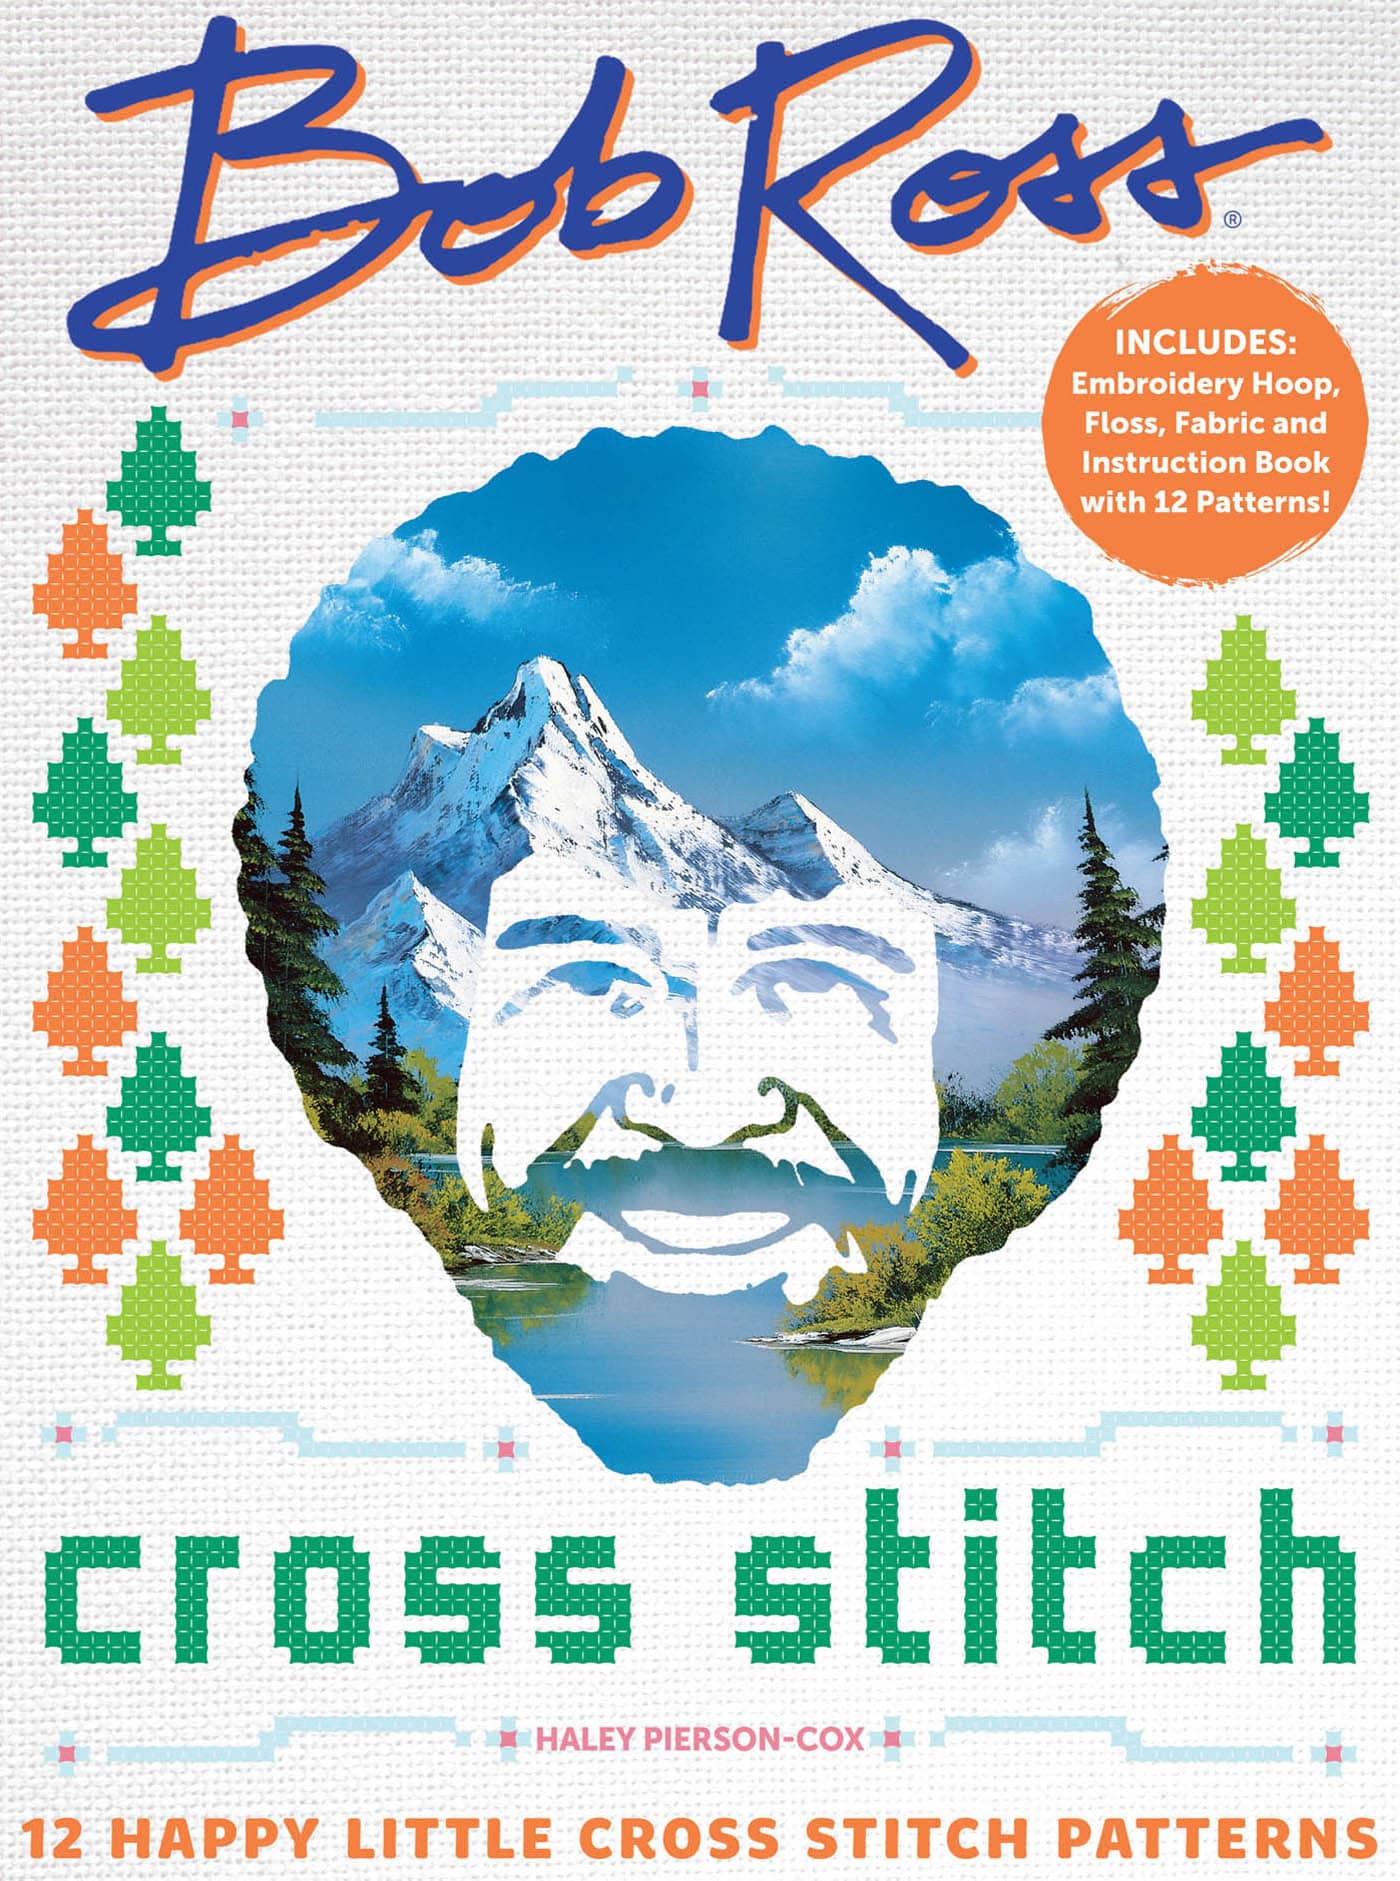
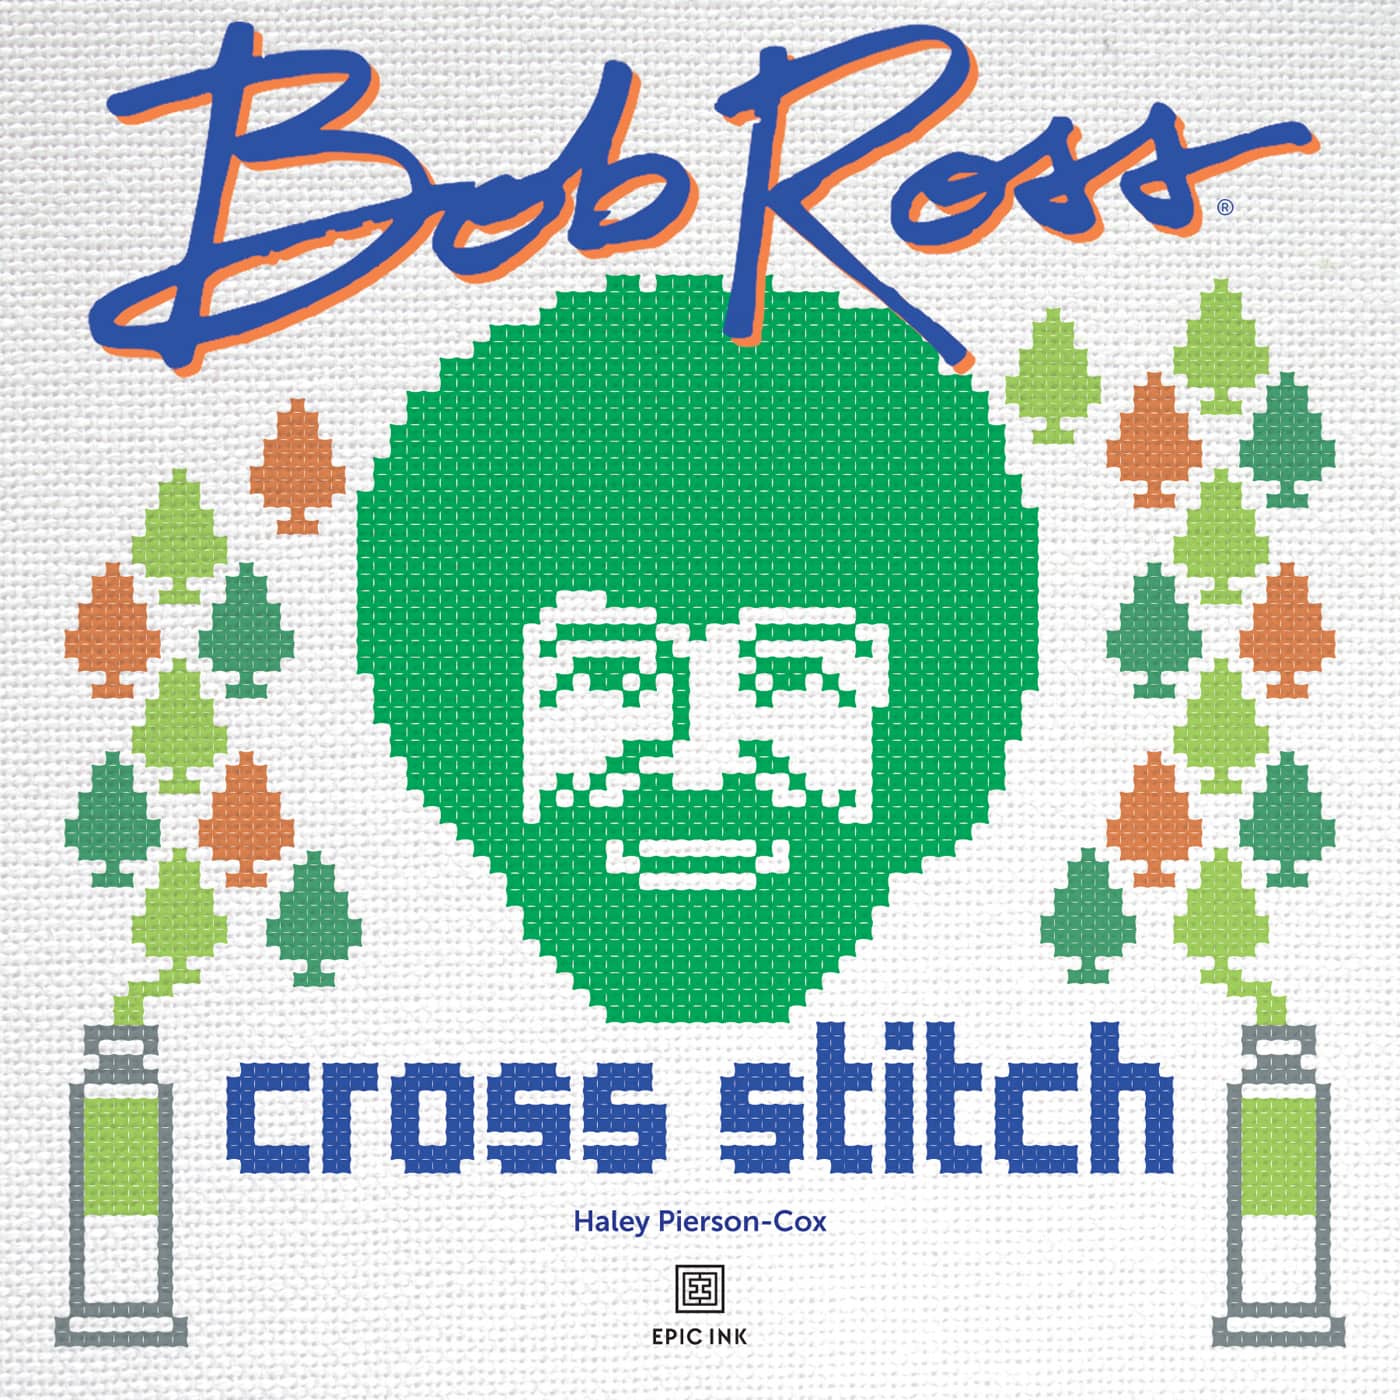
Haley Pierson-Cox - Bob Ross Cross Stitch: 12 Happy Little Cross Stitch Patterns
Here you can read online Haley Pierson-Cox - Bob Ross Cross Stitch: 12 Happy Little Cross Stitch Patterns full text of the book (entire story) in english for free. Download pdf and epub, get meaning, cover and reviews about this ebook. year: 2022, publisher: becker&mayer! books ISBN, genre: Home and family. Description of the work, (preface) as well as reviews are available. Best literature library LitArk.com created for fans of good reading and offers a wide selection of genres:
Romance novel
Science fiction
Adventure
Detective
Science
History
Home and family
Prose
Art
Politics
Computer
Non-fiction
Religion
Business
Children
Humor
Choose a favorite category and find really read worthwhile books. Enjoy immersion in the world of imagination, feel the emotions of the characters or learn something new for yourself, make an fascinating discovery.

- Book:Bob Ross Cross Stitch: 12 Happy Little Cross Stitch Patterns
- Author:
- Publisher:becker&mayer! books ISBN
- Genre:
- Year:2022
- Rating:3 / 5
- Favourites:Add to favourites
- Your mark:
Bob Ross Cross Stitch: 12 Happy Little Cross Stitch Patterns: summary, description and annotation
We offer to read an annotation, description, summary or preface (depends on what the author of the book "Bob Ross Cross Stitch: 12 Happy Little Cross Stitch Patterns" wrote himself). If you haven't found the necessary information about the book — write in the comments, we will try to find it.
Bob Ross Cross Stitch honors the beloved artists legacy with 12 patterns featuring Bob Rosss famous quotes.
Bob Ross brought happiness to millions with his oil painting program The Joy of Painting and continues to spread that joy to a new audience through YouTube, Amazon Prime, Tubi, re-runs on public television, and many, many others. His beautiful landscapes, calming presence, and wise quotesWe dont make mistakes. We just have happy accidentshave become the hallmarks of his brand.
The 48-page, illustrated instruction book has 12 different patterns inspired by Rosss quotes.
Bob Ross Cross Stitch provides the perfect inspiration for crafters everywhere. After all, as Bob Ross said, anytime you learn, you gain.
Haley Pierson-Cox: author's other books
Who wrote Bob Ross Cross Stitch: 12 Happy Little Cross Stitch Patterns? Find out the surname, the name of the author of the book and a list of all author's works by series.

Bob Ross Cross Stitch: 12 Happy Little Cross Stitch Patterns — read online for free the complete book (whole text) full work
Below is the text of the book, divided by pages. System saving the place of the last page read, allows you to conveniently read the book "Bob Ross Cross Stitch: 12 Happy Little Cross Stitch Patterns" online for free, without having to search again every time where you left off. Put a bookmark, and you can go to the page where you finished reading at any time.
Font size:
Interval:
Bookmark:
W hen I think about painting, Bob Rosss happy trees spring immediately to mind. Not because I havent seen plenty of famous works by lauded artists who were masters of their crafts, but because he was one of the first people I encountered who made art feel inviting, and like something in which I could take an active part. Bob Ross taught me, along with a couple of generations of PBS-watching kids and adults, that, yes, we could be artists. That art wasnt just some lofty idea, that it was a thing I could make, and you could make too.
He brought a warmth and a sense of joy to the process of learningand even to screwing upthat inspired many of us to try new things and learn new skills without being afraid of failing. Because, after all, fixing smudges and paint drips and questionable lines along the way had always been part of the deal. He showed us that art didnt turn into art only when you reached a certain level of success or earned a specific piece of paper, and that an artist wasnt something that you might be able to be eventually, an artist was what you were whenever you were making art.
Bob Ross made painting feel welcoming and accessible to people who wanted to enjoy the process, even if theyd never picked up a brush before. In doing so, he created a bridge many people would merrily skip across and emerge on the other side more confident, creative, and open because of it. His kind, gentle lessons continue this work today, and the world is a more colorful place because of them.
Haley

FABRIC
Aida cloth, the most commonly used fabric in modern cross stitch projects, is a woven fabric that contains evenly spaced holes that create a square grid thats perfect for making cross stitches. The patterns in this book are designed for size 14 Aida cloth. (Size 14 means that you can make 14 stitches per inch.) You can slightly increase the size of the projects by using size 10 or 12 Aida cloth.
FLOSS
The thread used in cross stitch is called embroidery floss. The projects in this book utilize 6-stranded cotton DMC-brand embroidery flosswhich is what youll find in most craft storesand the colors listed in each pattern are labeled with a corresponding DMC color code number.
CROSS STITCH NEEDLE
Cross stitch needles have a large eye and a blunt tip, making them the ideal option for both threading embroidery floss and stitching into Aida cloth. For the projects in this book, a size 26 tapestry needle pairs perfectly with size 14 Aida cloth.
EMBROIDERY HOOP
Embroidery hoops, generally made of either bamboo or plastic, hold the fabric taut while youre stitching. For our projects, we used a 6" embroidery hoop.
ADDITIONAL TOOLS
In addition to the specific tools above, the following may also come in handy:
- A sharp pair of scissors to cut your floss or fabric
- A water-soluble fabric marker with a fine point for marking your fabric
- A pencil with an eraser in case you need to mark your pattern
- An anti-fraying liquid to prevent the edges of the fabric from unraveling
PREPPING THE FABRIC
Your fabric should be the same dimensions as your finished project, plus three or four extra inches added on each side. This will give you a little extra room to play with if you make a mistake and will also allow you to neatly finish or frame the project when youre done.
Once the fabric is cut to size, fold it in half horizontally and finger press a crease along the fold, then fold it in half vertically and finger press that crease. The intersection of these two creases will be the center of your fabric. Mark the center square with a water-soluble marker or with a stitch in a floss color that isnt used in the pattern. Before you begin stitching, you can also seal the edges of the fabric with anti-fraying liquid.
Remember, size 14 Aida cloth measures 14 stitches per inch, so even if the finished dimensions of a project arent provided, finding the final dimensions of your project is just a matter of counting the number of squares across or down the pattern grid, and then dividing by 14.
ALWAYS WASH YOUR HANDS
To keep your project clean and avoid transferring dirt and oils onto your fabric, always wash your hands before touching your project.
USING AN EMBROIDERY HOOP
A 6" hoop is a popular-size hoop; it fits comfortably in your hand while you stitch, and it can fit in a backpack or purse for some stitching on the go.
To use your embroidery hoop, loosen the screw on the larger hoop until the smaller hoop falls free. Center your fabric on top of the smaller hoop, then carefully press the larger hoop into place around the smaller hoop, sandwiching the fabric between the smaller and larger hoops. Tighten the screw on the larger hoop to secure it in place. Make sure the fabric remains centered and stretched taut.
To complete larger designs, you will need to work in sections and reposition the fabric in the hoop as you go. Once you complete the part of the pattern that is in the hoop, loosen the hoop and reposition the fabric so that the unstitched section is now within the hoop.
Please note that you will need to remove the fabric from the hoop at the end of each stitching session so that the hoop will not damage the completed stitches. As long as you do this, any signs of squashed stitches will be removed once you wash your finished piece.
USING EMBROIDERY FLOSS
The six strands in each skein of floss are designed to be separated, and only two strands should be used when stitching our patterns. After you cut a length of floss, separate two strands from the rest, then thread your needle. Set the remaining strands aside for later use.
When cutting a length of floss, use your arm as a measuring guide. Anything longer than your arm will run a higher risk of knots and tangles.
READING A CROSS STITCH PATTERN
In a cross stitch pattern, each square in the pattern grid corresponds with a square on your cross stitch fabric. And, within the pattern grid, each colored square represents one cross stitch in the same square on your fabric.
The most important thing to remember about reading a cross stitch pattern is that counting and cross stitch go hand in handthats why cross stitch is commonly referred to as counted cross stitchand counting is really the key to success. Always take the time to double-check your stitch counts and grid position to avoid making mistakes that can throw off your whole project or have you pulling out tons of stitches.
To make things easier, stitchers often mark both the center square on the fabric and the center square on the pattern grid and use them as reference points when counting squares on both the pattern and on the fabric to ensure the correct placement of stitches.
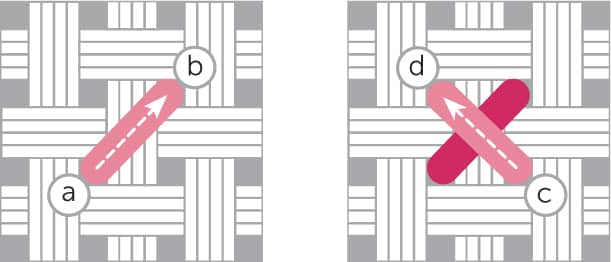
MAKING A CROSS STITCH
At its most basic level, a single cross stitch is made up of two diagonal stitches that cross in the center, creating an X shape. To form an individual cross stitch in a square on your cross stitch fabric:
Font size:
Interval:
Bookmark:
Similar books «Bob Ross Cross Stitch: 12 Happy Little Cross Stitch Patterns»
Look at similar books to Bob Ross Cross Stitch: 12 Happy Little Cross Stitch Patterns. We have selected literature similar in name and meaning in the hope of providing readers with more options to find new, interesting, not yet read works.
Discussion, reviews of the book Bob Ross Cross Stitch: 12 Happy Little Cross Stitch Patterns and just readers' own opinions. Leave your comments, write what you think about the work, its meaning or the main characters. Specify what exactly you liked and what you didn't like, and why you think so.