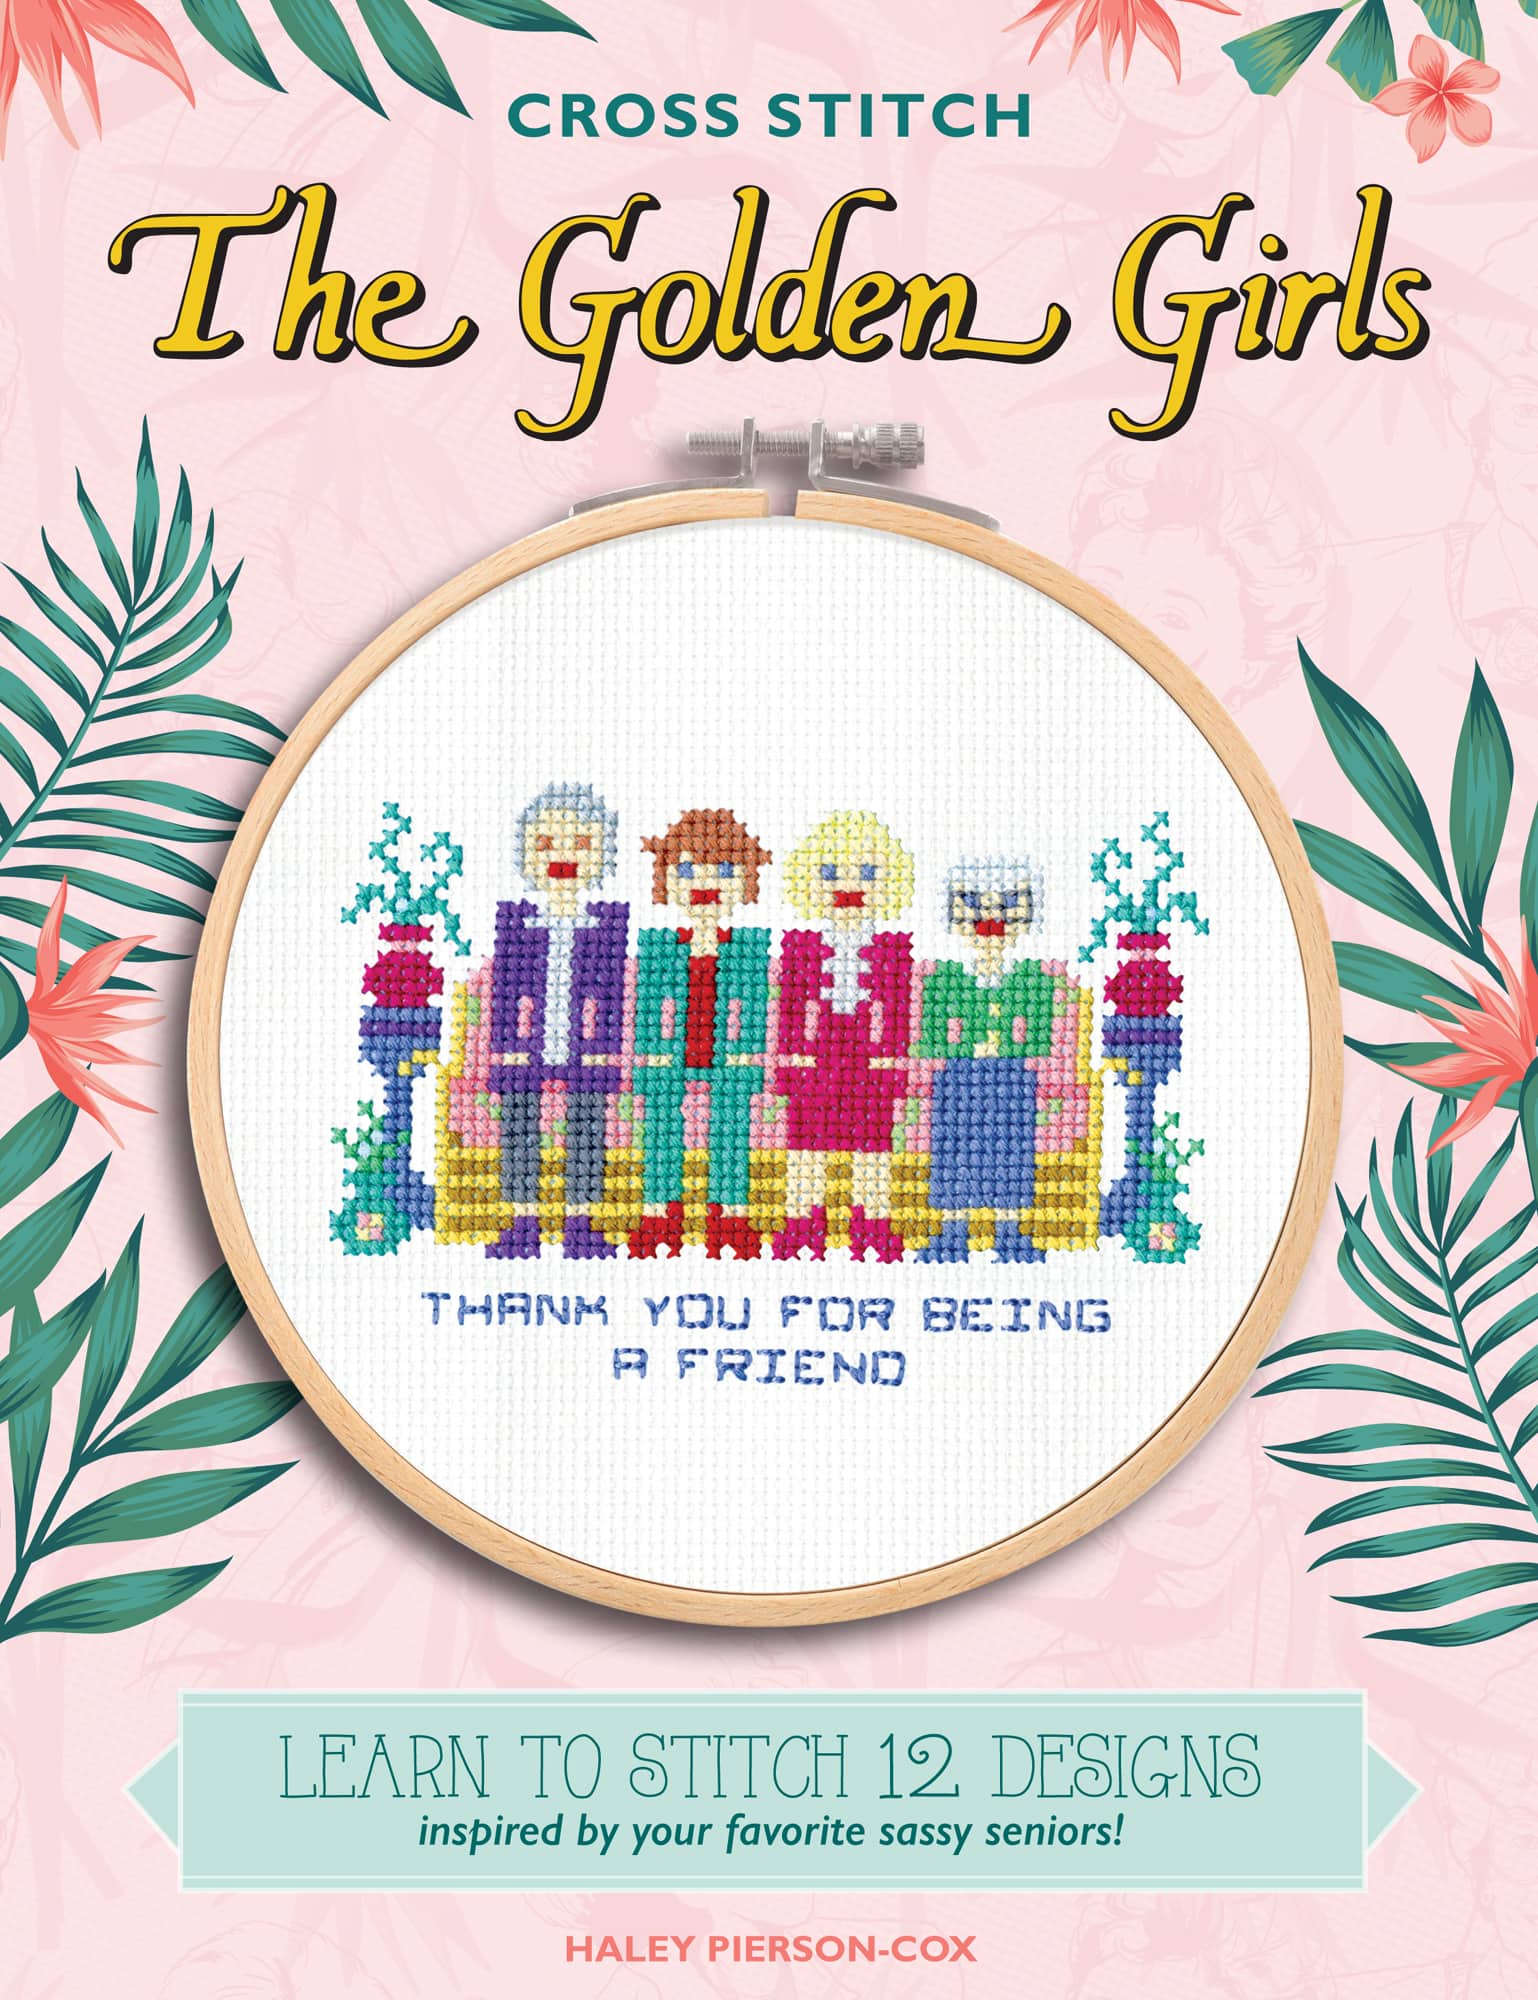
12 patterns inspired by your favorite sassy seniors!
Haley Pierson-Cox
INTRODUCTION
If you think about it, The Golden Girls and cross-stitch are two things that were kind of made for each other: theyre both delightful, a bit snarky sometimes, a touch old school, and can make you laugh out loud when you least expect it. Pretty perfect, right?
So, whether you grew up watching The Golden Girls like I did or you discovered the joys of not-quite-retirement Miami much more recently, youve almost certainly decided which character you areI identified as a Sophia pretty early onand you can probably already label each of your friends as a Blanche, a Rose, a Dorothy, or a Sophia. Does that sound familiar? Well, welcome to the club! Youre clearly one of us, and this book is for you. (You should also know that well be serving cocktails and cheesecake on the lanai at 5 p.m.)
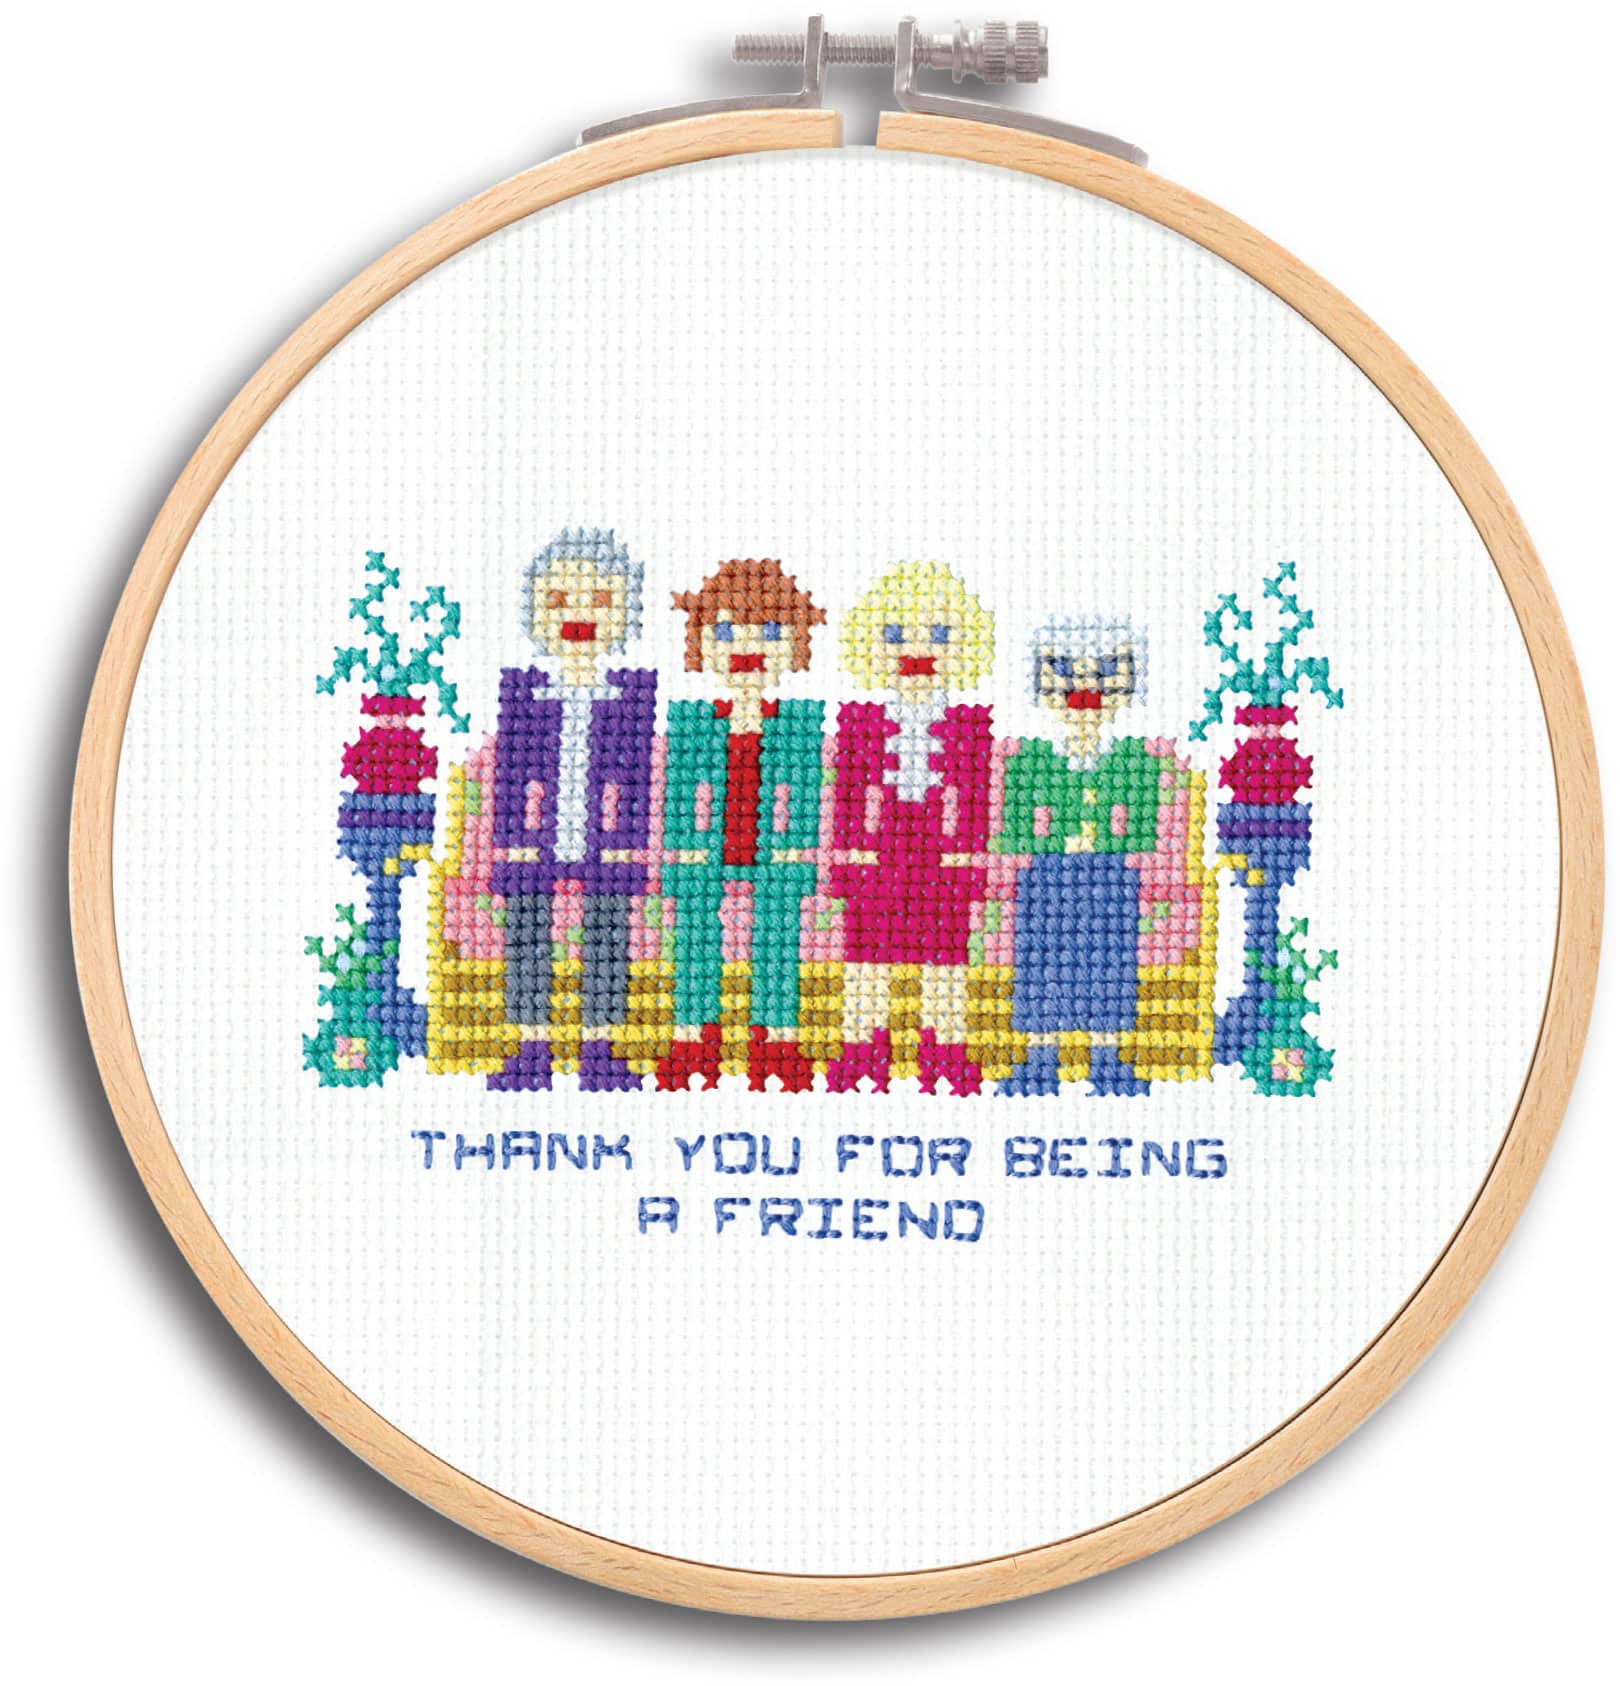
The patterns in this book were designed for The Golden Girls fans by a Golden Girls fan and are meant to warm your heart and make you giggle. The finished projects also make fun, thoughtful gifts to give to your very truest pals and confidants. Stitch up a Blanche for the Blanche in your life, send a subtle threat with a Shady Pines sampler, or use the Dorothy pattern to tell the world just exactly how you really feel. Theres a project for all moods and a Golden Girl for every personality!
What are you waiting for? Go ahead and pull up a chair, re-watch some of your favorite episodes, and cross-stitch your cares away. Because, no matter how long your The Golden Girls marathon lasts, if youre stitching, youre still being productive. And, besides, Im pretty sure that Sophia would approve of a bit of repetitive needle stabbing, and I know that Rose would never, ever dream of judging you!
-Haley
TOOLS & TECHNIQUES
Fabric:
Aida cloth, the most commonly used fabric in modern cross-stitch projects, is a woven fabric that contains evenly spaced holes that create a square grid thats perfect for making cross-stitches. The patterns in this book are designed for size 14 Aida cloth. (Size 14 means you can make 14 stitches per inch!) You can slightly increase the size of the projects by using size 11 Aida cloth.
Embroidery Floss:
The thread used in cross-stitch is called embroidery floss. The projects in this book utilize 6-stranded DMC embroidery flosswhich is what youll find in most craft storesand the colors listed in each pattern are labeled with the corresponding DMC color code.
Tapestry Needle:
Tapestry needles have a large eye and a blunt tip, making them the ideal option for both threading embroidery floss and stitching into Aida cloth. For the projects in this book, a size 24 tapestry needle pairs perfectly with size 14 Aida cloth.
Embroidery Hoop:
Embroidery hoops help hold the fabric taut while youre stitching and are generally available in plastic or wood. For our projects, we used a 6" embroidery hoop.
Additional Tools:
In addition to the cross-stitch specific tools above, youll also want to make sure you have the following:
a sharp pair of scissors to cut your floss or fabric
a fine-tip water-soluble fabric marker for marking your fabric
a pencil with an eraser in case you need to mark your pattern
an anti-fraying liquid to prevent the edges of the fabric from unraveling
GETTING STARTED
Prepping the Fabric:
Your fabric should be the same dimensions as your finished project, plus three or four extra inches added on each side. This will give you a little extra room to play with if you make a mistake and will also allow you to neatly finish or frame the project when youre done.
Once the fabric is cut to size, fold it in half horizontally and finger-press a crease along the fold, then fold it in half vertically and finger-press that crease. The intersection of these two creases will be the center of your fabric. Mark the center square with a water-soluble marker or with a stitch in a floss color that isnt used in the pattern. Then, before you begin stitching, seal the edges of the fabric with anti-fraying liquid.
Friendly Tip:
Remember, size 14 Aida cloth measures 14 stitches per inch, so, even if the finished dimensions of a project arent provided, finding the final dimensions of your project is just a matter of counting the number of squares across or down the pattern grid, and then dividing by 14.
Always Wash Your Hands:
To keep your project clean and avoid transferring dirt and oils from your hands onto your fabric, always wash your hands before touching your project.
Using an Embroidery Hoop
An embroidery hoop actually consists of two hoops: one slightly smaller hoop on the inside, and one slightly larger hoop on the outside. The larger hoop on the outside will have a screw mechanism on top that will allow you to tighten or loosen it around the smaller hoop.
To use your embroidery hoop, loosen the screw on the larger hoop until the smaller hoop falls free. Center your fabric on top of the smaller hoop, then carefully press the larger hoop into place around the smaller hoop, sandwiching the fabric between the smaller and larger hoops. Tighten the screw on the larger hoop to secure it in place, making sure the fabric remains centered and stretched taut.
Using Embroidery Floss:
The six strands in each skein of floss are designed to be separated, and only two strands should be used when stitching our patterns. After you cut a length of floss, separate two strands from the rest, then thread your needle. Set the remaining strands aside for later use.
Friendly Tip:
When cutting a length of floss, use your arm as a measuring guide. Anything longer than your arm will run a higher risk of knots and tangles.
Reading a Cross-Stitch Pattern
In a cross-stitch pattern, each square in the pattern grid corresponds with a square on your cross-stitch fabric. And, within the pattern grid, each colored square represents one cross-stitch in the same square on your fabric.
The most important thing to remember about reading a cross-stitch pattern is that counting and cross-stitch go hand in handthats why cross-stitch is commonly referred to as counted cross-stitchand its really the key to success. Always take the time to double-check your stitch counts and grid position to avoid making mistakes that can throw off your whole project or have you pulling out tons of stitches.
To make things easier, stitchers often mark both the center square on the fabric and the center square on the pattern grid and use them as a reference points when counting squares on both the pattern and on the fabric to ensure the correct placement of stitches.


