CONTENTS
CONTENTS
g
How to use this eBook
Preferred application settings
For the best reading experience, the following application settings are recommended:
- Orientation: Portrait
- Color theme: White background
- Scrolling view: [OFF]
- Text alignment: Auto-justification [OFF](if the eBook reader has this feature)
- Auto-hyphenation: [OFF](if the eBook reader has this feature)
- Font style: Publisher default setting [ON] (if the eBook reader has this feature)
- In Settings, change the font size to a size you are most comfortable with.
- Double-tap image to see the details clearly.
g
Introduction
Ive always loved baking, but I didnt consider pursuing a career as a baker until I was in my junior year of college. I was studying business administration, which I wasnt interested in at all, and my grades reflected my feelings toward my major. It was during that time I started baking for my roommates for fun and watching cooking shows, which is when I thought maybe I could do what I love for a living and become a professional baker.
After graduation, I worked as an office assistant for my dad at his woodworking business while I figured out what to do next. Living so close to the Culinary Institute of America and my dad being a former student of the school made it an easy decision to apply. Soon after, I was accepted into the Baking and Pastry Program and then started working at a local bakery to get experience in the industry before my start date at the (other) CIA.
It was such a huge change going from studying business administration to doing something I actually loved. I went from being a C student as a business major to getting straight As in culinary school. It turns out math is a lot easier for me to understand when its related to food!
At the time I attended the CIA, the program was just under 2 years long, with each class lasting only 3 weeks, which meant we had the opportunity to learn a wide variety of baking and pastry techniques. This allowed me to narrow my focus pretty quickly to cake decorating. (Cookie decorating wasnt a big part of the program, but I took what I learned about decorating cakes and applied it to cookies later.)
Shortly after graduating from culinary school, I decided to try my hand at cookie decorating. Id been making cakes for family and friends, but I wanted to make beautiful treats I could ship to loved ones who didnt live nearby. Once I tried decorating cookies, I didnt look back! Decorating with royal icing allowed me to combine my love of baking with my artistic abilities (drawing and painting were my other hobbies growing up), and with the right packaging, I could ship them anywhere.
Fifteen years later, I have a home studio where I create cookie decorating video tutorials to share with the world.
Over the years, Ive created hundreds of cookie designsand the ideas somehow keep coming! I have moments where I worry Ill never be able to come up with another cookie design, but the moment passes and I have another spark of inspiration.
My cookie ideas come from everywhere. Ive created cookies that are inspired by teacups, my kids toys, patterns on fabric and wallpaper, costumes in TV shows, and even my nail polish.
I keep a list of cookie ideas on my phone and I have a photo album of inspirational pictures and screenshots for future cookies. When I have a creative block, the list and the photo album are the first places I go for inspiration. Ive learned, though, that I cant force the ideas to flow. I create my best work when Im feeling truly inspired. I hope this book can do that for you!
If youre new to royal icing, start with Chapter 1 to learn the ins and outs of decorating with this versatile (yet sometimes finicky) medium. Once youve learned the basics, you can jump around the book to try out different projects.
The designs in this book come with step-by-step instructions and are meant to be recreated by you so you can learn to decorate cookies. As you get more comfortable with decorating, I encourage you to combine these techniques and designs to create your own unique works of edible art. Most importantly, have fun!
Amber Spiegel
Kingston, New York
January 2022
g
COOKIE
DECORATING
BASICS
Cookie Decorating Basics | CONTENTS
g
Tools & Equipment
When I first started decorating cookies, I purchased many of my supplies from a craft store, but it was still difficult to get specialty products, like edible luster dust. These days, many specialty cake and cookie decorating supply stores exist online, making it much easier to get what I need. To successfully make the cookies in this book, youll need the following tools and equipment.
Stand Mixer
Since I became a cookie decorator, the stand mixer has become one of my best friends in the kitchen. Its sturdy enough to handle thick royal icing and cookie dough, and the paddle attachment incorporates just enough air without overmixing.
Rolling Pin
When rolling cookie dough, I use a rolling pin with built-in -inch (0.65cm) guides so my cookies are all the same thickness.
Baking Sheets
I use aluminum baking sheets to bake my cookies. These can get pricey if you purchase them new, so check local restaurant supply sales to purchase used baking sheets.
Parchment Paper
Parchment paper is a great nonstick liner for baking sheets. You can purchase it already cut into rectangles that will fit perfectly on full-size or half-size baking sheets.
perforated Baking Mat
This is an even better liner than parchment paperbut a little more of an investment. The perforations in the silicone allow air to flow under the mat, baking the cookies evenly and just about perfectly flat.
Spatulas & Scrapers
Some other tools I use for cookie dough and icing are a rubber spatula, a flexible bowl scraper, and small metal spatulas for mixing icing colors.
Scribe Tool
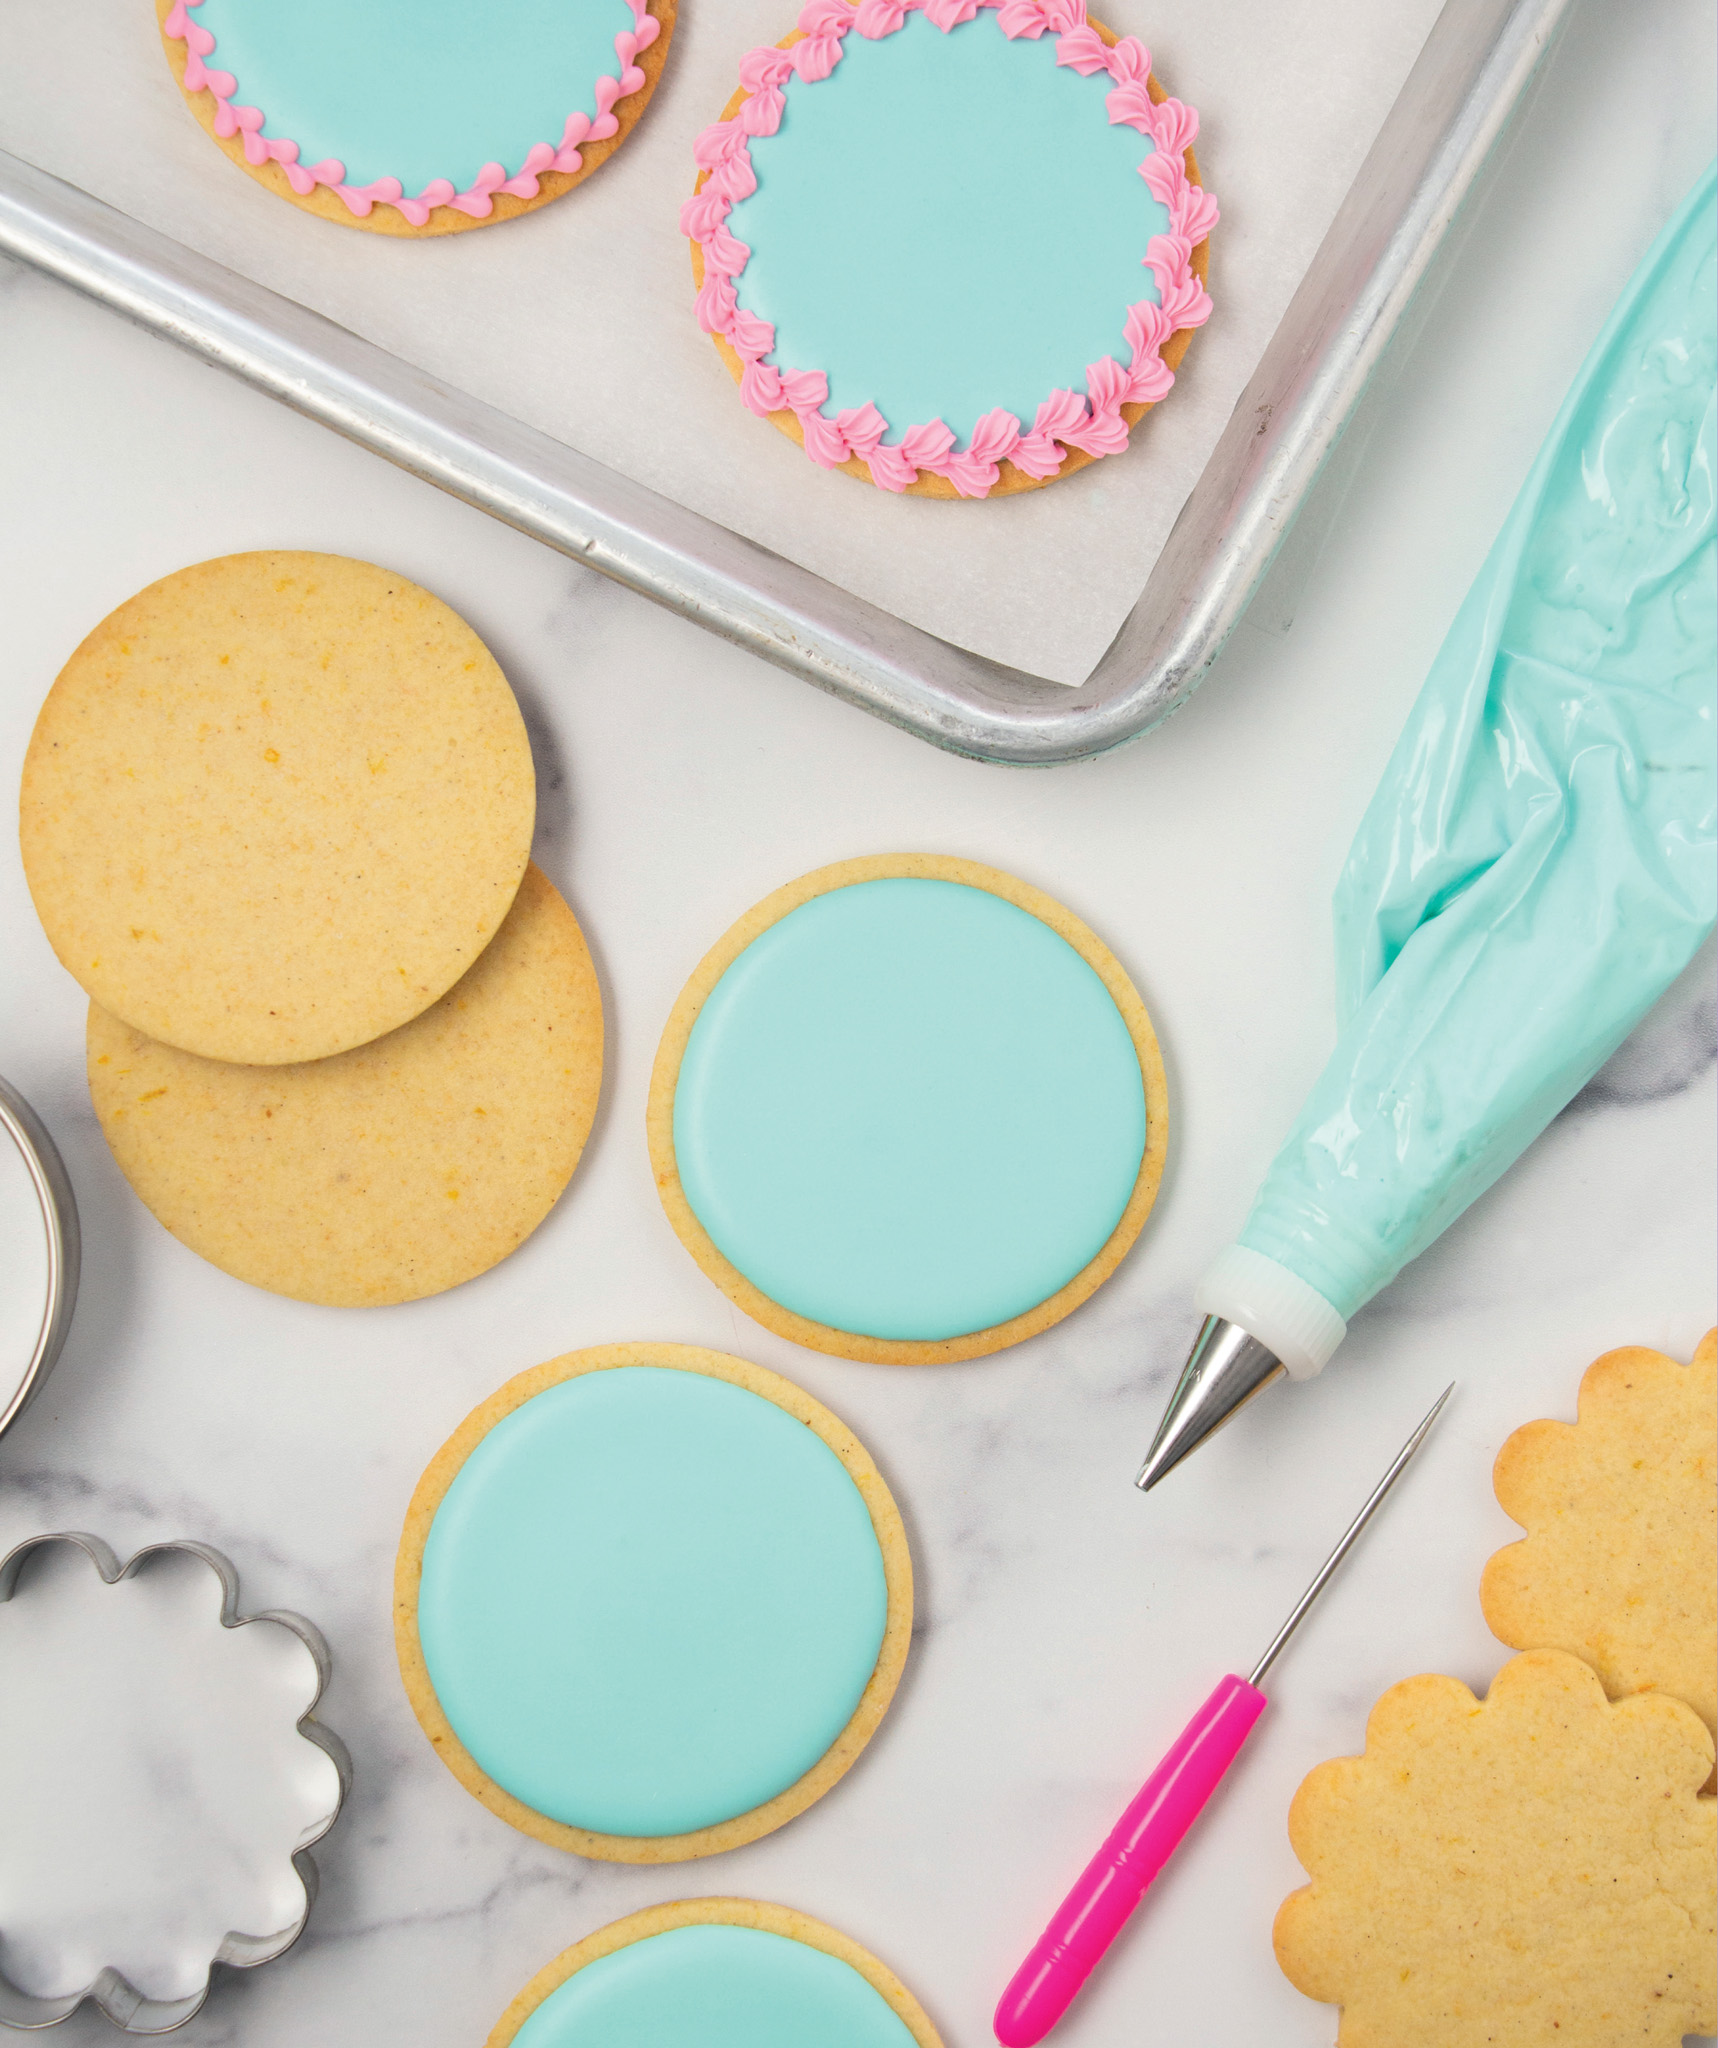
This is probably the most versatile utensil in cookie decorating. With this tool, you can shape and smooth icing, draw guides on a cookie, and fix mistakesto name a few uses.
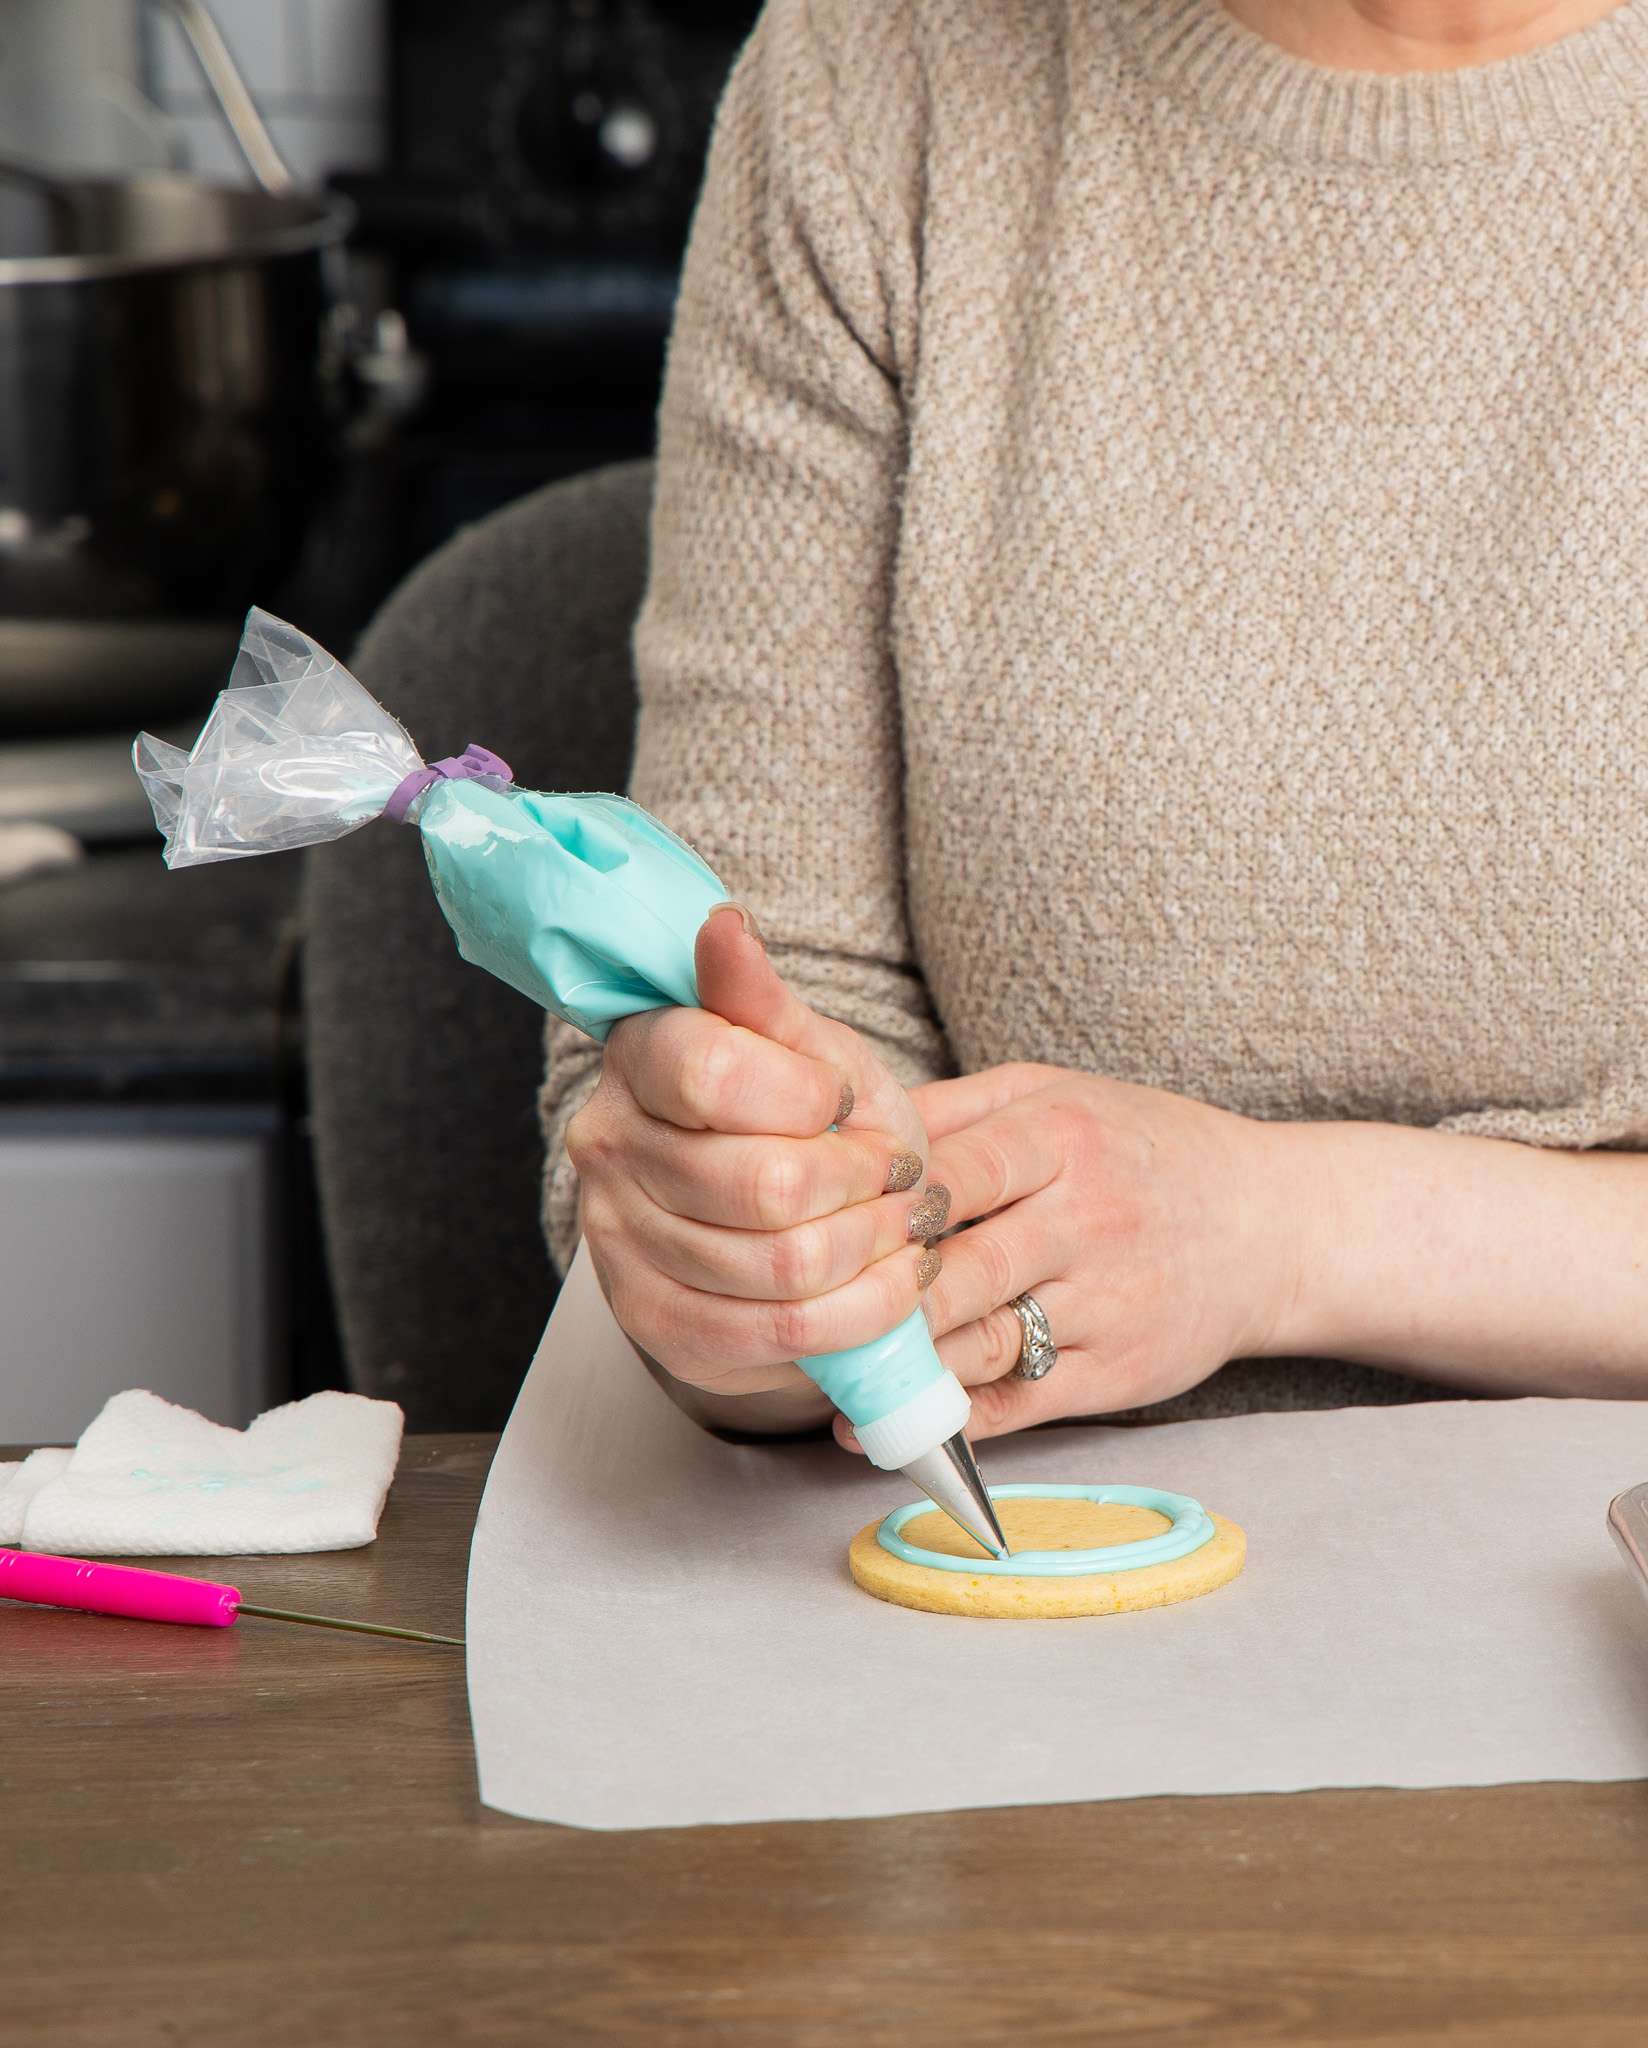
Decorating Bags, Tips & Couplers
Using decorating tips gives me more control over the icing than tipless decorating bags. In this book, I refer to decorating bags that use couplers and tips as 12-inch (30.5cm) decorating bags. I do use tipless decorating bags for some projects, like when I need just a small amount of icing or if I dont need to be precise when applying it. A tipless decorating bag is made of thin plastic and creates a round hole when you cut an opening in the tip. Cutting a hole in a standard 12-inch (30.5cm) decorating bag will create more of a flat opening because of the thick seam.

